Hello Guest User,
Please feel free to have a look around the forum but be aware that as an unregistered guest you can't see all of it and you can't post.
To access these 'Registered Users Only' areas simply register and login.
Please feel free to have a look around the forum but be aware that as an unregistered guest you can't see all of it and you can't post.
To access these 'Registered Users Only' areas simply register and login.
what light is fitted?
Moderators: KeithZ1R, chrisu, paul doran, Taffus
-
captaincaveman

- 100Club

- Posts: 353
- Joined: 29th Jul 2012
- Location: Northamptonshire
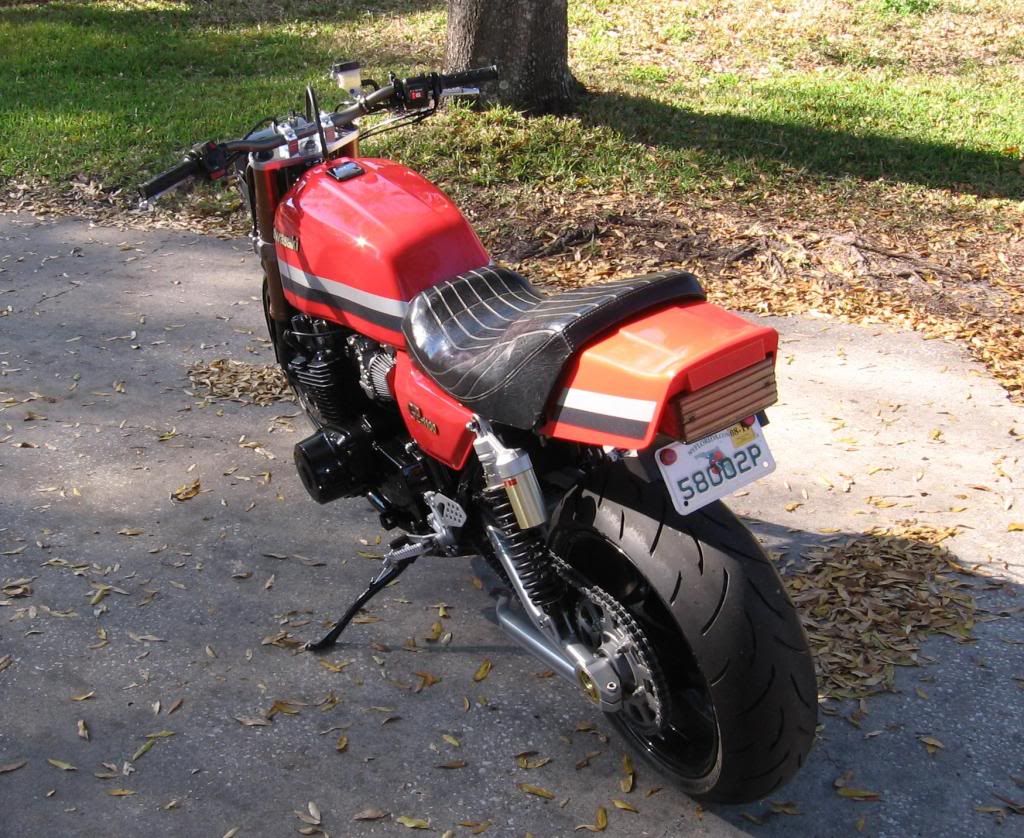
what light is fitted?
just wondered if this is off another gpz, quite fancy getting something almost standard looking but without it sticking out from the body work like the original
Jay
81 GPz1100 B1
81 GPz1100 B1

-
needaz1100r
- Custard Cream

- Posts: 601
- Joined: 11th Sep 2012
- Location: Reading
-
captaincaveman
- 100Club
- Posts: 353
- Joined: 29th Jul 2012
- Location: Northamptonshire
-
Ginger Bear

- Hardcore

- Posts: 6850
- Joined: 16th Dec 2008
- Location: In the Dark.
- Contact:
The rear mudguard I had fitted was a 'period' accessory made in glass fibre, that moves the tail light forward, probably 'all the rage' 30 years ago. 
If you still have an uncut original rear mudguard, DON'T cut it. They are worth a small fortune these days, one sold recently on ebay for £150+
If you still have an uncut original rear mudguard, DON'T cut it. They are worth a small fortune these days, one sold recently on ebay for £150+

# 104
Phil Churchett Award Winner 2011 & 2016
Buzzworkz Best Modified Zed 2016
-
captaincaveman
- 100Club
- Posts: 353
- Joined: 29th Jul 2012
- Location: Northamptonshire
-
captaincaveman
- 100Club
- Posts: 353
- Joined: 29th Jul 2012
- Location: Northamptonshire

-
captaincaveman
- 100Club
- Posts: 353
- Joined: 29th Jul 2012
- Location: Northamptonshire
-
captaincaveman
- 100Club
- Posts: 353
- Joined: 29th Jul 2012
- Location: Northamptonshire
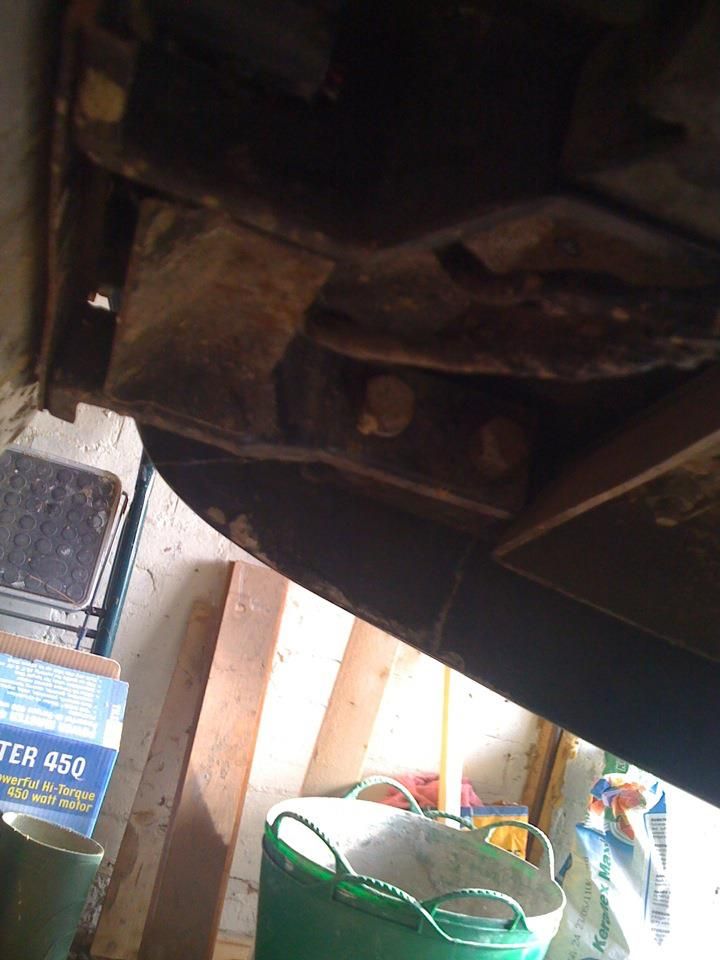
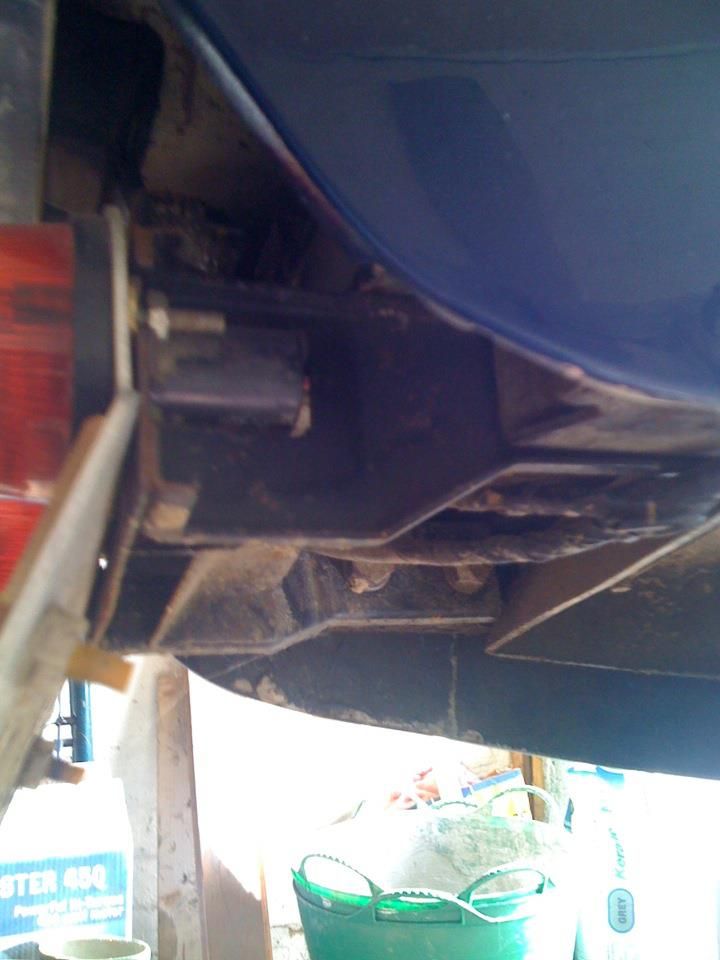
tlc wrote:If you just take that bracket off you will see 2 x M8 threads in the rear of the seat rails. Just get a bit of flat on there and mount your lamp.
It's almost as if that's what Kawasaki wanted you to do in the first place.
so literally on the end of the round tubing then? ah ok i thought you'd have to bolt onto where the existing 4 bolts/bracket are? that sounds easy
now a silly question, what happens with the rear bodywork? mines held in place by a bracket with a slotted square rubber mount?
Jay
81 GPz1100 B1
81 GPz1100 B1
-
captaincaveman
- 100Club
- Posts: 353
- Joined: 29th Jul 2012
- Location: Northamptonshire
Who is online
Users browsing this forum: No registered users and 32 guests