Hello Guest User,
Please feel free to have a look around the forum but be aware that as an unregistered guest you can't see all of it and you can't post.
To access these 'Registered Users Only' areas simply register and login.
Please feel free to have a look around the forum but be aware that as an unregistered guest you can't see all of it and you can't post.
To access these 'Registered Users Only' areas simply register and login.
Club Restoration
Moderators: KeithZ1R, chrisu, paul doran, Taffus
-
davy thomson
- ZedHead

- Posts: 1000
- Joined: 24th Aug 2005
- Location: scotland [north]
-
Bill Newman

- 100Club

- Posts: 459
- Joined: 27th May 2007
- Location: Ipswich
Time for an update - its been a while as I have been over to IOM to watch a bit of road racing.
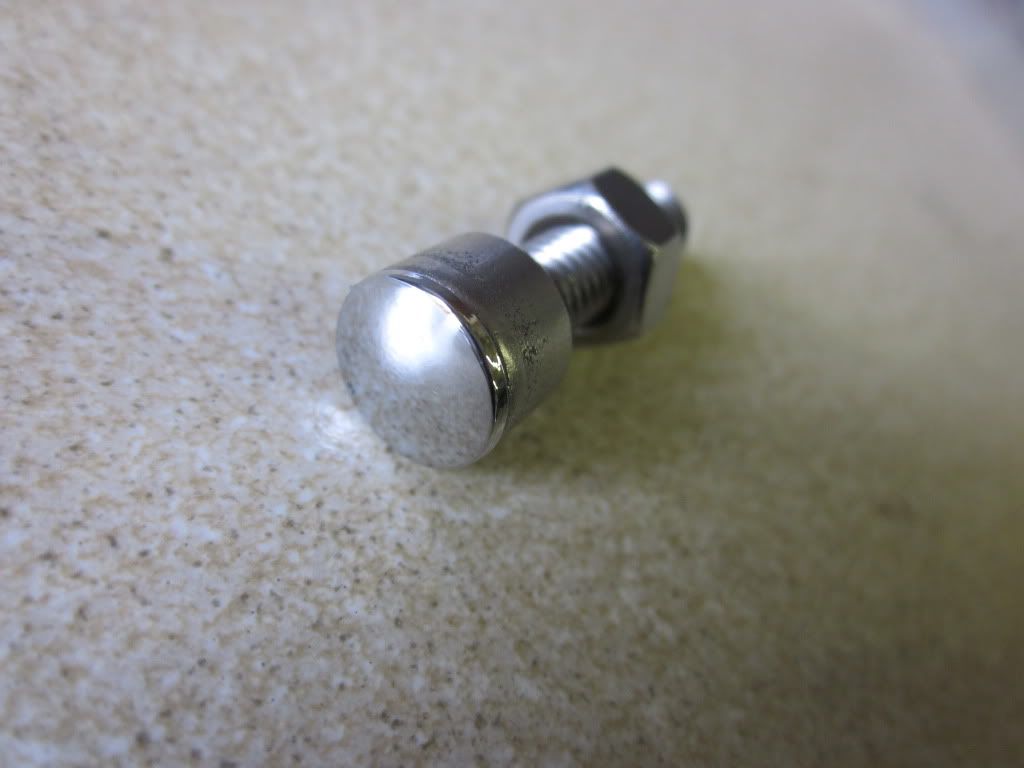
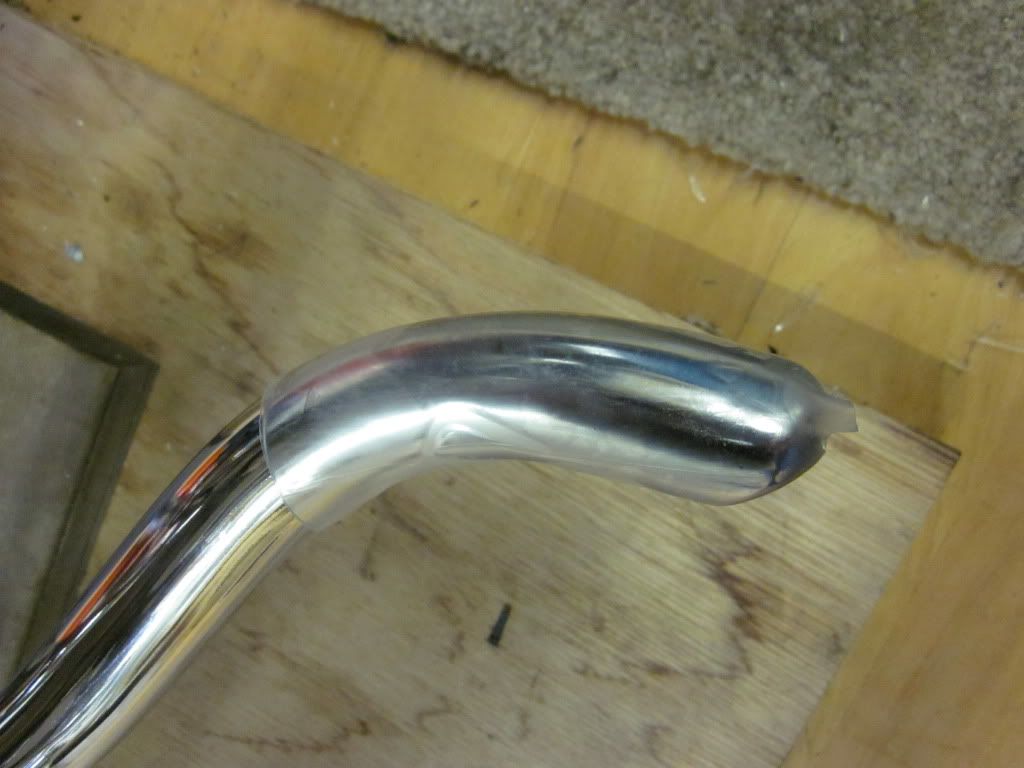
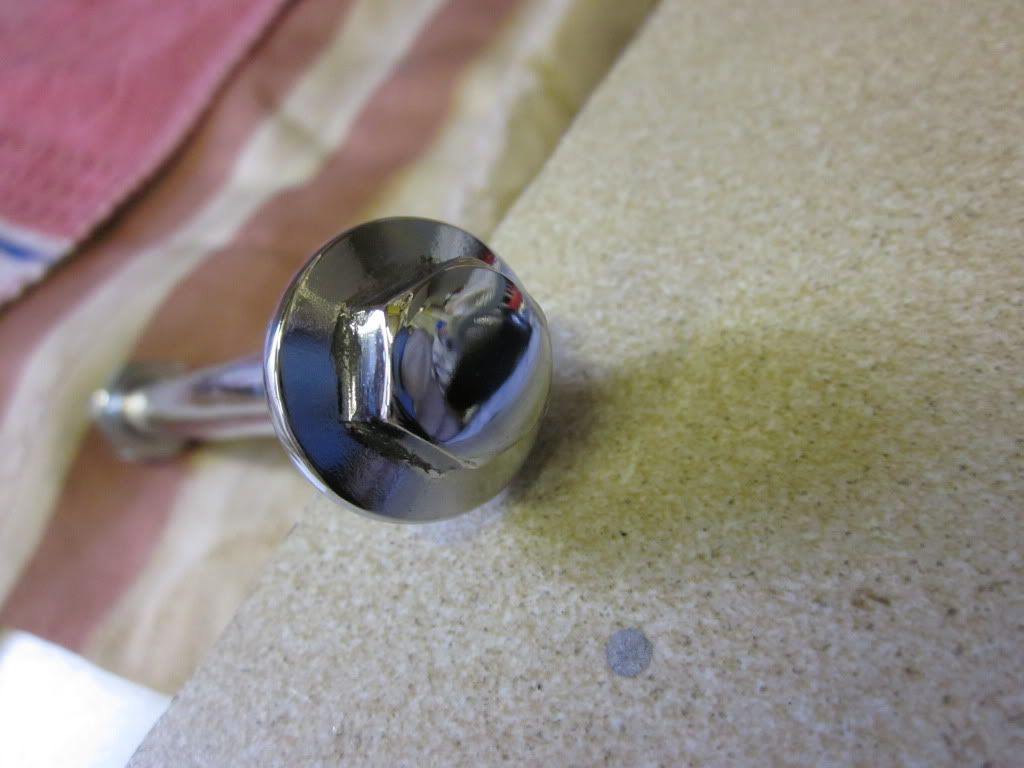
After collecting the paintset, I cracked on with the peripherals - I did not want the brake lever to stop against a bolt so used an allen bolt with a plastic chrome insert
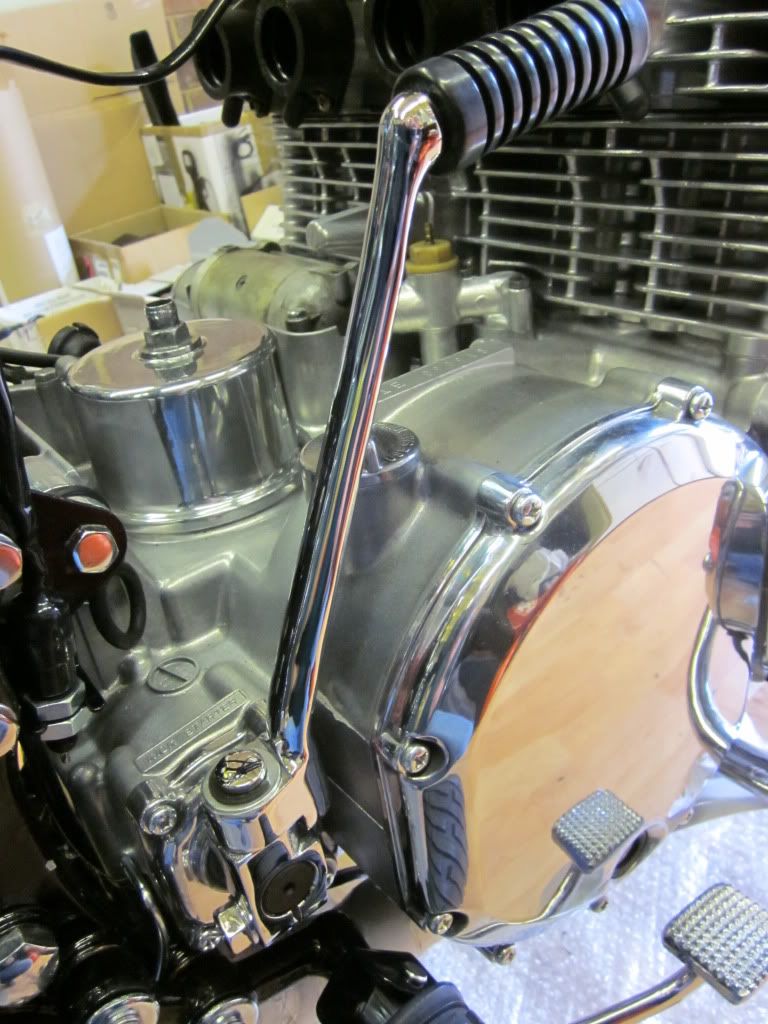
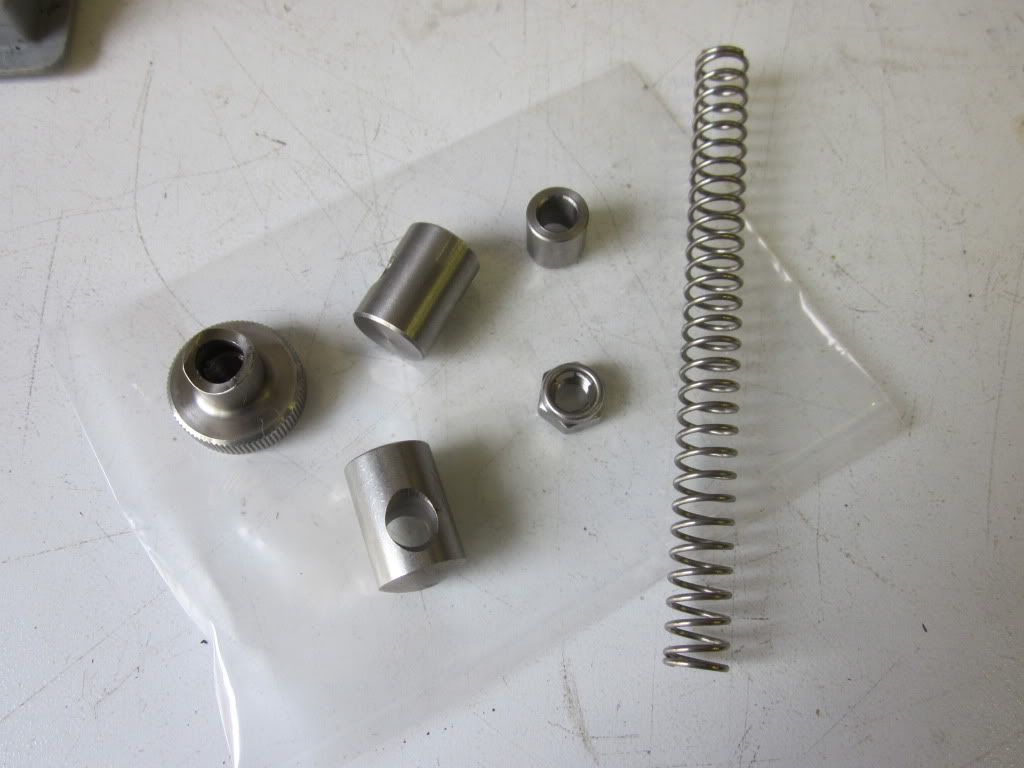
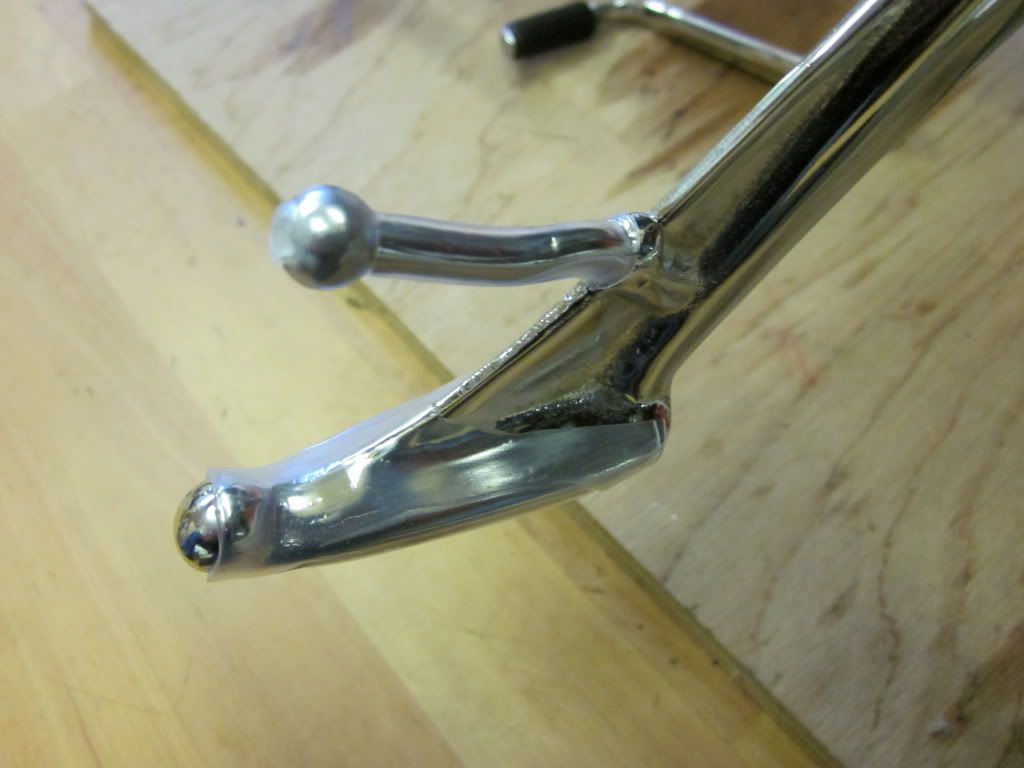
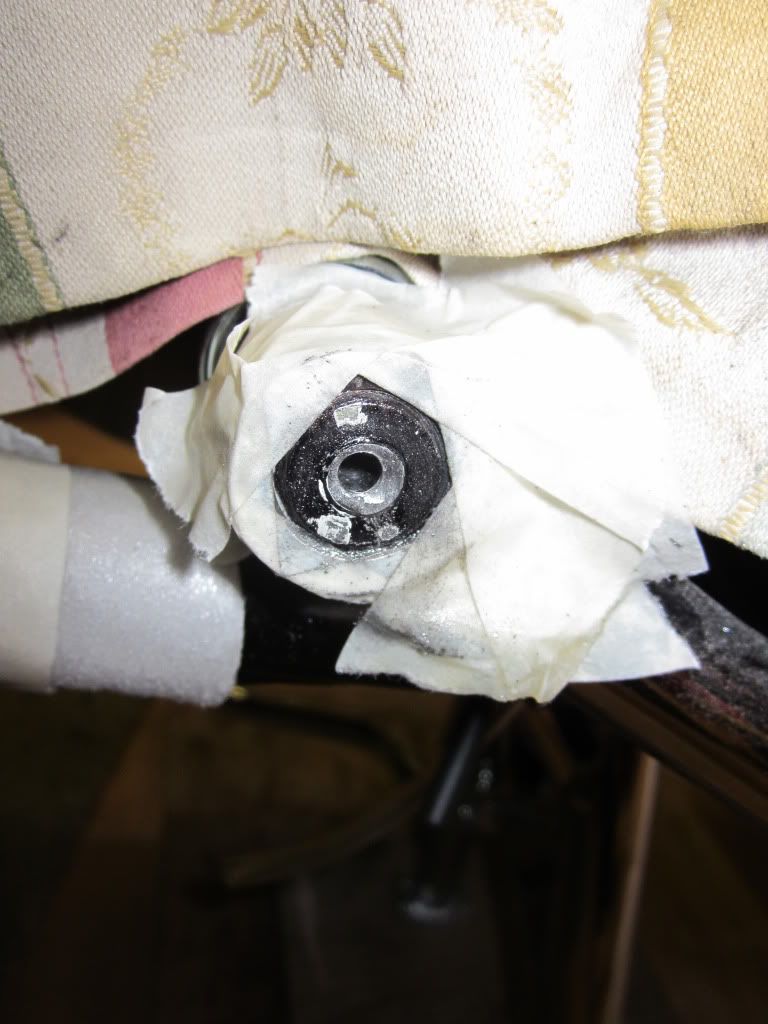
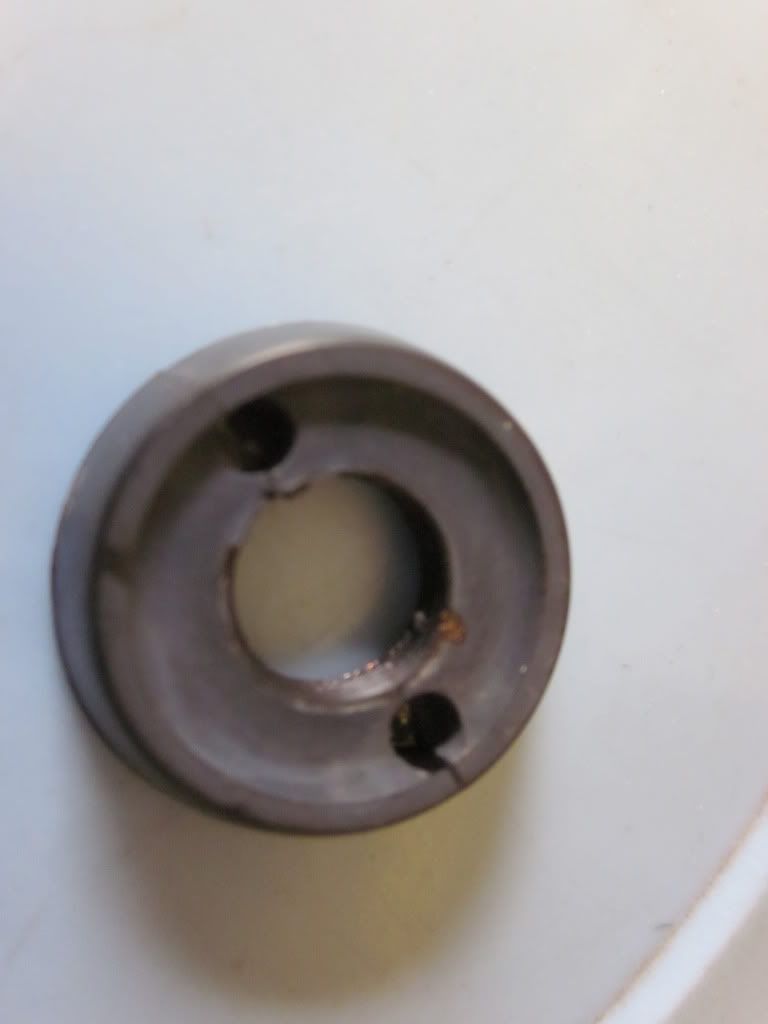
Then my first real setback - I broke the stud that the dome nut fixes to hold the brake arm - here is a temp replacement holding by one thread. After putting up a shout for help I decided to contemplate my options before setting about the repair. More to follow...

Kickstart rebuilt with new knuckle assembly
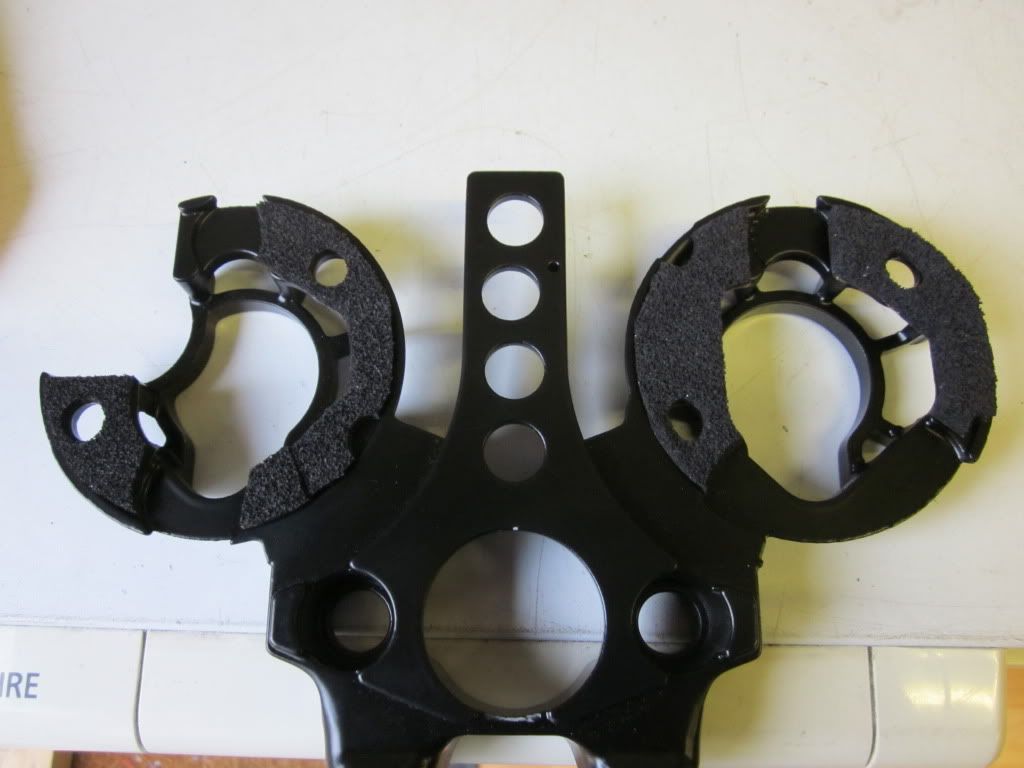
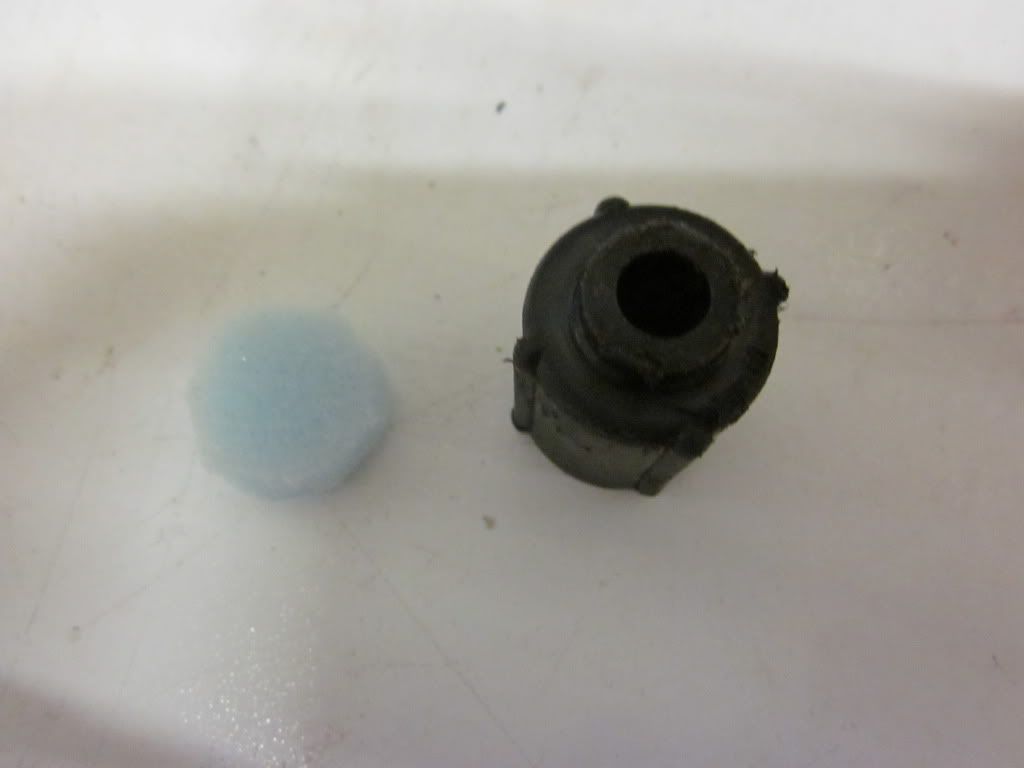
Then started on the clocks - new foams fitted
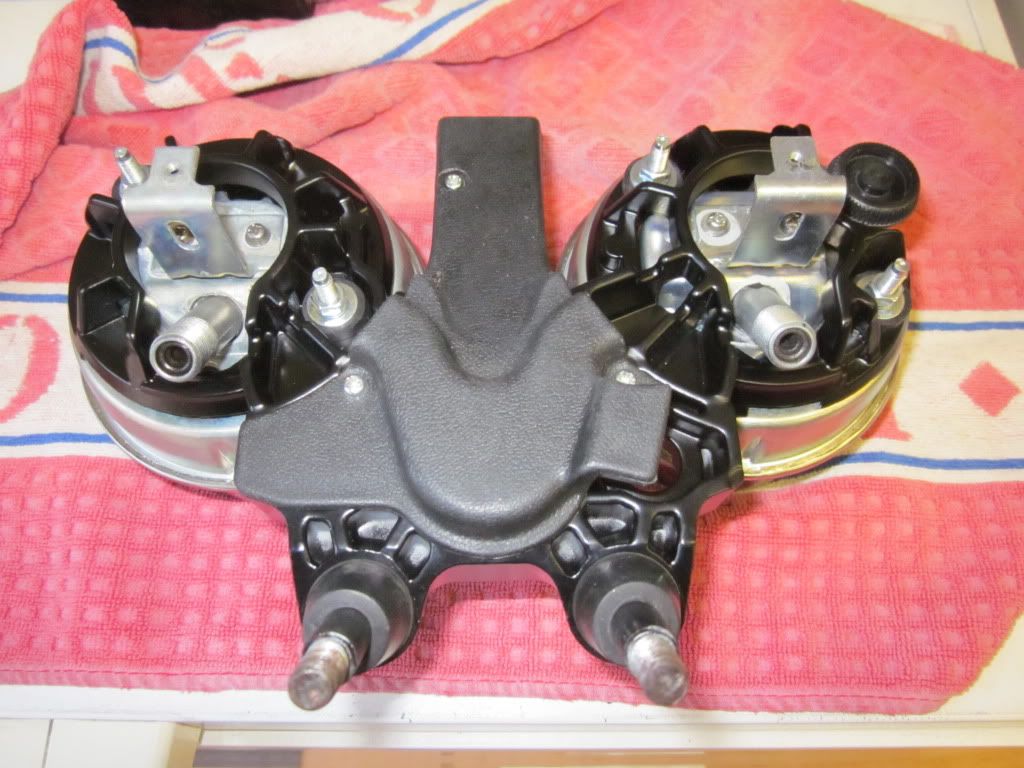
Then the clocks themselves
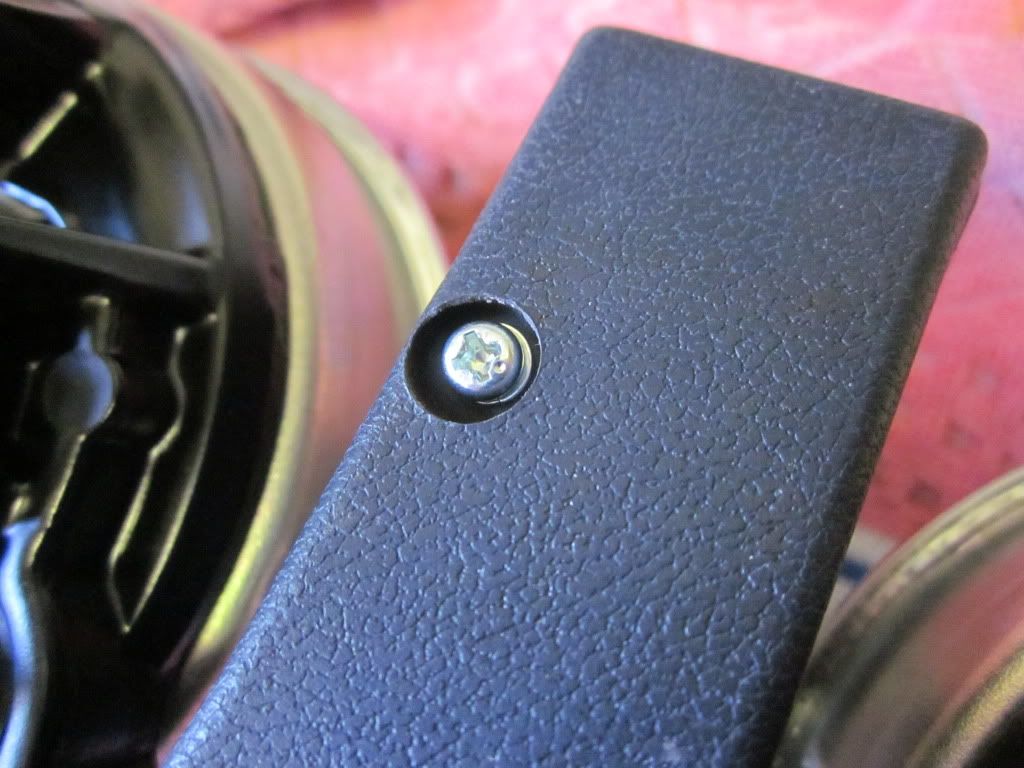
With stainless replacement screws
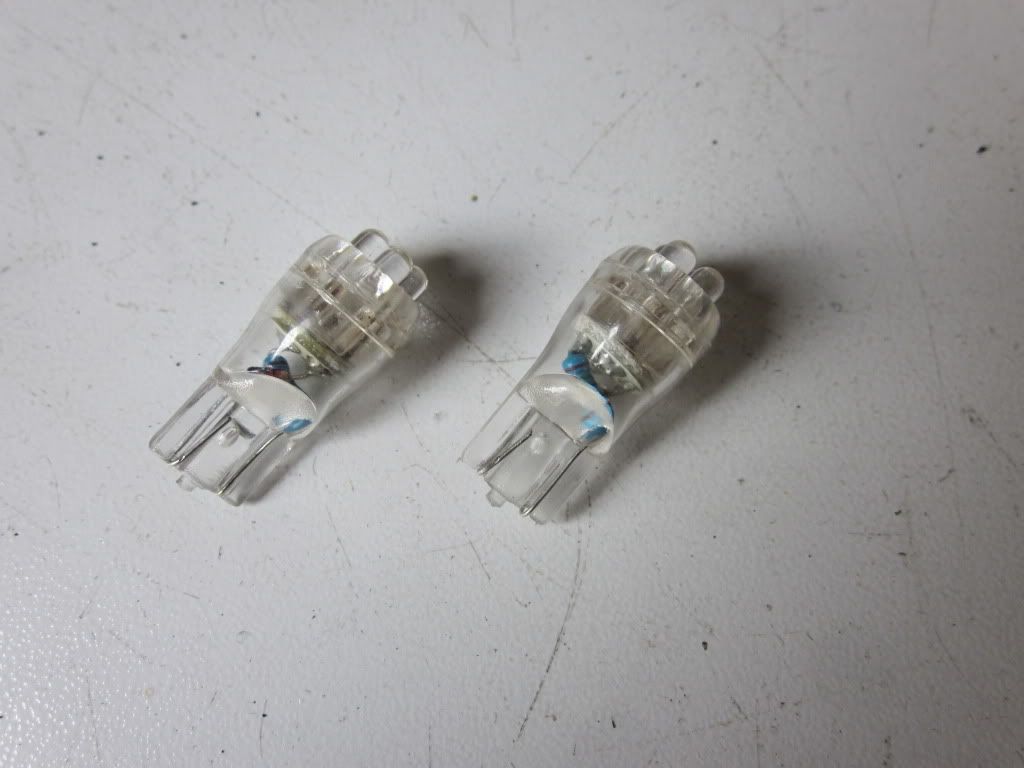
And LED idiot lights for a brighter glow - and less resistance
Result is pleasing
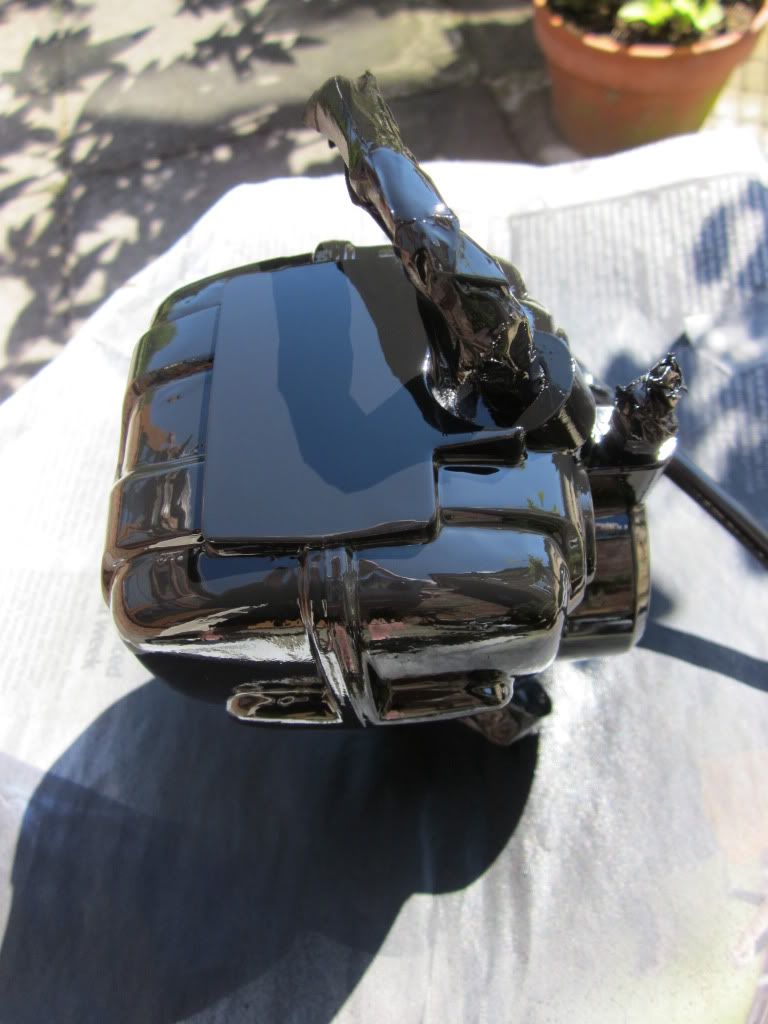
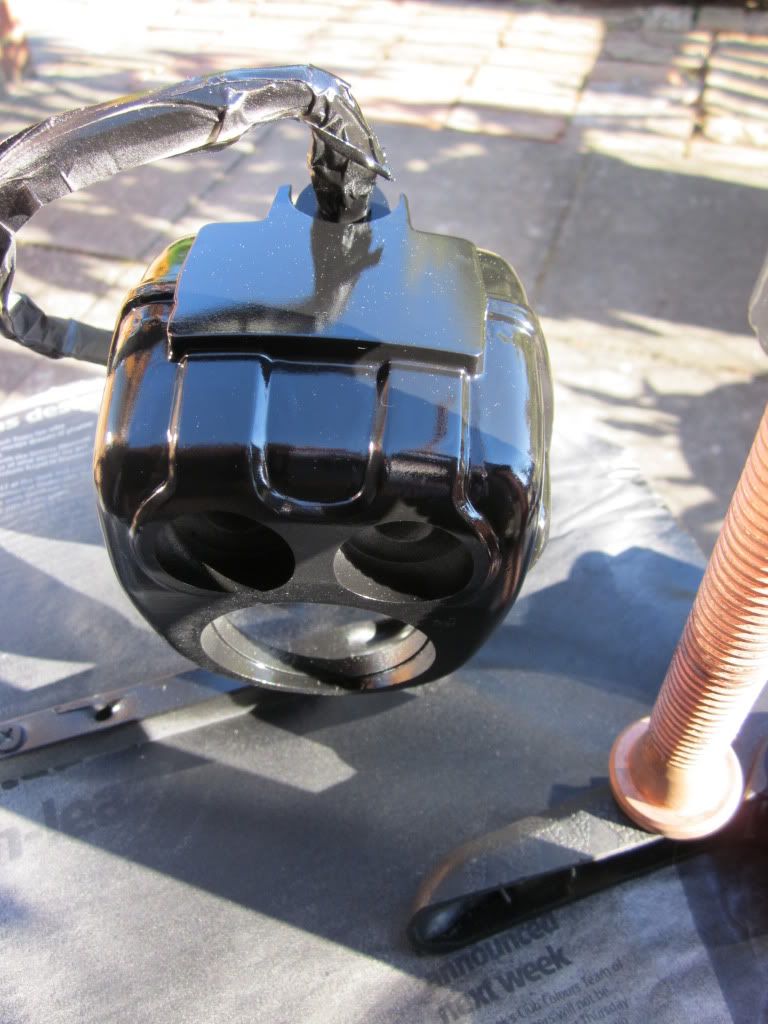
Then to the winkers - bit of wiring repair with one of those ebay kits works really well


New stainless brake rod kit is really good quality (from Z1 Enterprises)
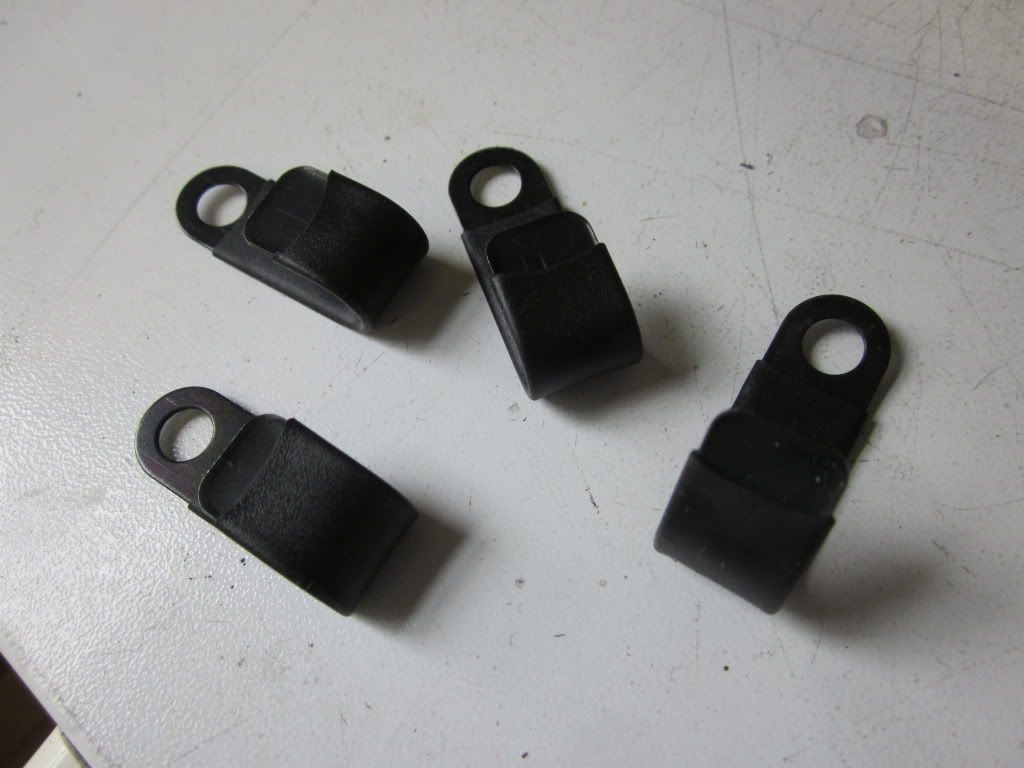
Clear heat shrink on the stands to protect the chrome
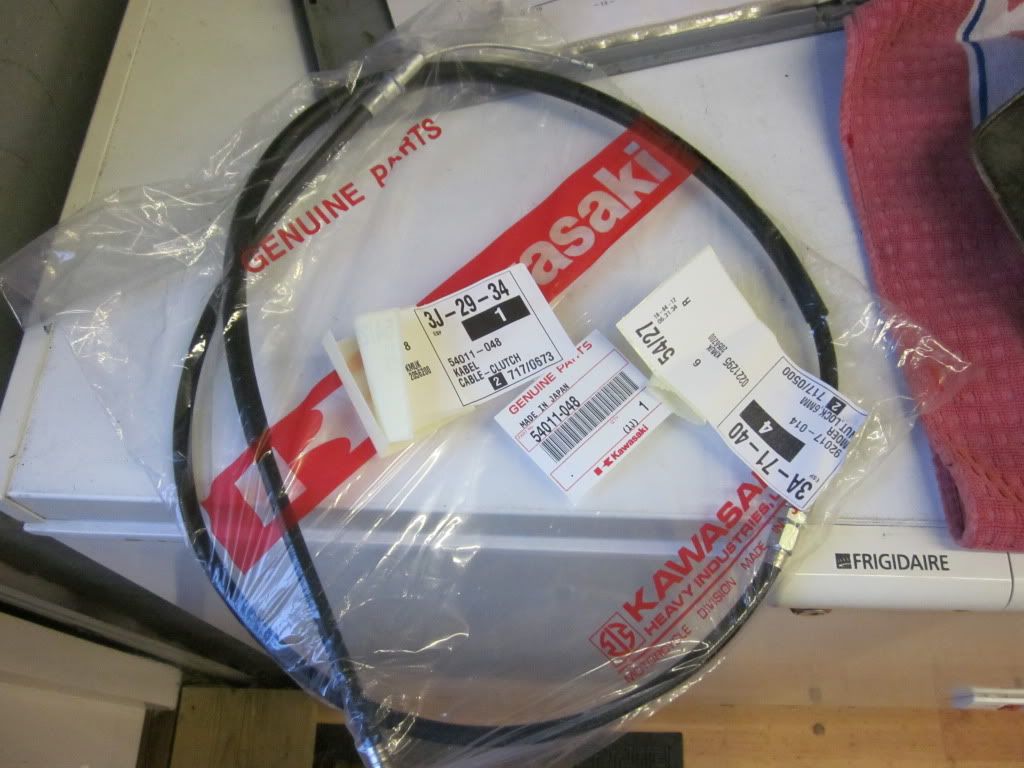
Next was to fit a genuine clutch cable to try and overcome some of the stretching problems I have had with a cheap replica
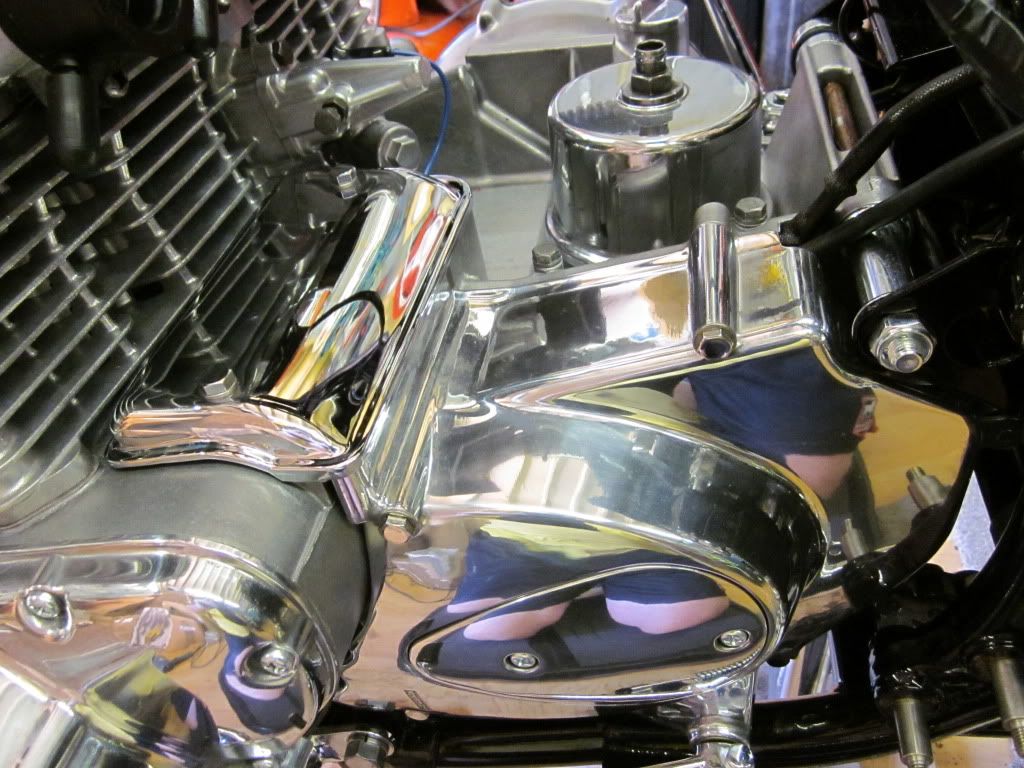
L/H side now completed with starter cover on
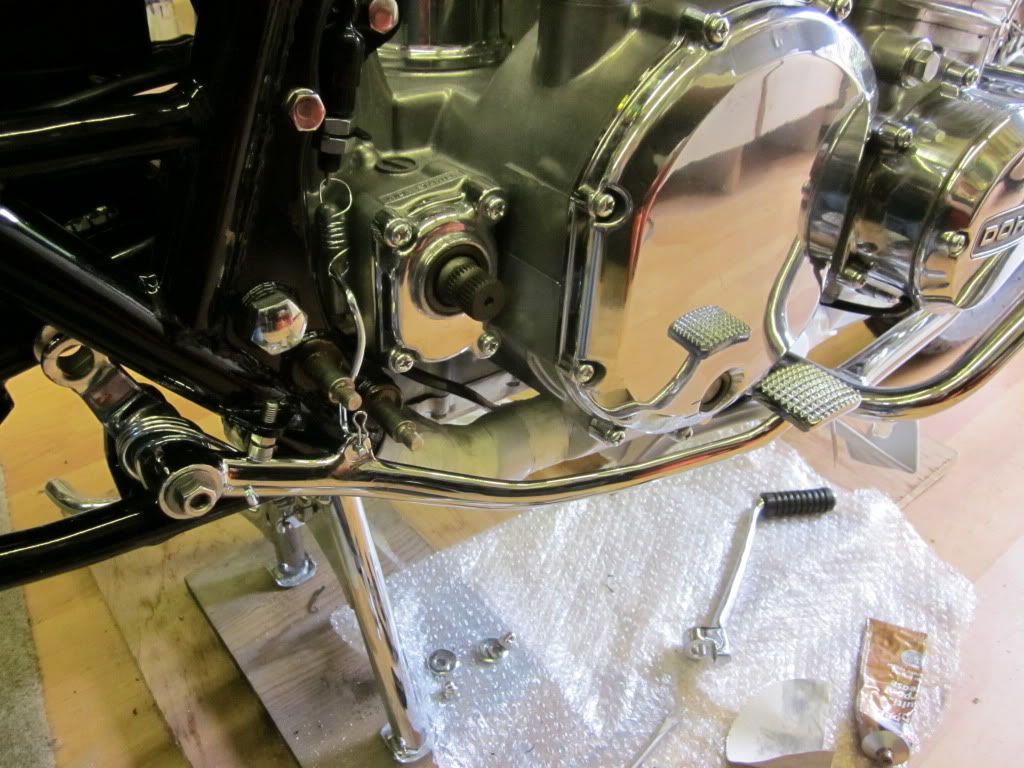
Now the chain guard - supplied through the club
It is a really good fit
After collecting the paintset, I cracked on with the peripherals - I did not want the brake lever to stop against a bolt so used an allen bolt with a plastic chrome insert
Then my first real setback - I broke the stud that the dome nut fixes to hold the brake arm - here is a temp replacement holding by one thread. After putting up a shout for help I decided to contemplate my options before setting about the repair. More to follow...
Kickstart rebuilt with new knuckle assembly
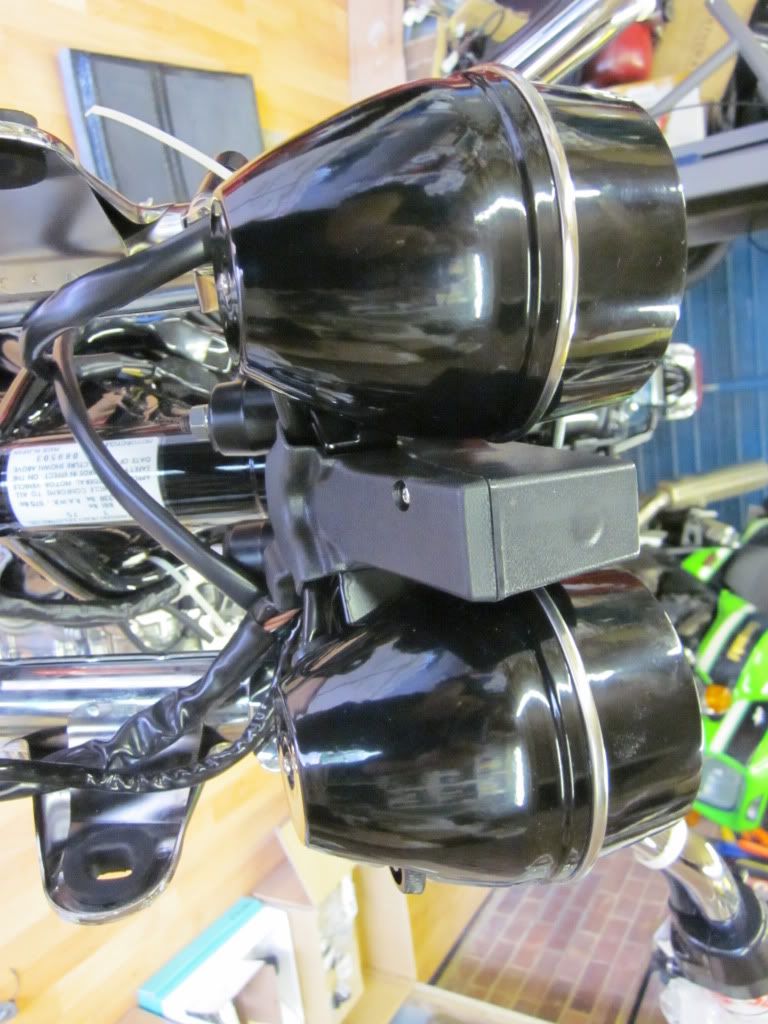
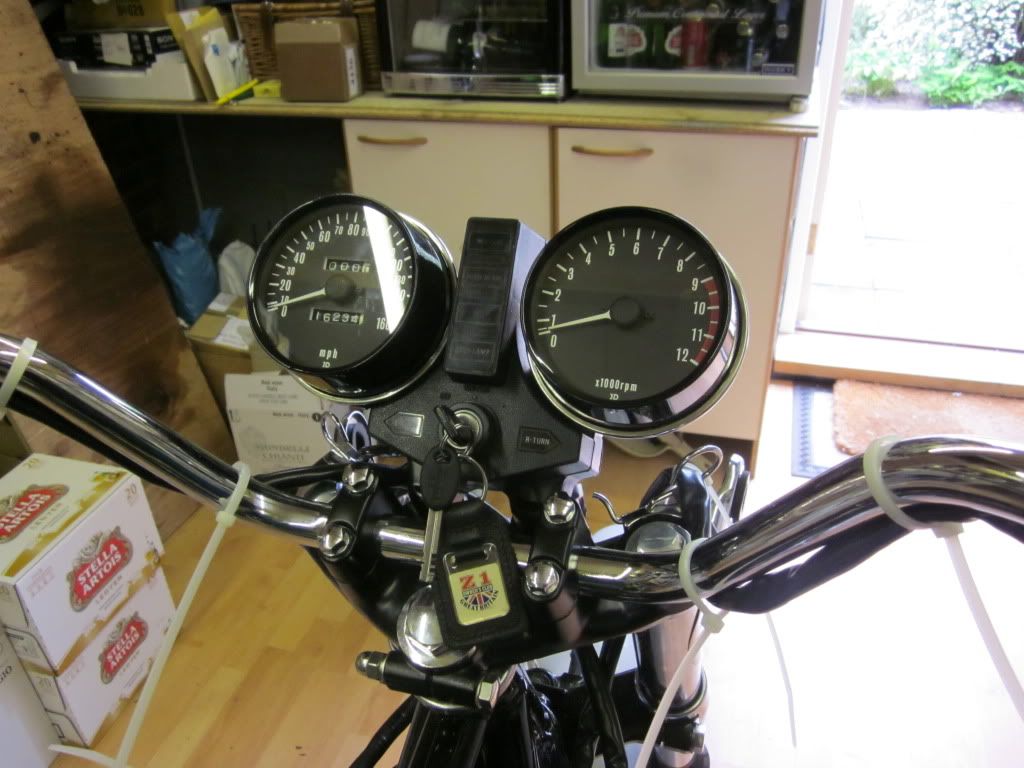
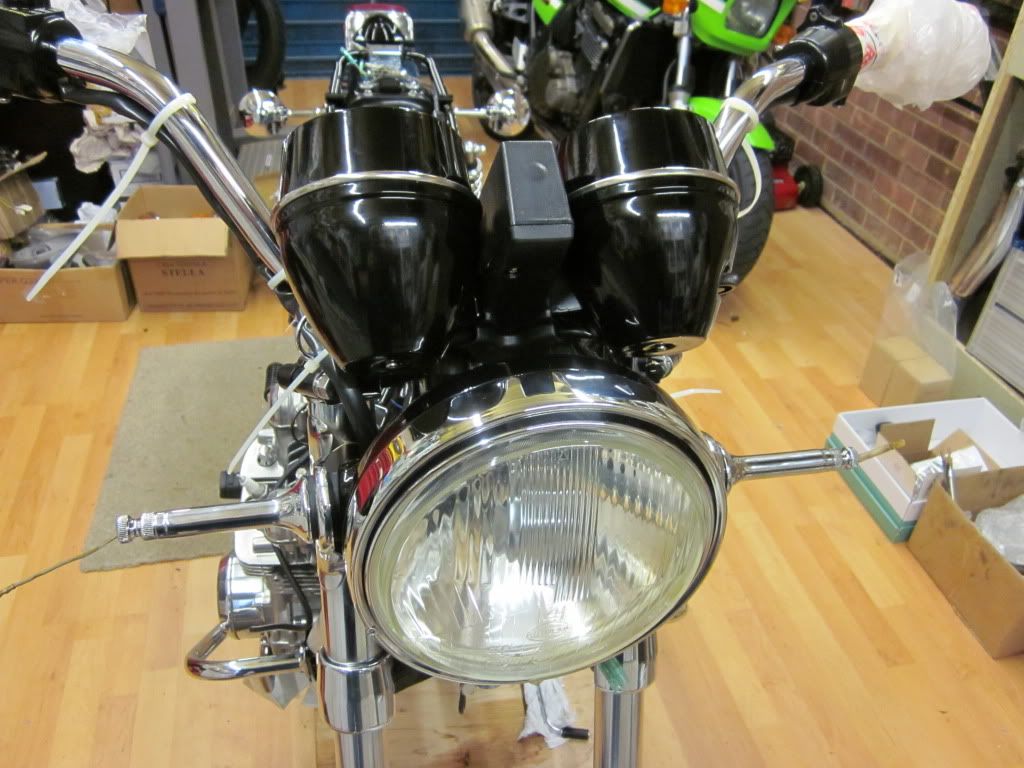
Then started on the clocks - new foams fitted
Then the clocks themselves
With stainless replacement screws
And LED idiot lights for a brighter glow - and less resistance
Result is pleasing
Then to the winkers - bit of wiring repair with one of those ebay kits works really well
New stainless brake rod kit is really good quality (from Z1 Enterprises)
Clear heat shrink on the stands to protect the chrome
Next was to fit a genuine clutch cable to try and overcome some of the stretching problems I have had with a cheap replica
L/H side now completed with starter cover on
Now the chain guard - supplied through the club
It is a really good fit
-
Bill Newman
- 100Club
- Posts: 459
- Joined: 27th May 2007
- Location: Ipswich
Some more...
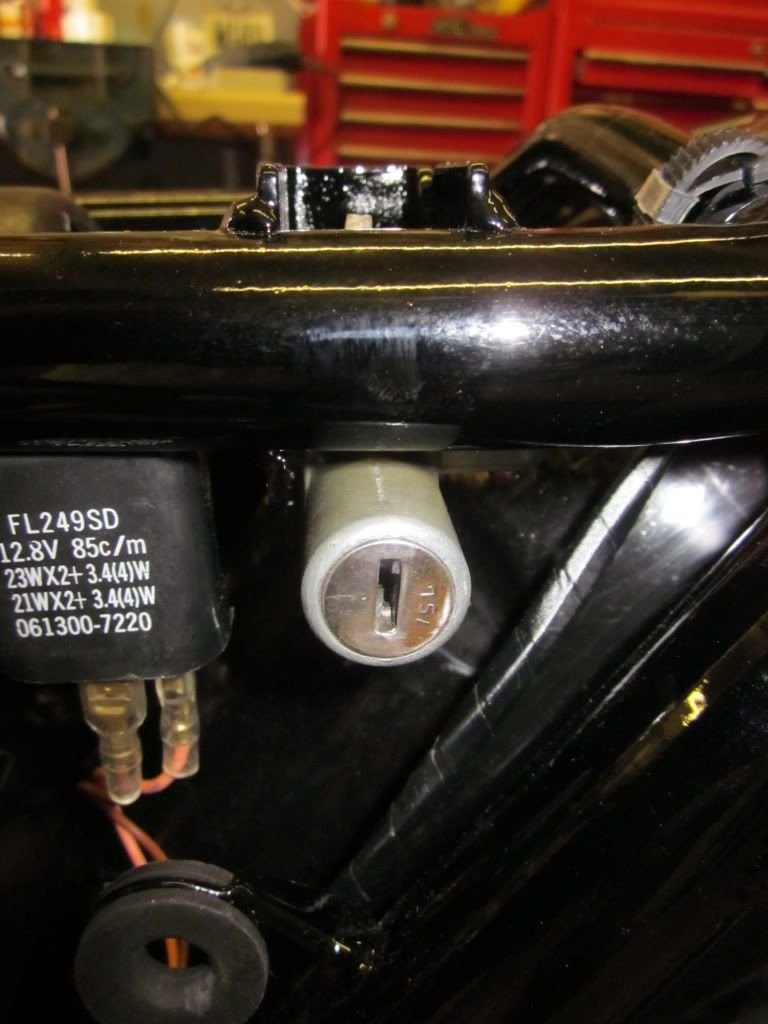
Seat lock fitted
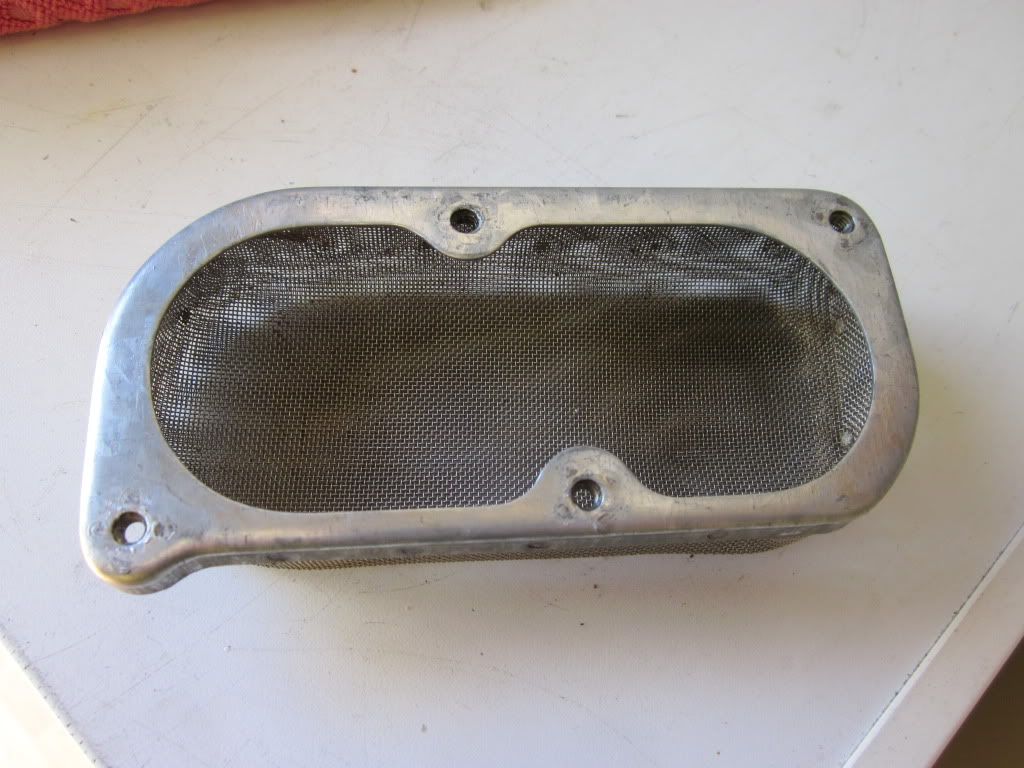
Now to refurbish the air box - cleaned the mesh filters with petrol
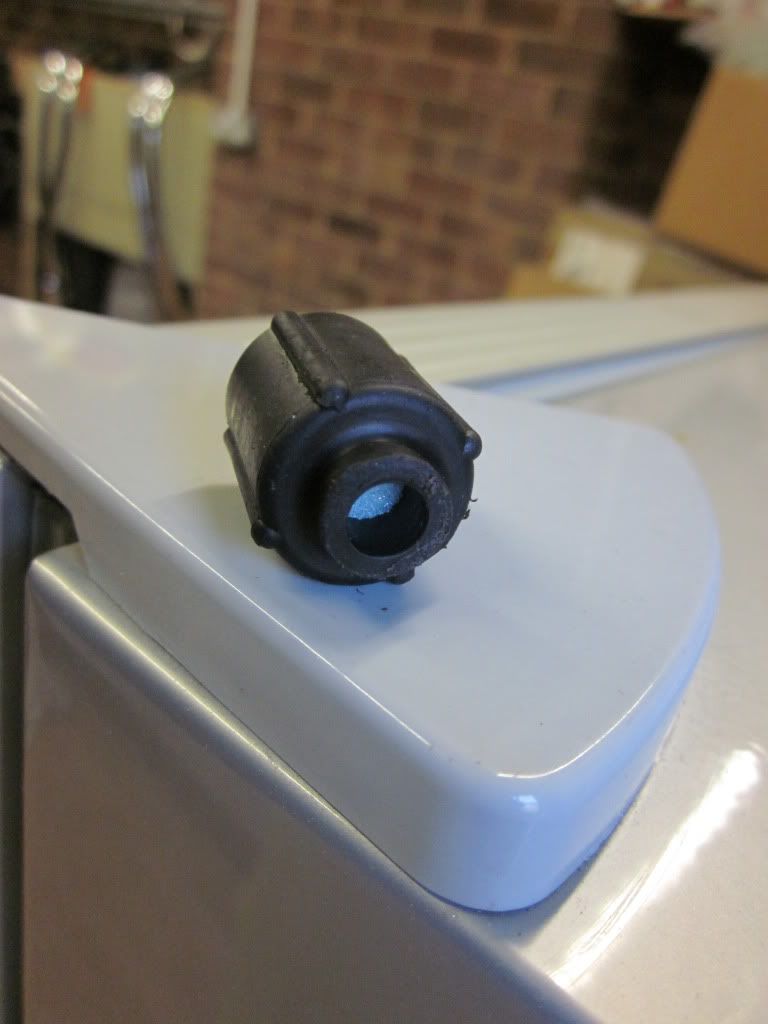
New foam filters for the drain bungs
New drain pipe and clip

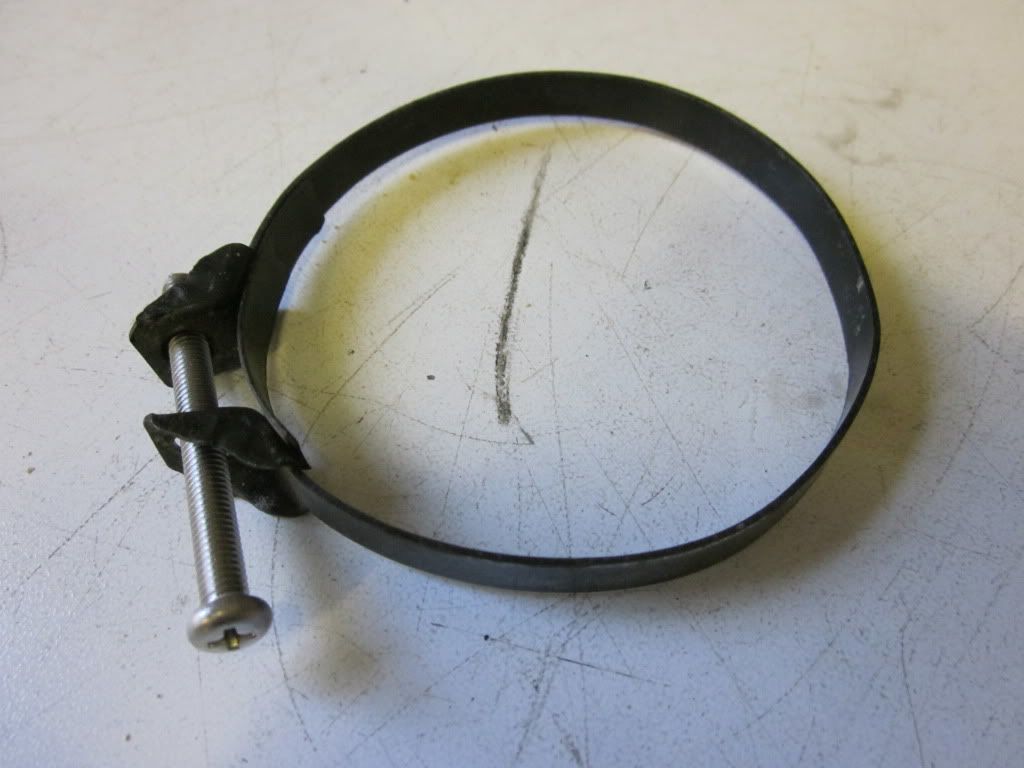
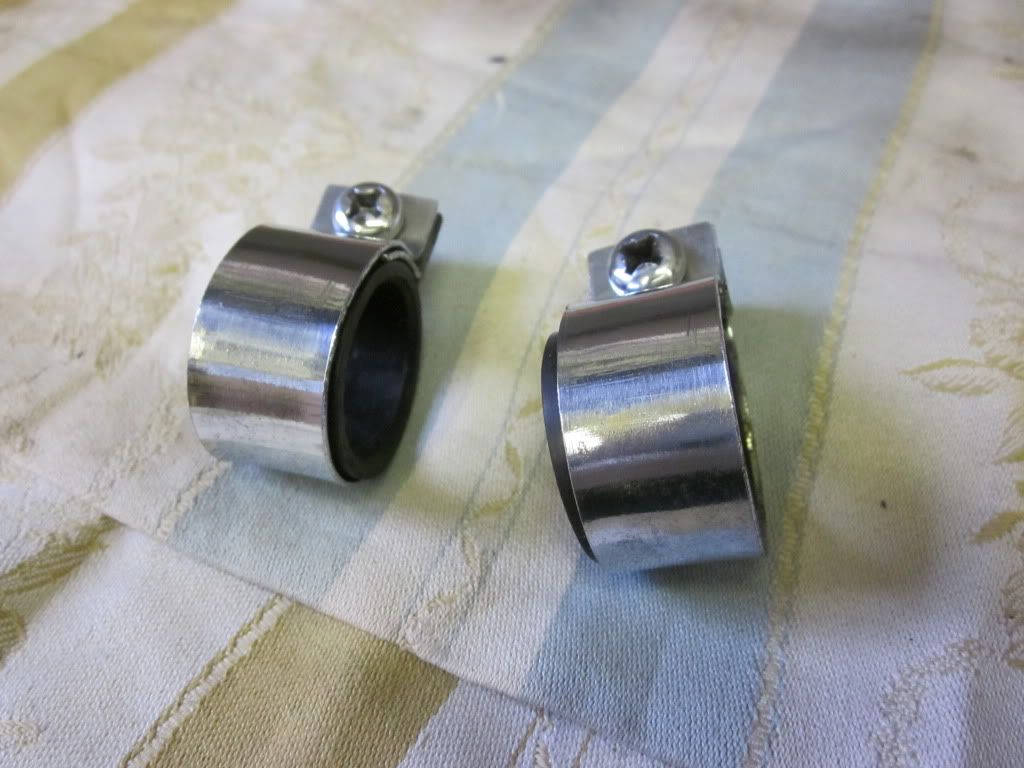
And exhaust clip

Relectors back on

Then a morning off whilst I go to the Pre-Germany meet up

Now its time to reassemble the carbs
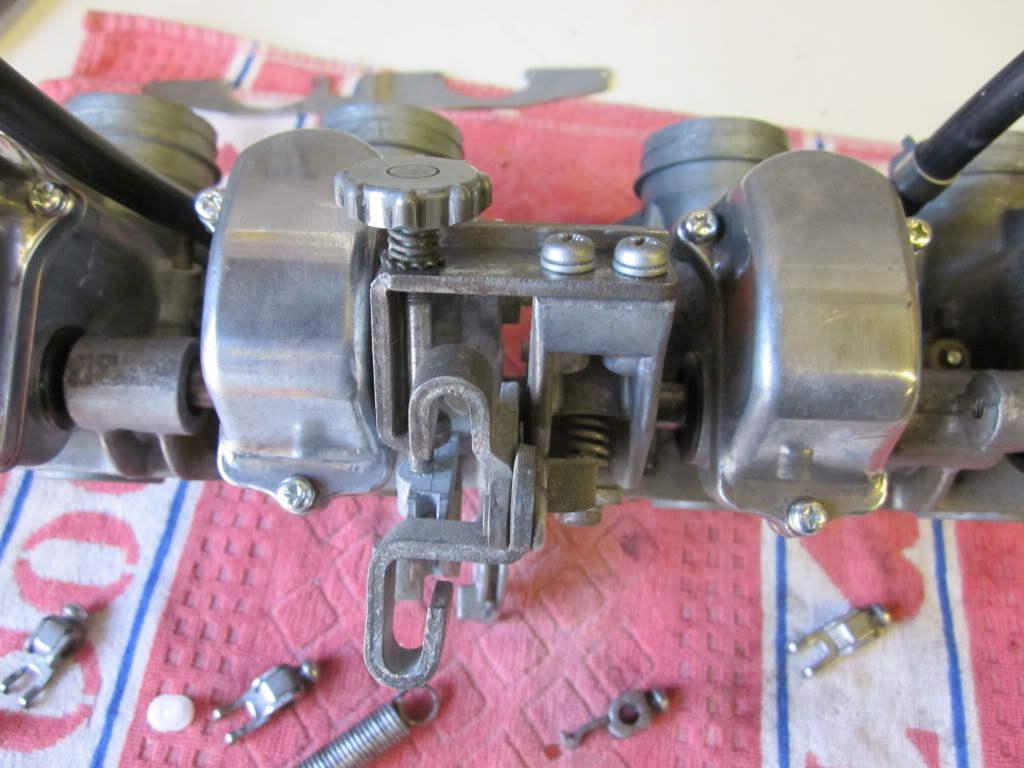
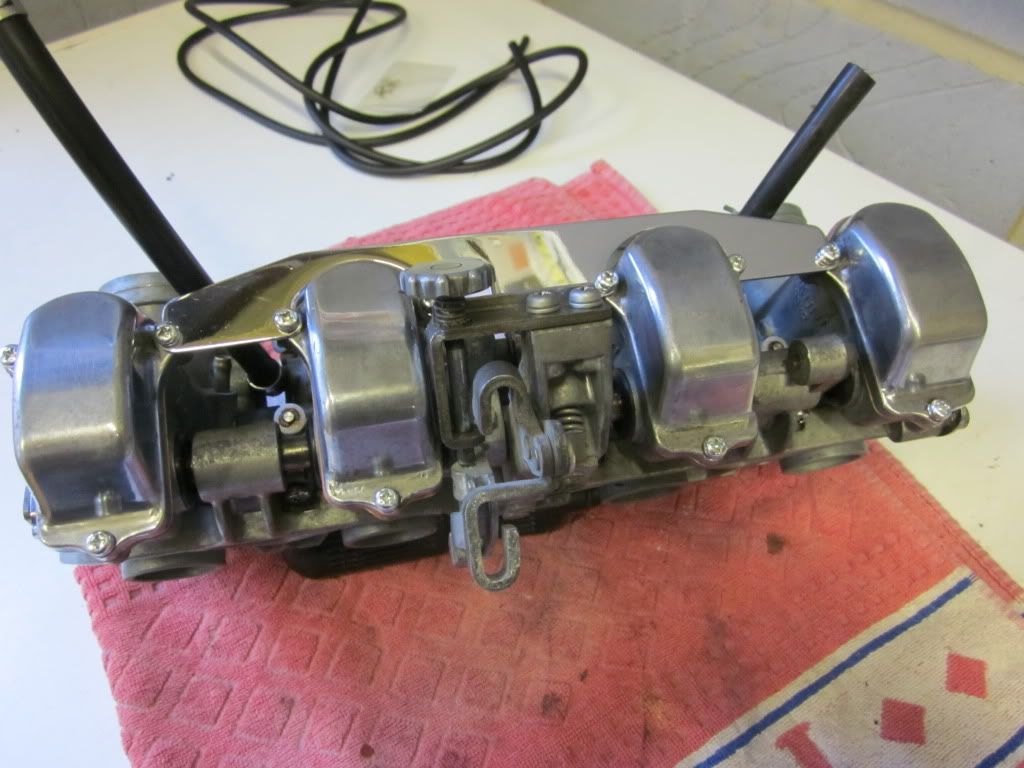
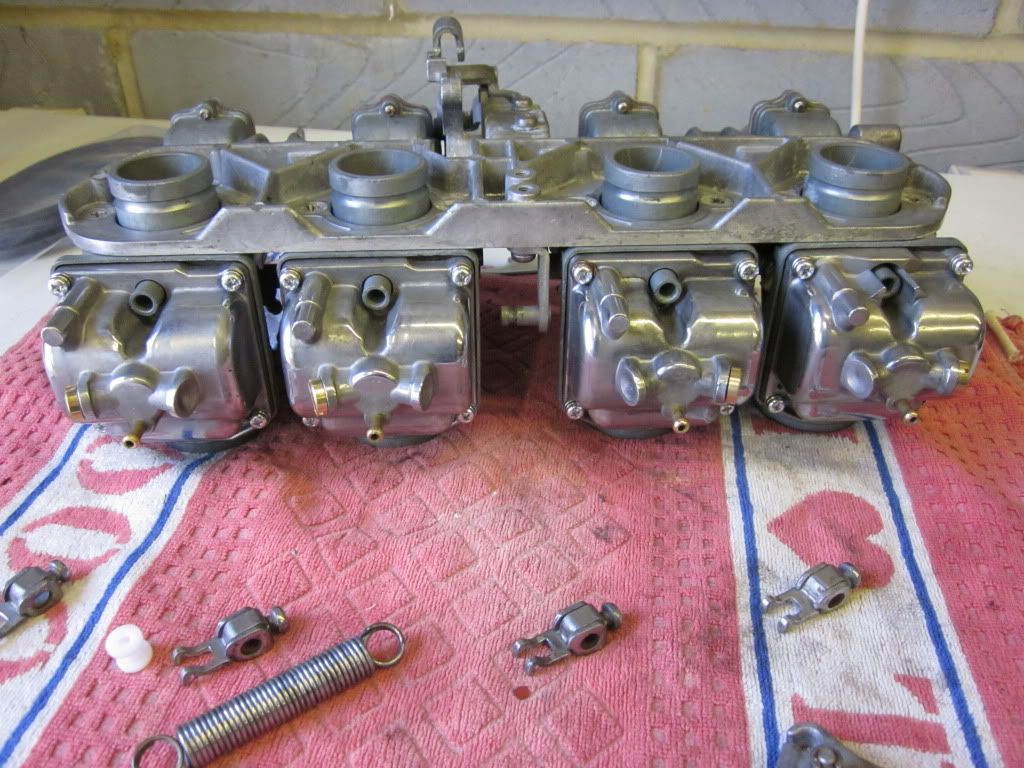
New cotton reels were my prize in last years Z1 Yorks Rally
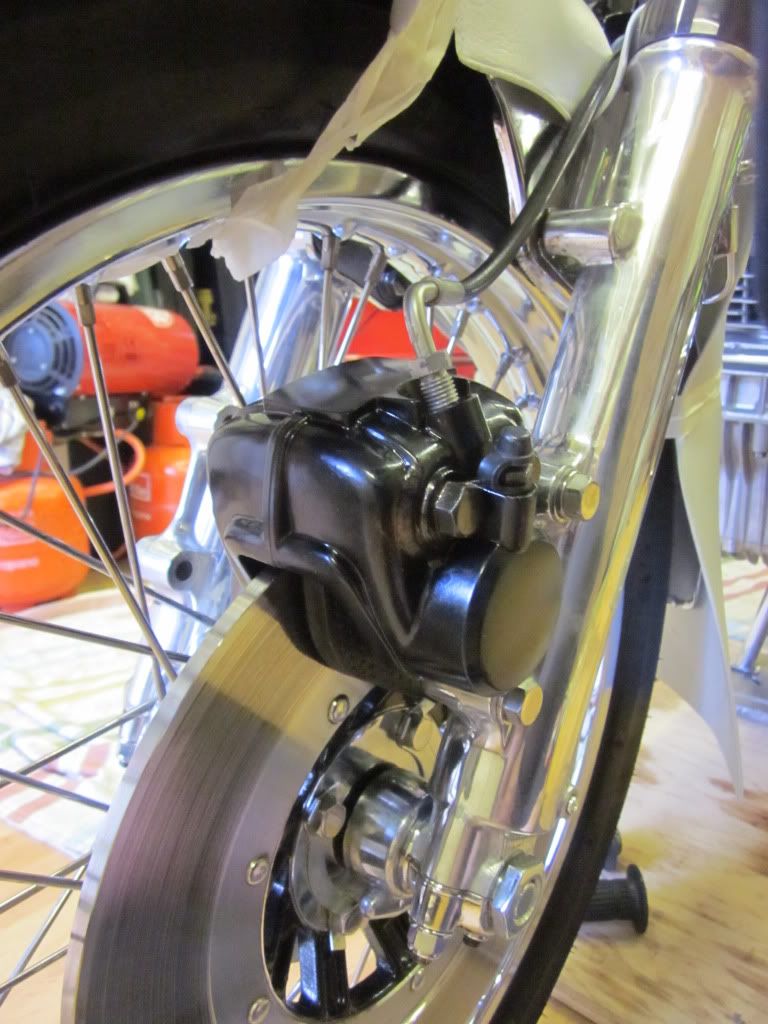
Then to the front brake - I had not had a good result with anodising because of the nature of the alloy so decided to repaint instead. I know it is spoilt by bleeding so I power bled the system off the bike and then masked and painted. This will do for the summer until Mikey and I can concoct a different treatment over next winter!!
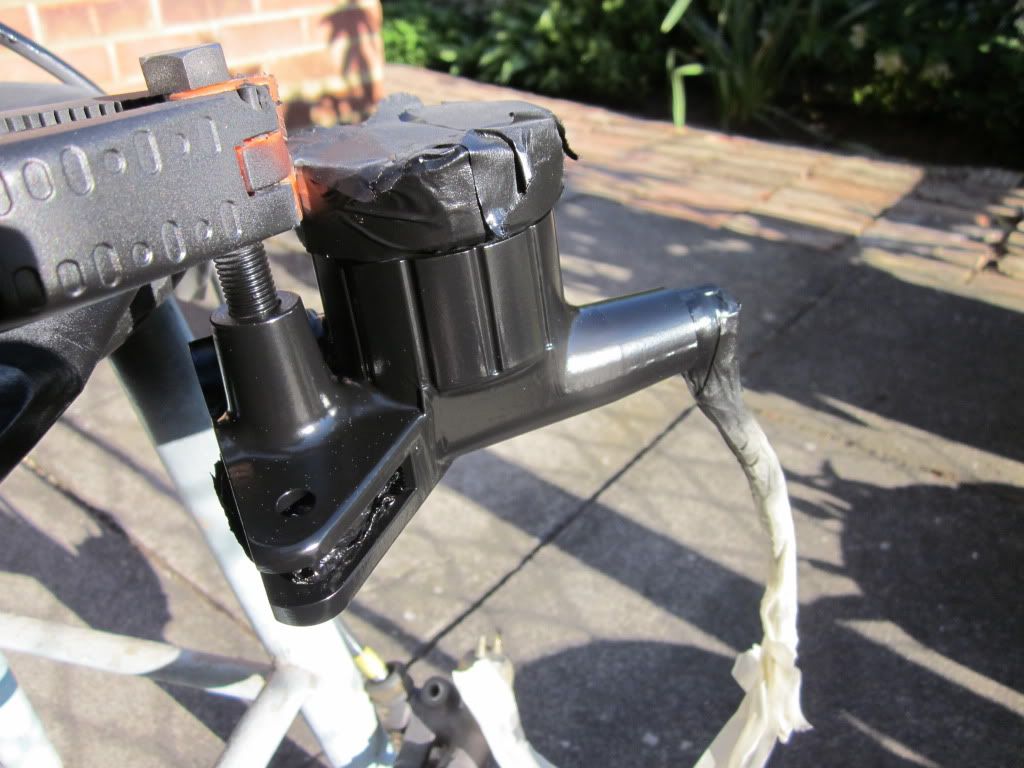
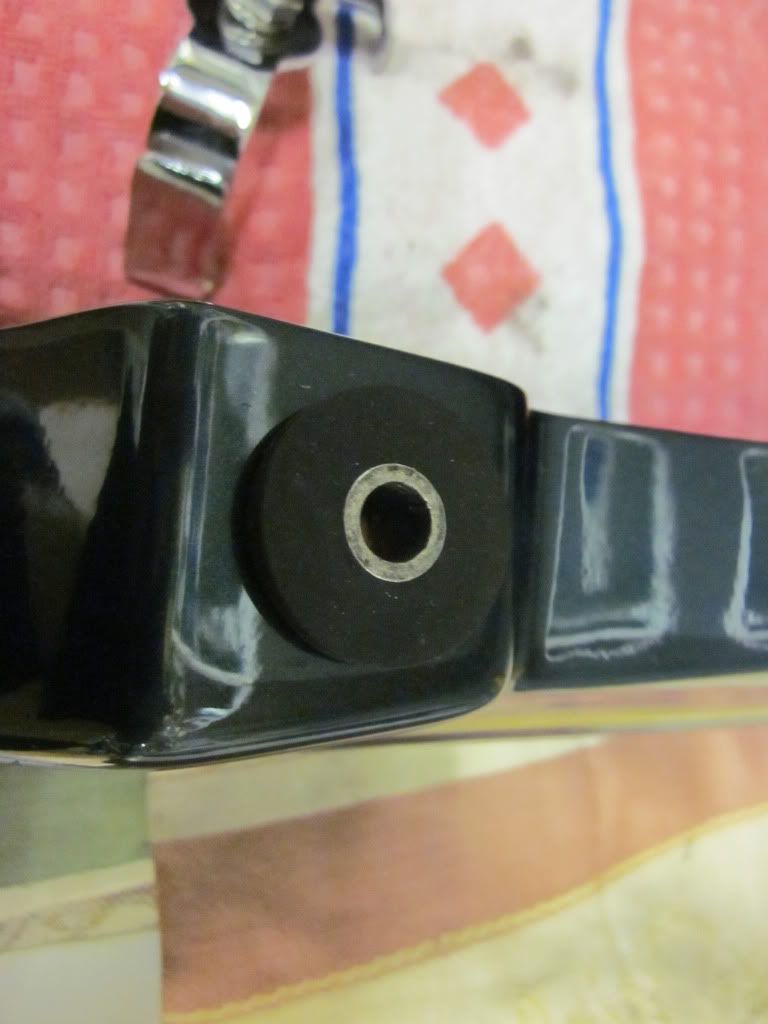
Did not want to put paintfilm on the frame where it could be seen (and next to hot exhausts) so heat shrinked the clutch cable clamp to protect the paintwork. It works very well

Next jobs are to finish the winkers, fit the exhausts/paintset and replace the seat
Seat lock fitted
Now to refurbish the air box - cleaned the mesh filters with petrol
New foam filters for the drain bungs
New drain pipe and clip
And exhaust clip
Relectors back on
Then a morning off whilst I go to the Pre-Germany meet up
Now its time to reassemble the carbs
New cotton reels were my prize in last years Z1 Yorks Rally
Then to the front brake - I had not had a good result with anodising because of the nature of the alloy so decided to repaint instead. I know it is spoilt by bleeding so I power bled the system off the bike and then masked and painted. This will do for the summer until Mikey and I can concoct a different treatment over next winter!!
Did not want to put paintfilm on the frame where it could be seen (and next to hot exhausts) so heat shrinked the clutch cable clamp to protect the paintwork. It works very well
Next jobs are to finish the winkers, fit the exhausts/paintset and replace the seat

-
Bill Newman
- 100Club
- Posts: 459
- Joined: 27th May 2007
- Location: Ipswich
Padders wrote:Excellent work Bill I had to put me shades on to read the thread there was so much bling!!
Sorry about the brake lever stud never seen one of those go before.
Look forward to the next update.
Thanks Ian - here is the next instalment
Rebuilt the caliper with freshly anodised plate and new rubbers. The seals and dust rubbers were a nightmare to get back on
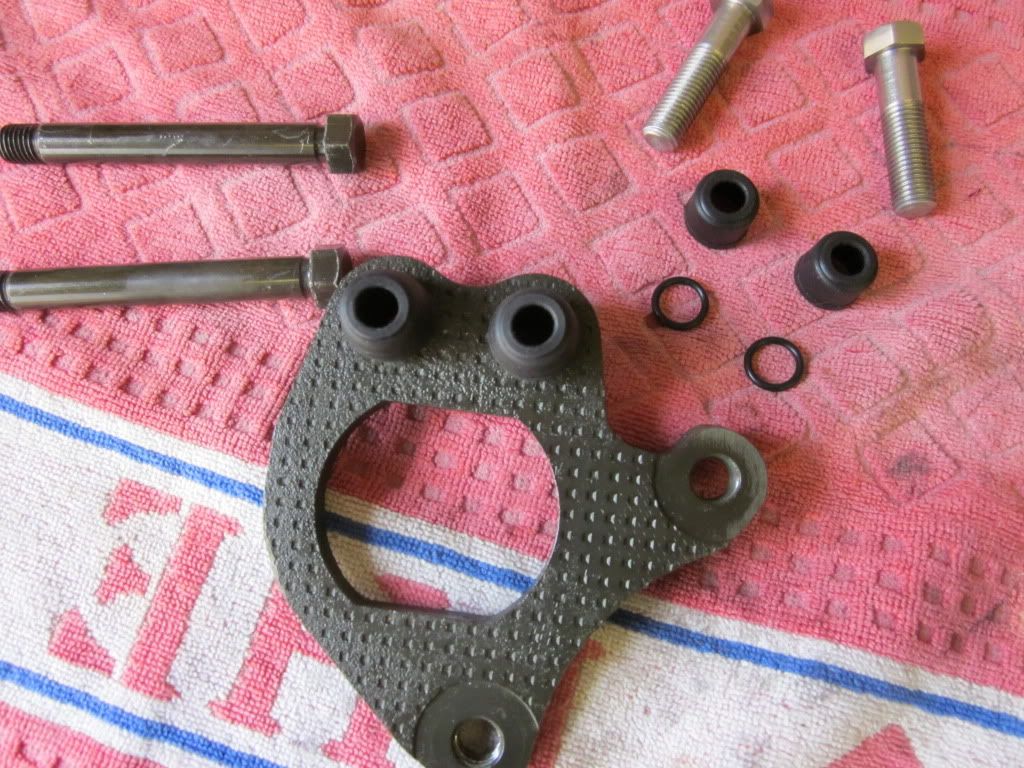
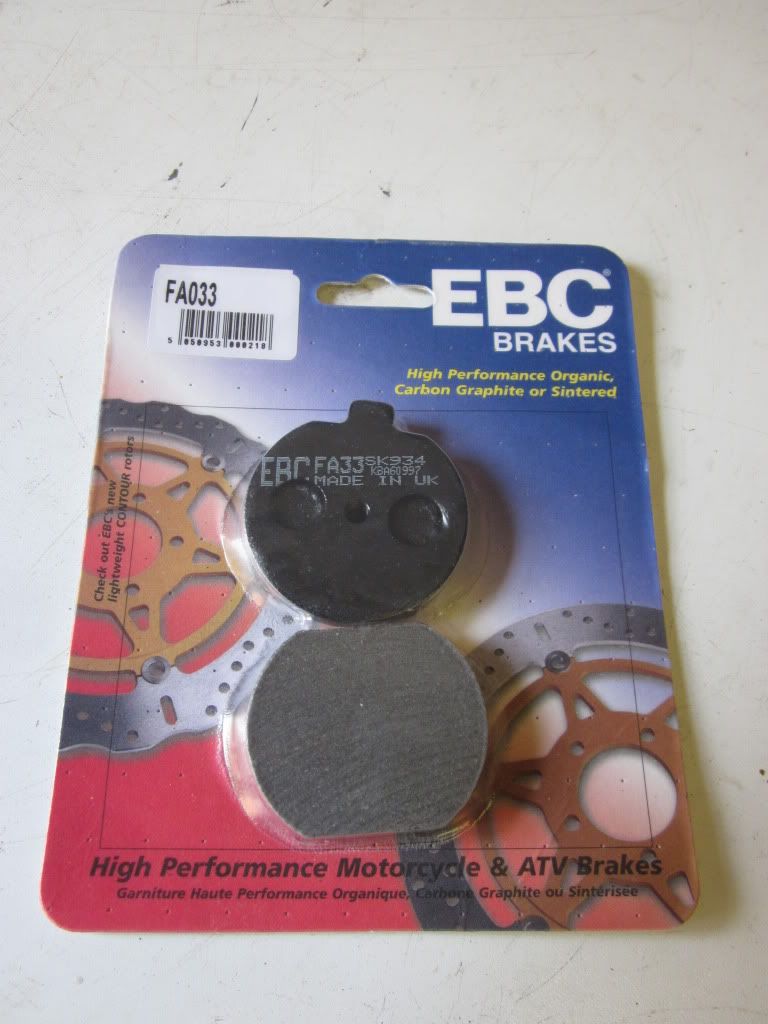
And new pads
End product looks OK
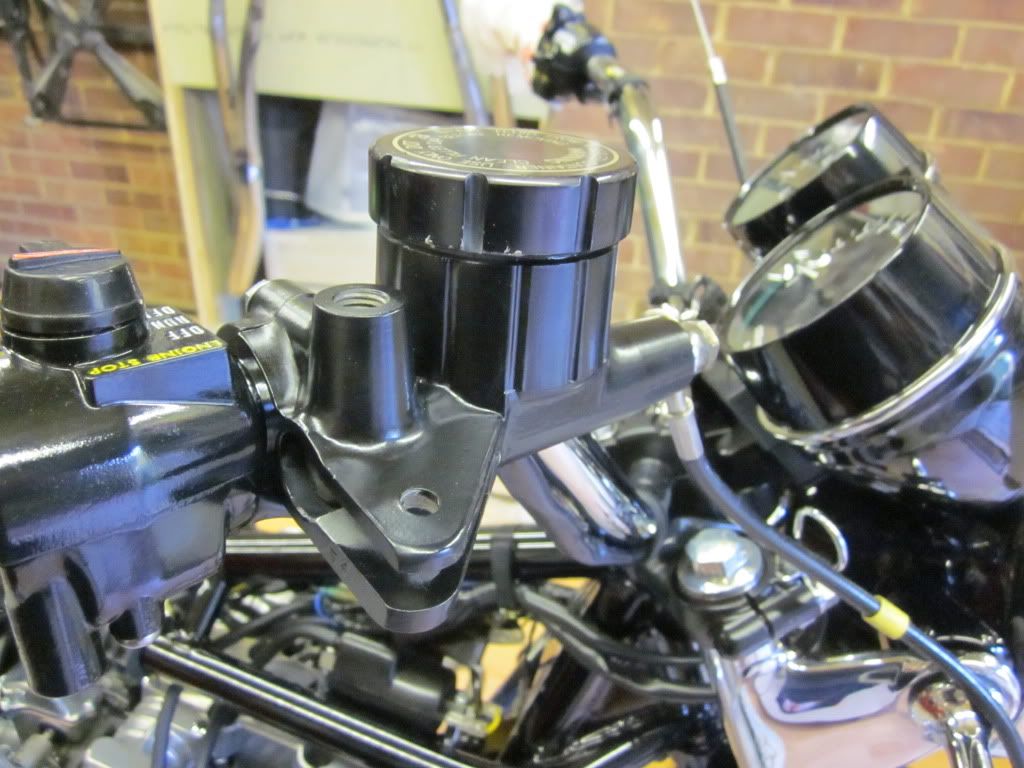
As does master cylinder
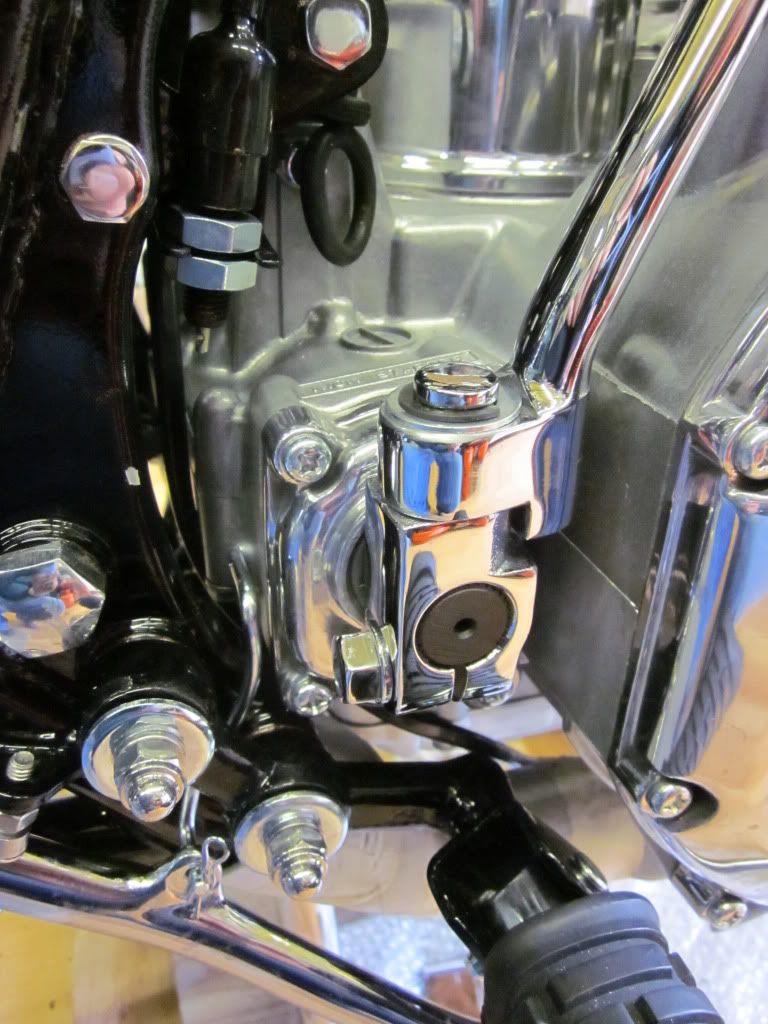
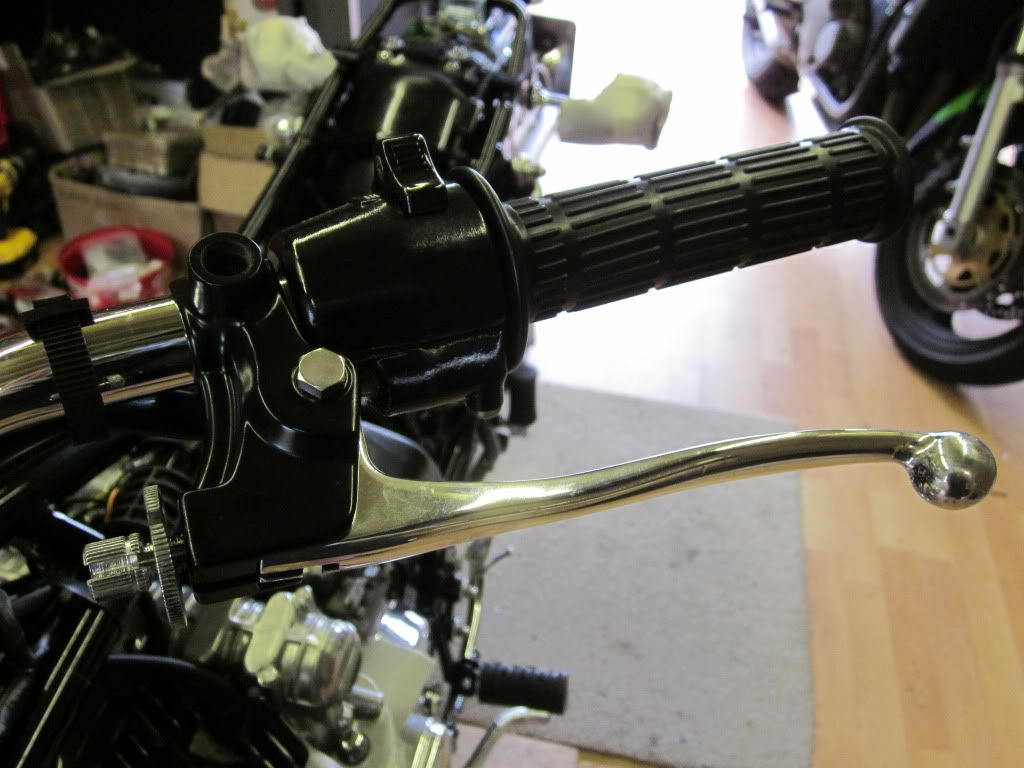
Clutch perch on - thanks to Tlc
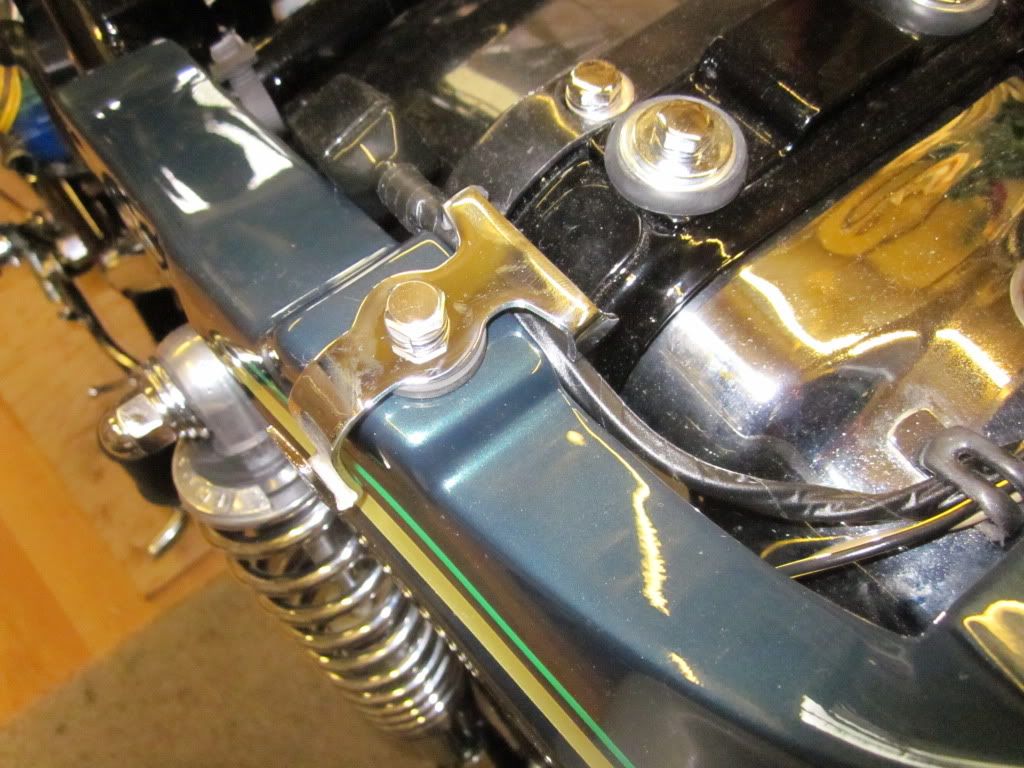
Gave the HT cable clamps the same treatment as the clutch cable clamp
Again, I am pleased with the result

Not much to put on now
US rim

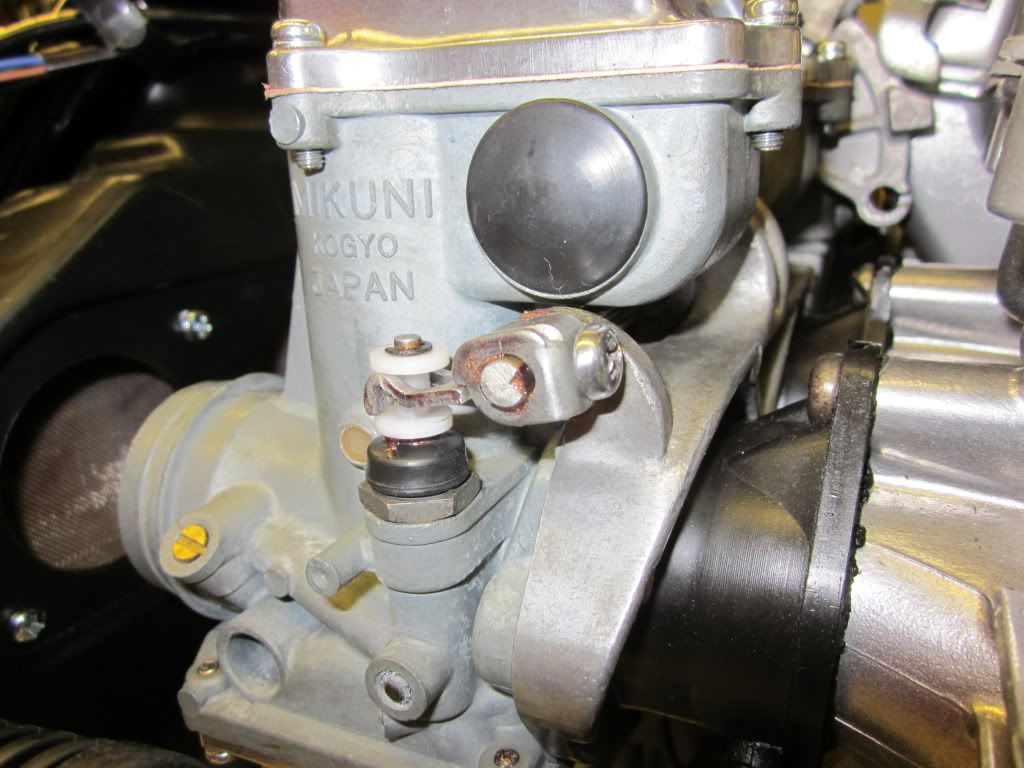
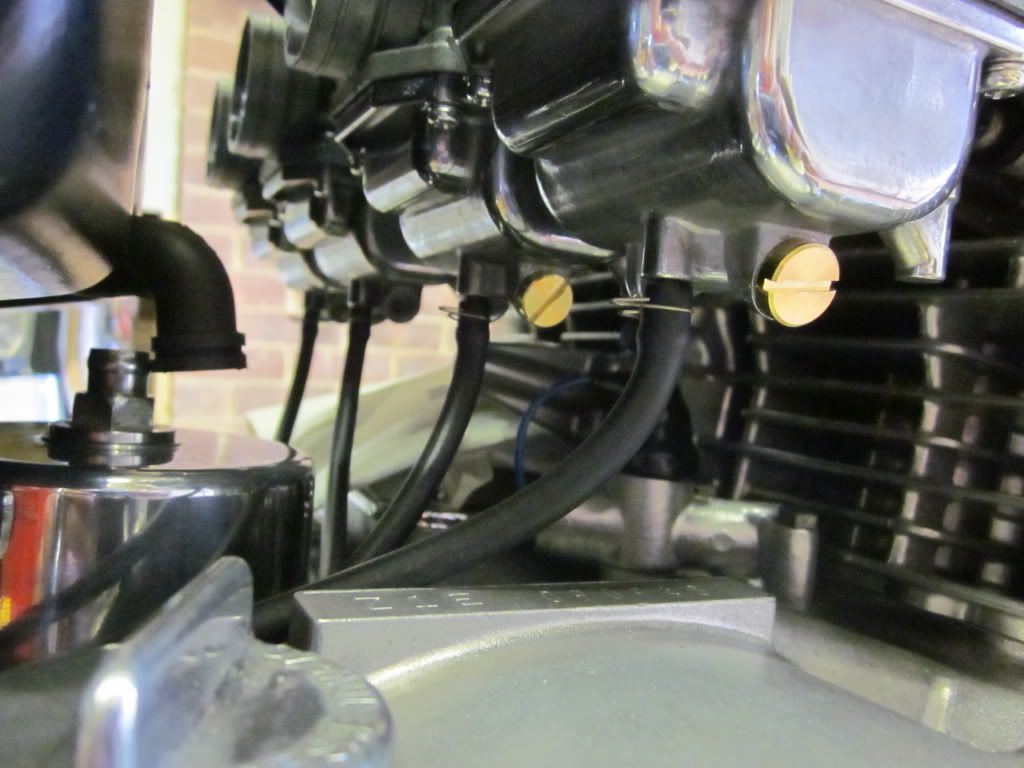
Throttle cables on
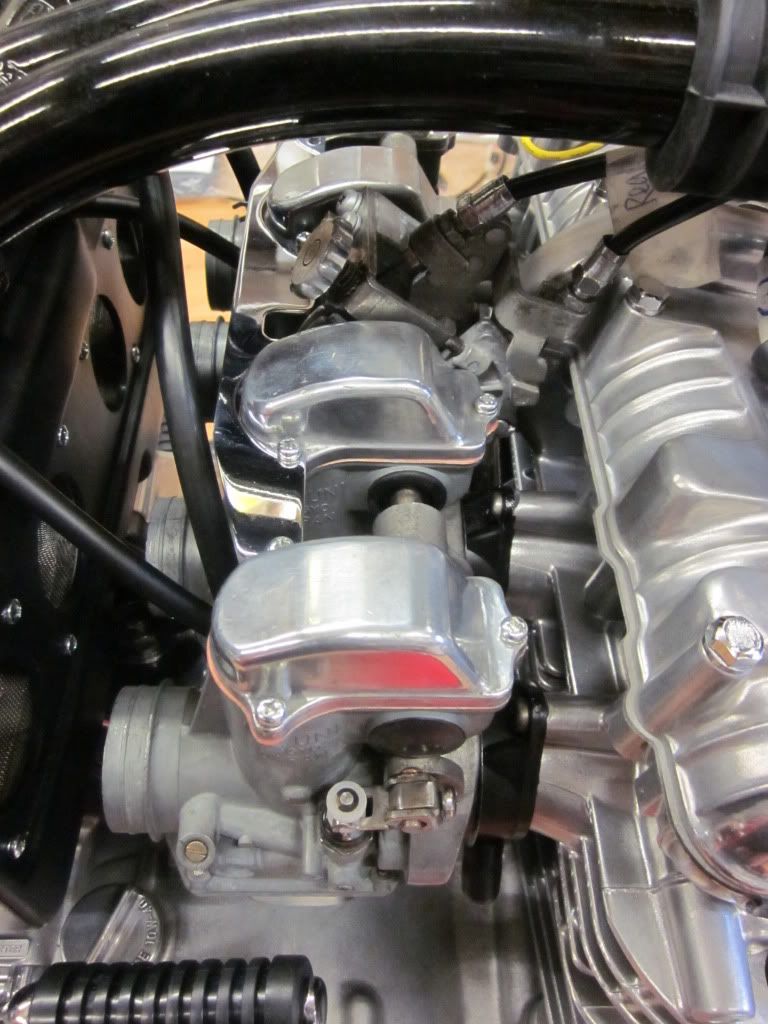
Oil filter and new drain bolt in
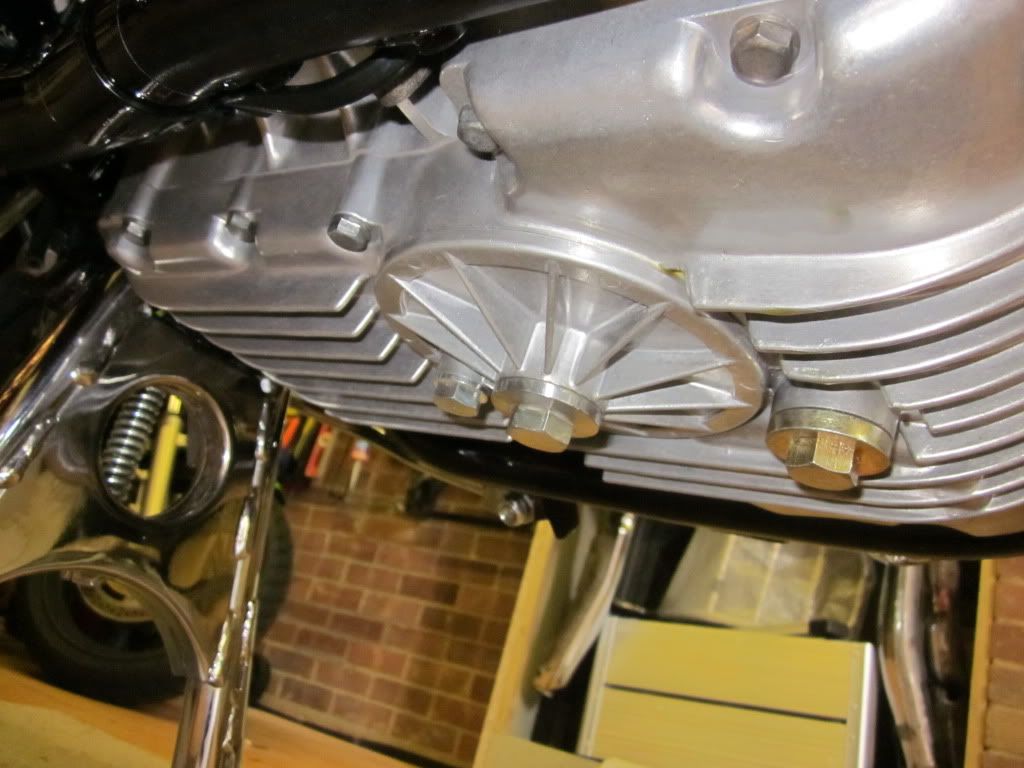
New drain screws and pipes for the carbs
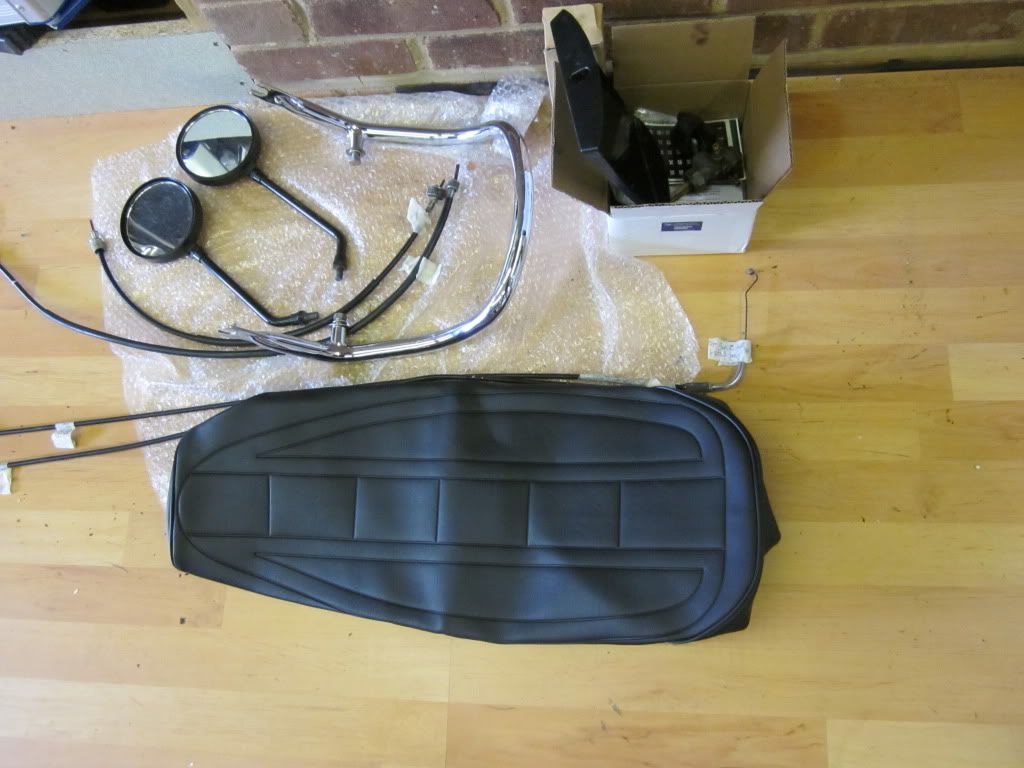
Now for the body work - new rubbers for the duck tail
Along with rechromed helmet hook
Looks OK
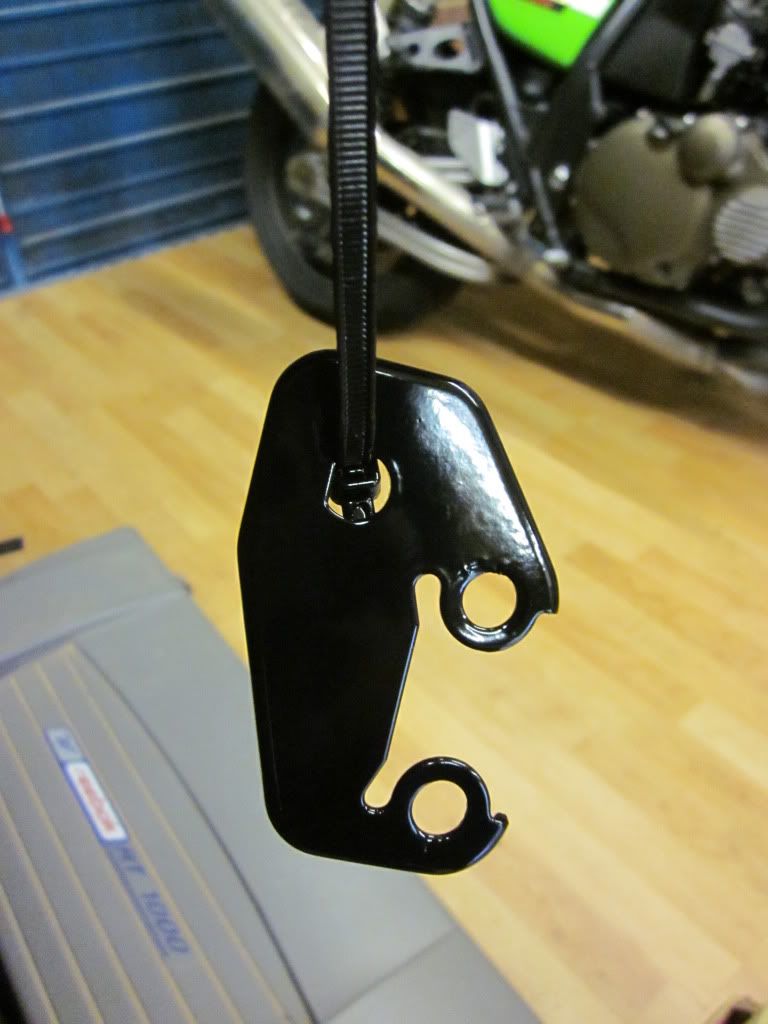
Along with the grab rail
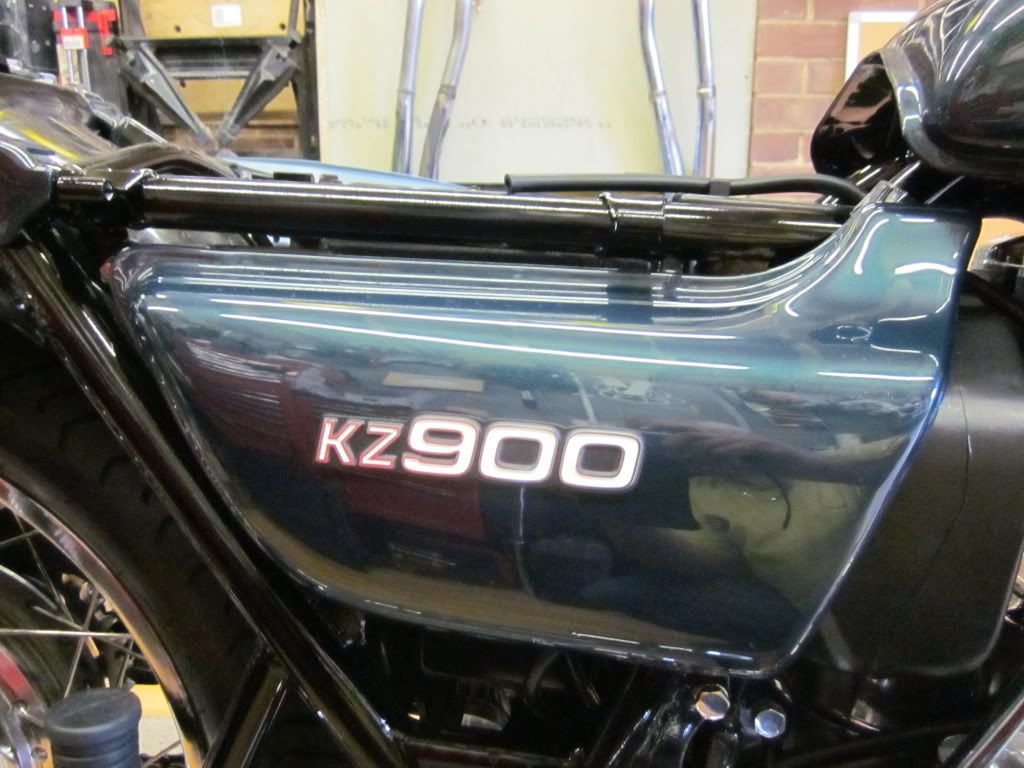
Side panels have new badges and clips

Held with a whiff of silcon - decided to put the KZ badges on to keep it authentic
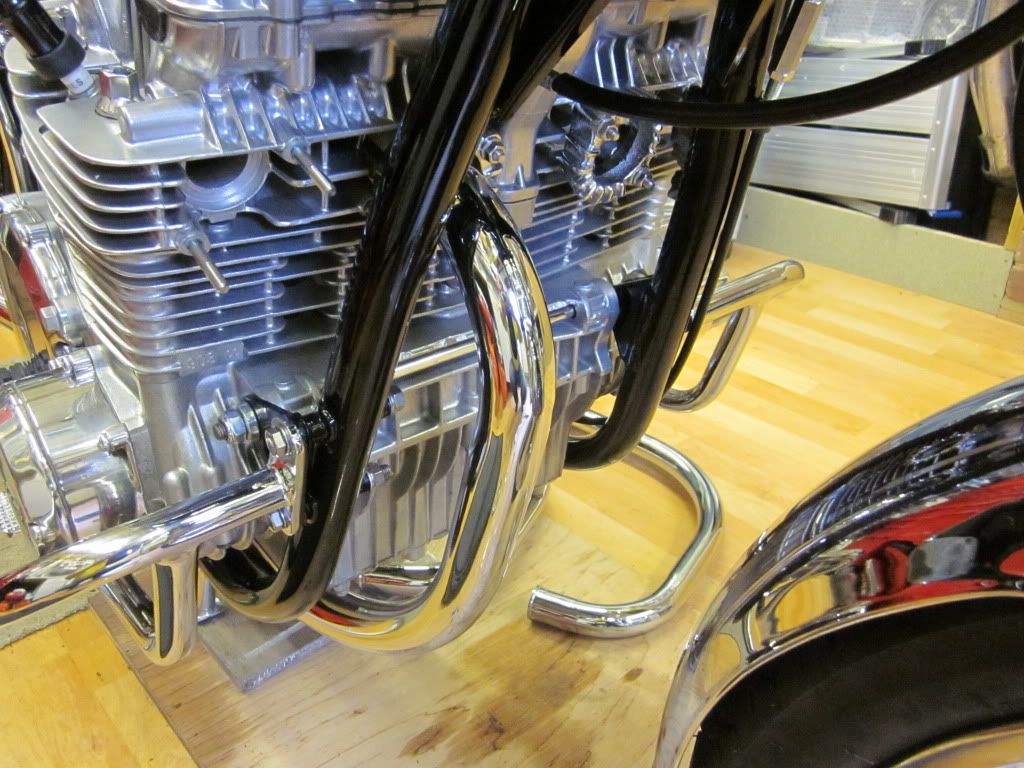
New studs to the exhaust clamps
In readiness for the exhaust fittings
Refurbed carb exhaust now on

But have to sort out that brake stud first - cut off the remains with a cut off tool and got it flush to the shoulder
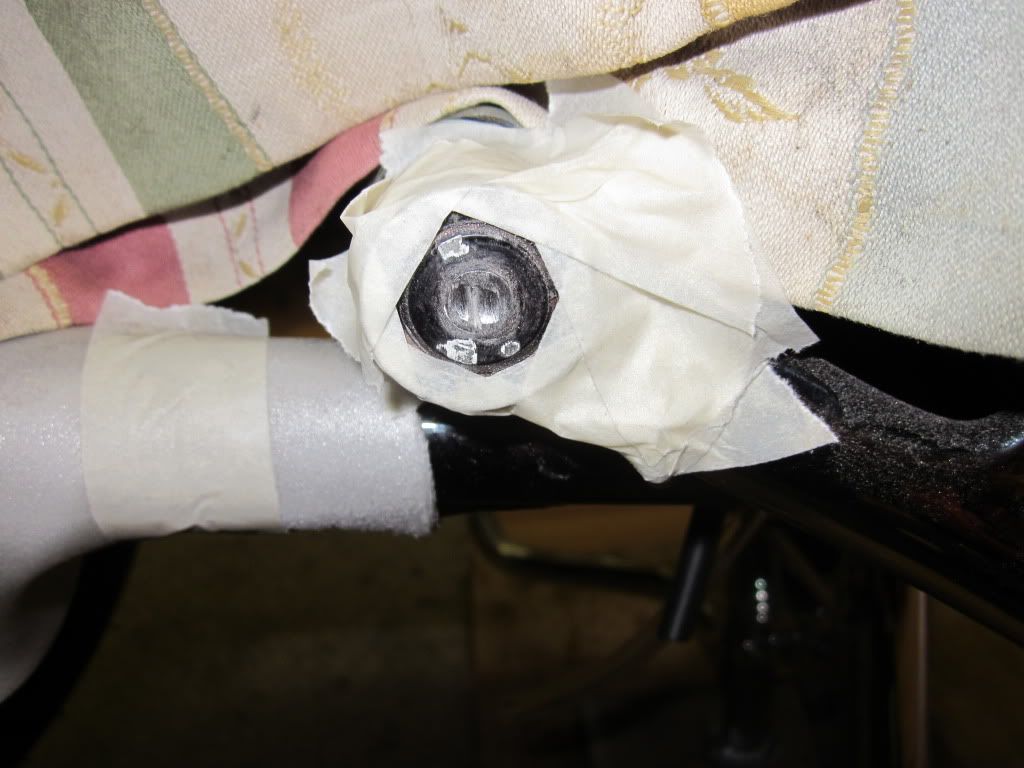
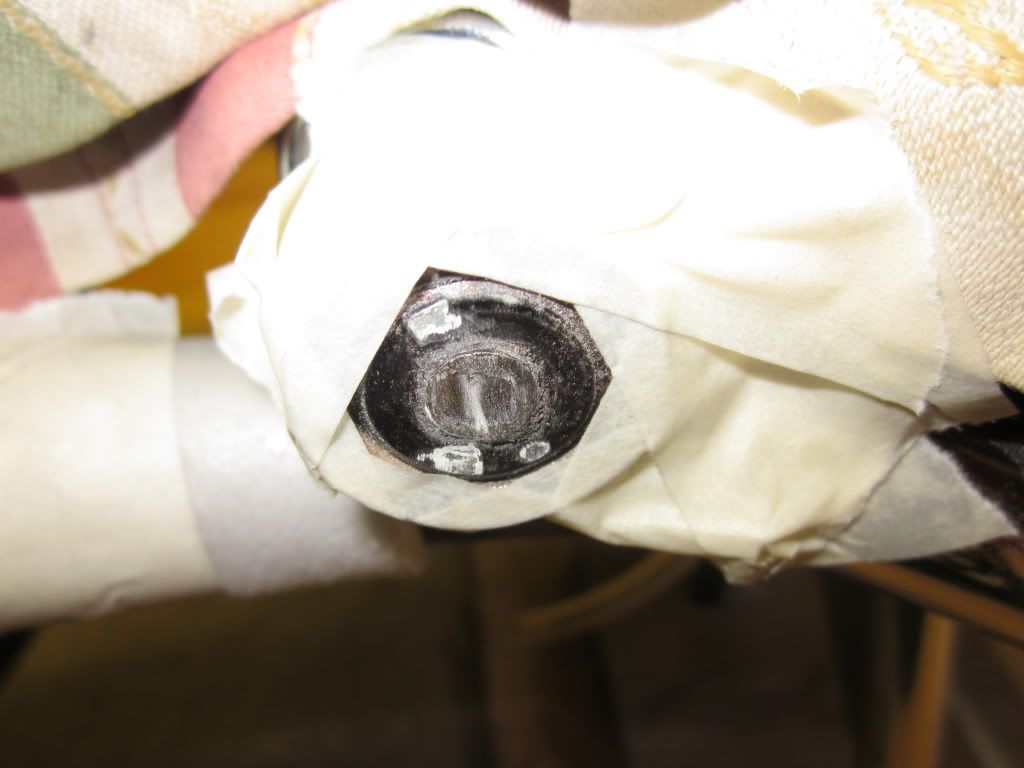
Then a centre punch followed by a 4mm pilot hole
Followed by a 6,5mm hole and a M8 tap 20mm deep.
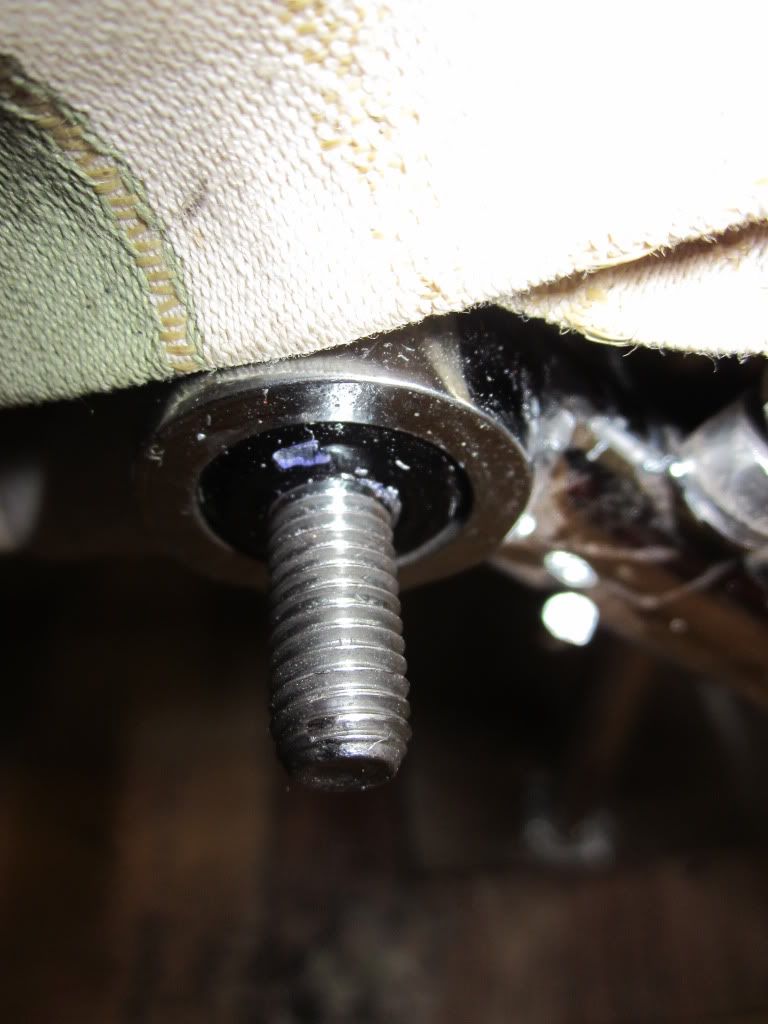

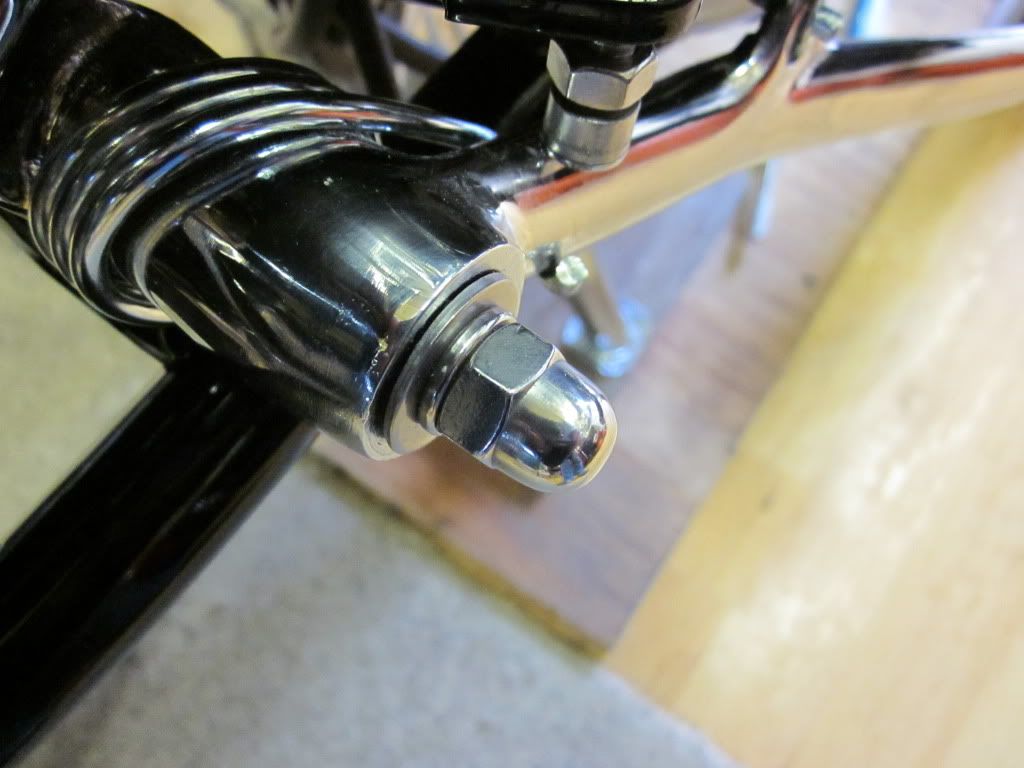
End result after the threaded bar has been thread locked into place and a new dome nut fitted
Next job is exhausts, tank and seat

Great work Bill
Won't be long until she's back running again.
Cheers from Mark
Won't be long until she's back running again.
Cheers from Mark
Z1-R D1, Z650 B2, Z1-B & ZRX 1200 A1P Catch 'em if you can at www.Zedrider.co.uk


-
Bill Newman
- 100Club
- Posts: 459
- Joined: 27th May 2007
- Location: Ipswich
The end is in sight and I am in a hurry to get there - Germany is 3 weeks away and I have not had it running.
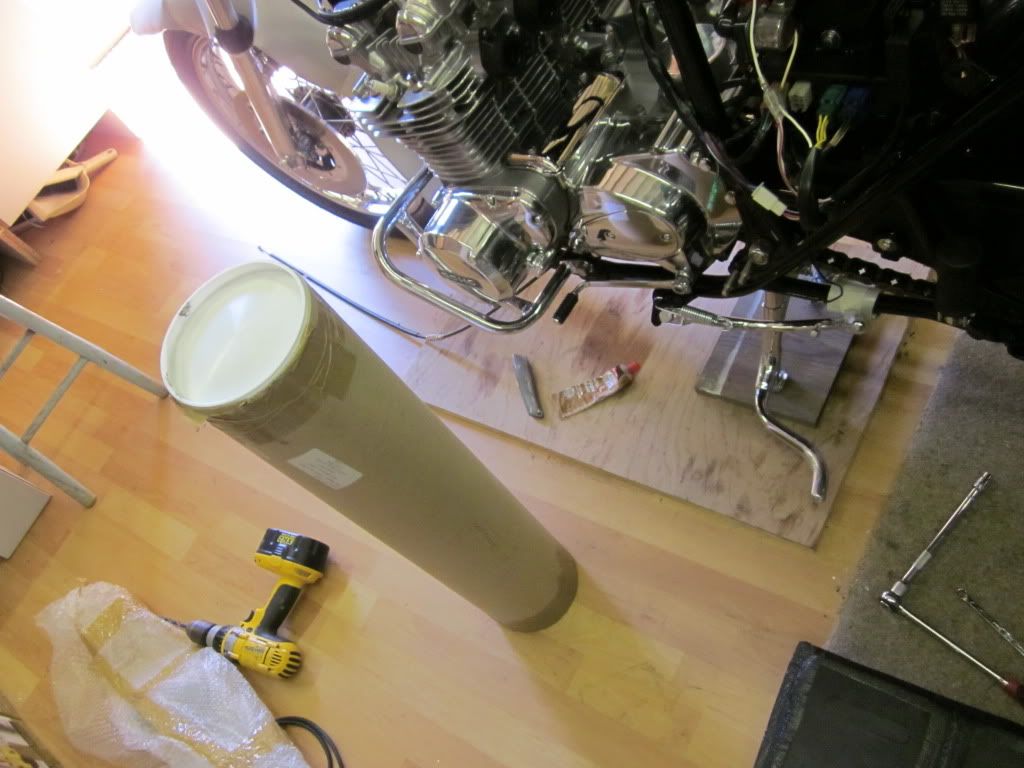
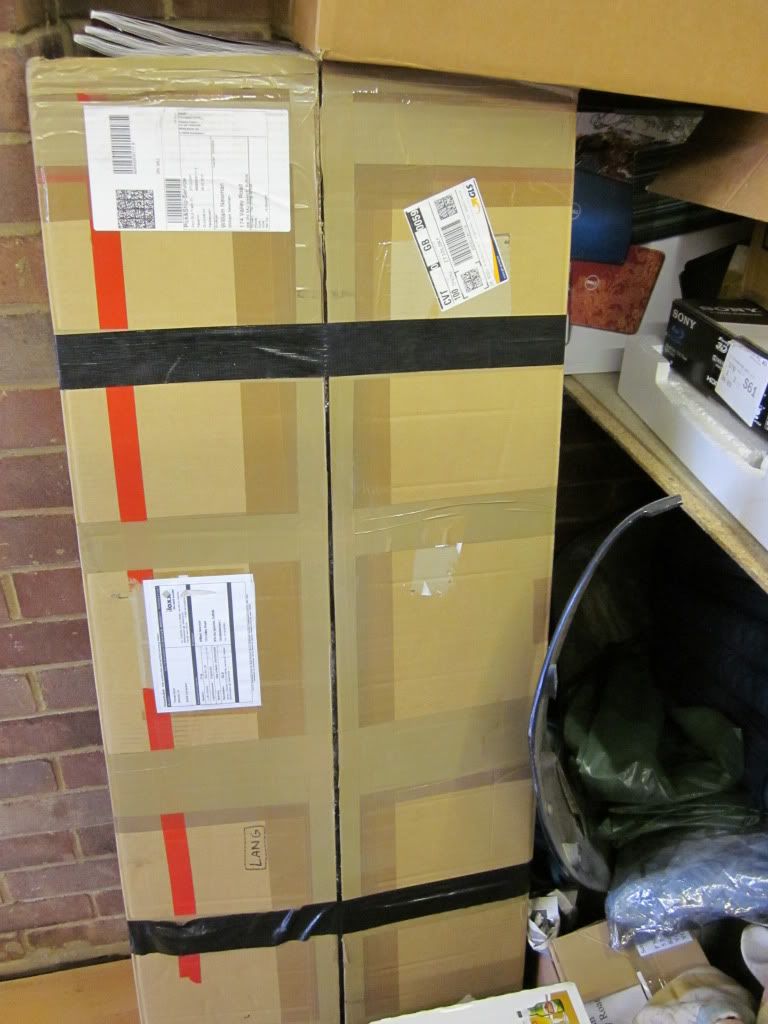
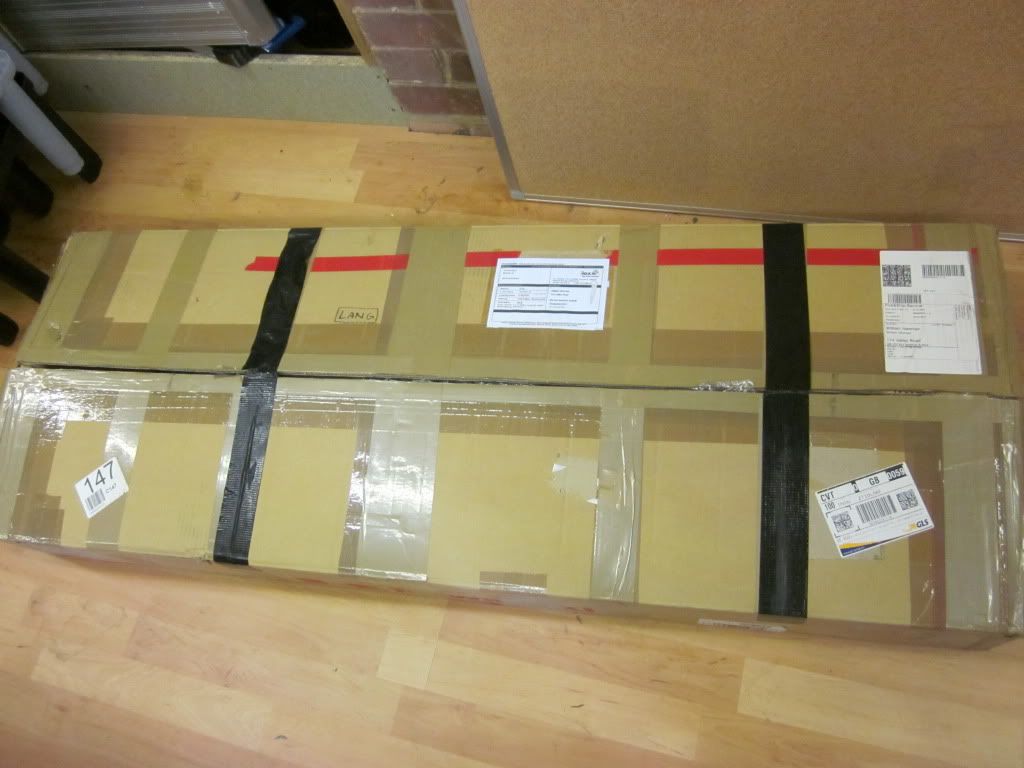
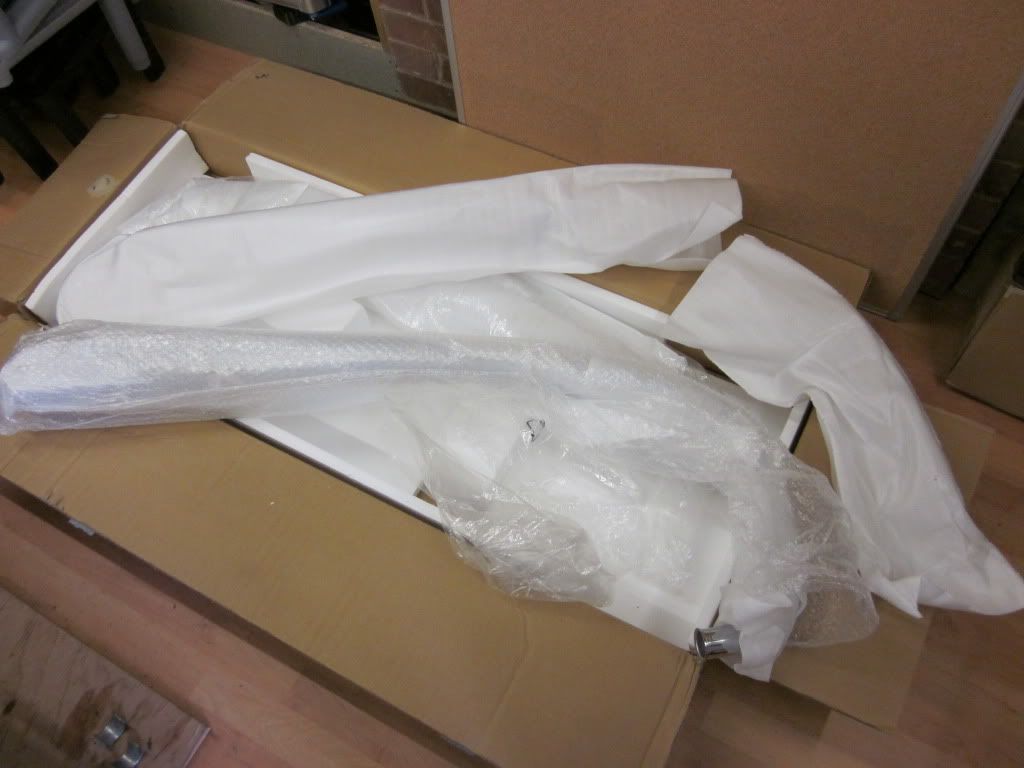
Time to open the boxes - I bought these 3 years ago on German Ebay in anticipation of this day
One down and three to go...
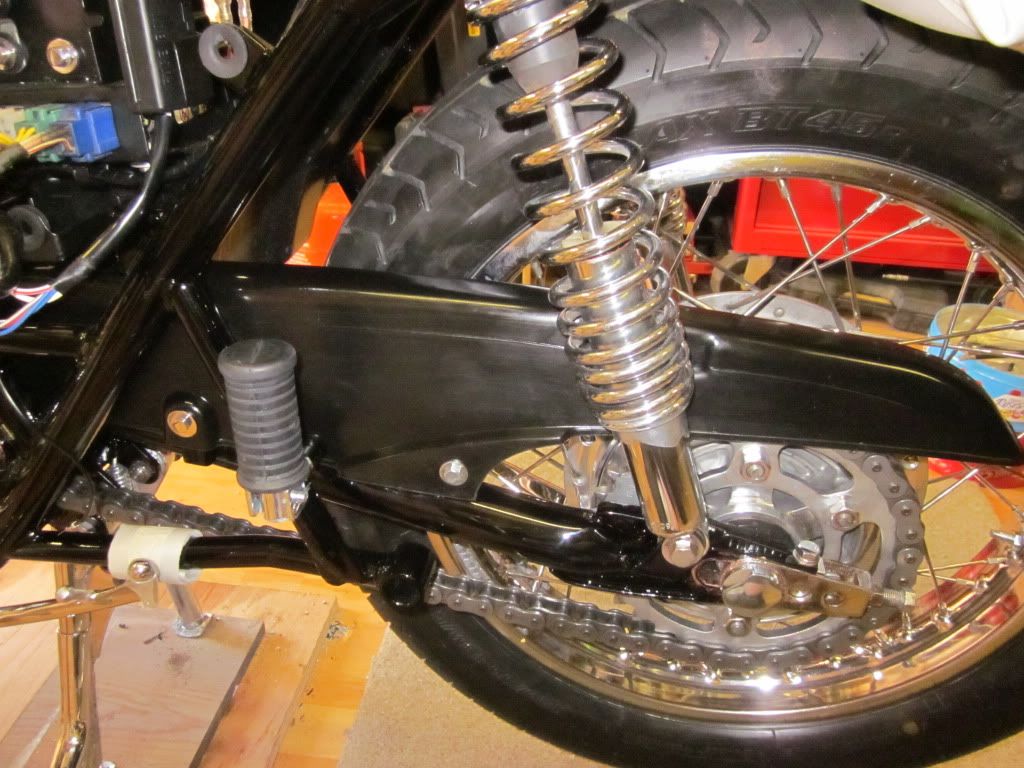
One side completed
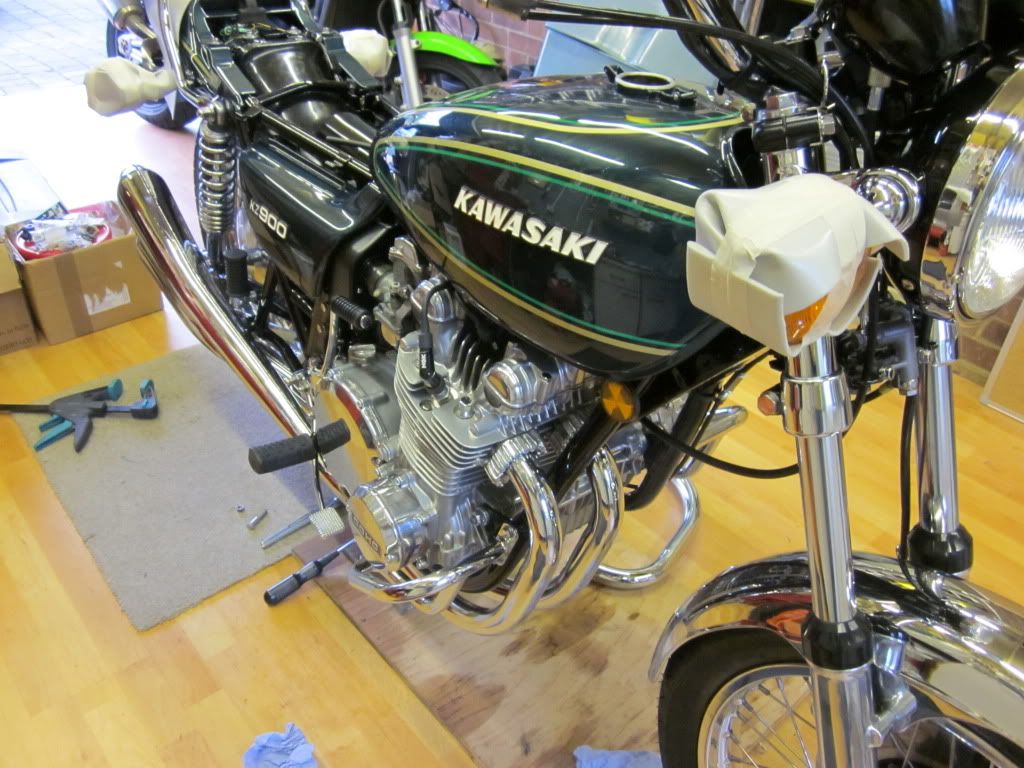
and finished getting the zorsts on

Now to rebuild the petrol cap - Mikey took it apart to chrome it and I had no idea how it went back together
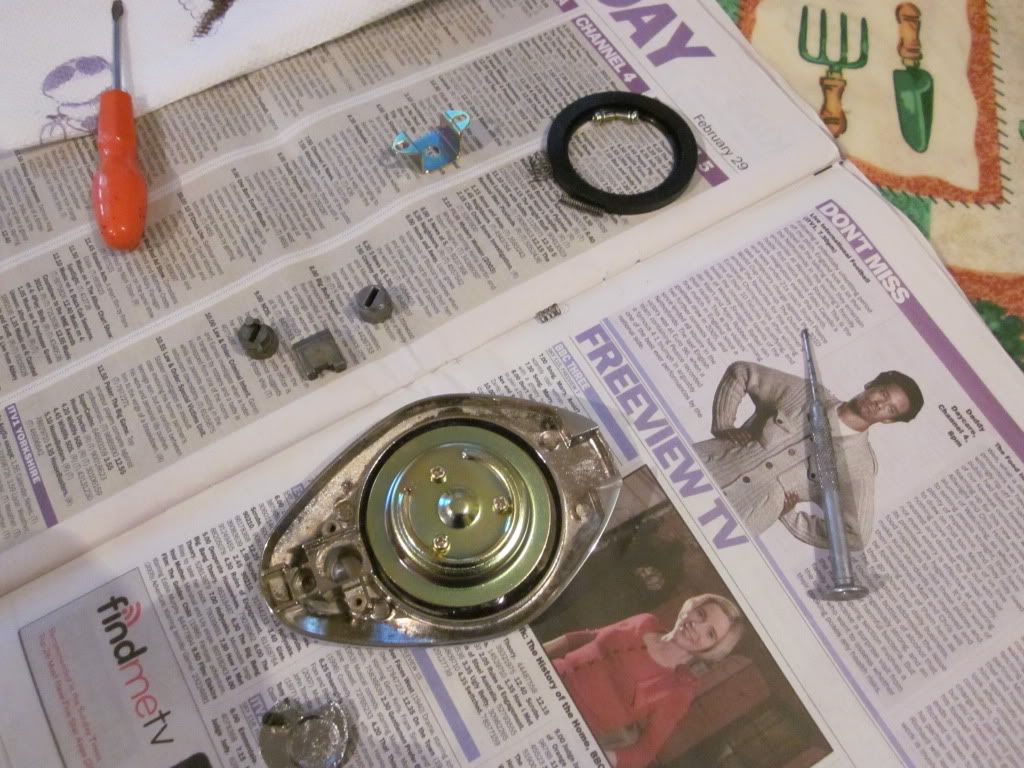
I worked it out in the end
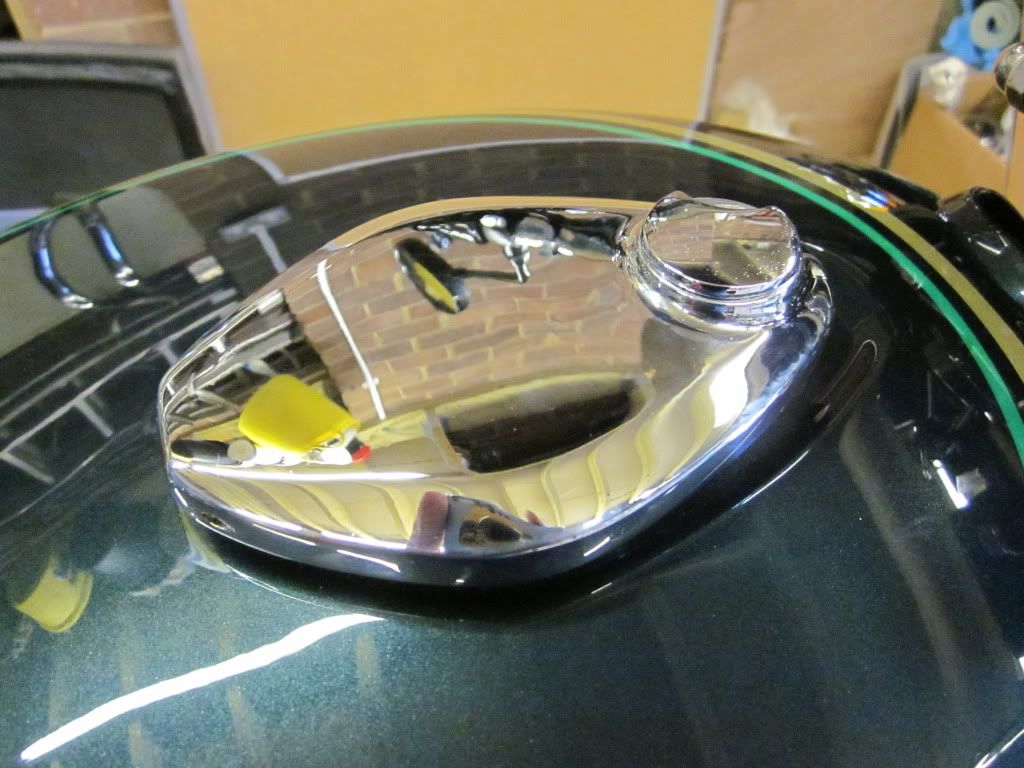
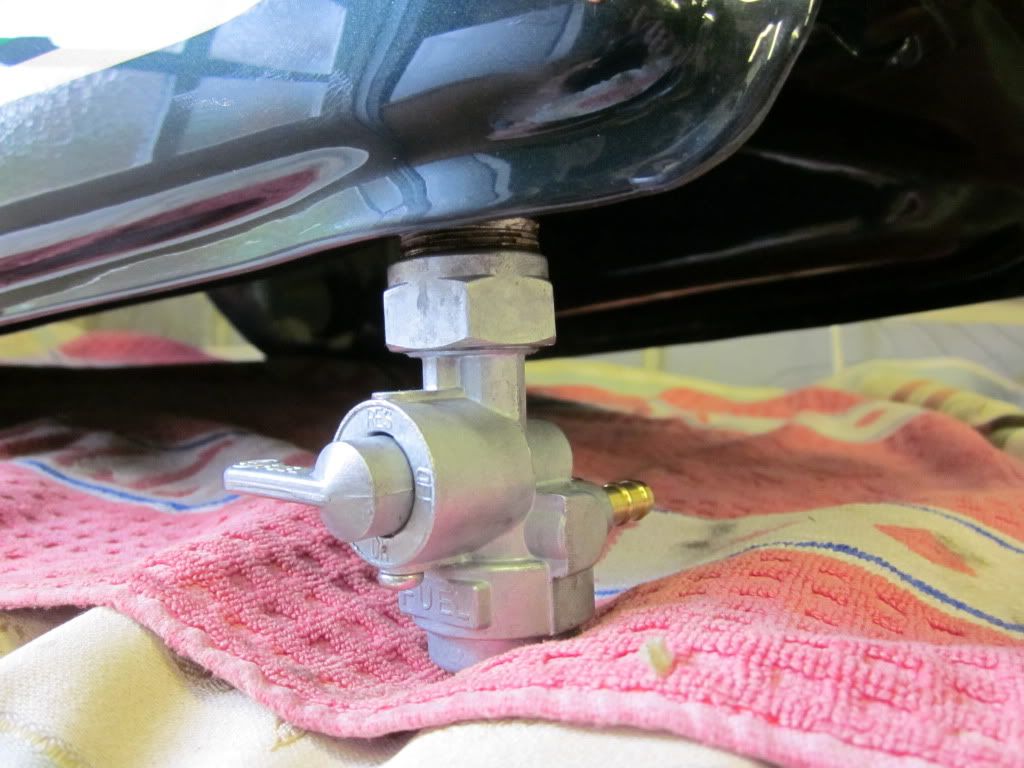
Petrol tap fitted
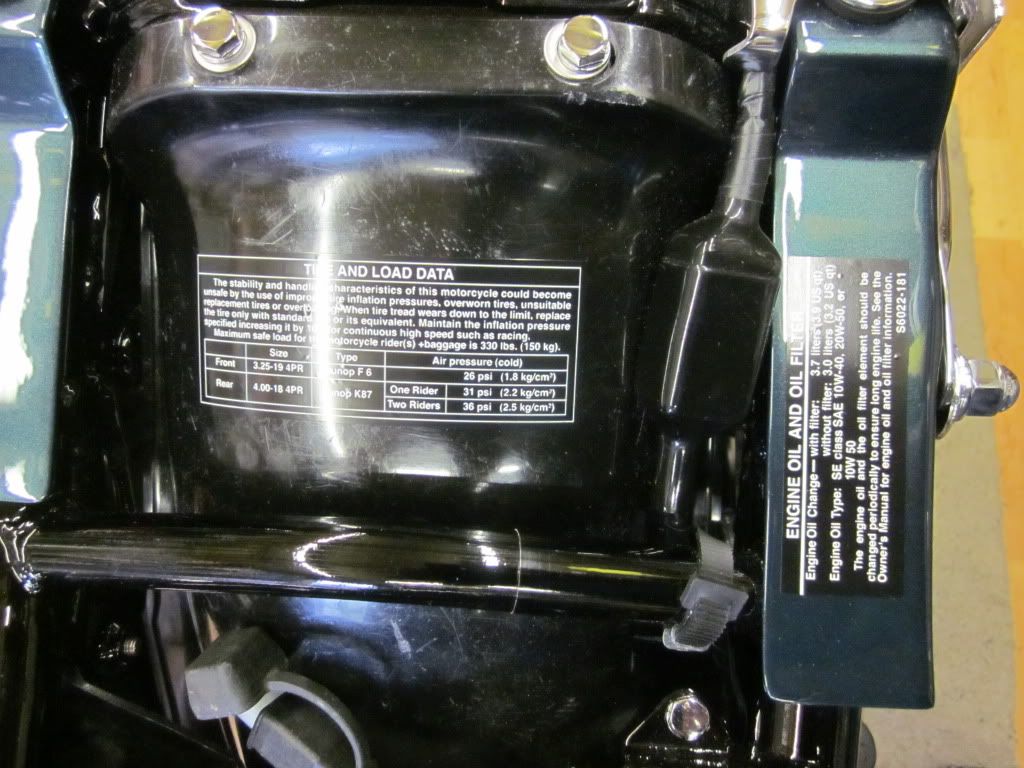
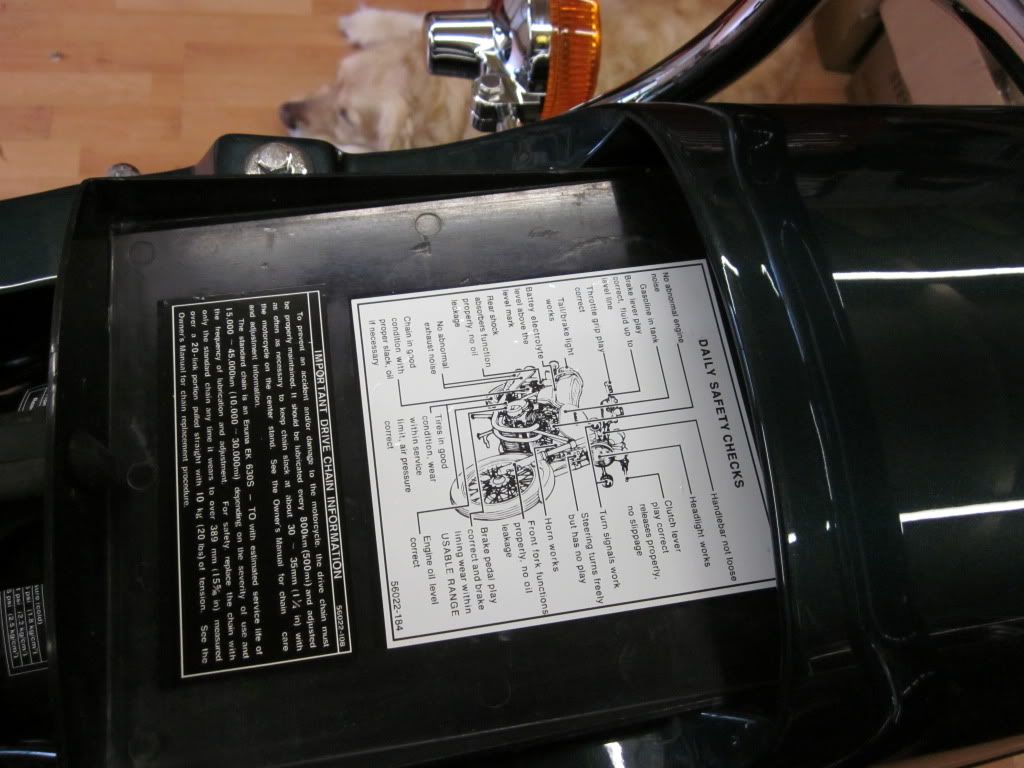
Replacement decals on
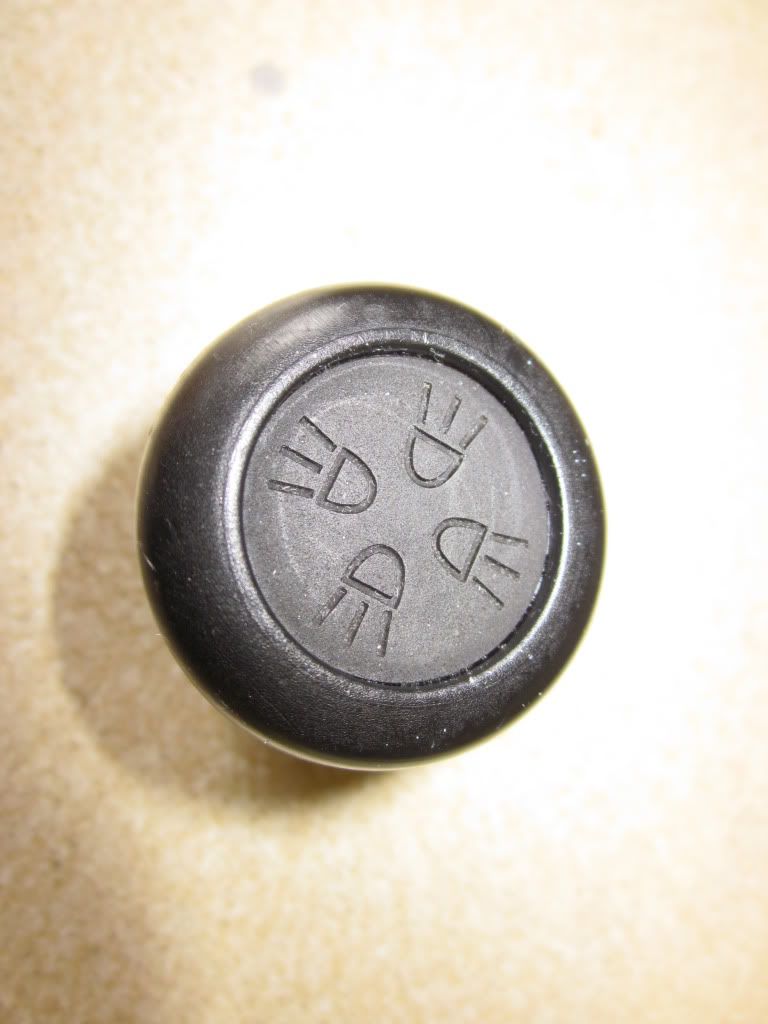
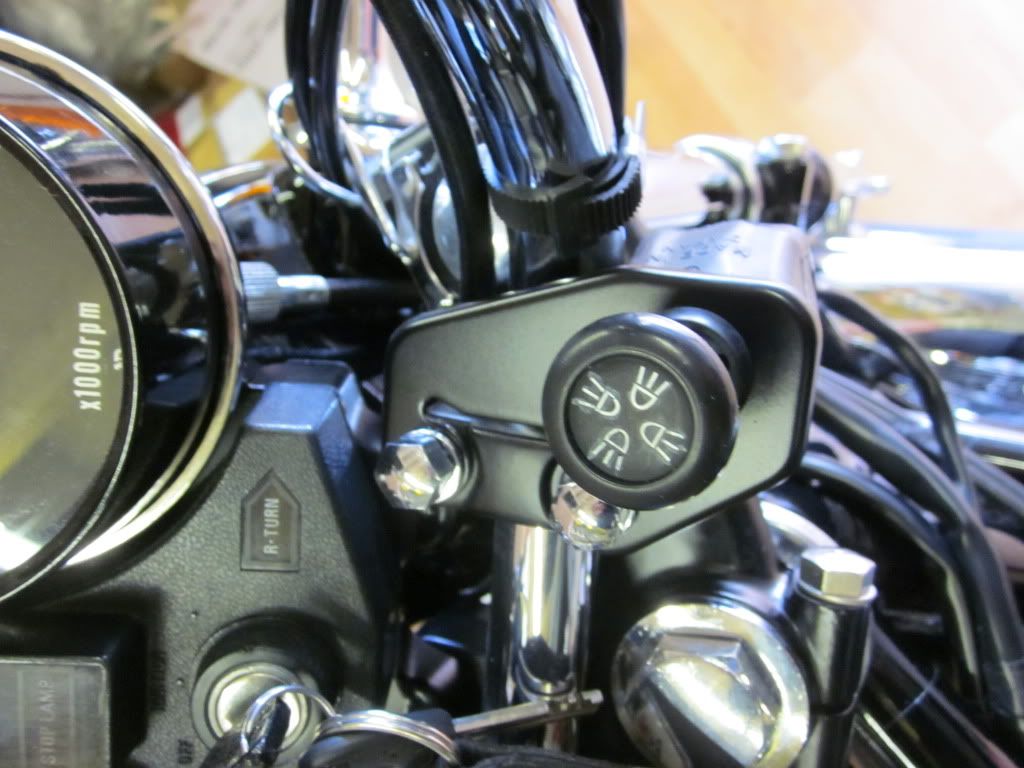
Refurbished the Hazard warning light
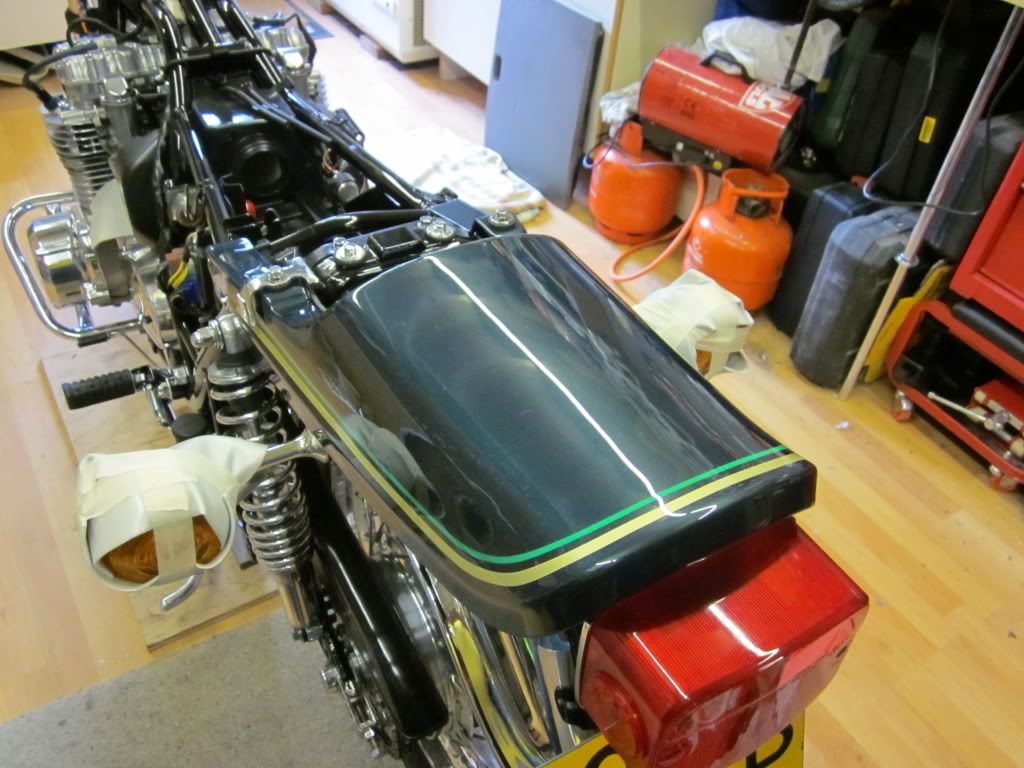
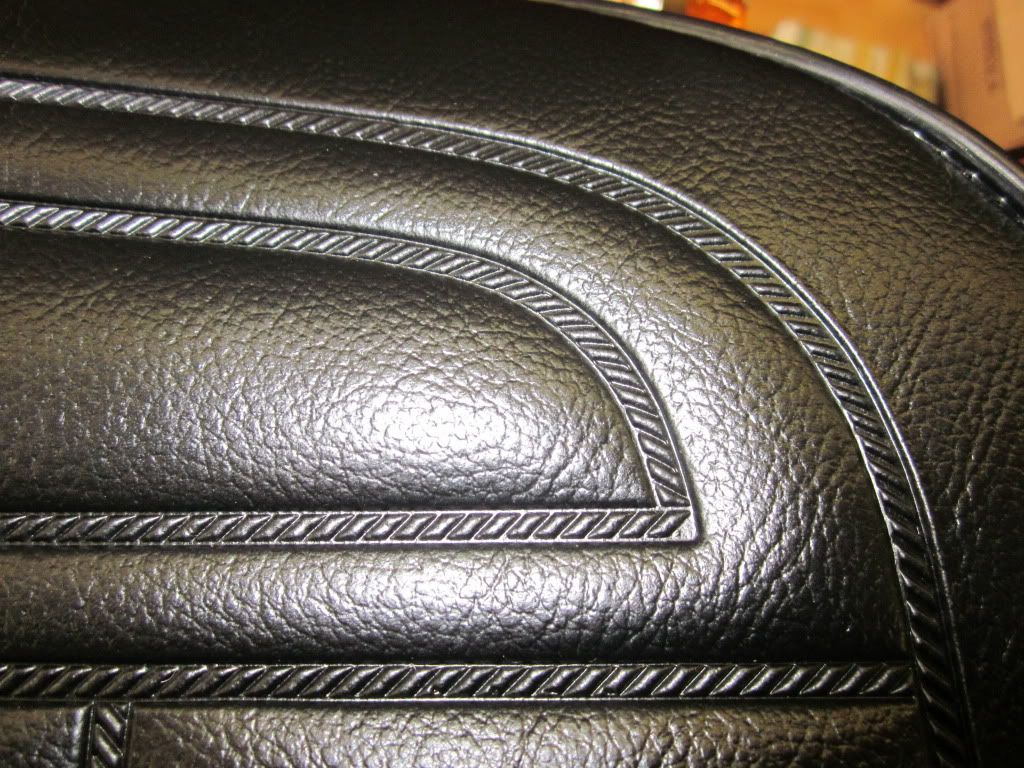
Now for the seat
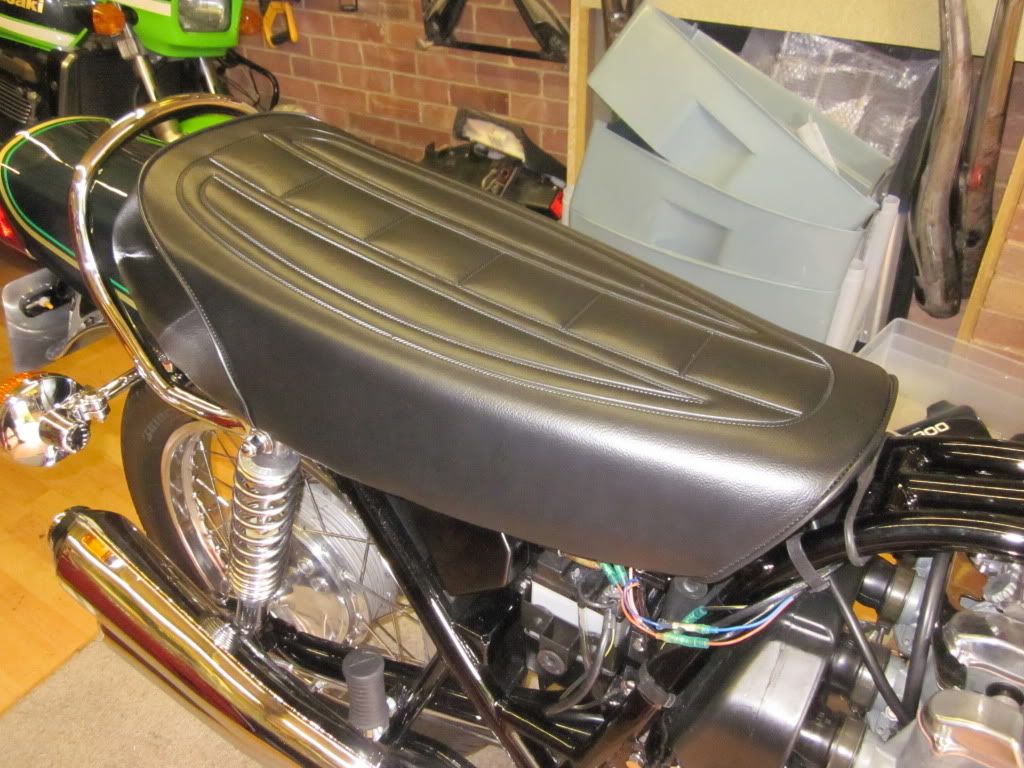
Detail is excellent
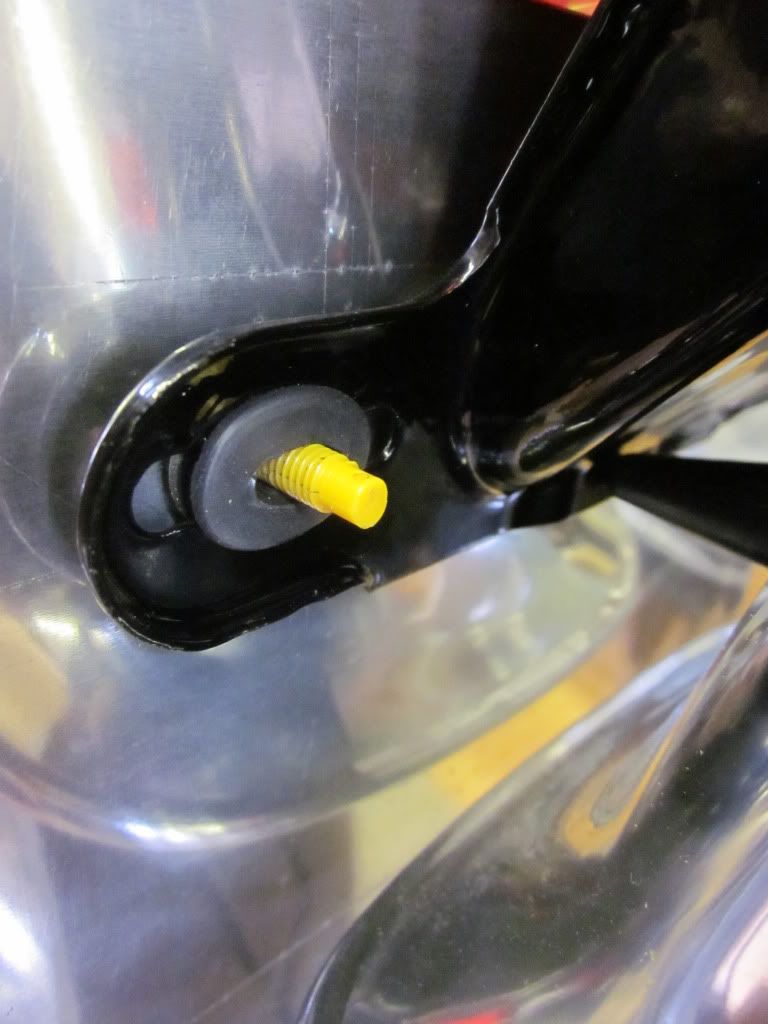
Some rubbers on the number plate fixing
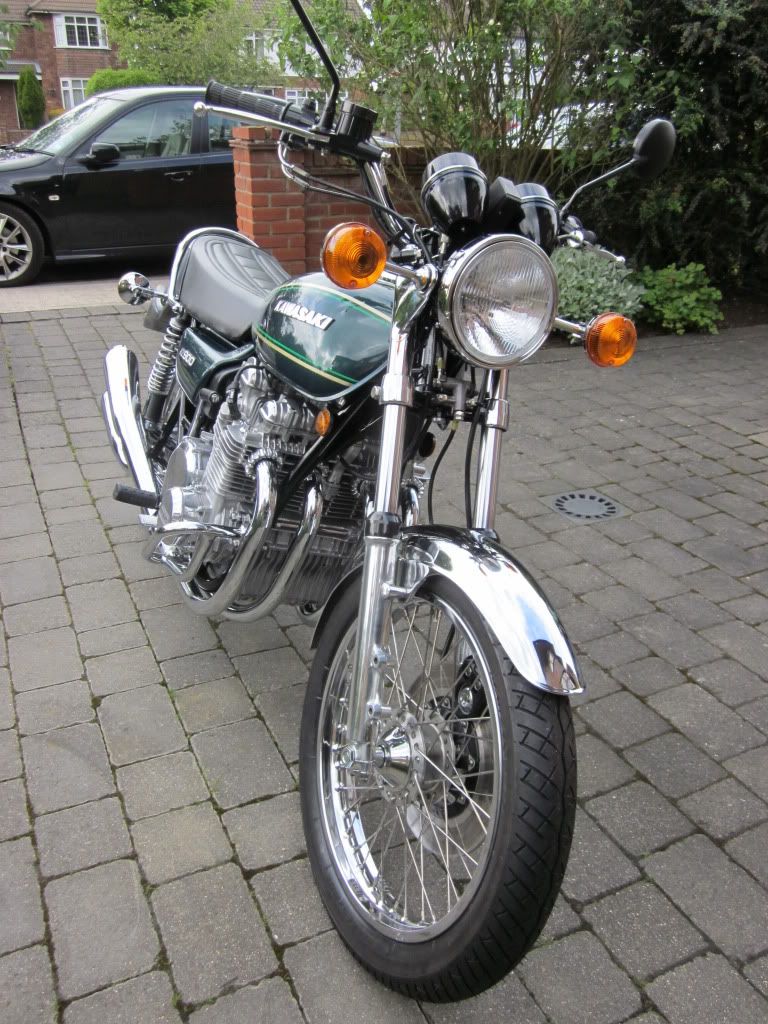
And its finished
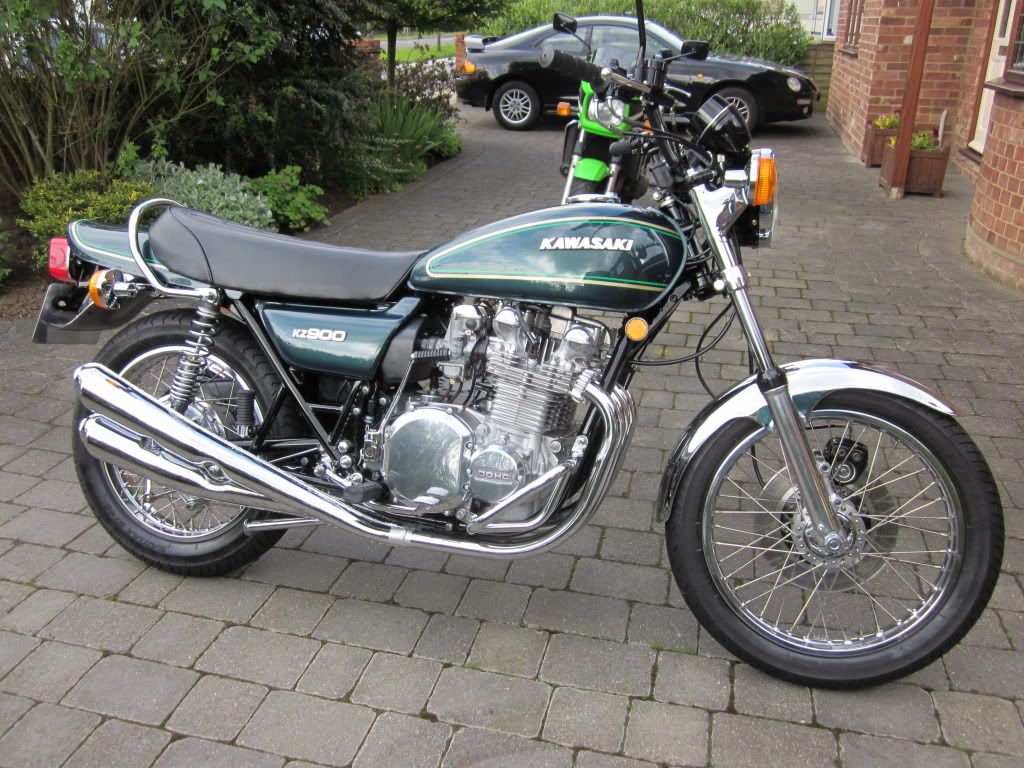
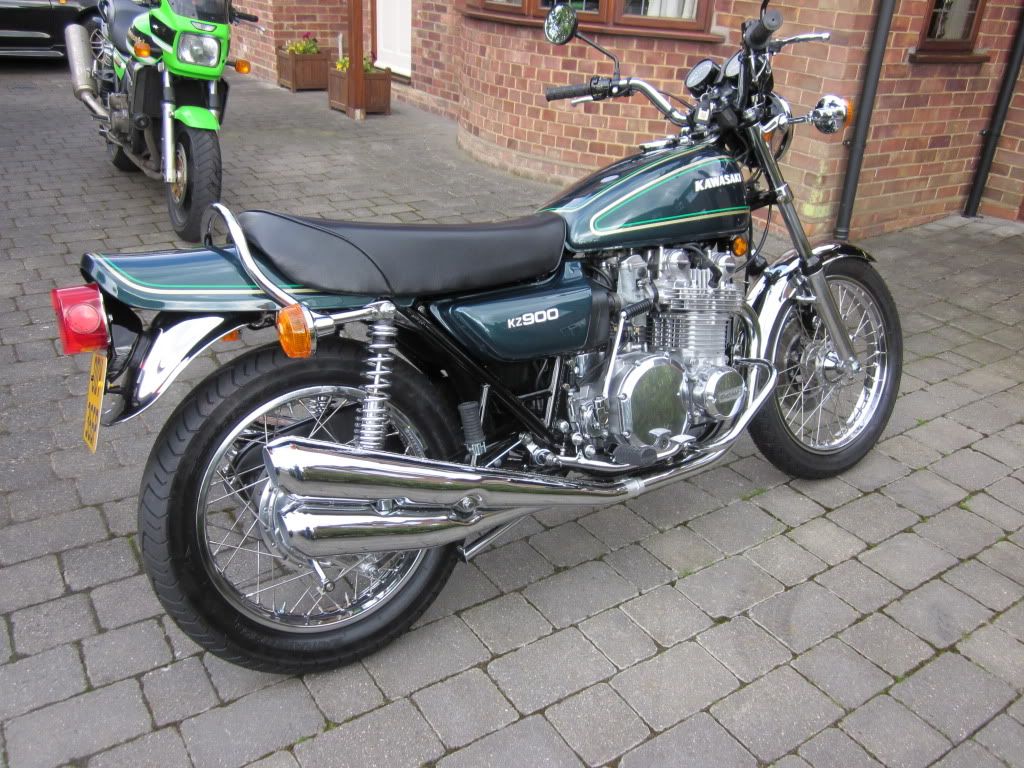
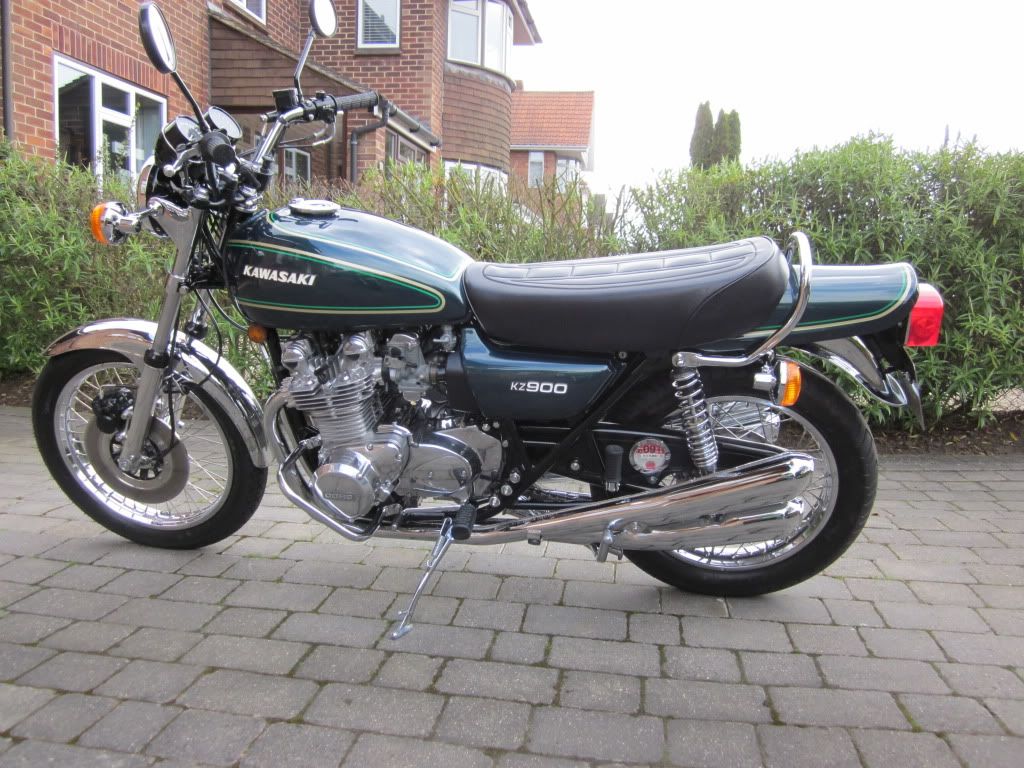


Save for one finishing touch
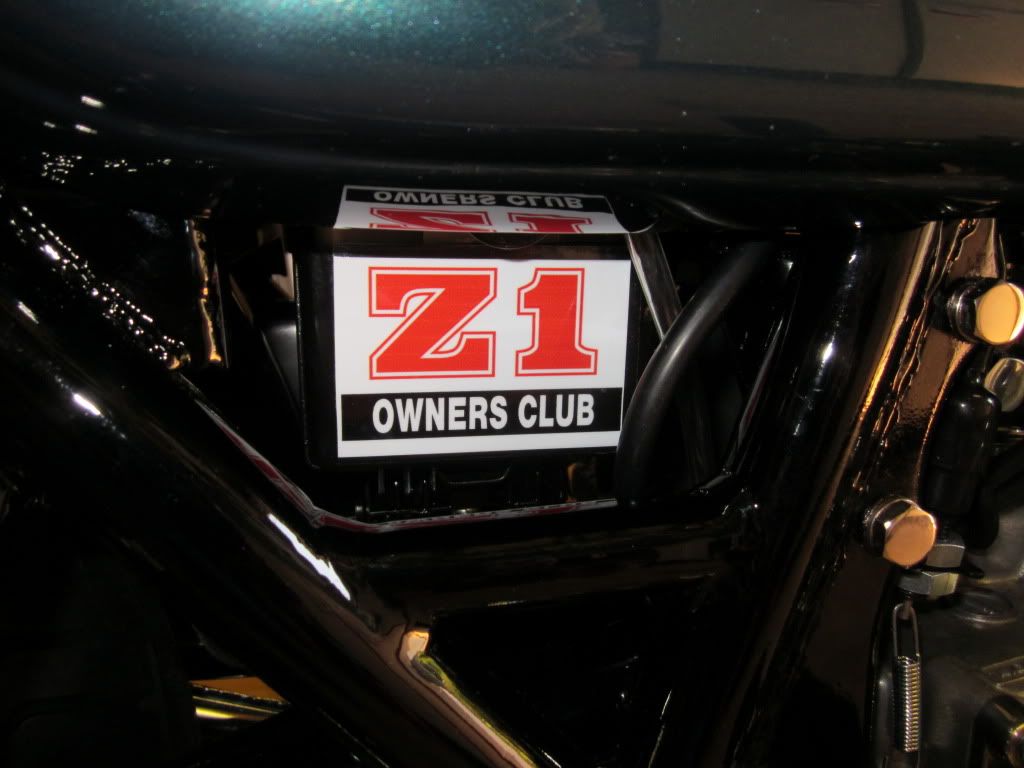

I am proud to wear this badge...
I filled it with oil, checked for leaks, kicked it over 15 times or so and added the 97 octane. Turned it once on the starter and it fired at the top of the second prod - well pleased.
Rechecked all the torque settings yesterday and the remainder of the fittings and took it down for a ticket today. It passed no problem - but they did not like the US spec glass in the headlight....got an advisory after I taped it off.
Managed to do 15 miles home this afternoon and after fiddling with the carbs most of the morning, its runs a treat.
Bring on the Z Rally.
I will make one more post( tomorrow) before finishing this thread - to acknowledge all of those members who have had a material input into this project and with out whom I would not be at this point.
Time to open the boxes - I bought these 3 years ago on German Ebay in anticipation of this day
One down and three to go...
One side completed
and finished getting the zorsts on
Now to rebuild the petrol cap - Mikey took it apart to chrome it and I had no idea how it went back together
I worked it out in the end
Petrol tap fitted
Replacement decals on
Refurbished the Hazard warning light
Now for the seat
Detail is excellent
Some rubbers on the number plate fixing
And its finished
Save for one finishing touch
I am proud to wear this badge...
I filled it with oil, checked for leaks, kicked it over 15 times or so and added the 97 octane. Turned it once on the starter and it fired at the top of the second prod - well pleased.
Rechecked all the torque settings yesterday and the remainder of the fittings and took it down for a ticket today. It passed no problem - but they did not like the US spec glass in the headlight....got an advisory after I taped it off.
Managed to do 15 miles home this afternoon and after fiddling with the carbs most of the morning, its runs a treat.
Bring on the Z Rally.
I will make one more post( tomorrow) before finishing this thread - to acknowledge all of those members who have had a material input into this project and with out whom I would not be at this point.


-
Flying Tiger

- Ted's Biatch
- Posts: 238
- Joined: 11th Jun 2011
- Location: Bury St Edmunds
Bill that looks absolutely gorgeous, can't wait to see it in the flesh!
Flying Tiger Paintwork - www.facebook.com/FlyingTigerPaintwork - flyingtigerpaintwork@hotmail.co.uk - 07796693751
Who is online
Users browsing this forum: No registered users and 5 guests