Hello Guest User,

Please feel free to have a look around the forum but be aware that as an unregistered guest you can't see all of it and you can't post.

To access these 'Registered Users Only' areas simply register and login.

thou shed grime to shine

Work in Progress

Moderators: KeithZ1R, chrisu, paul doran, Taffus

Message
Author
User avatar
mirror man
Regular Poster
Posts: 79
Joined: 29th Jun 2011
Location: bristol

#31 PostAuthor: mirror man » Mon Jul 18, 2011 10:30 pm

got the block & head back, block skimmed, barrels have been honed ready for new piston rings, the head also skimmed plus the valve seats recut ready for new valves, the original valves that came out were a combination of z900 & z1000 fixed with square & round collets but not with the right shaped collets on the right valves, the motor must have been built by the sun dance kid
Image
Image
ports given a smooth & pollish
Image
valves in & shimmed up on the bench ready for fixing [thanks to pj & duane for help with the shims]
Image
barrels now on, used the down pipe & cable tie method to clamp the piston rings
Image
Image
head now on & timed up with a little help from delboy
Image
Image

User avatar
Ginger Bear
Hardcore
Hardcore
Posts: 6850
Joined: 16th Dec 2008
Location: In the Dark.
Contact:

#32 PostAuthor: Ginger Bear » Tue Jul 19, 2011 11:08 am

Alan, I don't want to cause you alarm, but when I rebuilt my GPz engine (1170), both the head & barrels had been skimmed by previous owners, the head was skimmed again by Arnetts. I had massive oil leaks from between the head & barrels, the cause was very simple. I had not trimmed the length of the dowels that sit on either side of the block/head, & they stopped the head sealing properly on the barrels. If you've not trimmed yours I would consider whipping the head back off now & doing it, that way you should still be able to re-use the head gasket, it'll be a fairly easy job if you haven't fitted the pipes/carbs yet.

Build is looking good though, looks like you've been spending some dosh. No doubt the original budget has been obliterated. :shock: :shock:
Image

# 104

Phil Churchett Award Winner 2011 & 2016 :D
Buzzworkz Best Modified Zed 2016

User avatar
mirror man
Regular Poster
Posts: 79
Joined: 29th Jun 2011
Location: bristol

#33 PostAuthor: mirror man » Tue Jul 19, 2011 12:13 pm

hi steve thanks for the advice, i was aware of the issue of the dowels following a visit to yours a little while ago, it was fresh in mind and was the first thing i checked, clearance was fine before the head gasket went on, so hopefully no problems, im not to far away from attempting to fire up the old girl, it will be clenched bum time im sure

budget what budget :!: it has crept a little cheers alan

ps if your passing any time drop in
Last edited by mirror man on Tue Jul 19, 2011 3:04 pm, edited 1 time in total.

User avatar
Ginger Bear
Hardcore
Hardcore
Posts: 6850
Joined: 16th Dec 2008
Location: In the Dark.
Contact:

#34 PostAuthor: Ginger Bear » Tue Jul 19, 2011 12:17 pm

Good luck with the start up Alan, glad you checked your dowels!

It's become a bit of a 'tradition' now to post a short vid of the initial start up, be good to see one if you can sort it, & yes I will drop in next time I'm passing......... Chocolate Hob Nob's :?
Image


# 104


Phil Churchett Award Winner 2011 & 2016 :D

Buzzworkz Best Modified Zed 2016

User avatar
mirror man
Regular Poster
Posts: 79
Joined: 29th Jun 2011
Location: bristol

#35 PostAuthor: mirror man » Wed Jul 20, 2011 10:05 am

Ginger Bear wrote:
It's become a bit of a 'tradition' now to post a short vid of the initial start up, be good to see one if you can sort it, & yes I will drop in next time I'm passing......... Chocolate Hob Nob's :?


hi steve i best get the box brownie on charge then :!:

User avatar
mirror man
Regular Poster
Posts: 79
Joined: 29th Jun 2011
Location: bristol

#36 PostAuthor: mirror man » Wed Jul 20, 2011 12:21 pm

i thought i would tackle a five minute job last night, just need to fix the handle bar switch gear plus throttle slide & grips, got some new z9 bars which are pre drilled to take the switch gear
Image
only one problem either the bars are to long or the grips are to short [is it me]
Image
job sorted, 10mm cut of the bars, lucky ive got one arm longer than the other

User avatar
mirror man
Regular Poster
Posts: 79
Joined: 29th Jun 2011
Location: bristol

#37 PostAuthor: mirror man » Thu Jul 21, 2011 9:56 pm

time to put rotor on, the new woodruff key was not a snug fit in the keyway due to a little keyway ware,this made it almost impossible to locate the rotor without the key moving, after asking various pals for the best way to over come the problem,the best suggestion was to tin the woodruff key with solder [not one that i would have thought of but it worked a treat]

solder applied
Image
solder filed down
Image
woodruff key in and solid ready for the rotor
Image
thought this might be of interest to tag on the thread, any one else tried this :?:

sanderz
Custard Cream
Custard Cream
Posts: 967
Joined: 2nd Mar 2010
Location: Manchester

#38 PostAuthor: sanderz » Fri Jul 22, 2011 10:50 am

Image

Excellant work Mirror Man, not heard of that fix before.

Good luck with the start up :up - as yer said "bit of a clenched bum moment"
Wots up DOHC

User avatar
mirror man
Regular Poster
Posts: 79
Joined: 29th Jun 2011
Location: bristol

#39 PostAuthor: mirror man » Mon Jul 25, 2011 8:19 pm

i've had a good weekend and made some progress

got the exhaust on, carbs on, just give um a strip and clean, there fitted with 115 main jets, not sure how there gona run, we'll see how it goes
Image
dyna s ignition in
Image
now just need to get the tank on add fuel & fire up the beast
Image
the big moment arrived clenched both cheeks and the old girl fired up on the button, no nasty noises, no smoke, and sounds sweet, just need to get the strobe on it in the week, plus the carbs probably need a good balance [that's beyond me] i didn't take any pics of the event but did film it on the camera [no idea how to load it on here] ran the motor for 7 or 8 minutes then noticed the rubber cam end plugs were sucking in, this turned out to be because i used a gasket cement to seal & not a silicon sealer [plank] cam end plugs re fitted last night & left to stand, fired up the old girl today and all seems well, all in all so far so good but it's early days. still got plenty of missing pieces of the jigsaw to work on

User avatar
Al
Hardcore
Hardcore
Posts: 2233
Joined: 21st Oct 2007
Location: Farnbronx Sin City N.E. Hants

#40 PostAuthor: Al » Mon Jul 25, 2011 11:15 pm

Well done Al you've certainly been through it with this one.
Video is just the same as stills but it takes a lot longer. About ten seconds of high res film may take up to an hour to feed into photobucket.
The transfer to this site is the same but sometimes it needs to buffer before it will play. Patience is the key and its something you seem to have got the hang of, well done and lets see it running.

AL
1981 J1

User avatar
mirror man
Regular Poster
Posts: 79
Joined: 29th Jun 2011
Location: bristol

#41 PostAuthor: mirror man » Mon Aug 15, 2011 6:34 am

sorry chaps unable to load the video ?, tried three different players
just wont have it, so back on with the build

brake calipers ready for rebuild with new seals
Image
Image
now rebuilt and back on and some pics in the sun
Image
Image
next job to tackel is the fuel tank which has been left on the back burner,the black tank which came with the bike seems to be off a limited ? have now got a white tank from an a2 [can you spot the difference] the replacement tank has some light surface rust inside which needs a sort out
Image

User avatar
mirror man
Regular Poster
Posts: 79
Joined: 29th Jun 2011
Location: bristol

#42 PostAuthor: mirror man » Mon Aug 15, 2011 6:53 am

some pics of rust inside tank
Image
Image
Image
blanked off bottom of tank filled with water to test for leaks and left over night to stand, all is good no problems, i have opted to to treat tank with biorust

User avatar
mirror man
Regular Poster
Posts: 79
Joined: 29th Jun 2011
Location: bristol

#43 PostAuthor: mirror man » Mon Aug 15, 2011 10:53 am

here's the biorust link
http://www.ebay.co.uk/sch/Motorcycle-Pa ... 86.c0.m282

mix crystals into hot water and stir, pour in tank & leave it to do it's stuff

Image
Image
Image

User avatar
mirror man
Regular Poster
Posts: 79
Joined: 29th Jun 2011
Location: bristol

#44 PostAuthor: mirror man » Mon Aug 15, 2011 12:00 pm

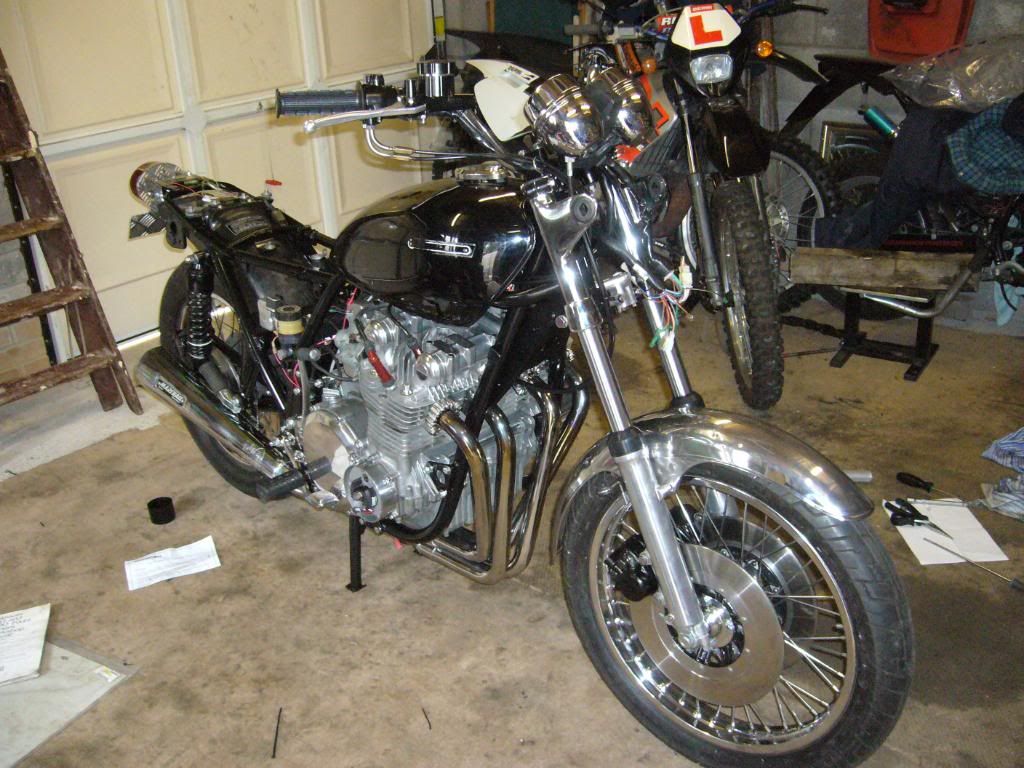
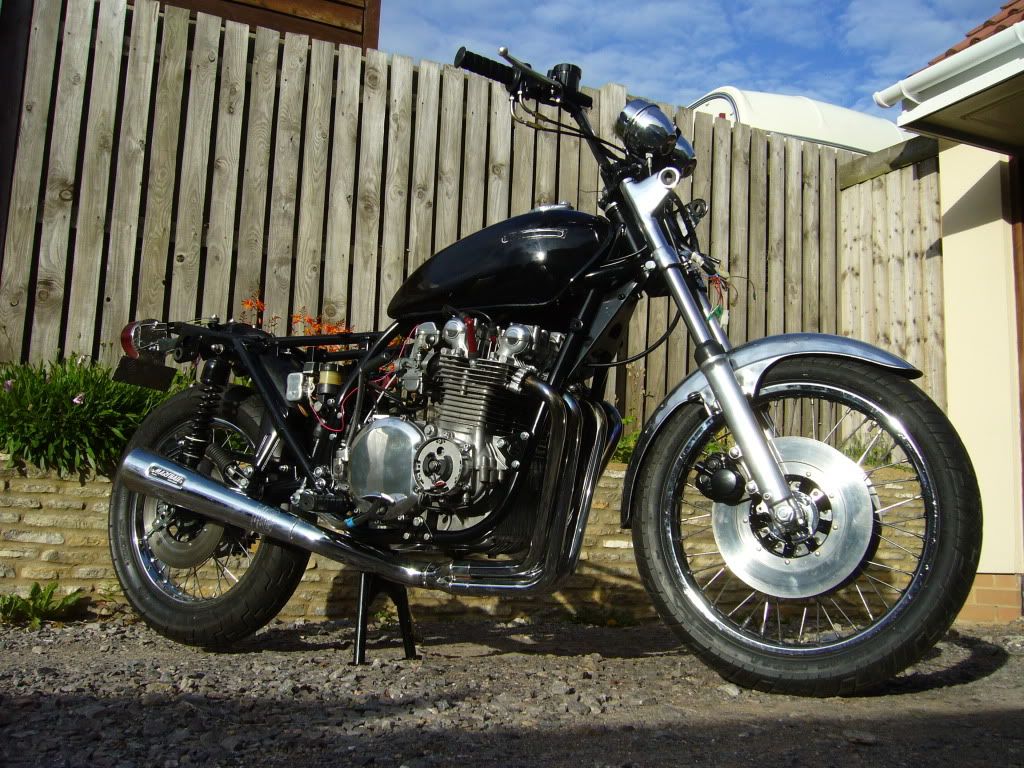
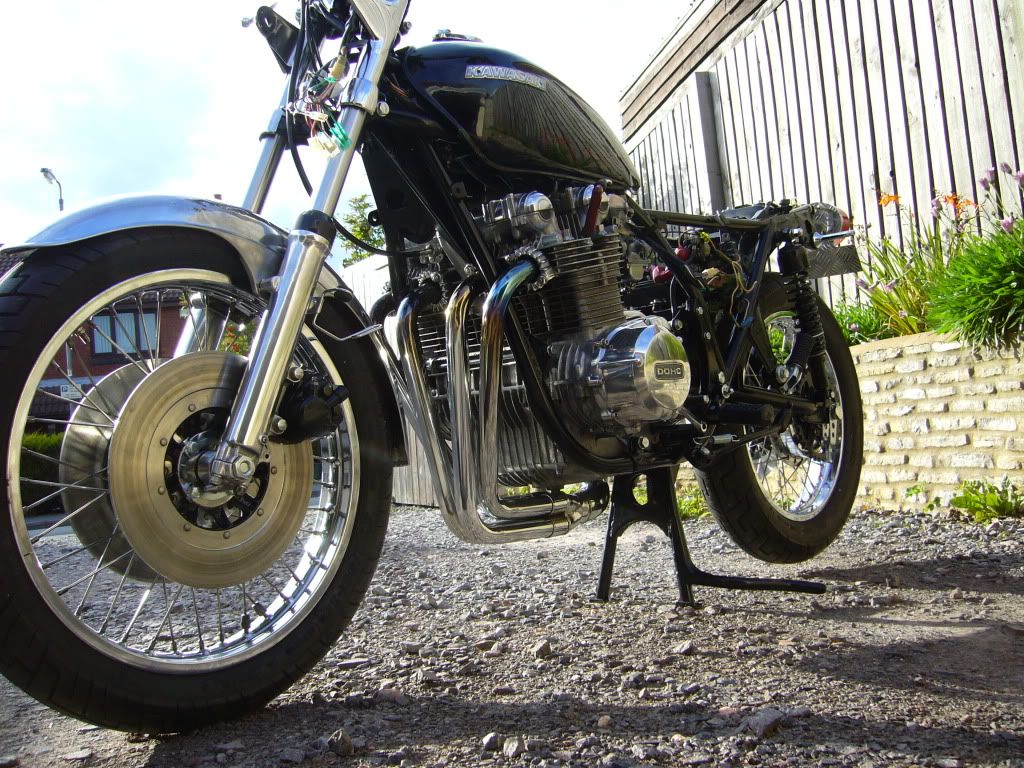
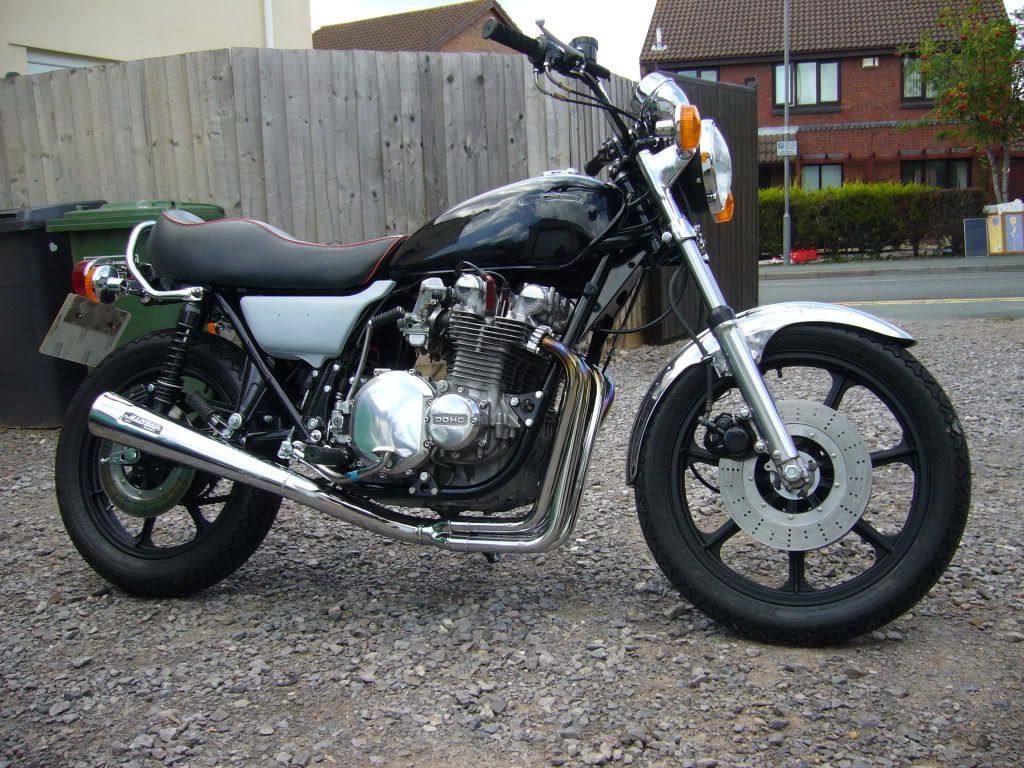
ali winter wheels now on after a fresh coat of matt black paint, also just purchased some hel black braided brake hoses which should be a standard fit for an a2 :?: 
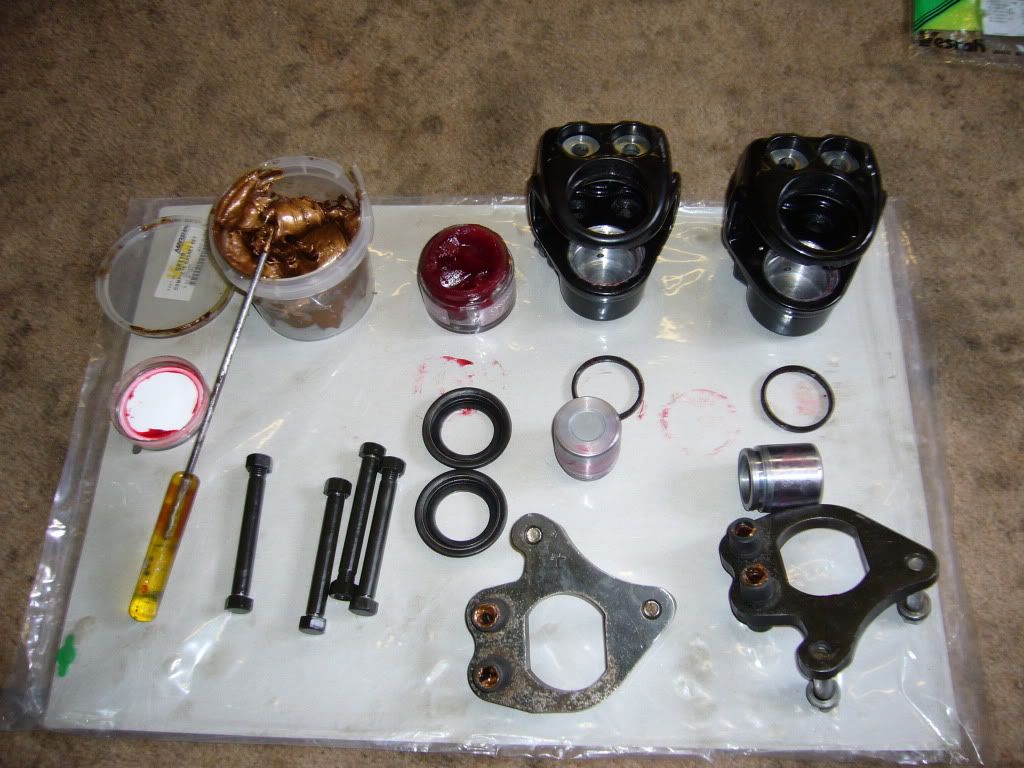
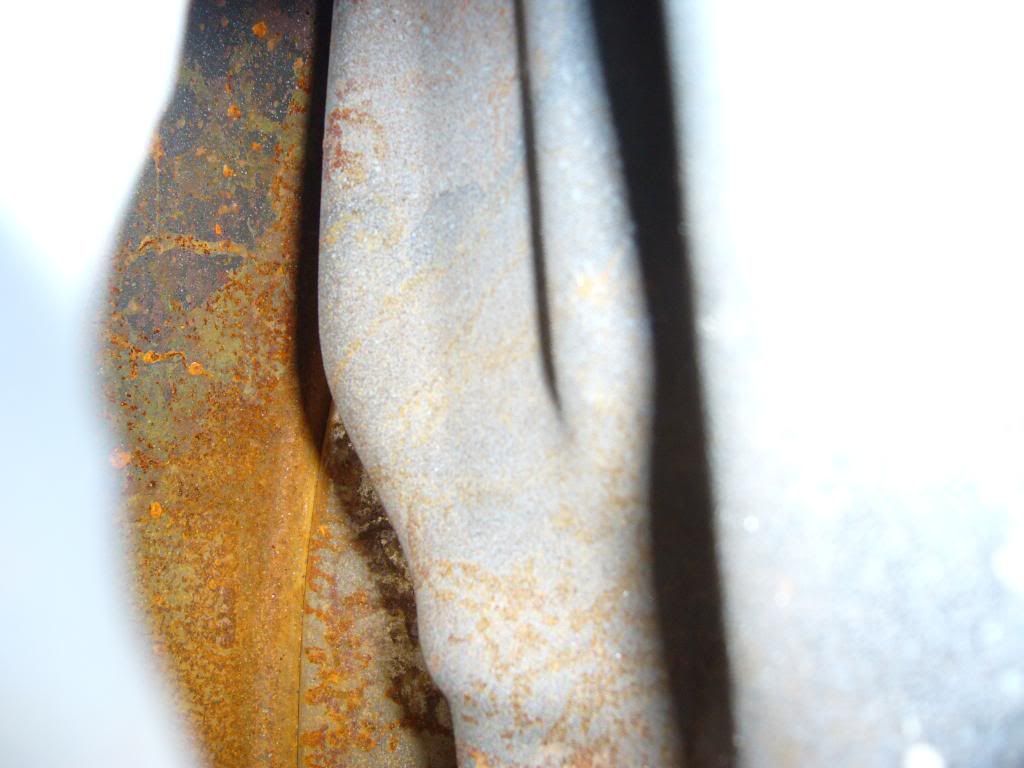
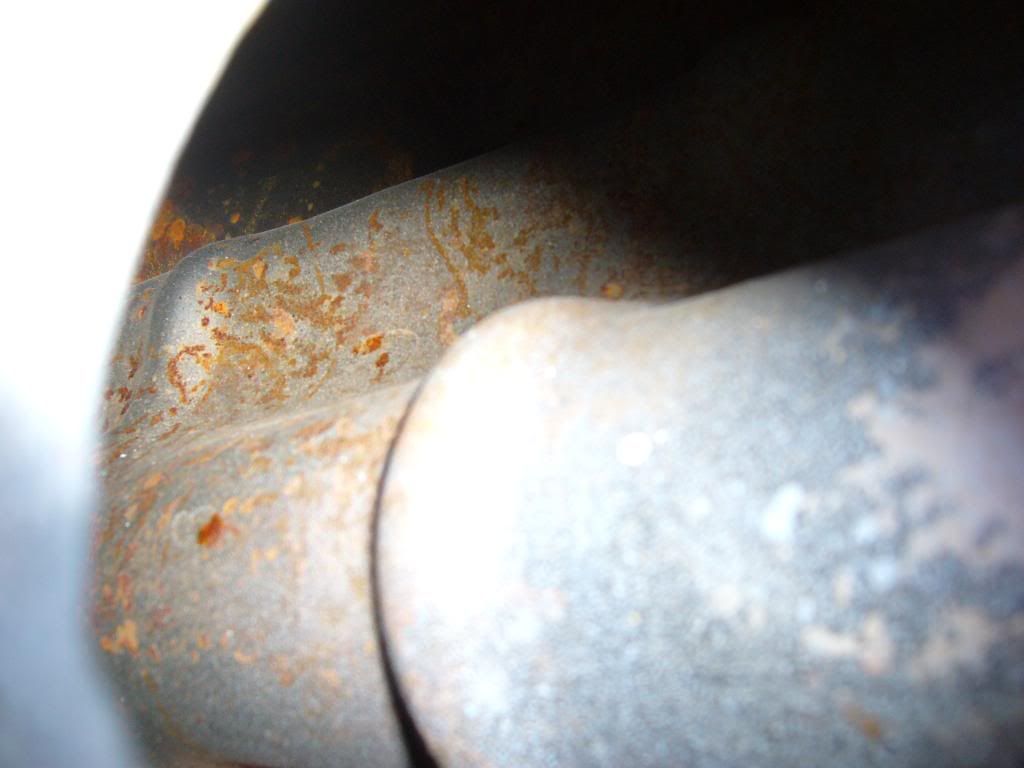
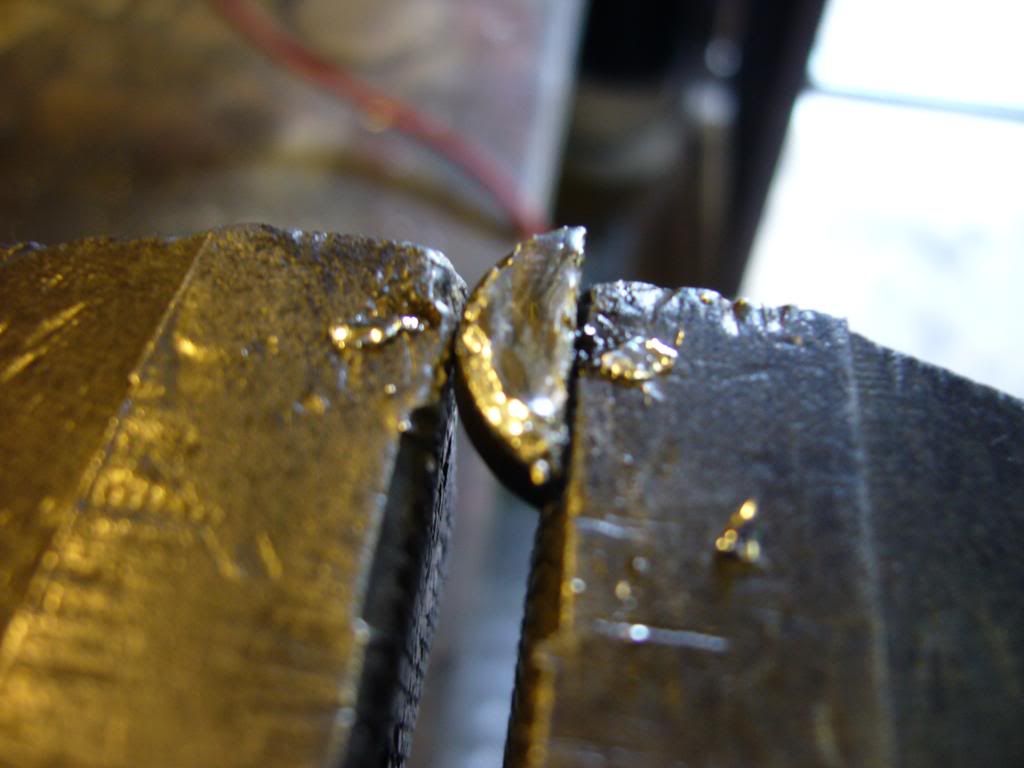
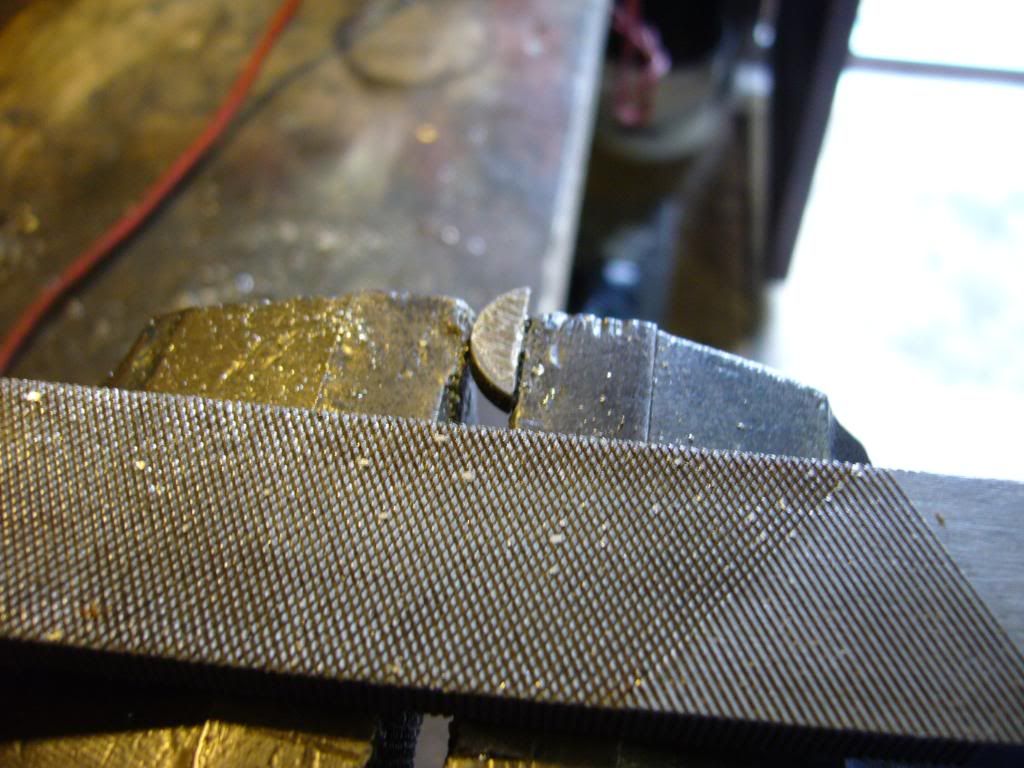
rear & top front hoses ok, both front bottom hoses 230mm to long, have sent back to hel to be reduced see pics yuk
Image
Image
fitted rear brake hose and gave it a bleed, now got one brake, put the seat on & fitted the head light [not wired up yet] then took it round the block half a dozen times for my first z test, a bit of a ginger ride it felt a little uncertain , clocked up a few miles pop'ed back to the garage for a check over, head stock and front wheel loose :ooops , a quick tighten and round the block again a lot better this time with things done up.
all in all not to bad, a few back fires through the carbs at first but seemed to get better, the rear brake is fairy shite i guess that normal, also the clutch judders when it bites will this go when it beds in :?:
Image
not sure about the speedo reading :?: 
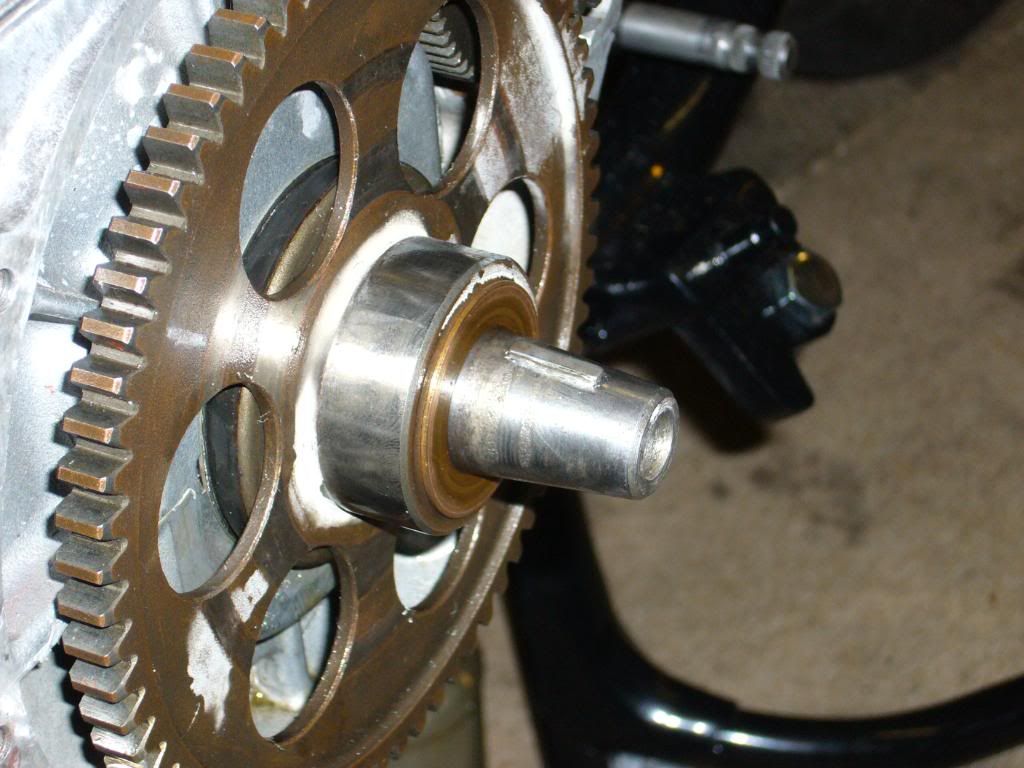
bikes running with 15 & 33 tooth sprockets, 4 thou in 5th gear & speedo was showing 70mph :?: still got quite a few jobs to sort but it's coming along, a front brake some lights & an mot would be nice :D :D :D :D

User avatar
Pigford
Hardcore
Hardcore
Posts: 13314
Joined: 2nd Jan 2006
Location: North Dorset

#45 PostAuthor: Pigford » Mon Aug 15, 2011 6:30 pm

Looking Soopa-Doopa :twisted:

If the clutch plates are new - or been standing out of engine for some time, they need soaking in oil before fitting :wink:
And on the 7th day... Zeds were created!


Return to “Projects”

Who is online

Users browsing this forum: No registered users and 10 guests