Hello Guest User,

Please feel free to have a look around the forum but be aware that as an unregistered guest you can't see all of it and you can't post.

To access these 'Registered Users Only' areas simply register and login.

'73 El Cheapo Resto. Warning:Image heavy for dial-up users

Work in Progress

Moderators: KeithZ1R, chrisu, paul doran, Taffus

Message
Author
User avatar
toycollector10
100Club
100Club
Posts: 401
Joined: 10th Dec 2007
Location: New Zealand

'73 El Cheapo Resto. Warning:Image heavy for dial-up users

#1 PostAuthor: toycollector10 » Fri Oct 16, 2009 8:49 am

I bought this Z1 on eBay in October 2007. This is from the listing: "This motorcycle is in excellent condition and almost completely original. Even the exhaust is original. You will be hard pressed to find a Z1 in this condition. It has a strong 903cc motor and the transmission shifts great." And then there was this: "The paint is in very good condition and so is the chrome."

Image

Image

Image

So after some too and fro'ing to to get the bike crated and shipped down to New Zealand the big day came for me to pick her up from the shippers. My son was there with a camera to record the event. He said to me "You don't look too happy, Dad". And I wasn't.

Image

Image

Image

Image

Image

Below is the tank. I drained 3 litres of stale petrol and about 3 cups of water out of it. Then came the pile of rust flakes when it had dried out. I then took it to a radiator shop to have the inside treated. They did a really good job.

Image

The "repair" to the top pipe. Galvanised sheet and self tapping hex head bolts. Nice.

Image

Some of the chrome which is supposed to be in good condition.

Image

Here is the bike down at the local Kawasaki agent getting a stuck plug removed. Since the head was off it had a recondition. Cam-chain, valve seals and the like, lapped valves and et. The bore was nice and clean and still had the honing marks on the cylinder walls.

Image

Lowering blocks for that extra traction and stability in the corners, I think :??

Image
Last edited by toycollector10 on Fri Oct 16, 2009 9:51 am, edited 1 time in total.

User avatar
toycollector10
100Club
100Club
Posts: 401
Joined: 10th Dec 2007
Location: New Zealand

More pictures....

#2 PostAuthor: toycollector10 » Fri Oct 16, 2009 9:13 am

Yes, I had it re-plated.

Image

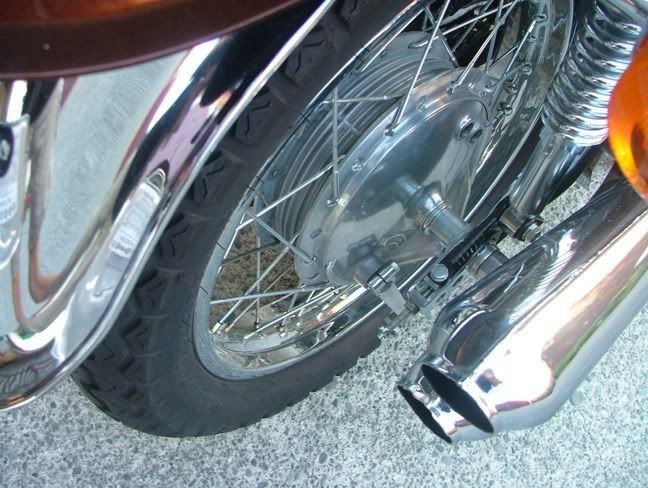
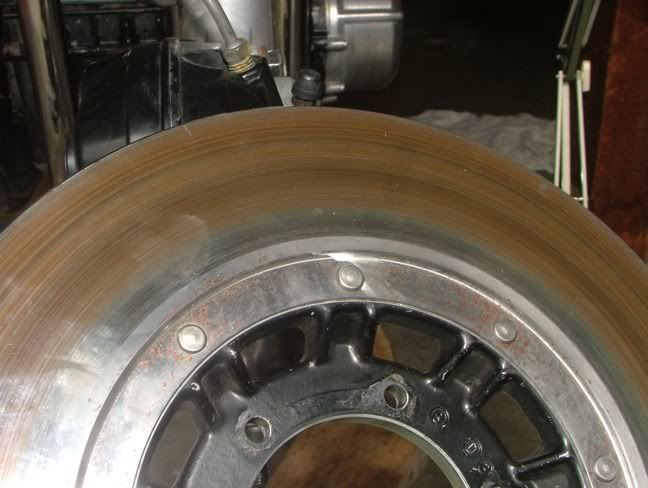
The disc was cleaned up on a lathe using 5 different grades of wet and dry sandpaper. Thankfully I didn't get dragged into the machine, but no thanks for the picture Pigford, I was nearly sick :shock: 
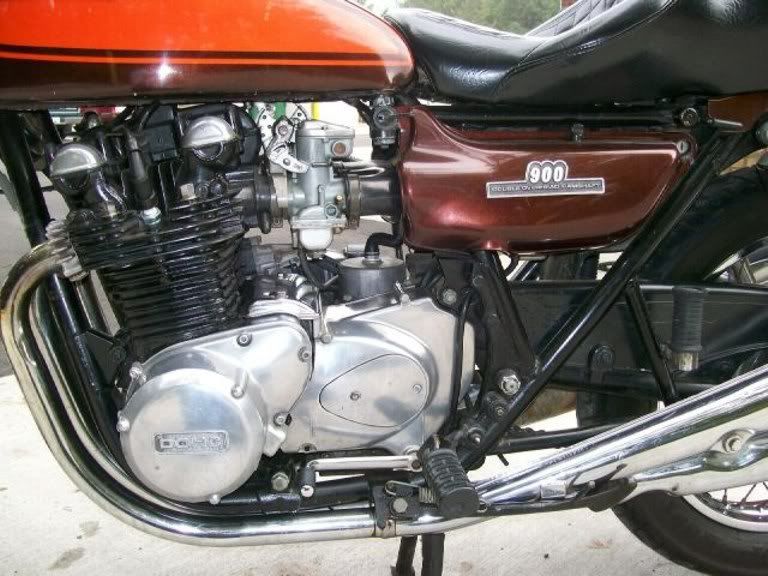
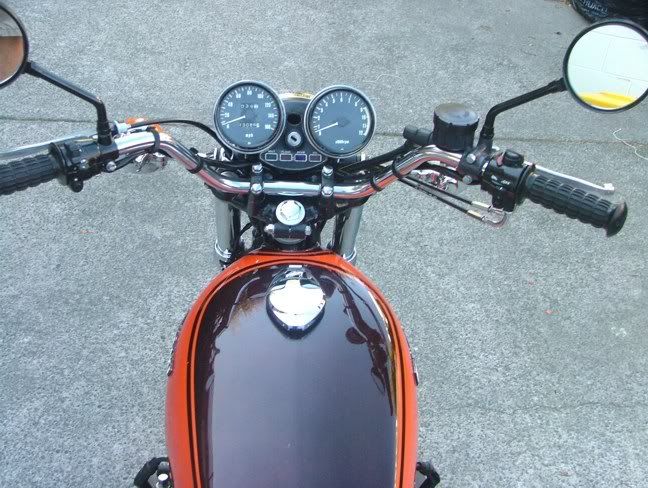
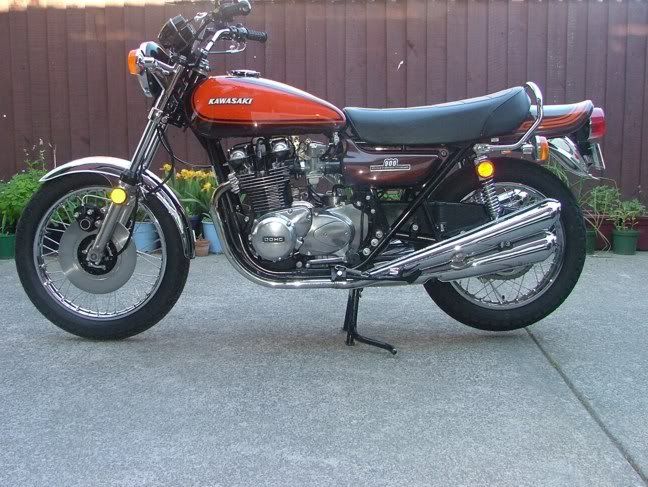
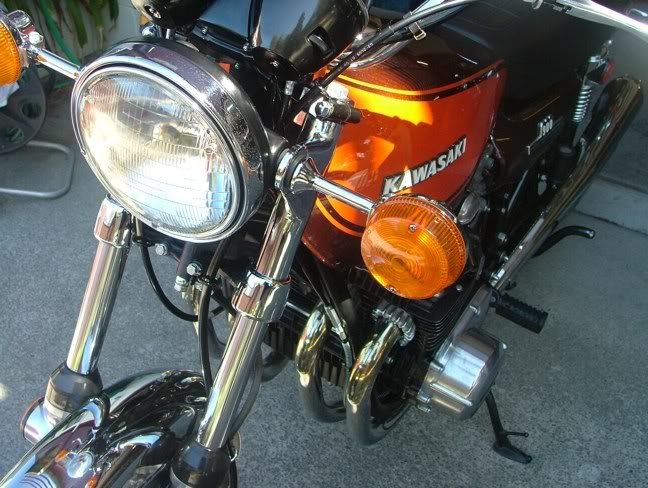
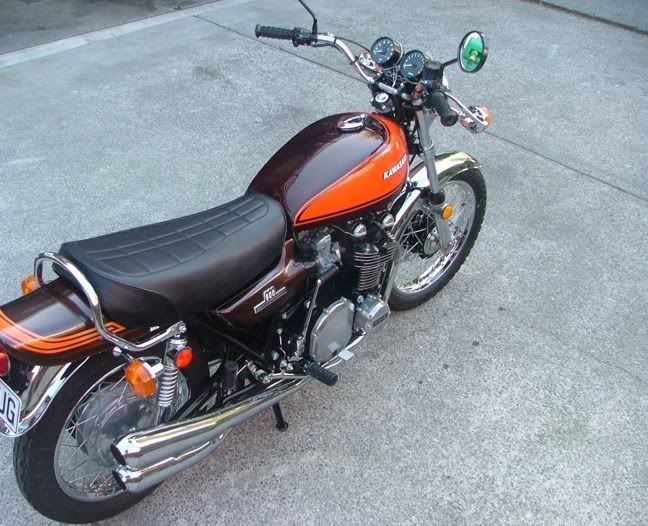
You can see that the paint was in good condition and it polished up really nice with some Mothers California Gold Carnauba Cleaner Wax. "Removes Oxidation and restores color"

Image

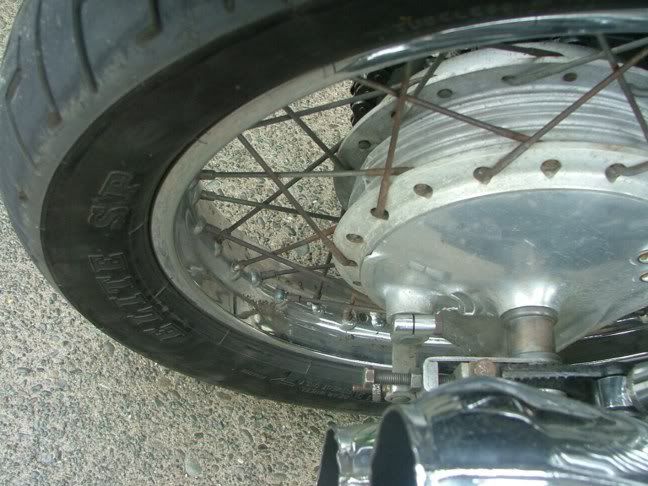
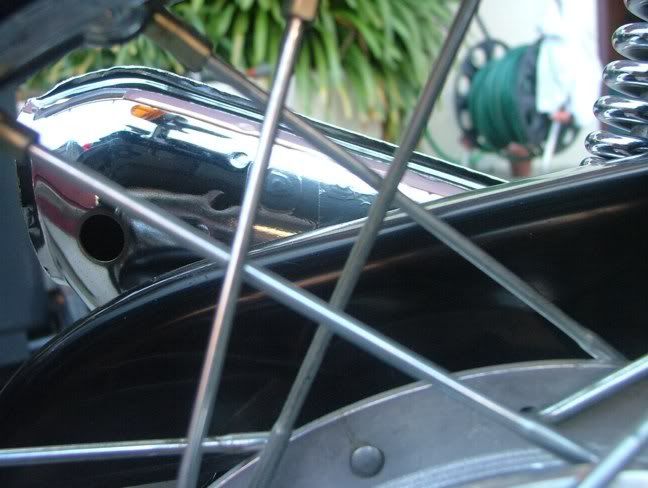
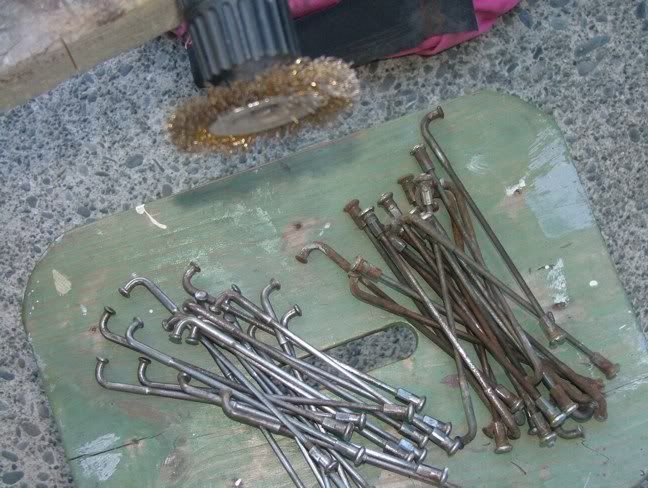
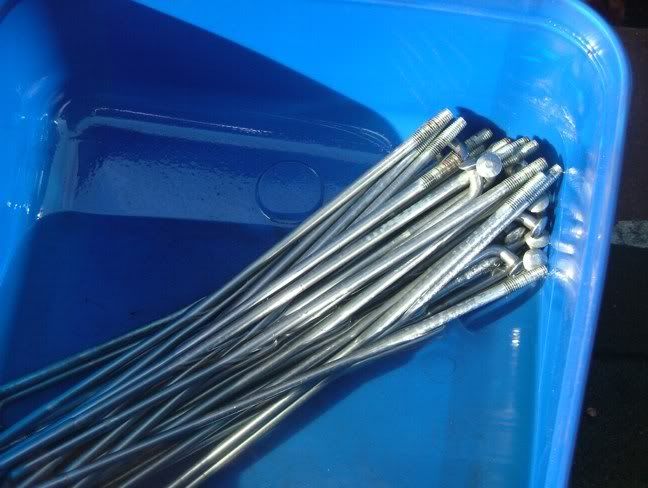
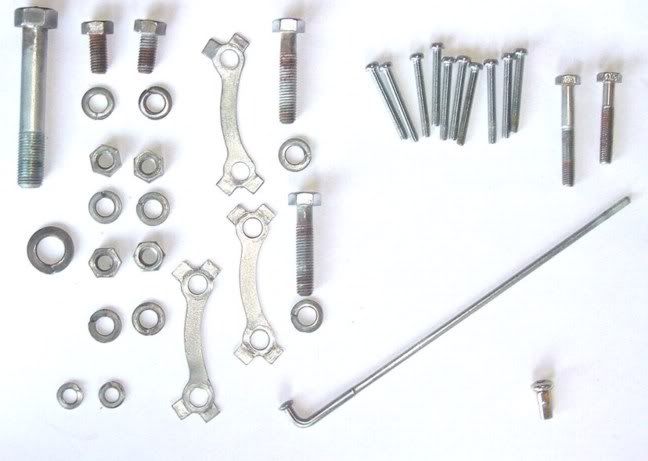
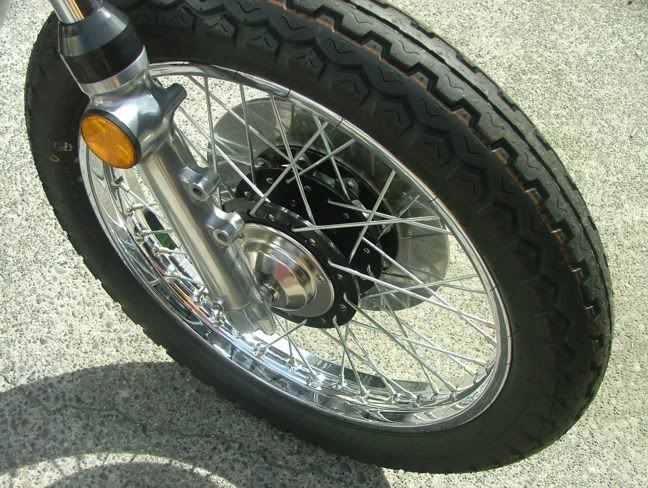
I wanted to retain as much of the original bike as I could, including nuts, bolts, washers, clips and spokes etc. The spokes were cleaned up using a wire wheel then wet and dry paper then zinc plated. I couldn't use the original nipples as they wouldn't plate up nice and cleanly. I biffed them after I found an exact match.

Image

Image

To keep track of small parts that left my workshop I would lay them on an A4 sheet of paper then photograph them. Resized the picture to 11.5 inches and then print the result. The picture would go out with the parts so that there wouldn't be any doubt as to what was supposed to be returned to me.

Image

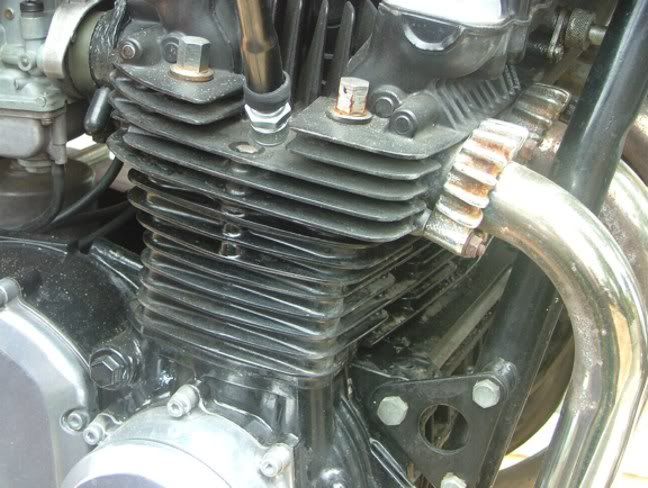
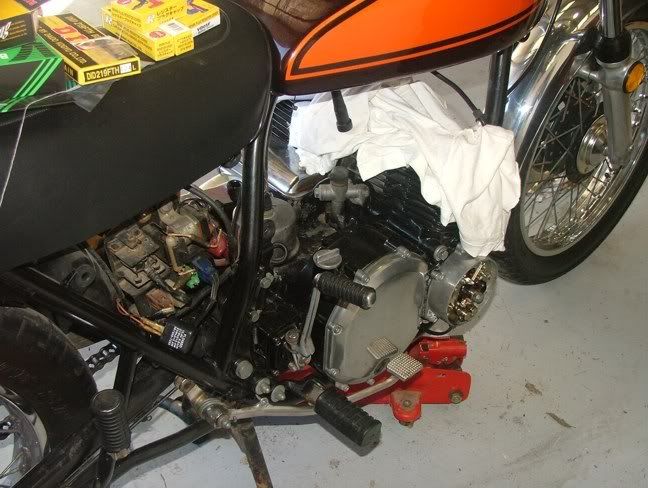
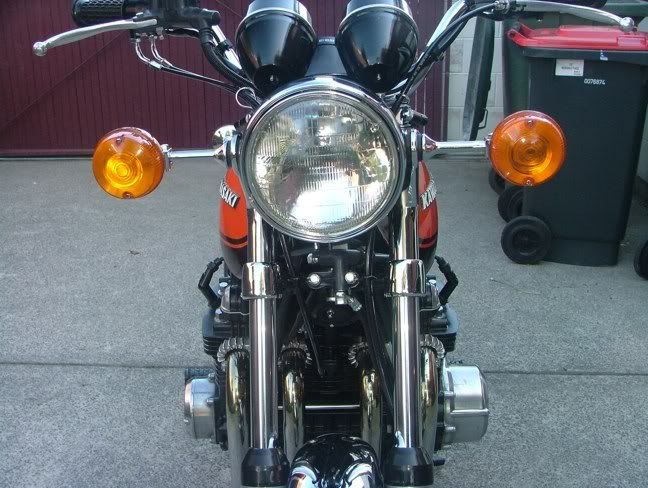
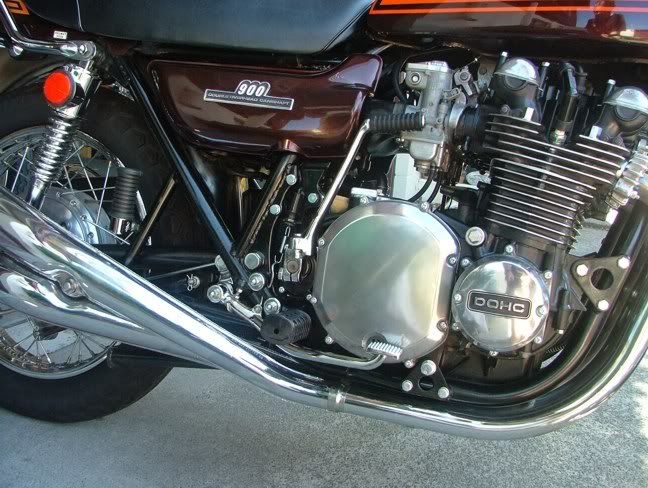
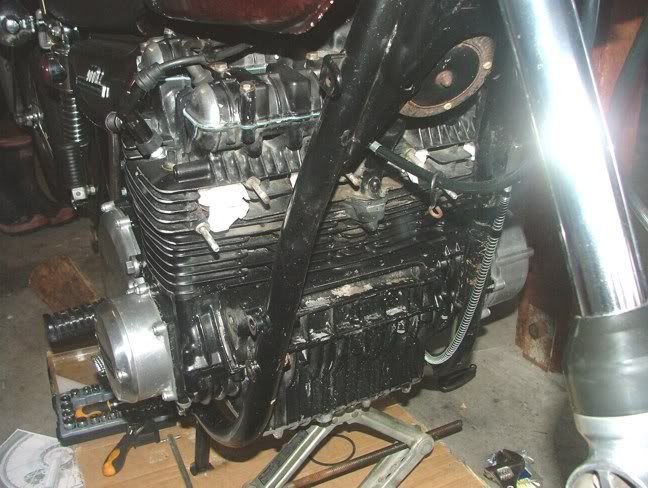
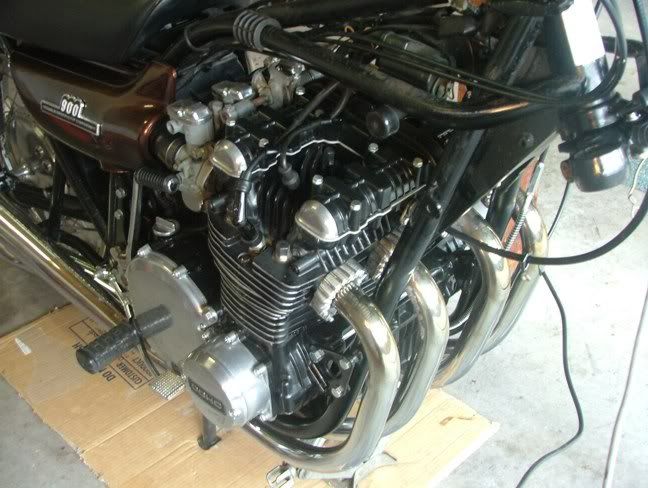
All of the castings have only been polished by me using a rag and Autosol. So they might look a bit dull. The bike is 35 plus years old and the pipes are a bit manky so I thought bright, bright, alloy would look wrong. Besides, I've kept all the casting detail and marks that way.

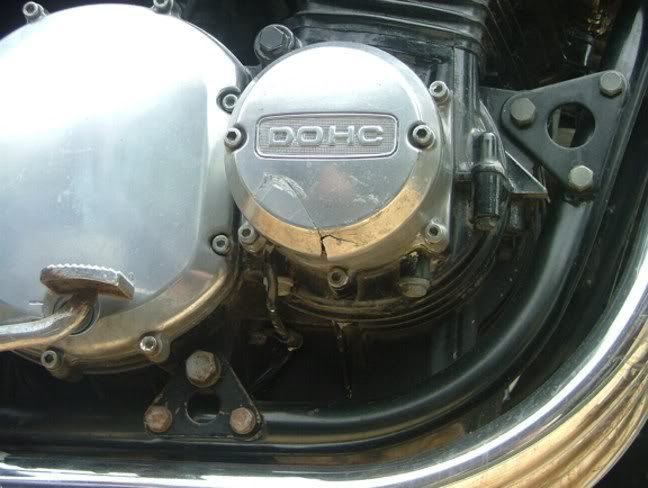
Yes, I would be very grateful if someone would just post me the correct cover. I'll fit the correct one eventually.

Image

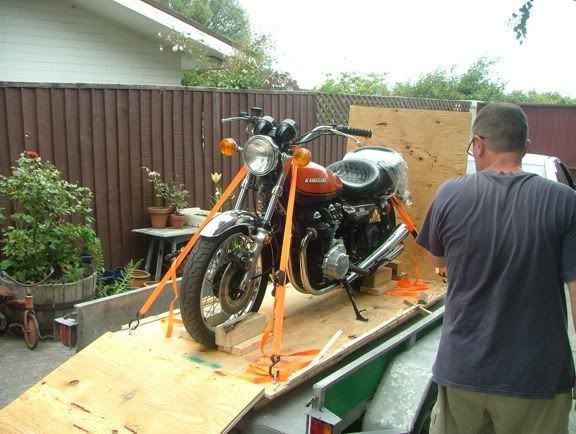
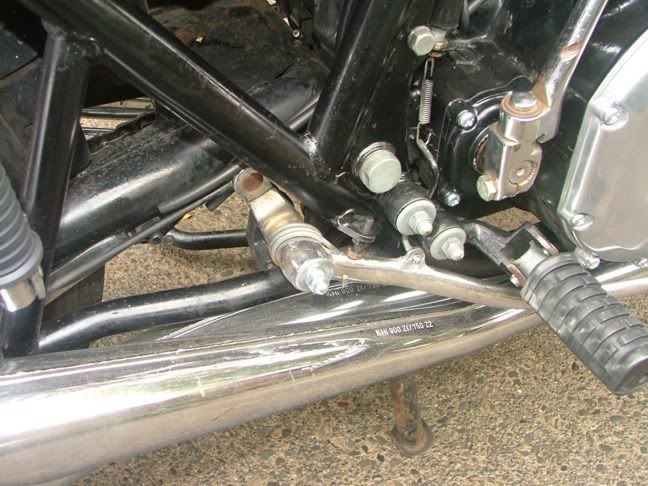
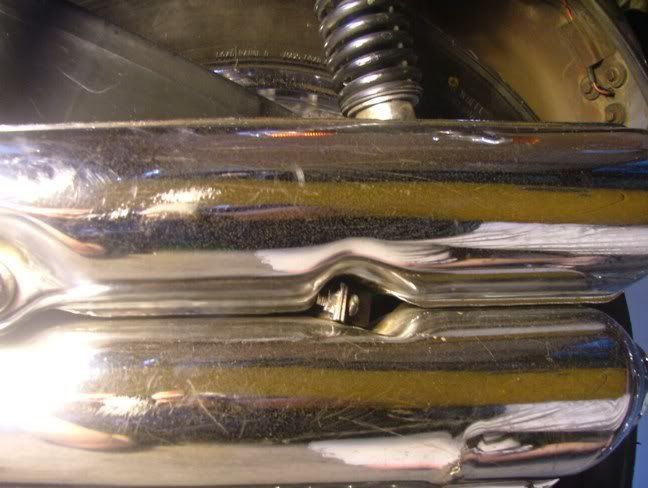
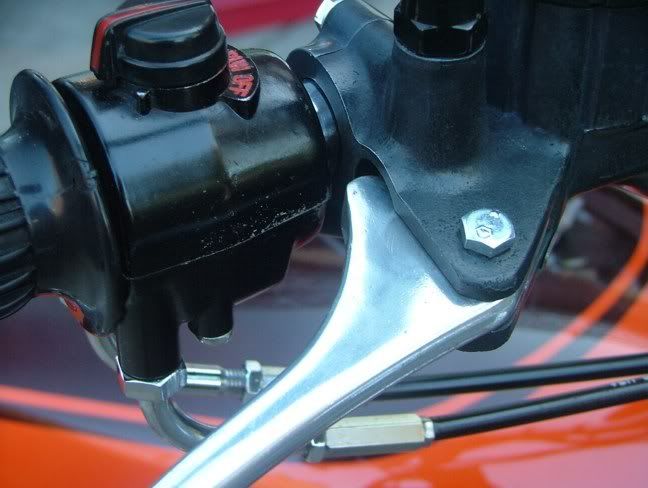
The pipes actually came up pretty good.

Image

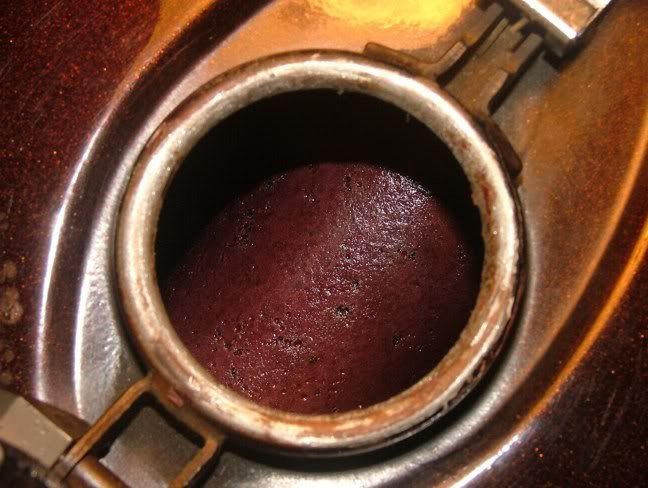
This was pretty ugly in the light of day.

Image

Black anodising.

Image

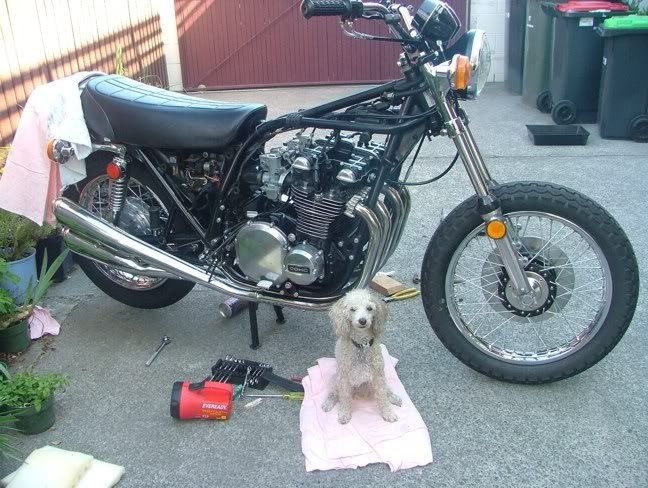
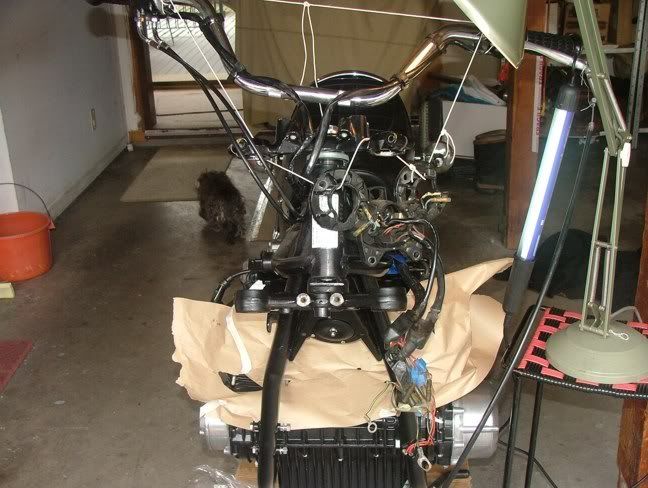
The thing to the left of the bike is the arse end of a miniature wire haired dachund. Just in case you were wondering.

Image

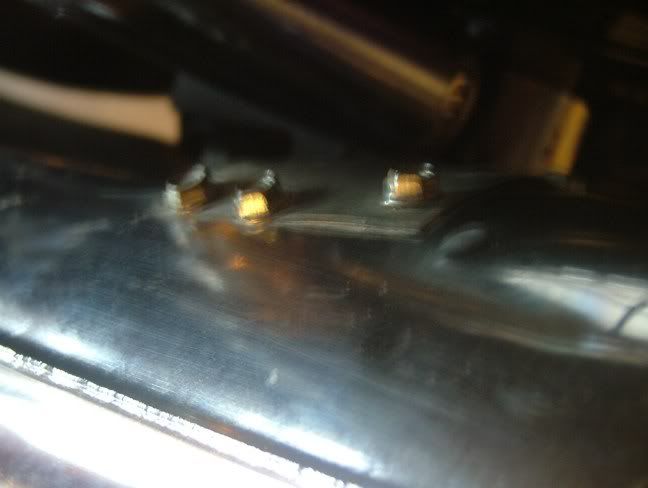
I managed to source a couple of Vesrah cam cover gaskets. I think the grey looks great against the satin black. The previous one I bought was blue. The rivet counters would have had a bloody fit.

Image

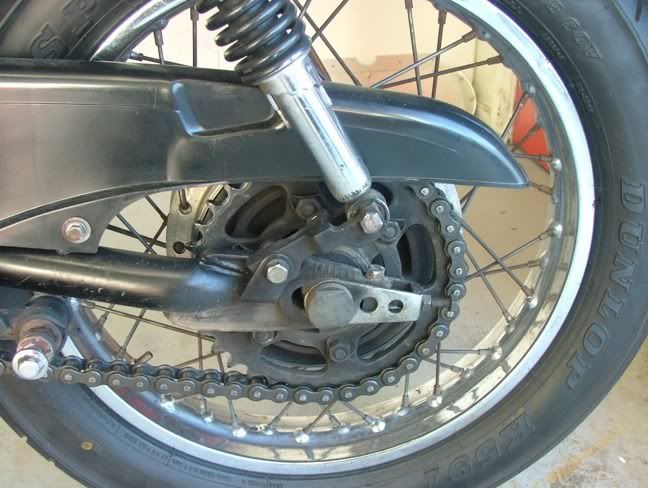
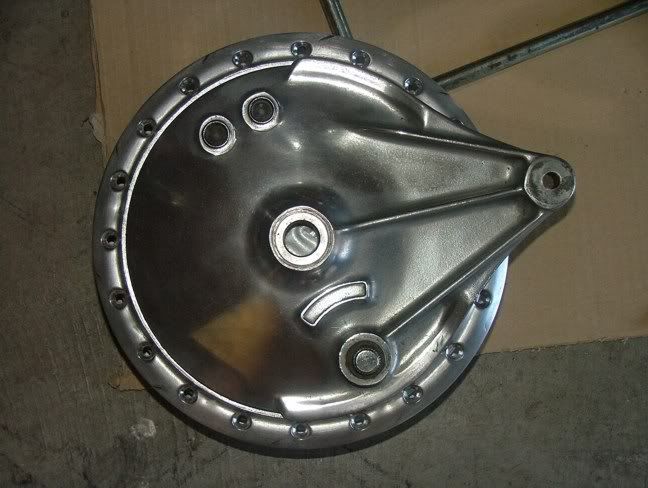
The paint on the front hub and speedo gearbox was in pretty good condition so I just waxed them up properly and it was done.

Image

This was a nice part of the restoration. Bolting stuff up on the bike with my trusty dog watching some of the moves between her sleeps in the sun.

Image
Last edited by toycollector10 on Fri Oct 16, 2009 10:31 am, edited 5 times in total.

User avatar
toycollector10
100Club
100Club
Posts: 401
Joined: 10th Dec 2007
Location: New Zealand

More pictures....

#3 PostAuthor: toycollector10 » Fri Oct 16, 2009 9:37 am

I've since sourced the correct lever bolt. For the red colouring that goes on the choke and kill switch I used a product called "Rub and Buff" Mandarin. It's basically pigment suspended in wax. I think the colour is as correct as I'm going to get it. Note the control hasn't been repainted.

Image

Spot the El Cheapo pipe fix. It will have to do until I come into some money.

Image

Image

Image

Image

Image

Image

I've only spent about two and a half hours filing the fins so I'll have to go back and revisit that job. MaineKZ spent six hours on his so that sets the benchmark.

Image

Image

Image

A big thanks to Pigford for posting off hard to find emulsifier tubes. The PO of my bike had managed to bend the original ones. Now that's hard to do! Thanks to Mikey for plating advice and also bunnyZ for services rendered. Also, the membership here has given me great advice over the past 18 months or so. Cheers.

This restoration is really just a once over lightly to get rid of the stuff I couldn't live with. I've kept as much of the original paint as I could. The body set is 100 percent factory paint and the frame about 80-90 percent. The engine was spray bombed by the PO so I have just done my best there.

Everyone has their own idea of what a restoration should be. This is my first real effort with a bike. I'm happy with the result.

To finish the bike I need the two bolts that hold the master cylinder to the handlebars, the bolt that fixes the clutch perch to the bars and also the clutch lever bolt for the perch. They all have the number 4 on them, I think it is, but someone will know.

User avatar
london calling
Hardcore
Hardcore
Posts: 3992
Joined: 16th Apr 2004
Location: Loughborough, East Midlands

#4 PostAuthor: london calling » Fri Oct 16, 2009 10:38 am

Nice one TC,good to see so many original parts/finish being retained. :wink:
Jack

wilsonsjw11
Hardcore
Hardcore
Posts: 1317
Joined: 18th Jul 2008
Location: West Sussex/Central London

#5 PostAuthor: wilsonsjw11 » Fri Oct 16, 2009 10:46 am

TC
Well done,I'm impressed with the engine paint what is it?Not too much sheen as seen on some restos.
The M6 bolts for the handlebars should carry a number 7
Regards
Steve

phil churchett
Hardcore
Hardcore
Posts: 3009
Joined: 28th Mar 2003
Location: Warwickshire

#6 PostAuthor: phil churchett » Fri Oct 16, 2009 11:03 am

Nice job TC, you should be well pleased with it, especially after all the hassle you had when you bought it.
Hope you enjoy riding it.
Four pipes rule, anything else is second best.

User avatar
mikey
Hardcore
Hardcore
Posts: 3792
Joined: 29th Nov 2005
Location: bristol

#7 PostAuthor: mikey » Fri Oct 16, 2009 11:05 am

Nice job tc a resto with a bit of character like it a lot
Making the world a shiny place with a factory finish

kev edwards
Hardcore
Hardcore
Posts: 1487
Joined: 3rd Apr 2009
Location: leverington UK

#8 PostAuthor: kev edwards » Fri Oct 16, 2009 11:31 am

looking good tc , you need to pop to the uk and give my zed a quick spruce up :D

eastlondon
100Club
100Club
Posts: 196
Joined: 12th Jun 2008
Location: stratford, london e15

#9 PostAuthor: eastlondon » Fri Oct 16, 2009 11:58 am

Vey nice and good pics as well.

How did you get the petrol tank sealed?

User avatar
bunnysZ
Granny Magnet
Posts: 1576
Joined: 7th Mar 2006
Location: herts

#10 PostAuthor: bunnysZ » Fri Oct 16, 2009 12:14 pm

very nice bike , well done ..
you can repay me me with a ride on it if/when i ever go there :lol:
zed the best ride of your life ...... so far

Kwakanut

#11 PostAuthor: Kwakanut » Fri Oct 16, 2009 1:25 pm

Beauty! It's always tough with an ebay/online purchase when your definitions don't match with the PO's definitions. You've done a great job with your "cheap" resto. :beer :beer

User avatar
toycollector10
100Club
100Club
Posts: 401
Joined: 10th Dec 2007
Location: New Zealand

#12 PostAuthor: toycollector10 » Fri Oct 16, 2009 8:58 pm

The product used in the petrol tank was Red-Kote.

http://kz400.com/Mark%20Shively/Red-Kote.doc

User avatar
Pigford
Hardcore
Hardcore
Posts: 13314
Joined: 2nd Jan 2006
Location: North Dorset

#13 PostAuthor: Pigford » Sat Oct 17, 2009 8:29 pm

Good on you TOY - No Pain, No Gain :wink:
And on the 7th day... Zeds were created!

User avatar
kz900B1
100Club
100Club
Posts: 428
Joined: 30th Jan 2006
Location: central scotland

#14 PostAuthor: kz900B1 » Sat Oct 17, 2009 9:12 pm

Well done TC. Looking good ! Although I would have put on more modern type of tyres if it was me :wink: .Still looks good though :D
colinKZ900B1

User avatar
toycollector10
100Club
100Club
Posts: 401
Joined: 10th Dec 2007
Location: New Zealand

#15 PostAuthor: toycollector10 » Sat Oct 24, 2009 3:29 am

I've put 300 miles on the clock in the last week. Compared to my 1969 CB750, I have to admit that I prefer the Zed. It's great to ride and I love the way the power comes on.

The engine is really smooth and tractable right down from around 25 mph in top gear and it just gets up and and goes if I crack the throttle open smoothly. I don't think modern bikes are designed to do that. The CB doesn't like to be lugged and is happiest sitting at around 3000 rpm whereas the Zed doesn't mind getting down around 2000 rpm in top.

Should I be keeping the revs up to keep the oil up to the top end?


Return to “Projects”

Who is online

Users browsing this forum: No registered users and 11 guests