

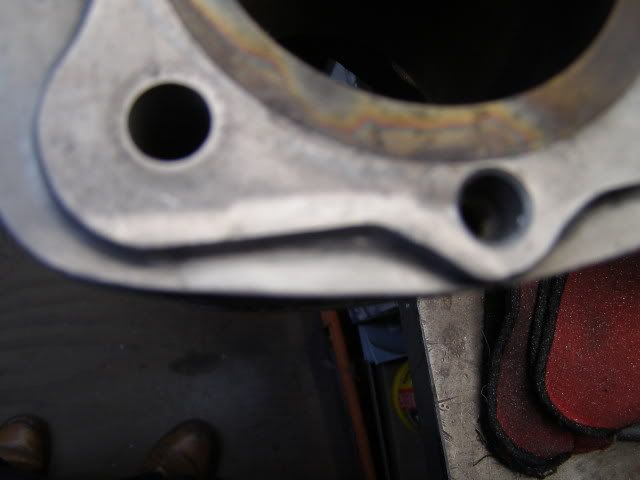
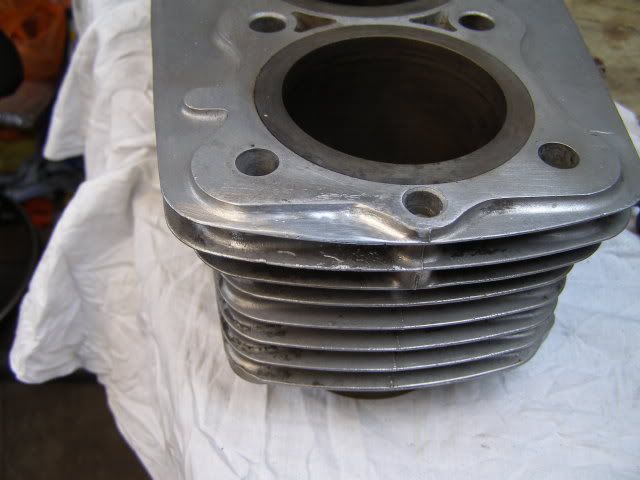
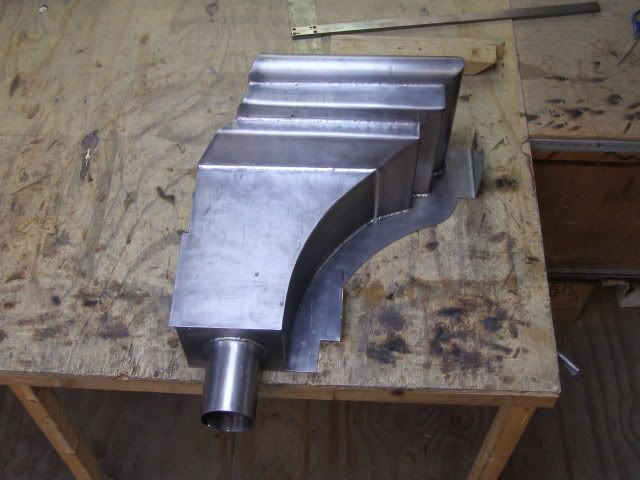
Picked up a set of barrels for repair today.
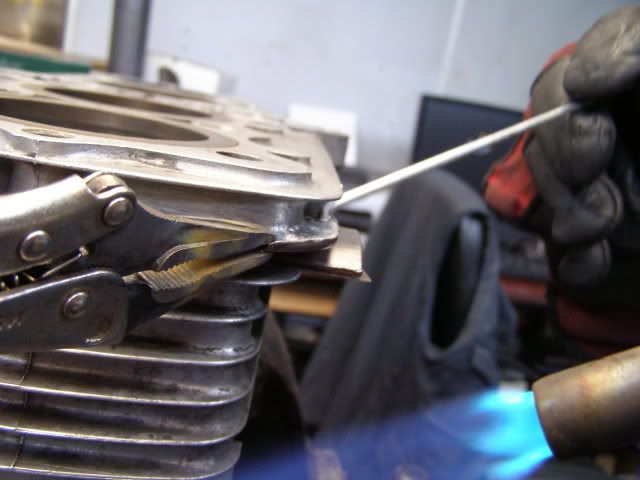
Here are the before photo's, I will add to the post as the repair progresses.
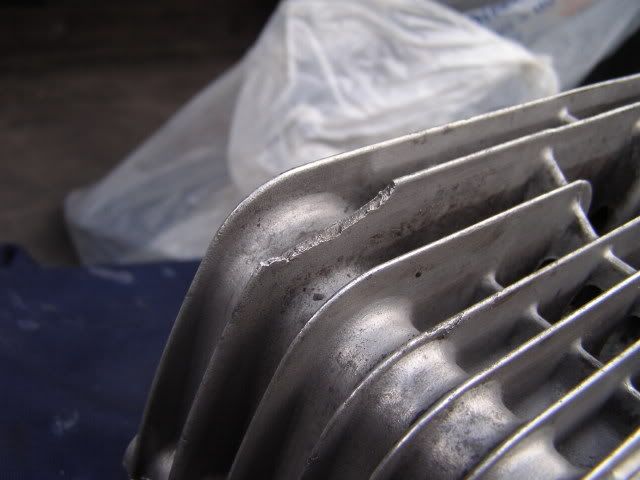

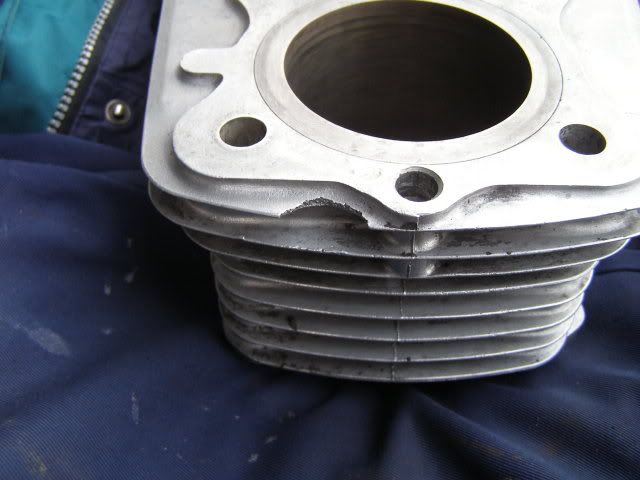
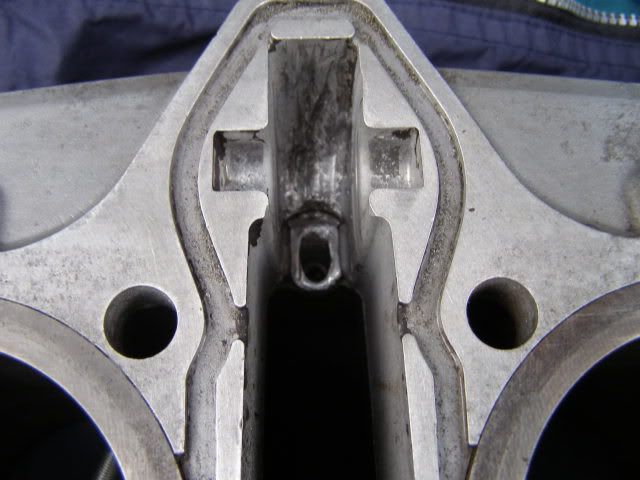
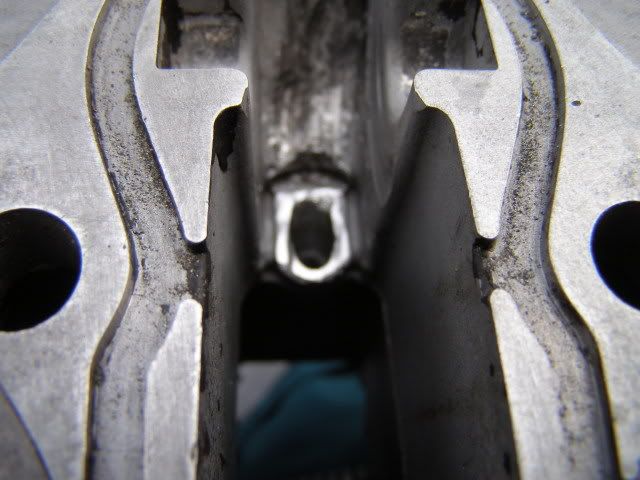
So, if it's of interest.................watch this space.
Paul
Moderators: KeithZ1R, chrisu, paul doran, Taffus


mick z1a wrote:it is very clever stuff, does this mean you are going to do this as a business or showing us how to do it for ourselves maralyn
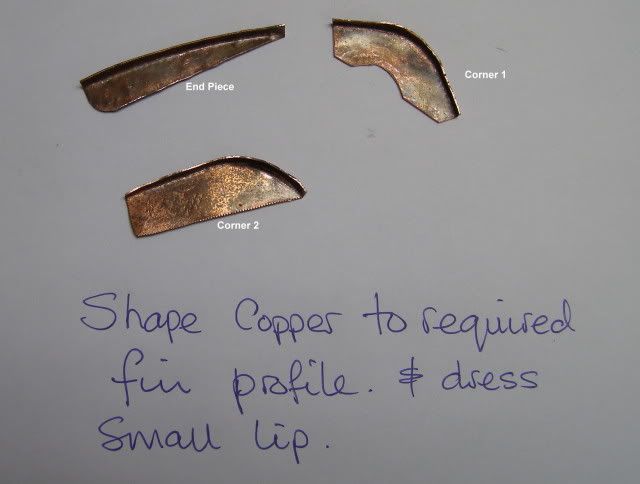
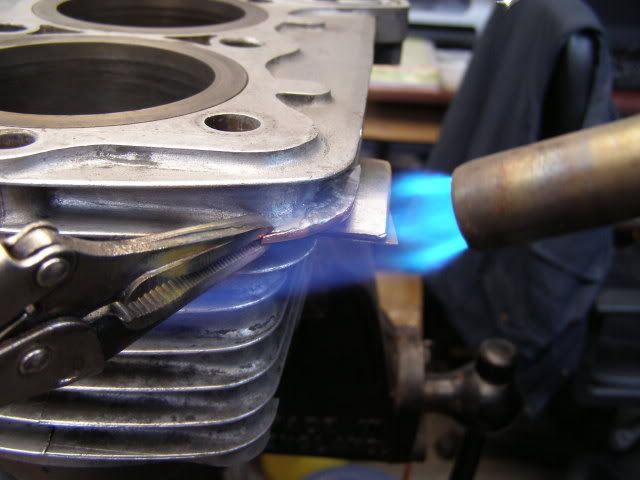
Garn 1 wrote:Maralyn, regarding those copper form pieces. I presume these are to form the fin sections. Are they left attached, then taken away, once the fin has been formed? If so, why does not the durafix weld to the copper.
Or does the former stay part of the fin and the edge "tinned" to conceal it?
RegardZ ~ Garn


Pigford wrote:Great thread... cheers.....
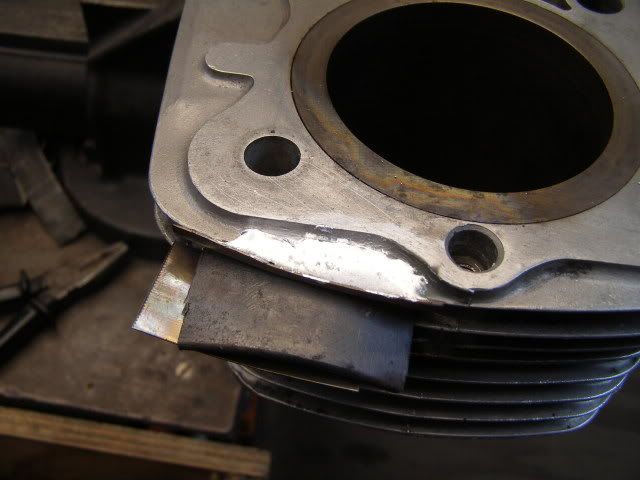
But when will you be able to FULLY test the repair..... as in HOT engine
Users browsing this forum: No registered users and 12 guests


