Right then, Took the frame & another 25 brackets etc to Reality Motorworks (Griffs) last Thursday (4.6.09) to be powdercoated, was quoted three weeks turnaround time.... I didn't even ask the price!!!!
Frame & all brackets are to be powdercoated graphite grey, then finished with a clear laquer.
I also delivered another 60 fastners to be re- black zinc plated.
As long as all this comes back in a reasonable time/price I will then take all the parts that will be coated Gloss black. Engine covers, fork lowers, grab rail, tail trim/lift handles etc.
Still not sure what to do with the forks regarding the anti-dive. The forks on this bike had been blanked off, but I have another three sets complete with anti-dive. I have never experienced anti-dive forks, but would appreciate any feedback from those of you that have.
Ordered a set of reproduction graphics from Sunrise on Monday, not bad at £85.00, but that bloke can 'talk for England'!! Still not sure if I should have a go at painting the bodywork myself or 'farm it out'. I have heard & seen some of the stuff that 'Hutch' has done, maybe that's the place to start.
Hello Guest User,
Please feel free to have a look around the forum but be aware that as an unregistered guest you can't see all of it and you can't post.
To access these 'Registered Users Only' areas simply register and login.
Please feel free to have a look around the forum but be aware that as an unregistered guest you can't see all of it and you can't post.
To access these 'Registered Users Only' areas simply register and login.
GB's Snotter! Oh Why, Oh Why? It's all over now..... Sort of
Moderators: KeithZ1R, chrisu, paul doran, Taffus
-
Ginger Bear

- Hardcore

- Posts: 6850
- Joined: 16th Dec 2008
- Location: In the Dark.
- Contact:
-
RALPHARAMA

- Area Rep.

- Posts: 3407
- Joined: 19th May 2007
- Location: Pensford, Somerset
- Contact:
Anti-dive forks were a bit of a fashionthing for a while. My FJ1100 had them but they did very little of any consequence really. Aparently there were some mechinacal anti dives that worked better than the hydraulic ones but they were never used on production bikes as they didn't look good - and these things are only ever put on bikes to sell them  My suggestions is that if you want the snotter to be original refit the anti-dive, but it will make next to sod all difference to the rideabilty of the bike
Ralph Ferrand
Z1000A1 (1977), Z1300A5 (1983), Z900A4 (1976) GPZ1100 Unitrak (1983)(project), RD250B (1975)(project), ZRX1200R (2005) DT175MX (1981) YZF R6 (1999)
http://www.bikerstoolbox.co.uk
Z1000A1 (1977), Z1300A5 (1983), Z900A4 (1976) GPZ1100 Unitrak (1983)(project), RD250B (1975)(project), ZRX1200R (2005) DT175MX (1981) YZF R6 (1999)
http://www.bikerstoolbox.co.uk
-
Ginger Bear
- Hardcore
- Posts: 6850
- Joined: 16th Dec 2008
- Location: In the Dark.
- Contact:
Picked up my frame + 25 other parts, brackets, stands etc.
Lurverly, is all I can say.
There was one small blemish on the underside of one of the down tubes, where a pinhole had let let go & caused the laquer to blister slightly, but 10 minutes with some wet & dry/polish has just about sorted it. Will try and post pic's asap.
Lurverly, is all I can say.
There was one small blemish on the underside of one of the down tubes, where a pinhole had let let go & caused the laquer to blister slightly, but 10 minutes with some wet & dry/polish has just about sorted it. Will try and post pic's asap.
-
Ginger Bear
- Hardcore
- Posts: 6850
- Joined: 16th Dec 2008
- Location: In the Dark.
- Contact:
Bit of an update & a few pics;

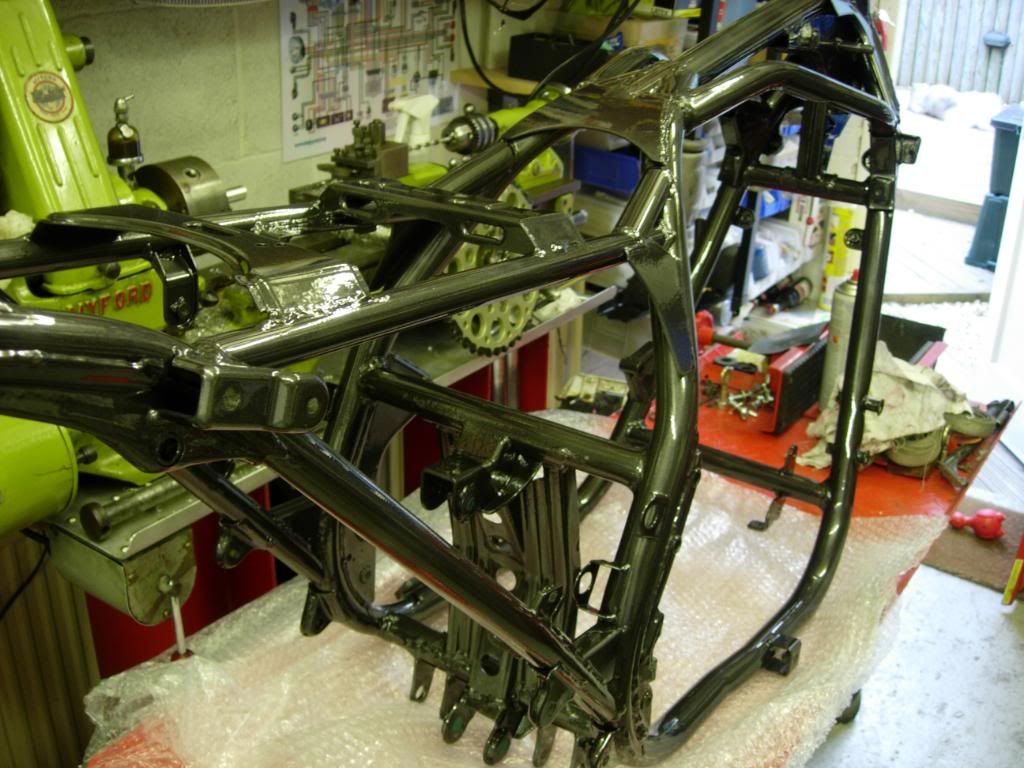
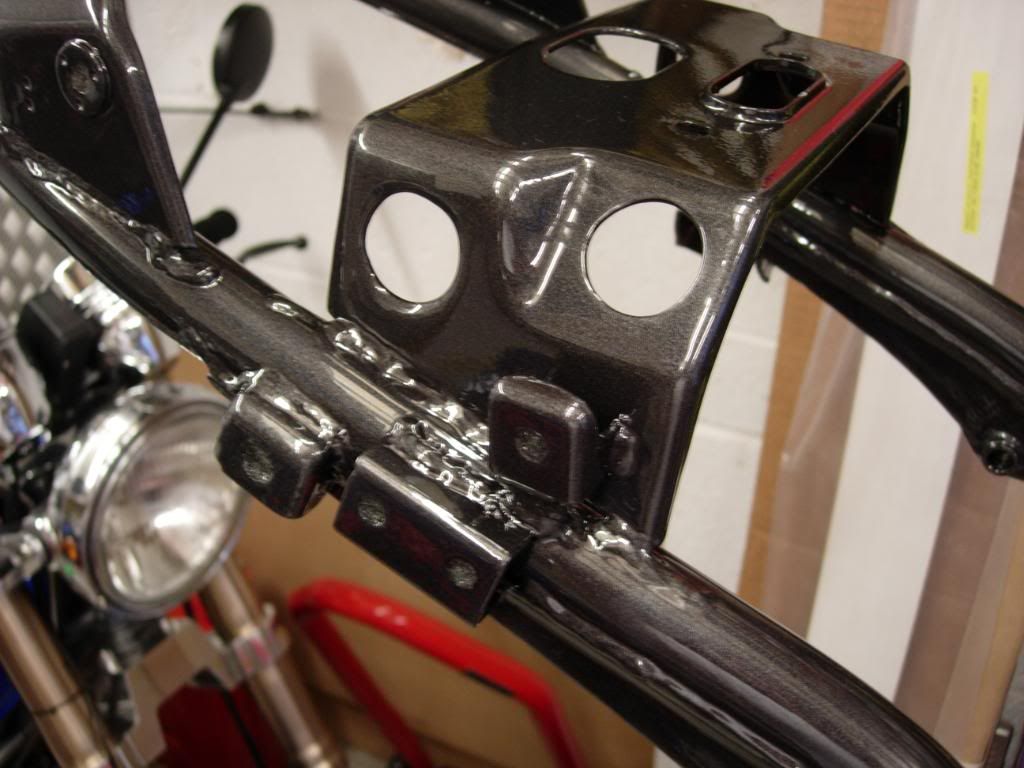
Frame is finished in a metalic charcoal grey, with a gloss laquer...... I love it. So far have just bolted in the battery box & a couple of other bracket's, as I am waiting for some new front engine dampers/mounts to turn up. I want to use the 'engine on it's side & frame over' method, so don't want to make the frame too heavy just yet.
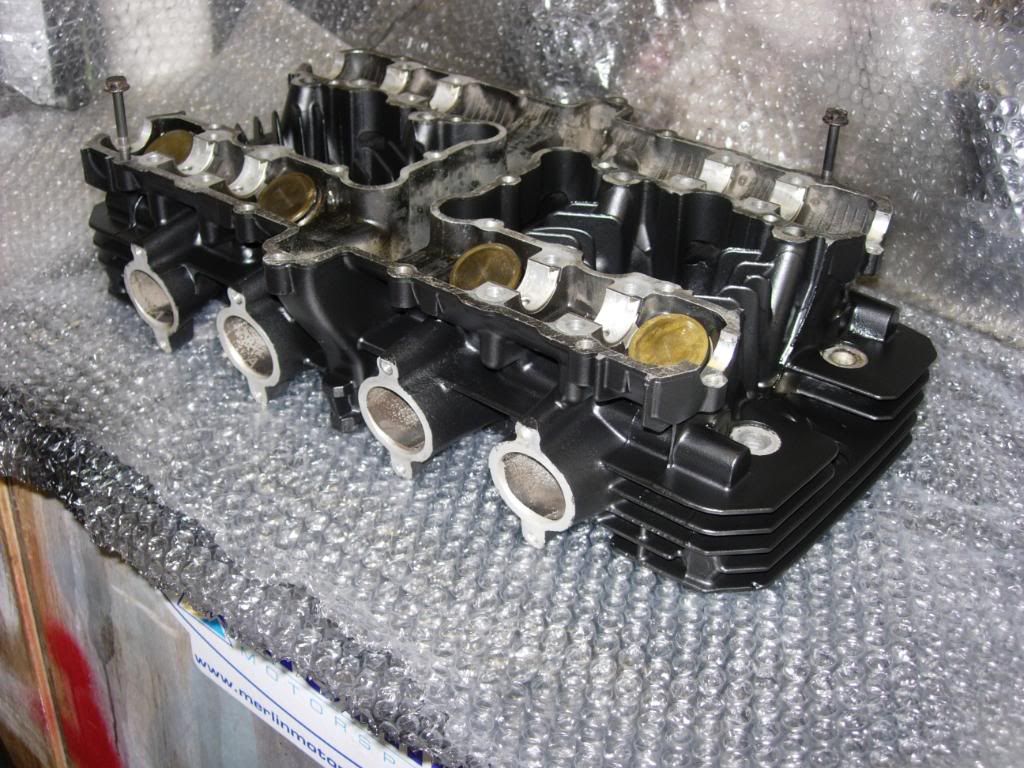
Whilst I've been waiting for the mounting rubbers I have stripped & blasted the head. I did silicone up the oil feed's & exit's, but still flushed thoroughly.
I lapped in the valve's & refitted them, then realised all the six mm threads were full of blasting media Took me ages to run a plug tap, with a bit of cutting paste on to clean out all 48 (I think) threads.
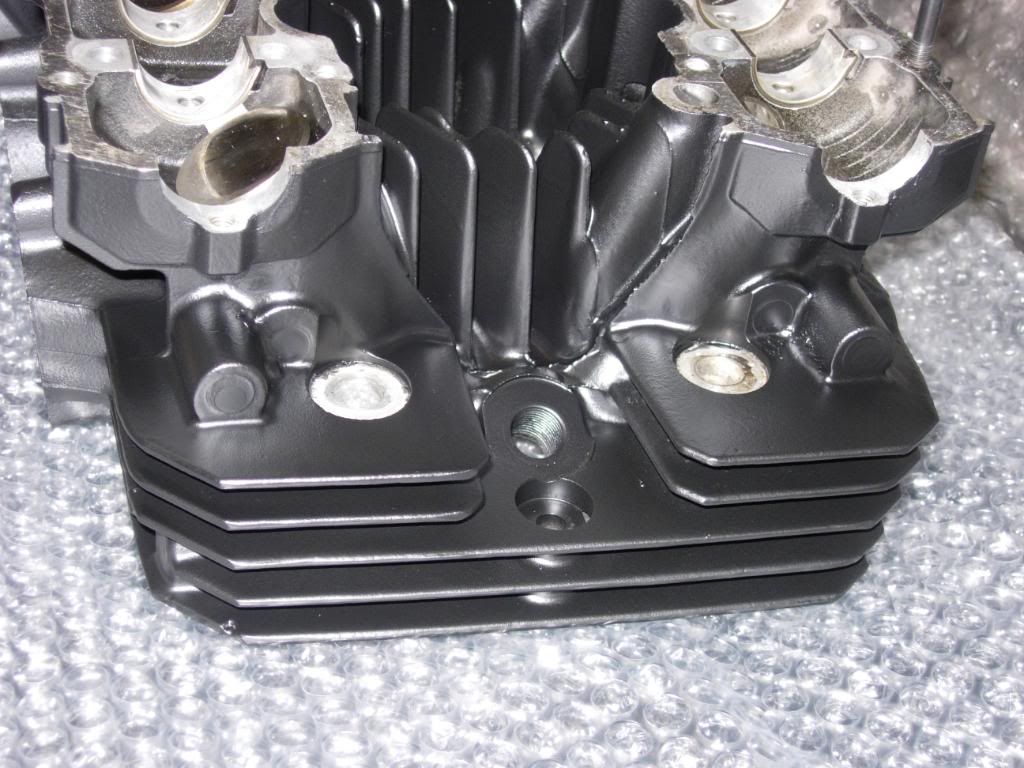
Masked it all up & sprayed some PJ1 satin to the head & cam cover..... the barrels are still away being blasted as they were really cacked up!
Really chuffed with the PJ1 finish
Frame is finished in a metalic charcoal grey, with a gloss laquer...... I love it. So far have just bolted in the battery box & a couple of other bracket's, as I am waiting for some new front engine dampers/mounts to turn up. I want to use the 'engine on it's side & frame over' method, so don't want to make the frame too heavy just yet.
Whilst I've been waiting for the mounting rubbers I have stripped & blasted the head. I did silicone up the oil feed's & exit's, but still flushed thoroughly.
I lapped in the valve's & refitted them, then realised all the six mm threads were full of blasting media
Masked it all up & sprayed some PJ1 satin to the head & cam cover..... the barrels are still away being blasted as they were really cacked up!
Really chuffed with the PJ1 finish

-
Ginger Bear
- Hardcore
- Posts: 6850
- Joined: 16th Dec 2008
- Location: In the Dark.
- Contact:
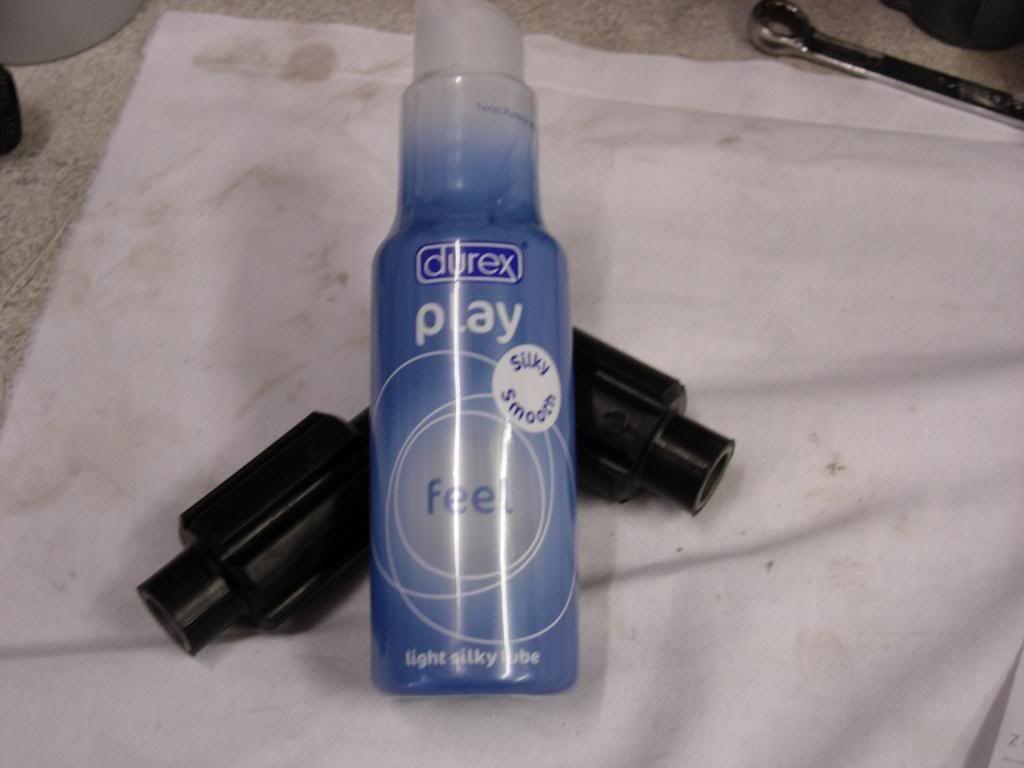
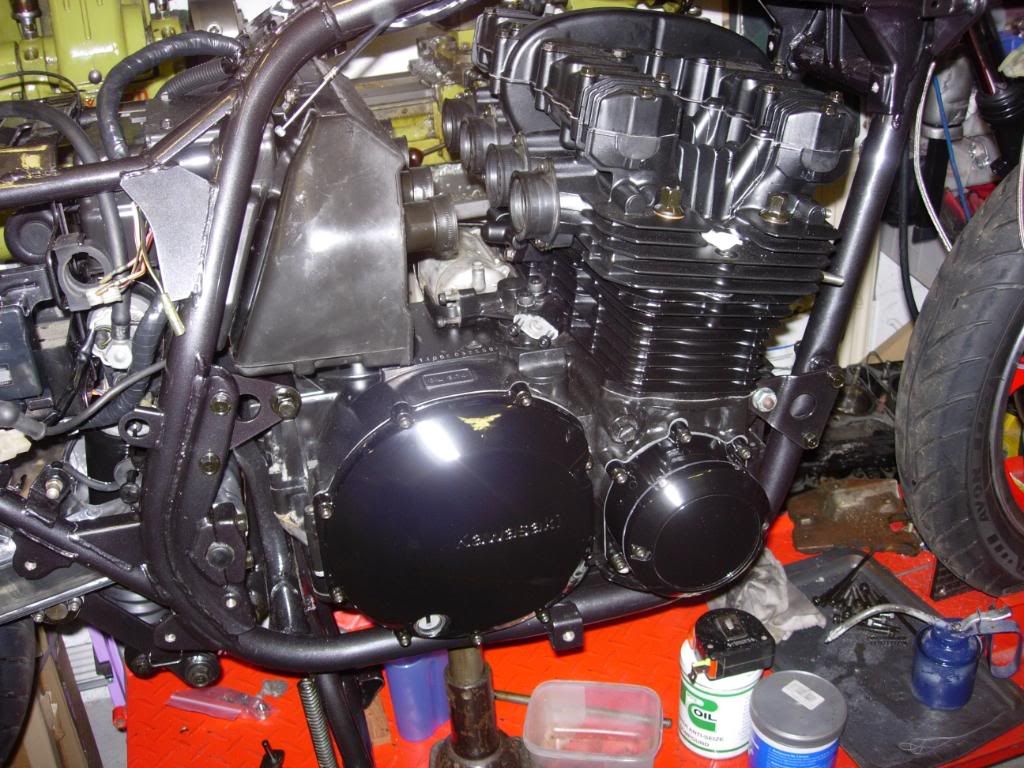
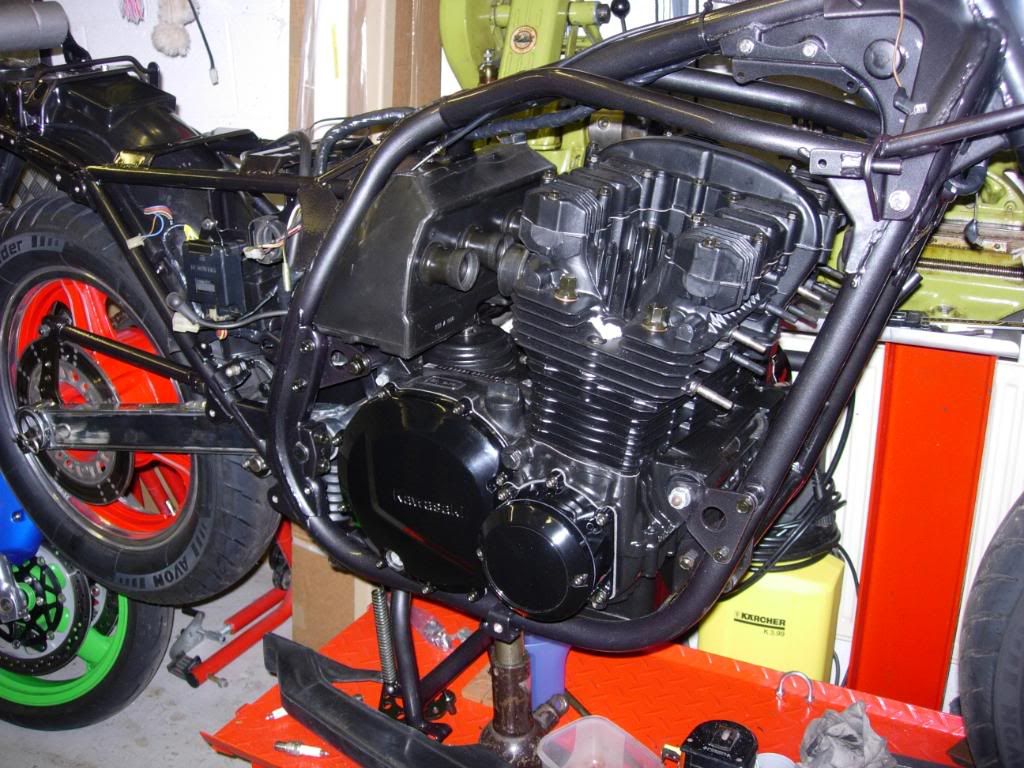
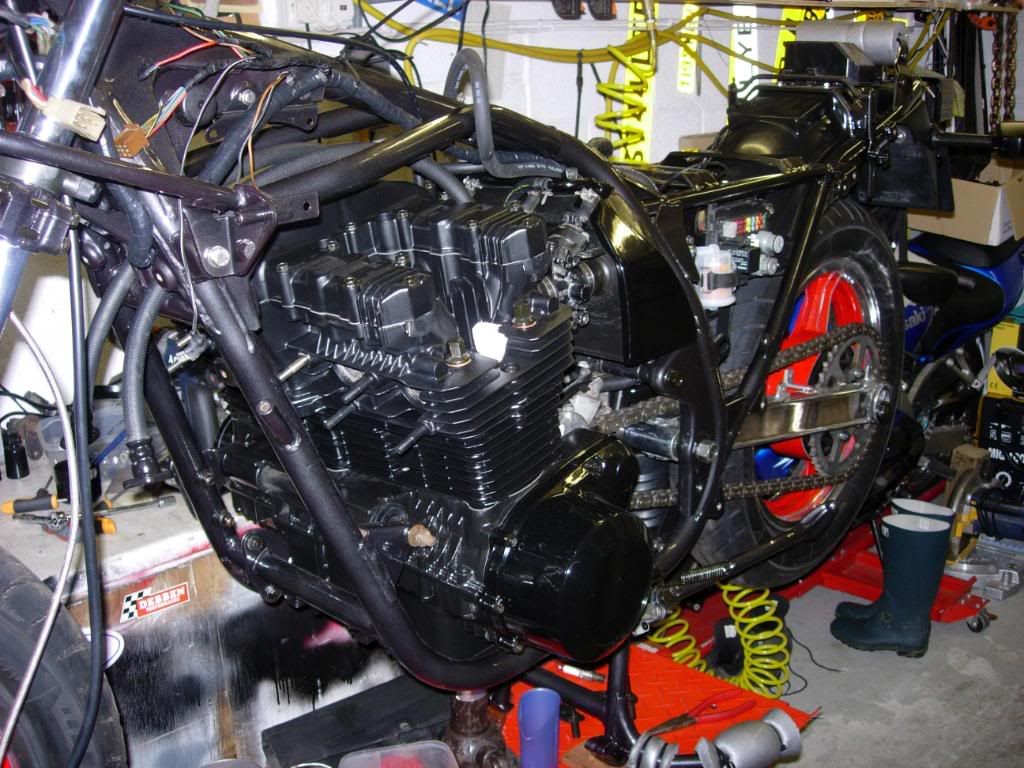
I had been waiting for some engine dampers to arrive from Z-Power before I could fit the engine, they arrived but weren't gonna slip in easily... they did after a bit of lube!!
After that it was engine on it's side & lay the frame over that, fit engine mounts/bolts than roll it upright.... Easy paesy one man job.
I also managed to fit the forks & front wheel, so with the aid of the centre stand she is now standing securely upright.
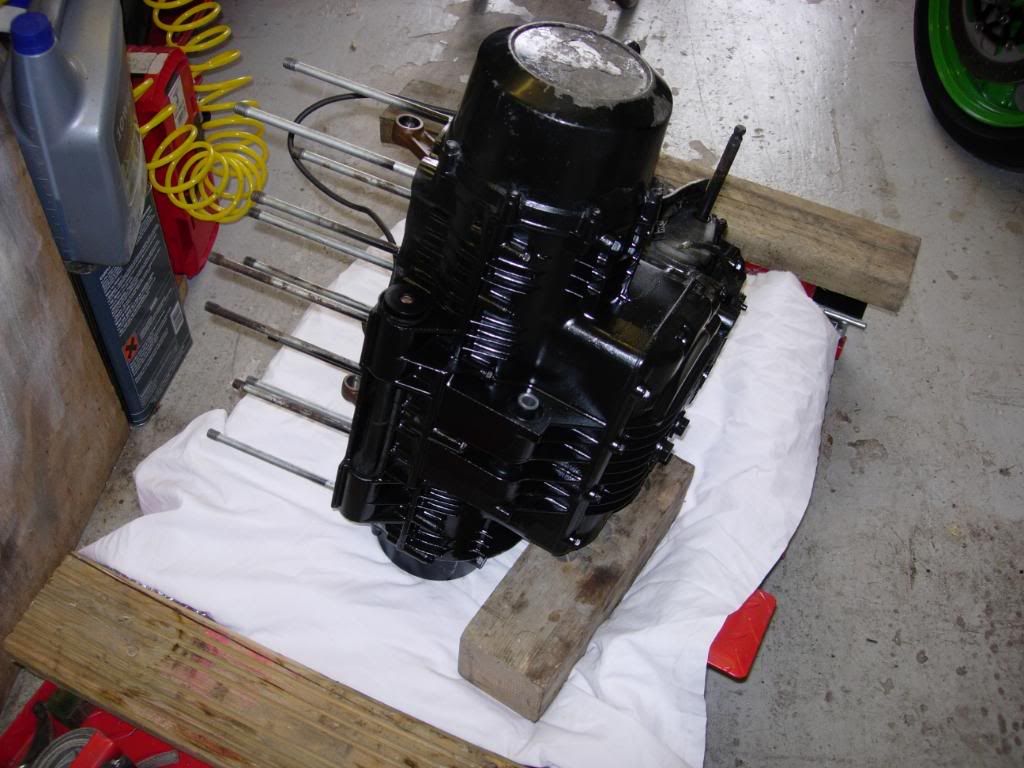
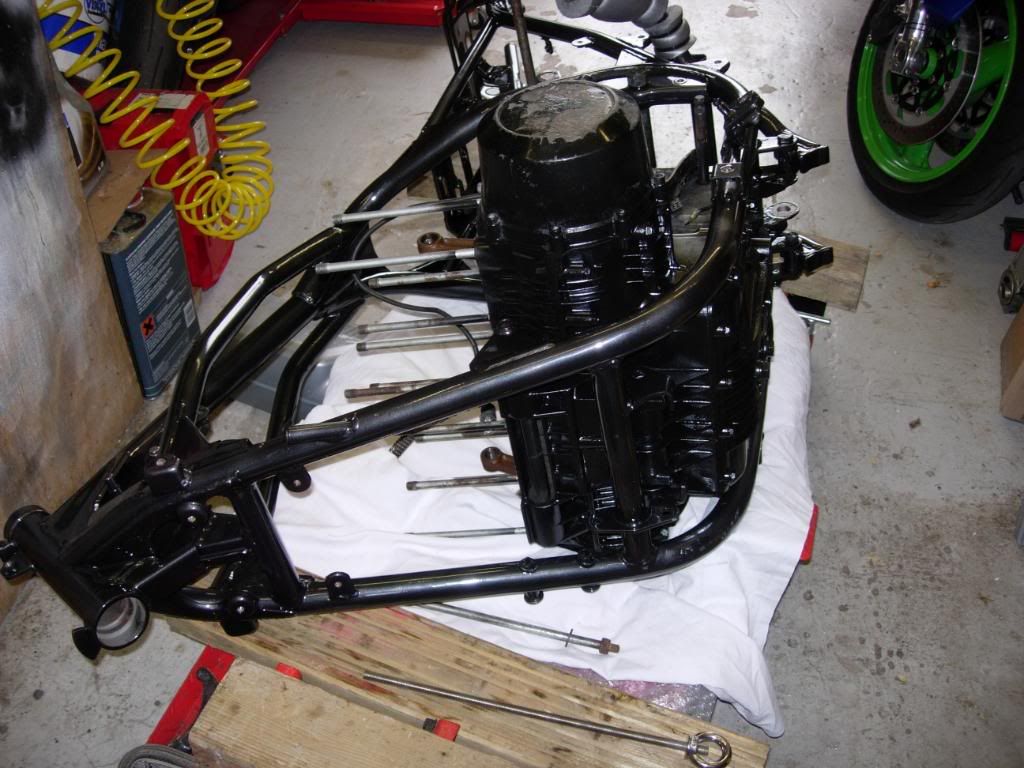
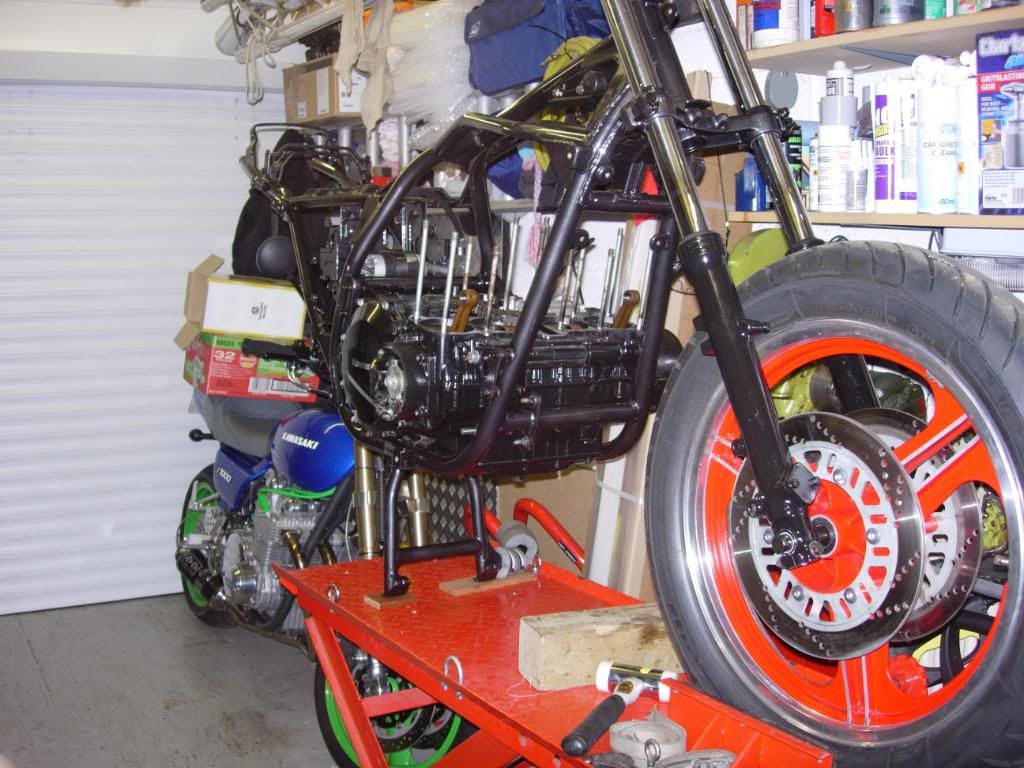
After that it was engine on it's side & lay the frame over that, fit engine mounts/bolts than roll it upright.... Easy paesy one man job.
I also managed to fit the forks & front wheel, so with the aid of the centre stand she is now standing securely upright.

-
Ginger Bear
- Hardcore
- Posts: 6850
- Joined: 16th Dec 2008
- Location: In the Dark.
- Contact:

-
mick znone

- Hardcore
- Posts: 6880
- Joined: 13th Jun 2008
- Location: Cornwall
-
mick znone
- Hardcore
- Posts: 6880
- Joined: 13th Jun 2008
- Location: Cornwall
-
Ginger Bear
- Hardcore
- Posts: 6850
- Joined: 16th Dec 2008
- Location: In the Dark.
- Contact:
-
Ginger Bear
- Hardcore
- Posts: 6850
- Joined: 16th Dec 2008
- Location: In the Dark.
- Contact:
-
Ginger Bear
- Hardcore
- Posts: 6850
- Joined: 16th Dec 2008
- Location: In the Dark.
- Contact:
Whoops, pressed submit too soon 
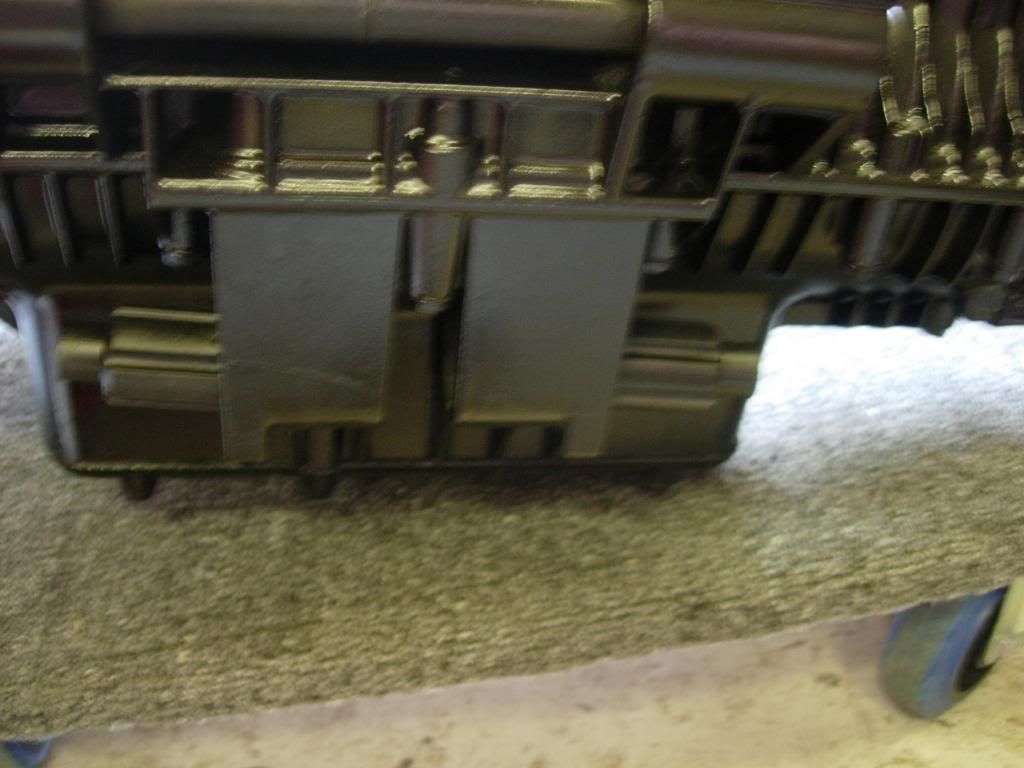
After having the barrels vapour blasted & re-honed I painted 'em with PJ1
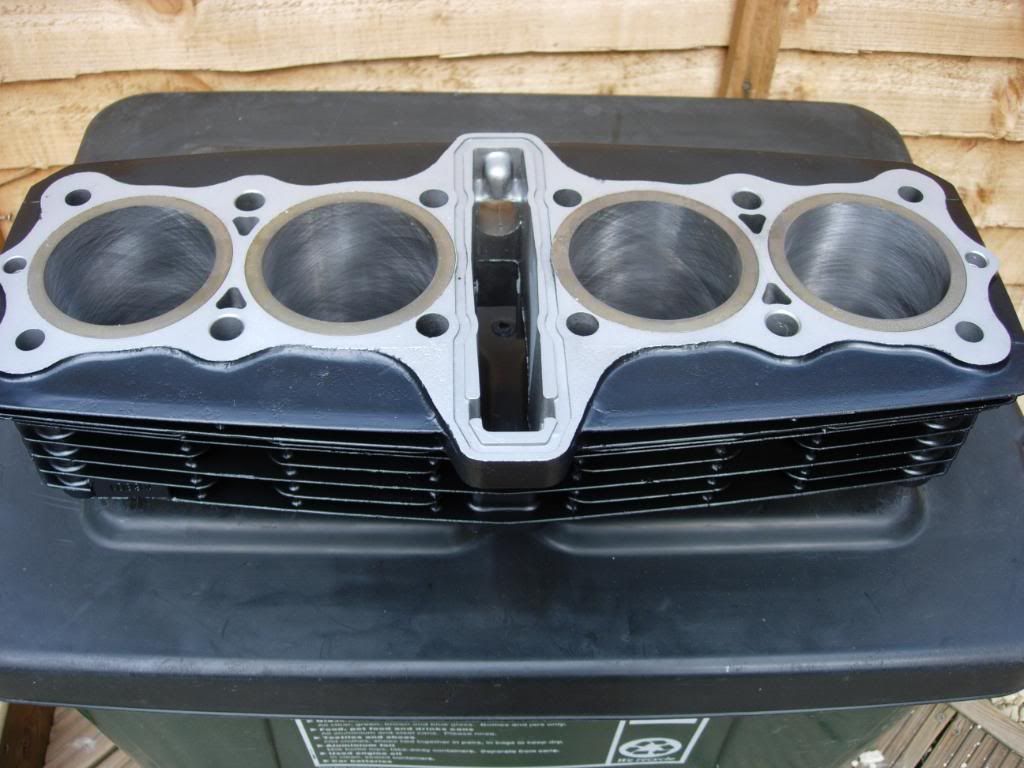
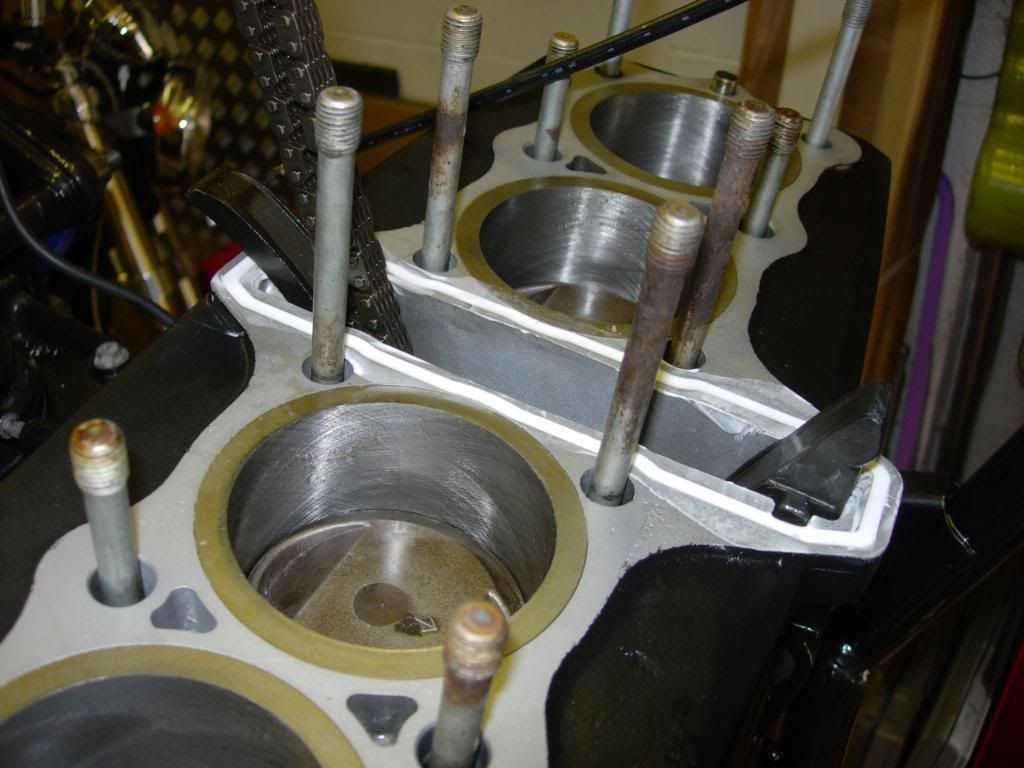
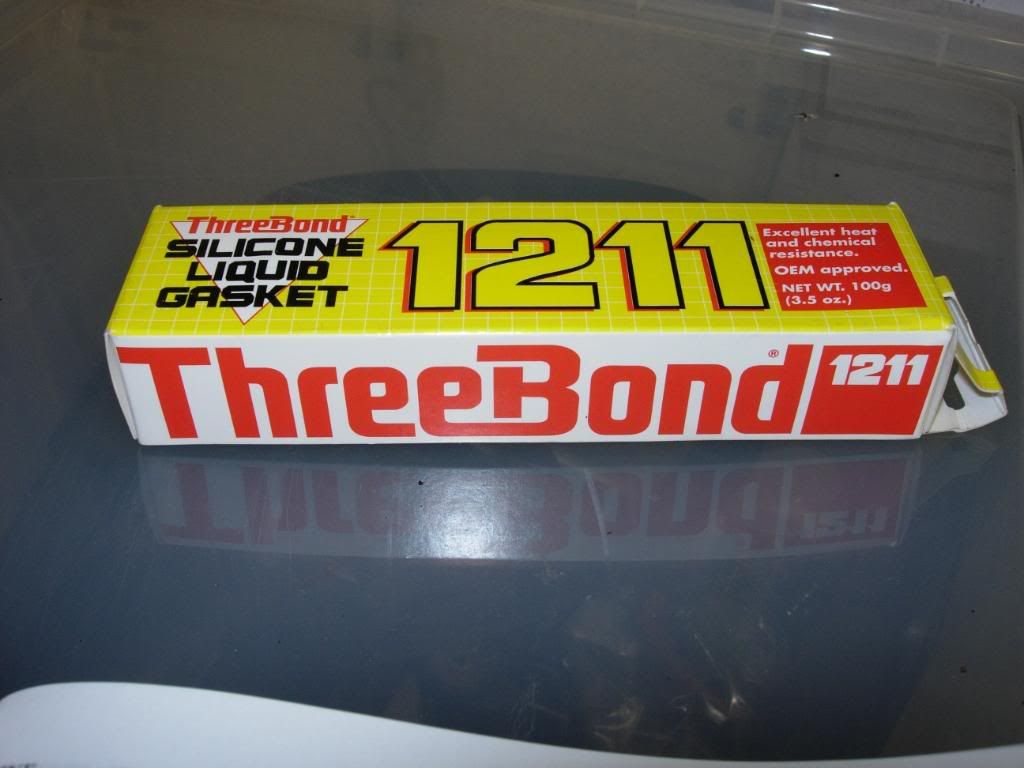
Siliconed the 'o' ring groove as I am fitting a cometic one piece gasket, & if you're wandering, I didn't use bathroom stuff, I used this.....
Waiting for casings & another batch of black zinc plating to come back, then I can fit camshafts & sort valve timing & then the joyous task of re-shimming. Hopefully it will only be down one size on each valve, as I didn't grind the valves in any more than was needed & they all had clearance to start with.
After having the barrels vapour blasted & re-honed I painted 'em with PJ1
Siliconed the 'o' ring groove as I am fitting a cometic one piece gasket, & if you're wandering, I didn't use bathroom stuff, I used this.....
Waiting for casings & another batch of black zinc plating to come back, then I can fit camshafts & sort valve timing & then the joyous task of re-shimming. Hopefully it will only be down one size on each valve, as I didn't grind the valves in any more than was needed & they all had clearance to start with.
-
Ginger Bear
- Hardcore
- Posts: 6850
- Joined: 16th Dec 2008
- Location: In the Dark.
- Contact:
Right then, had the casings back. Nick at Griff's wanted to re-do a couple as he wasn't happy, but the end result was pretty good.
That meant I could fit the cams (the casing with the timing mark had been of to be powdercoated) & sort out the valve/cam timing & eventually check the valve clearance. The valve clearance was a right result, they're all still within tolerence. They were all good before I stripped the head, but I thought after re-lapping them I would need to re-shim, which would be a pain on this as shims are under the buckets, so cams out every time But not this time

That meant I could fit the cams (the casing with the timing mark had been of to be powdercoated) & sort out the valve/cam timing & eventually check the valve clearance. The valve clearance was a right result, they're all still within tolerence. They were all good before I stripped the head, but I thought after re-lapping them I would need to re-shim, which would be a pain on this as shims are under the buckets, so cams out every time
But not this time
Who is online
Users browsing this forum: No registered users and 6 guests