Page 1 of 5

Z650 restoration

Posted: Sun Aug 03, 2008 7:53 pm
Author: CB
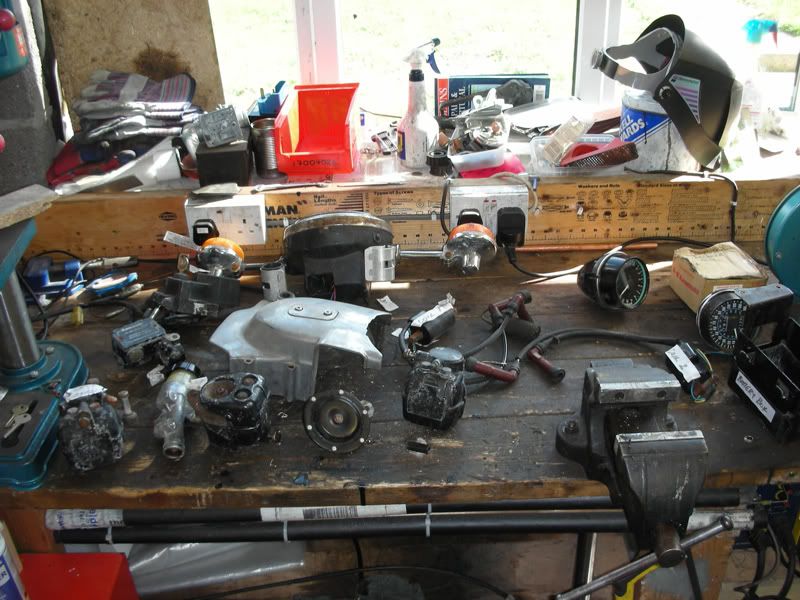
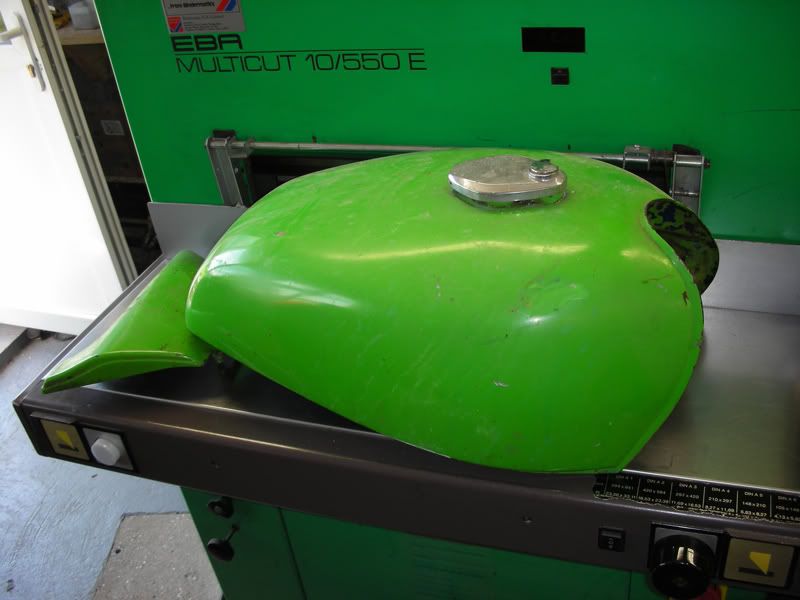
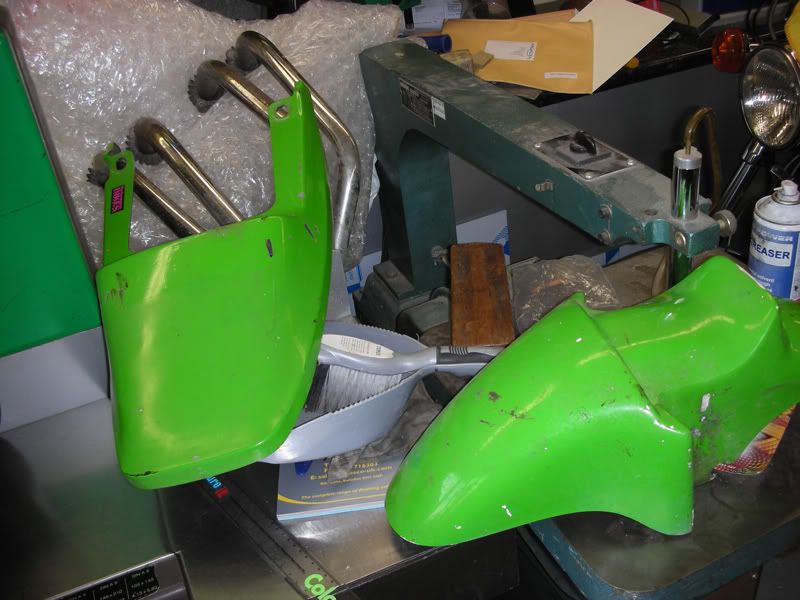
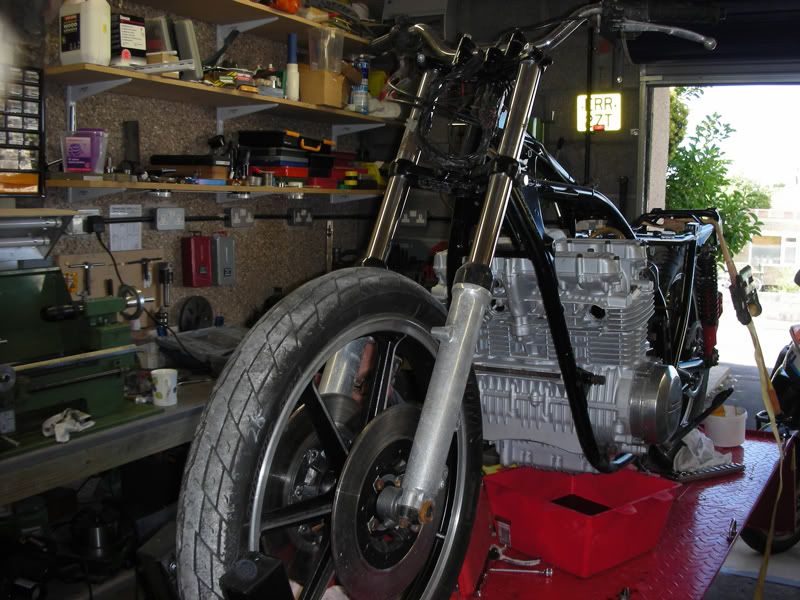
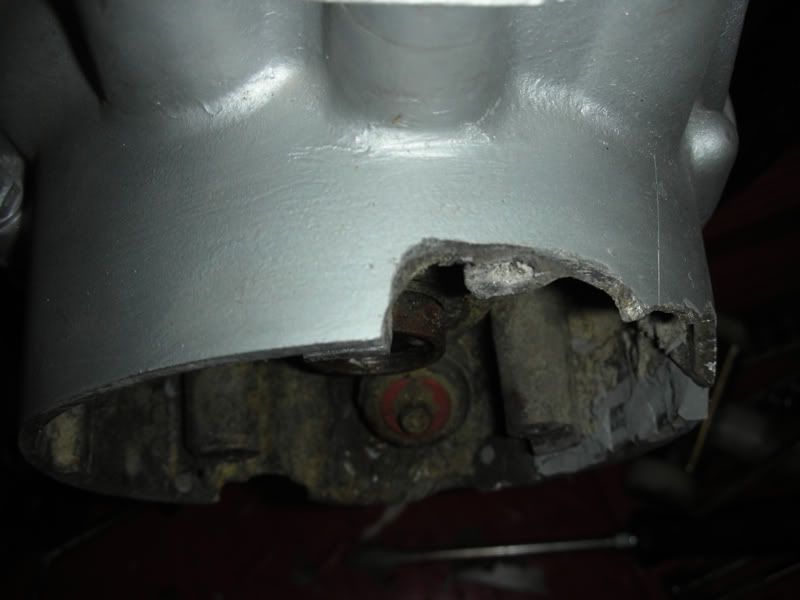
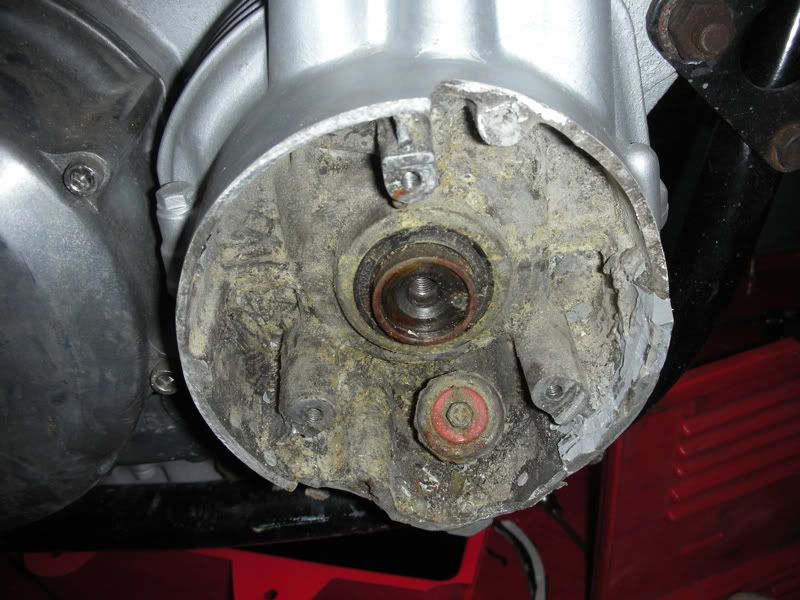
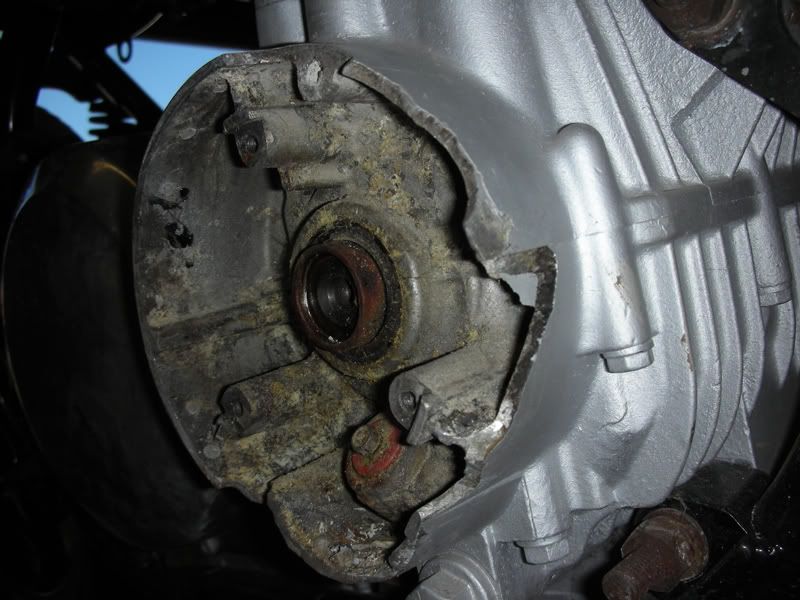
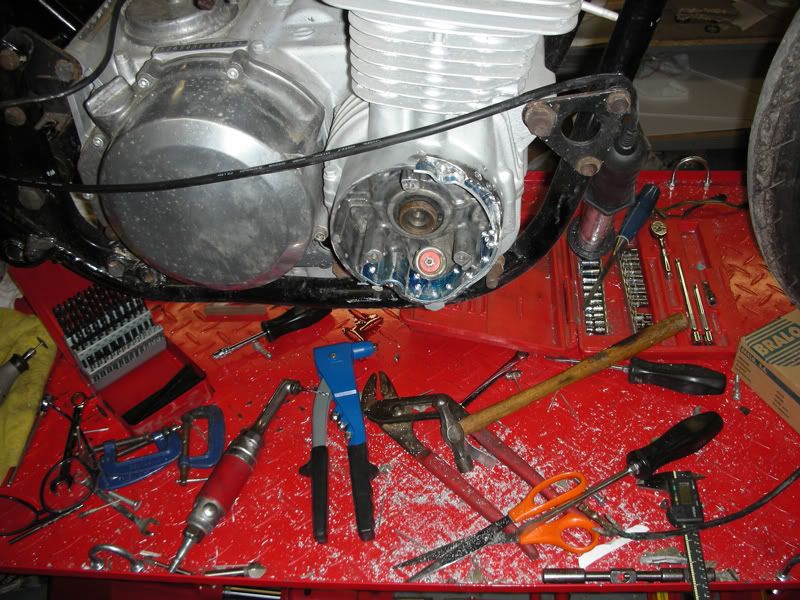
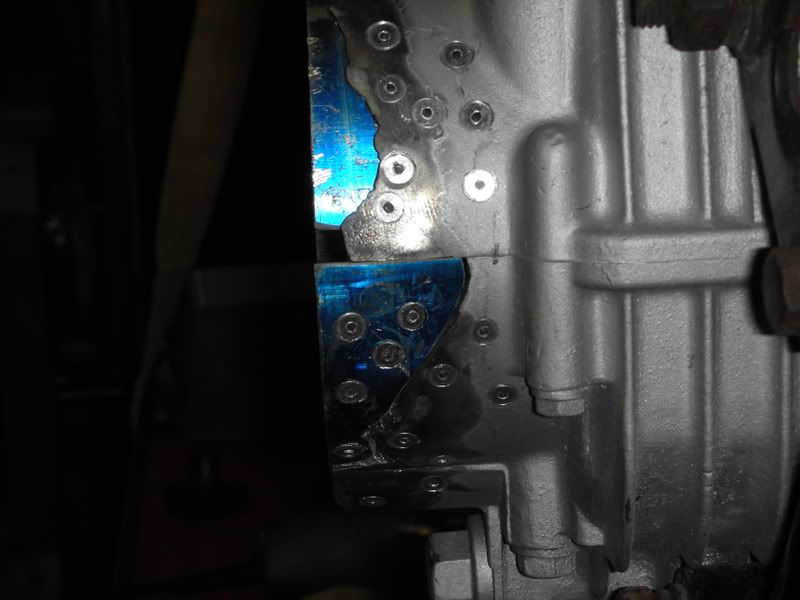
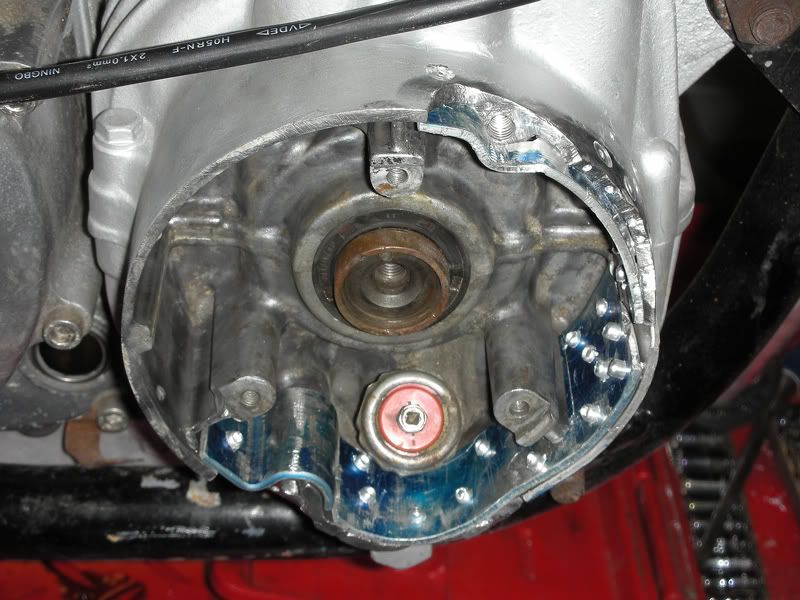
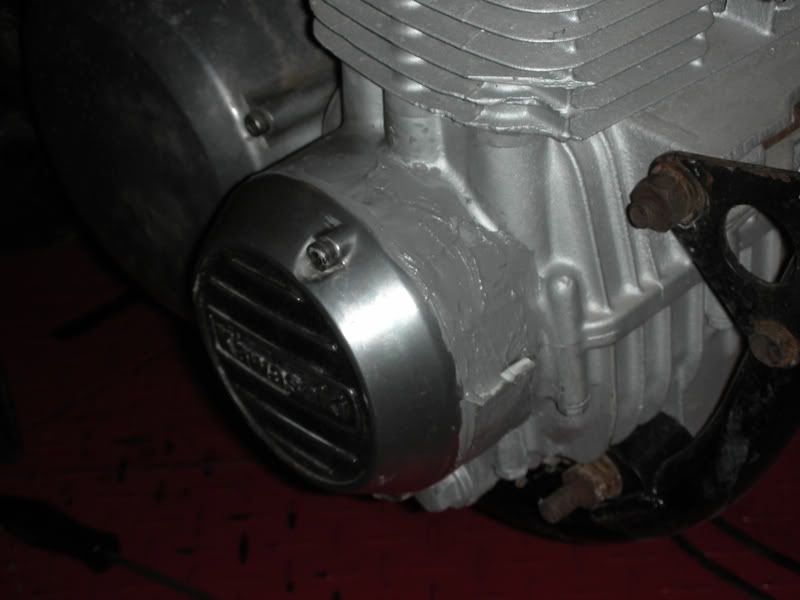
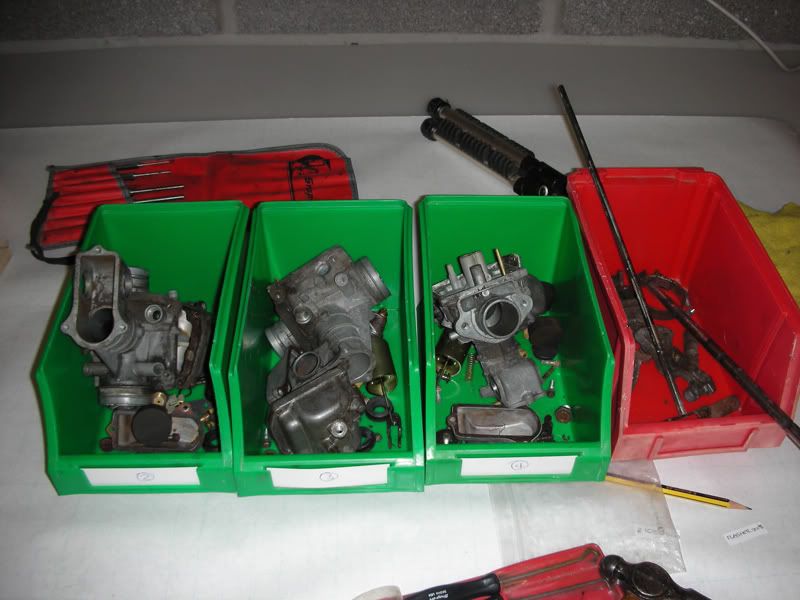
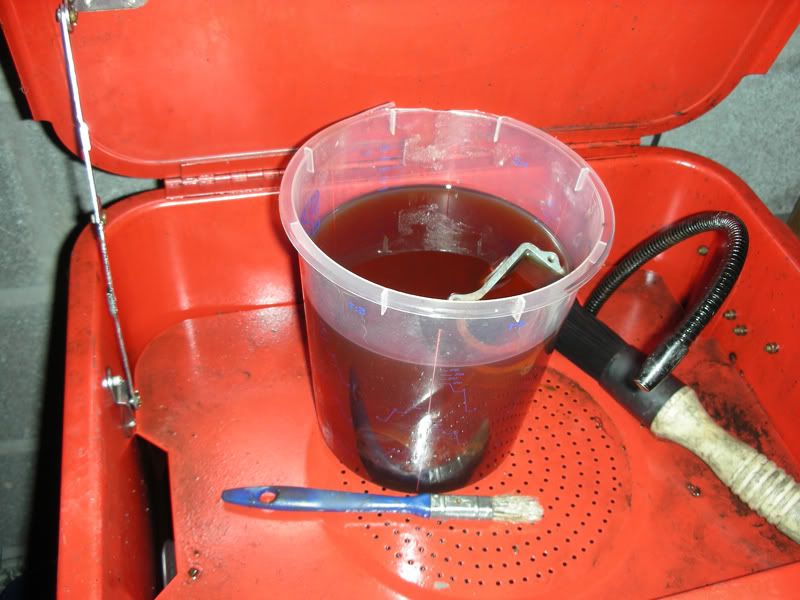
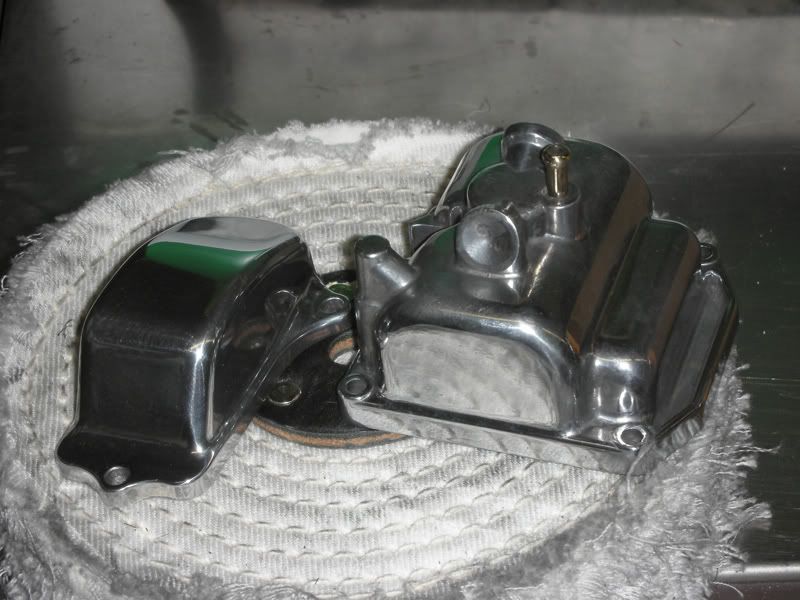
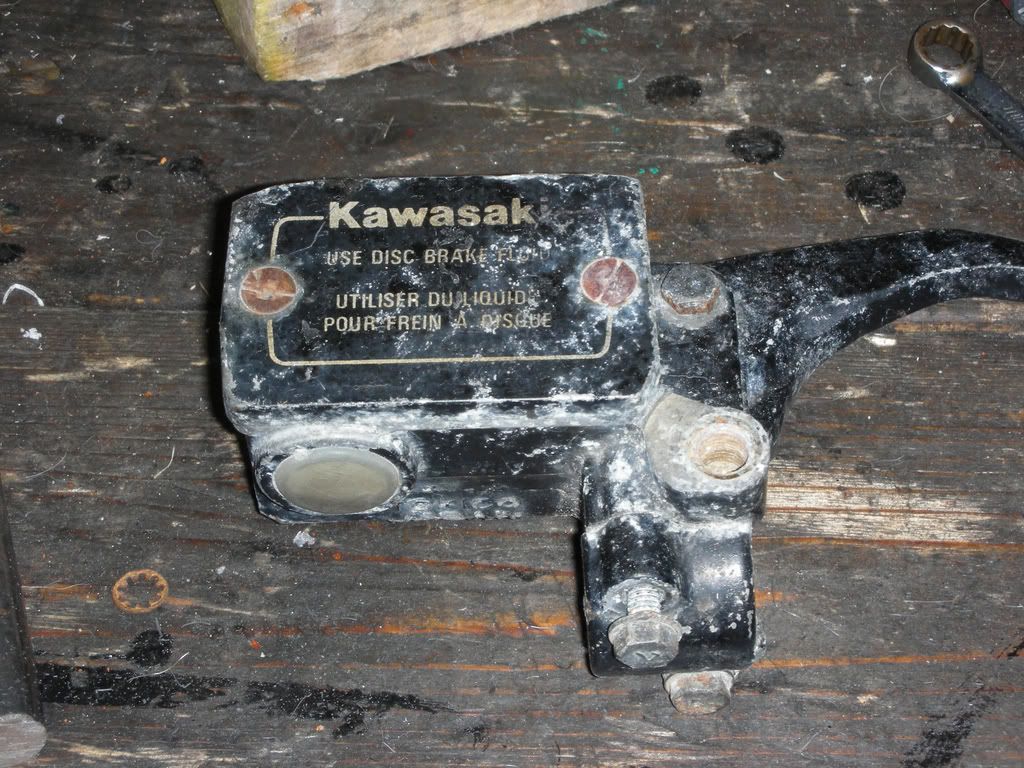
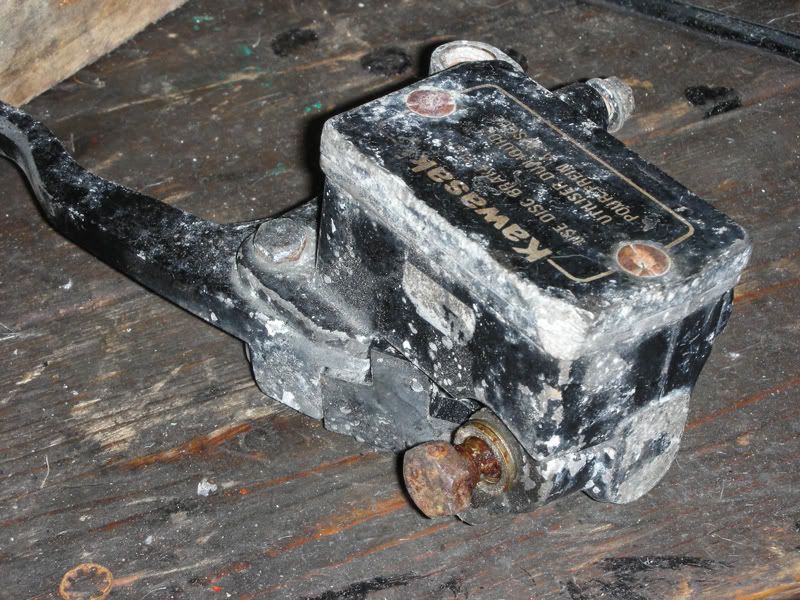
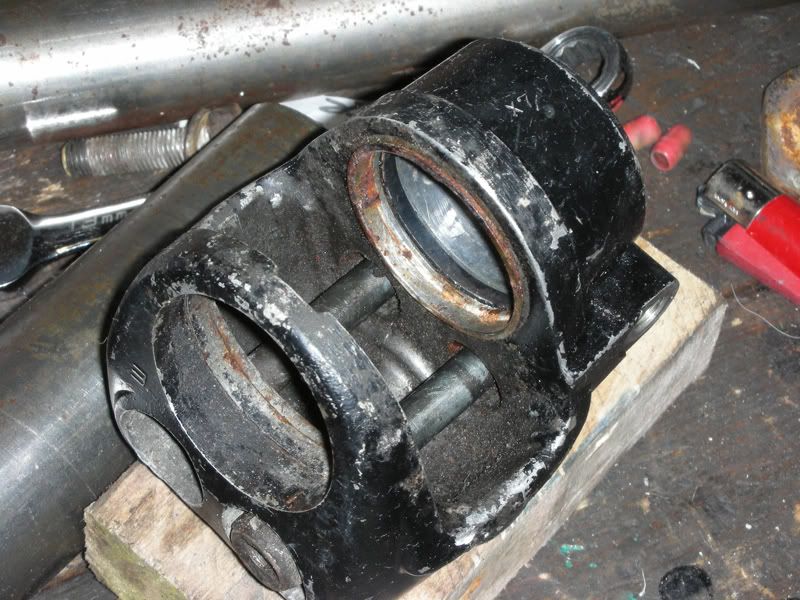
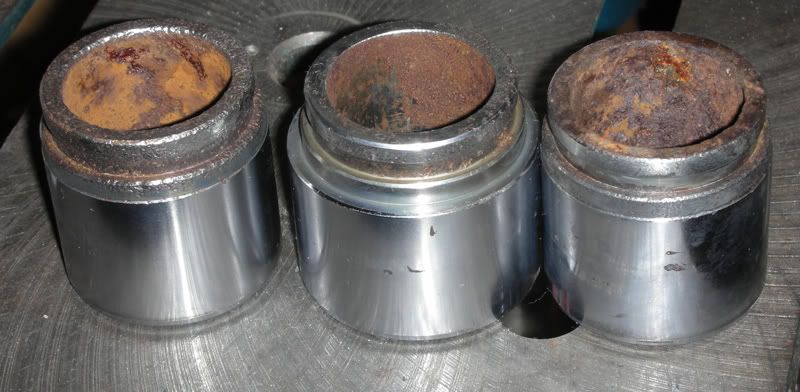
Had my new bike delivered on Saturday, mainly in boxes, but at least the engine and the wheels are in the frame! The engine's been painted, which saved Ralph the job of taking it apart - or so he thought - but having taken the points cover off we discovered that someone had "filled" what we can only assume was accident damage, with something akin to hardened chewing gum! At first Ralph thought we'd be looking at buying a new bottom end, but then he put his old aircraft engineer's head on and "fettled" new bits of ally, used dozens of rivets and plastered it all over with some "proper" filler. Whilst this was going on I put lots of bits of rusty metal (foot pegs, brake, gear lever etc) on the wire wheel. They've come up a treat and I've put the first coat of black paint on them. Also took the carbs off, and having been shown how to strip down one, stripped the other three myself. Unfortunately the disposable silicone gloves which Ralph uses are two sizes too big for me, so I had to resort to the old fashioned bare hand and Swarfega method. I will have to get some gloves - cheaper than a daily manicure! Next job is cleaning and polishing the carbs (unless Ralph gets bored and decides to do them for me!)

Ralph took photos and assures me he'll post just as soon as I get this thread started!

Posted: Sun Aug 03, 2008 8:24 pm
Author: PJones
Keep going Marion - it will be worth it in the end,

C'mon Ralph where are the pictures?

Cheers

PJ

Posted: Sun Aug 03, 2008 10:35 pm
Author: RALPHARAMA
CB has requested that I post pix from the weekends excitement:-

Image

Image

Image
worra luverly mudguard .... not :cry:

Image

Thought I'd take a look under the points cover in the hope it already had Dyna S ......

Image
...."ohhh fuck my old boot, ..... er... darling ... you'd better take a look at this....."

Image

Image
a previous owner - "Oh I smashed all the engine casing in - best I fill it with car body filler, spray it and punt it one to a gullible t**t !"

Image

Image

Image

... I couldn't bear to tell the 'bride she needed a set of main casings so I thought I would try and do the impossible and save her casings. I dug around in my stock and found some ally plate which is quite high in aluminium content ie fairly malleable. I formed plates which I pop-rivetted to the castings. I then drilled 1.6mm holes in the castings at regular intervals and inserted 316 tig filler rod as reinforcement.

Image

Image

I then sprayed the two screws with pledge and also the points cover to act as a release agent. I then 'plastered' the damaged area with Devcon Aluminium Putty. I bought this to make a repair to the Old Gurls fork legs (one of the mud guard mounts had been ripped off). Devcon must me made from and alloy of platinum and ground up diamonds if the price is anything to go by and isn't easy to use. It is a two part epoxy based compound and as with all things epoxy the mixing is all important. Luckily a previous bedsit tenant of my fathers, who dealt drugs, when evicted, left a real nice and accurate digital chemical balance :D


Image

Tomorrow it try and flat it down ... this isn't speciality subject :oops:

Image

CB watched me strip one carb, listened intently to my instruction, told me I was mad to expect her to watch it once and do it herself, and then proceeded to strip the remaining carbs with only minimal input from me
:lol:

Image

The carbs are covered in some nasty yuk, so I have left No 1 soaking in Jizer and will take a gander at it tomorrow.

Image

I bounced the tops 'n' bottoms off the mop ... they need some more, but I intend for CB to do them herself. She really enjoyed cleaning rusty shite up on the wire wheel so I'm sure she'll get the same buzz shining up 'er carbs :D

Image

Image

Image

What a sorry state that's in ... doesn't look very 1978 to me either :cry: :cry: If we're to restore it, we need to know what bike it's off - any ideas? If anyone has anything nicer (twin disc) that they don't want too much for CB would be very grateful :D

The pistons came out after a bit of a fight - 'G' clamps and compressed air :lol: :lol:

Image

Image

Two of the three pistons are too dog 'n' ducked to use - the chrome is pitted in a number of places on the piston stroke :cry: The back piston seems to be bigger - I think it miked up as 42.7mm - prolly a nominal 43mm?I couldn't see a piston or seal kit for it on Z1 Enterprizes web site - anyone got any input on this?

Time for bed sed Zebadee, skinned one up and crashed out ... me too ... only red wine these dayz :lol:

Posted: Mon Aug 04, 2008 3:21 am
Author: shrekward
Nice going CB &Ralphy :lol: :!:
I'm sure that'll it will be a great bike when it's finished, and as you say Ralph, what pride Marion can have saying it was her handywork!

A VERY BIG WELLDONE TO THE PAIR OF YOU :!:

Posted: Mon Aug 04, 2008 4:06 am
Author: london calling
Ralph Malph,looks like a 1000J style master cylinder.

Posted: Mon Aug 04, 2008 3:18 pm
Author: Rich
If I was you I'd look down the bore of the m/c to see if it's worth touching before doing anything with it.

Devcon used to come with it's own little bottle of release agent.

Posted: Mon Aug 04, 2008 4:57 pm
Author: Padders
Sorry to see the damage Ralph however I have had many repairs carried out by Dave Maddison of Weldspek. Top bloke with alloy repairs and I am sure he could fix the points housing no problem.

Weldspek
198 Boughton Industrial Estate
Boughton
Newark
Nottinghamshire
NG22 9LD
East Midlands
Phone: 01623 835555

Posted: Mon Aug 04, 2008 5:10 pm
Author: Big John
Blimey, where did you dredge that up. Seriously though, look forward to seeing the finished article. I've got a set of Z1000A2 bodywork that colour, just waiting to decide on what style decals to put on it before putting on the B2.

Posted: Mon Aug 04, 2008 5:14 pm
Author: chrisu
that master cylinder looks only fit for a skip..........:shock:

plenty of modern/cheap master cylinders on ebay if you're not worried about authenticity..... :shock:

Posted: Mon Aug 04, 2008 5:32 pm
Author: RALPHARAMA
PADDERS wrote:Sorry to see the damage Ralph however I have had many repairs carried out by Dave Maddison of Weldspek. Top bloke with alloy repairs and I am sure he could fix the points housing no problem.

Weldspek
198 Boughton Industrial Estate
Boughton
Newark
Nottinghamshire
NG22 9LD
East Midlands
Phone: 01623 835555


Did think about welding, but to be honest this bike is being restored on a very, very tight budget. On the basis I already have the Devcon the cost so far is zero + many hours of my time (which is also free cost the bride puts a smile on me face).

Posted: Mon Aug 04, 2008 8:12 pm
Author: Buckle
Good luck with the project Ralph - hope it goes better than mine seems to be - :turd :!:

The master cylinder you have there looks very similar to the one I have fitted on my 550. Looks like a GPZ style one, that's what mine is anyhow.

Why have you got 3 front calipers?!? :shock: Is this some triple (quadruple :!: ) disc prototype :cantb

Posted: Mon Aug 04, 2008 8:17 pm
Author: shrekward
Why have you got 3 front calipers?!? Is this some triple (quadruple ) disc prototype [quote]
CHRIST :shock: Don't tell Piggleonion!

Posted: Mon Aug 04, 2008 8:31 pm
Author: Taffus
That repair looks good! I would changed the cases........but now I 've seen how its done...

Posted: Mon Aug 04, 2008 9:30 pm
Author: RALPHARAMA
3 discs - 2 front, 1 rear, why's that sooo unusual?

What is odd though, is the the rear, unlike the Old Gurl, has a single acting floating caliper, very similar to the fronts but with a larger diameter piston - 42.7mm. The Old Gurl as dual opposed pistons, which use the fluid to centre themselves as opposed to having floating calipers or discs.

Posted: Tue Aug 05, 2008 7:10 pm
Author: Pigford
Good going Ralphy/Marion.... :lol:

When this little demon bike is up and running, and hadits maiden voyage, I wish to suggest its named:

Maid Marion

As in (Made by Marion)