J - Refresh
Posted: Sun Aug 07, 2016 7:52 pm
This is the last picture I have of my J1 on the road.
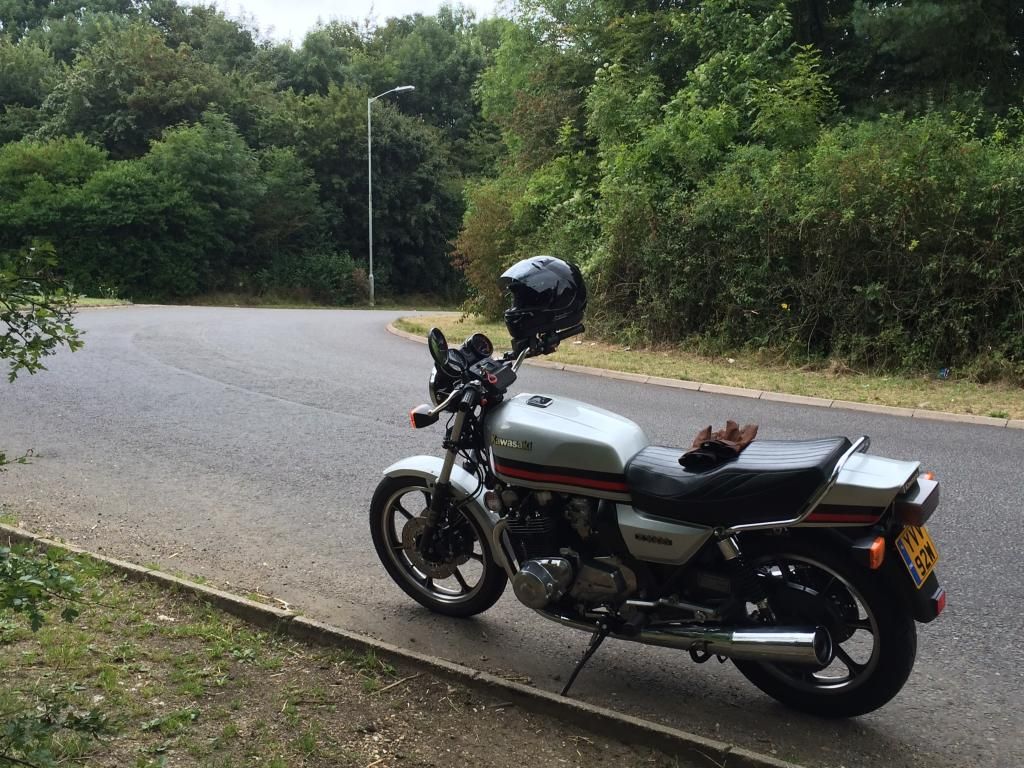
It was by this point making a rather unsatisfactory ticking noise from the engine so I knew I would have to get it sorted by taking the engine out sooner or later. It (the engine) was also looking rather tired with crud underneath and paint flaking here and there.
At about this time I was progressing with my 1100R project. I needed space in the garage so took the bike to work to store in my container. This was not the most sensible decision as although weather tight containers sweat. Everywhere that was thin on finish ended up either furry or rusty. I brought it back home once I had the space as I needed to borrow some bits here and there so I put the bike on the bench and took what was required.
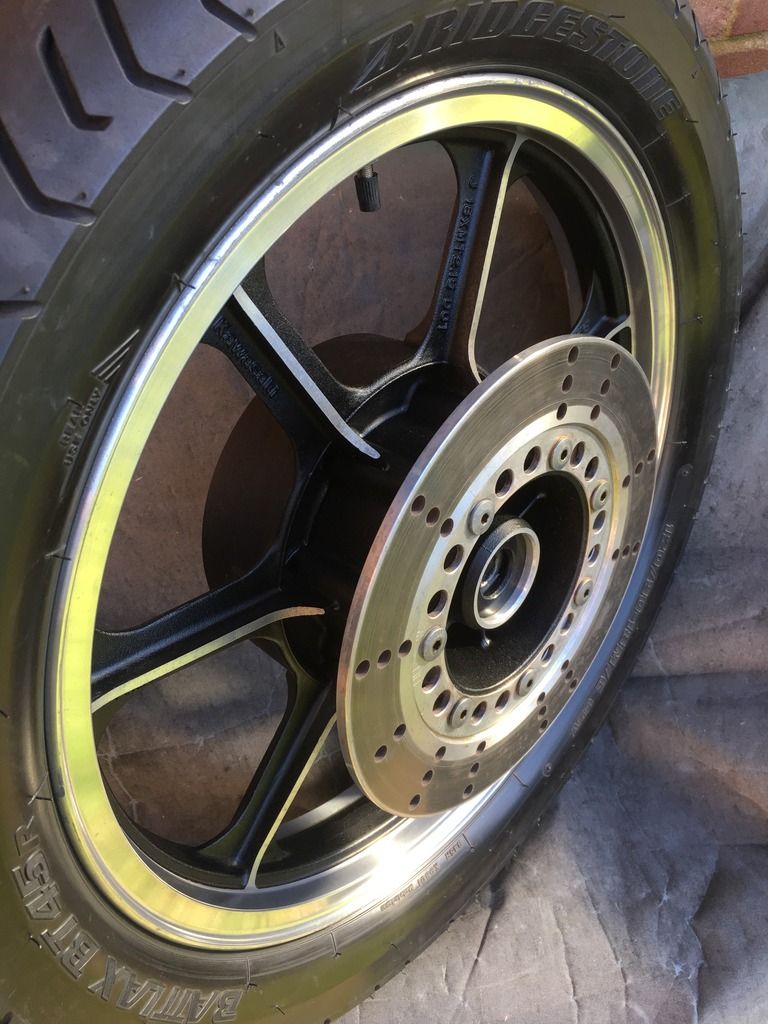
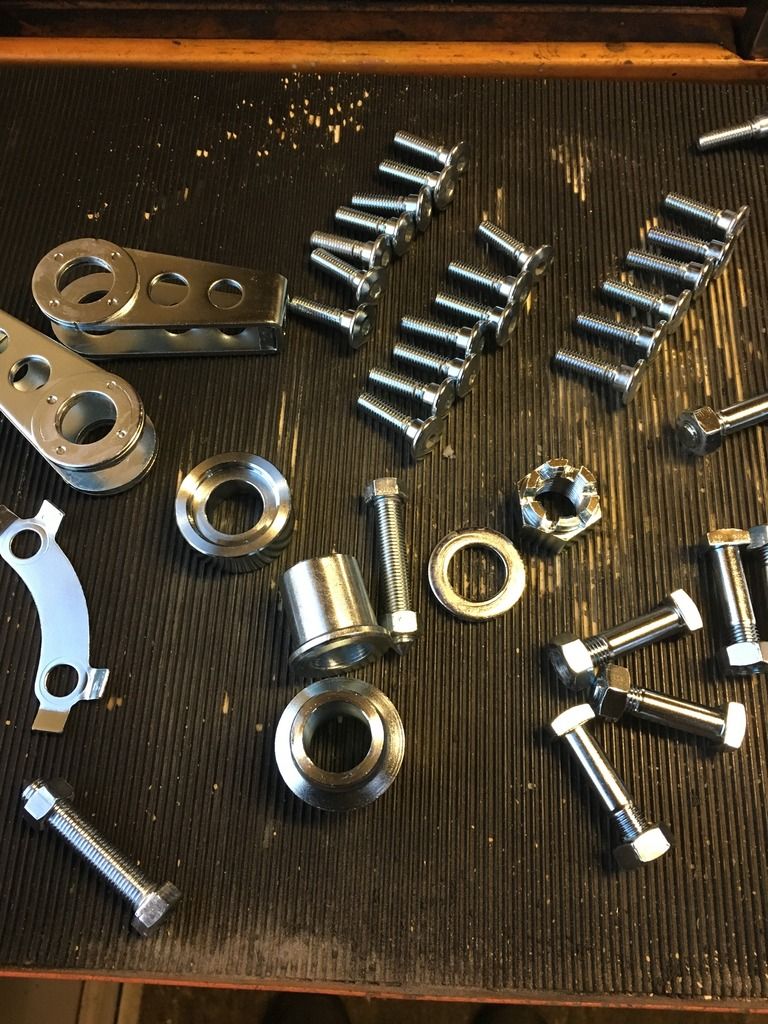
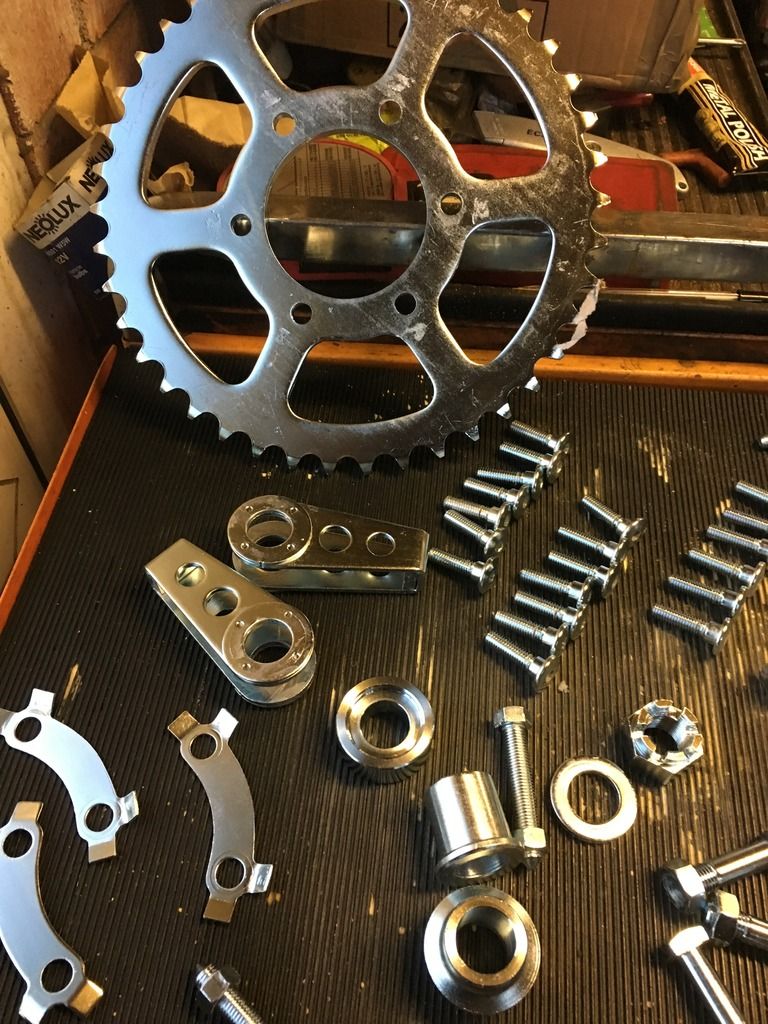
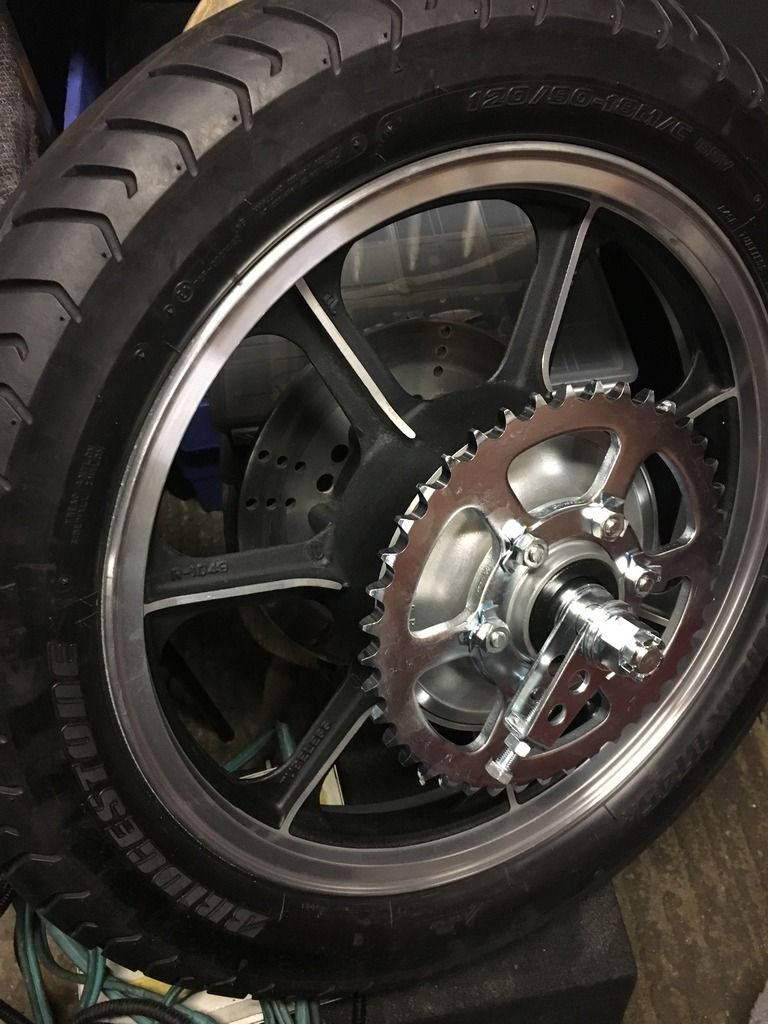
I have been collecting parts lately which some of you will know about and today have started the strip down in earnest. There will be a slight twist at completion but nothing that will detract in any way from the absolute catalogue standard nature of this "survivor". During the strip I will be noting the recall fixes that I think were missed on this early bike. As it is frame 2600 it falls within all the recalls, some of which I can see and some I'm guessing at.
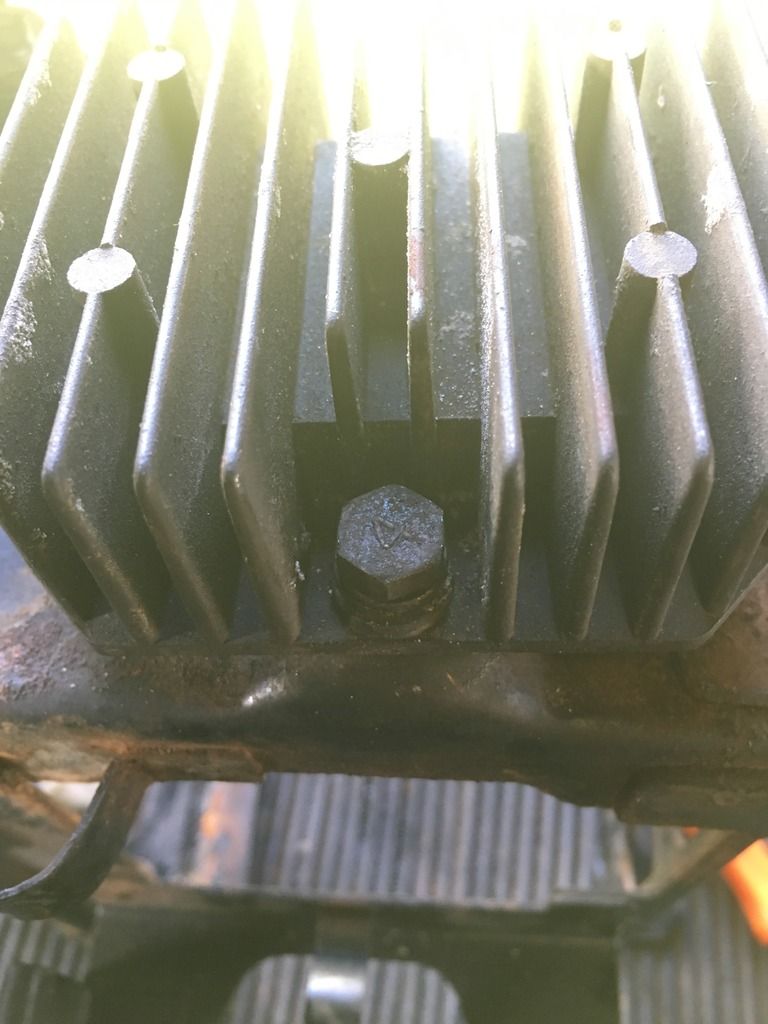
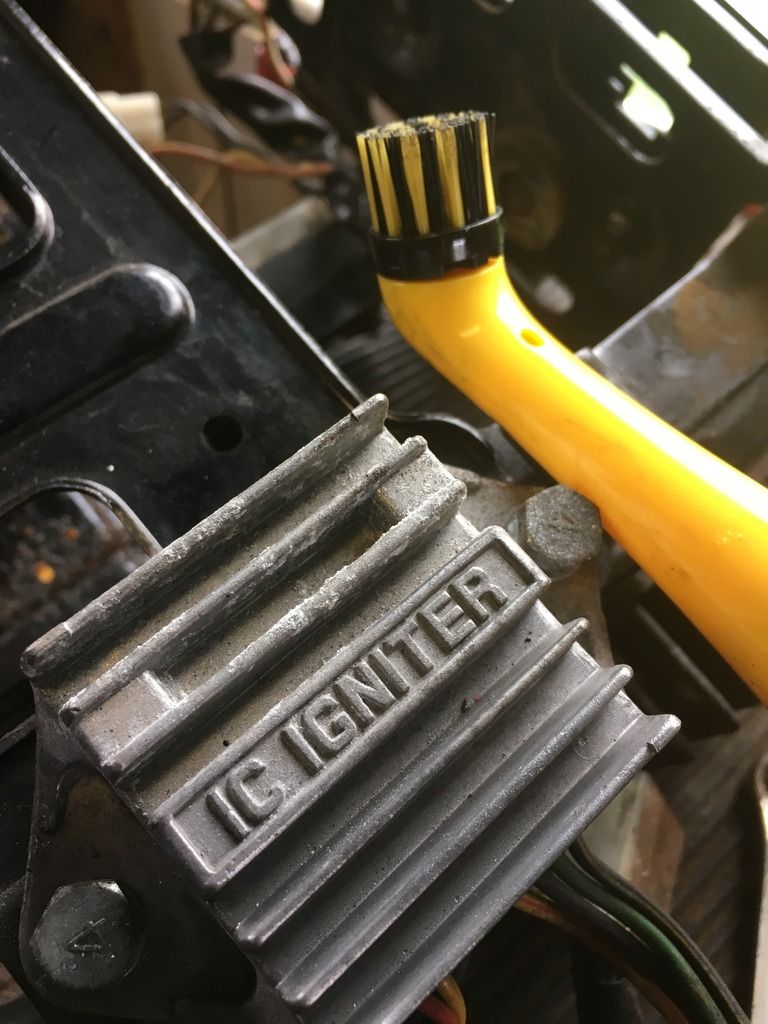
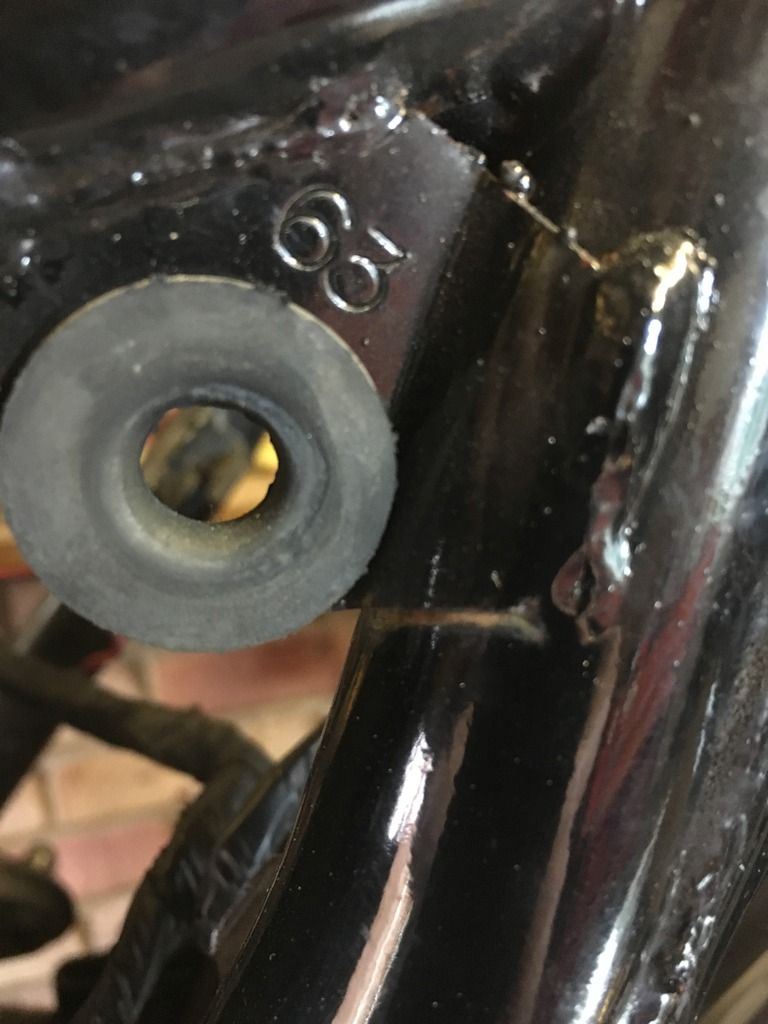
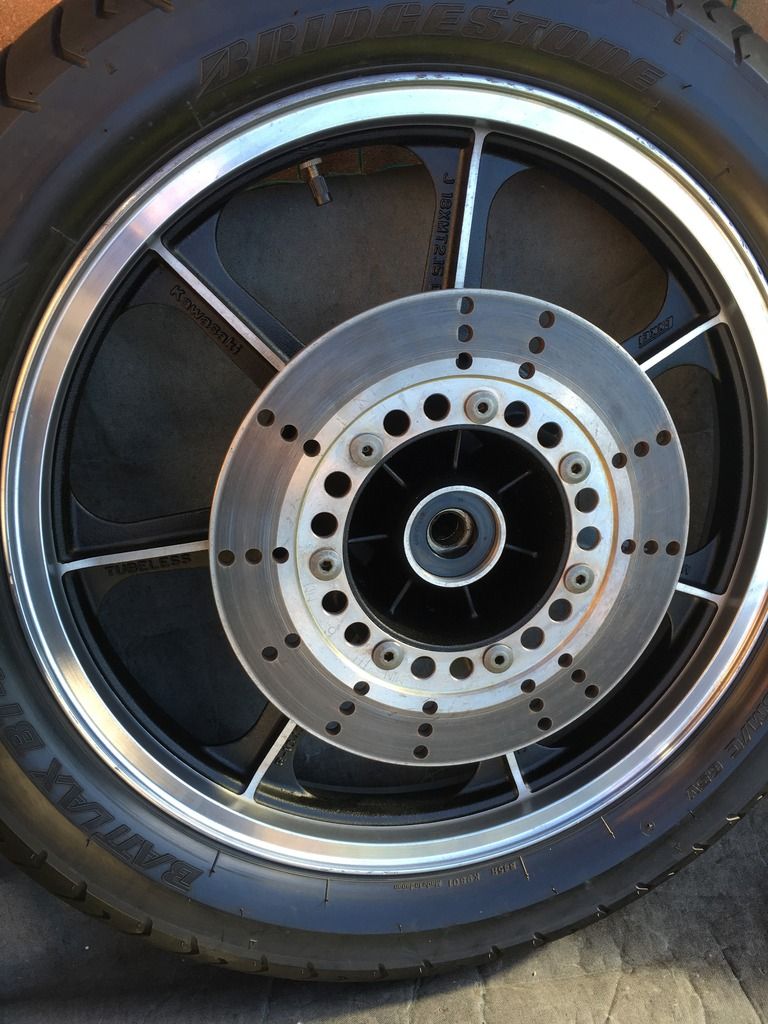
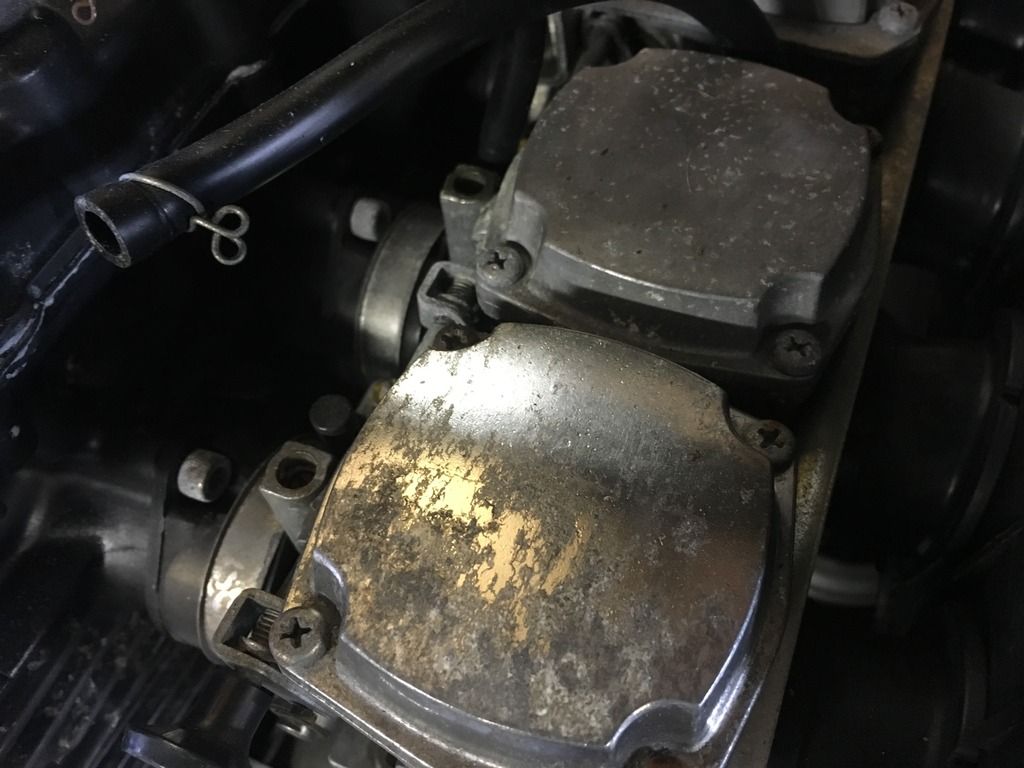
Anyways, here are some pictures that show the wear it has suffered and which will also come in handy for reference when I put it all back together.
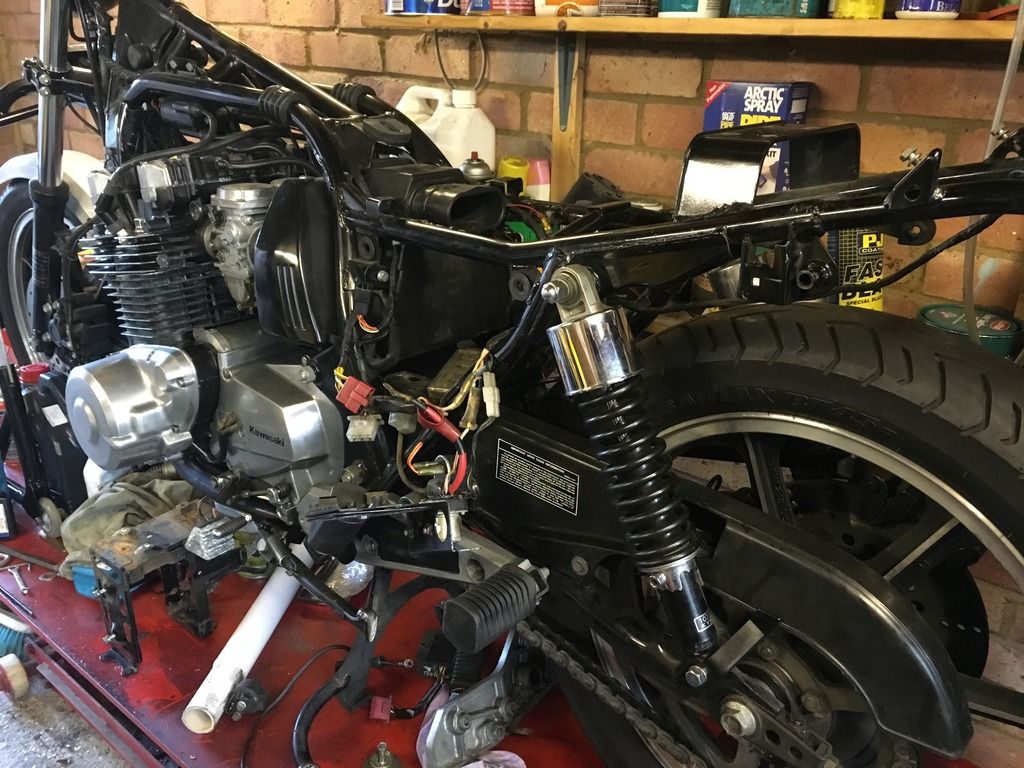
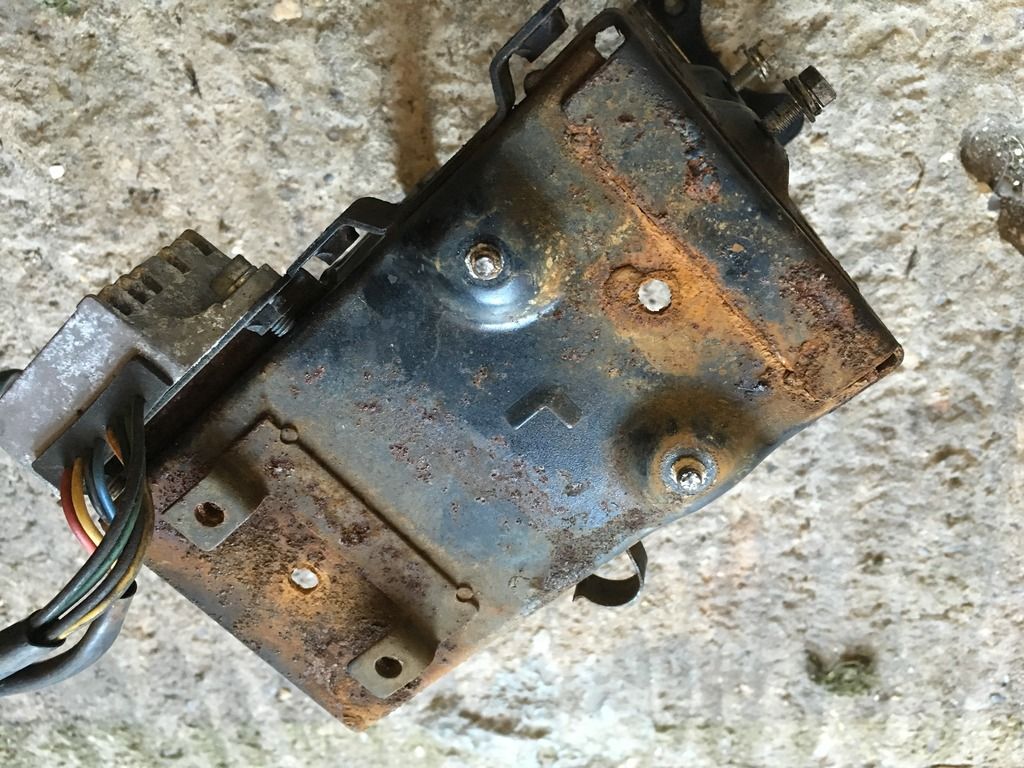
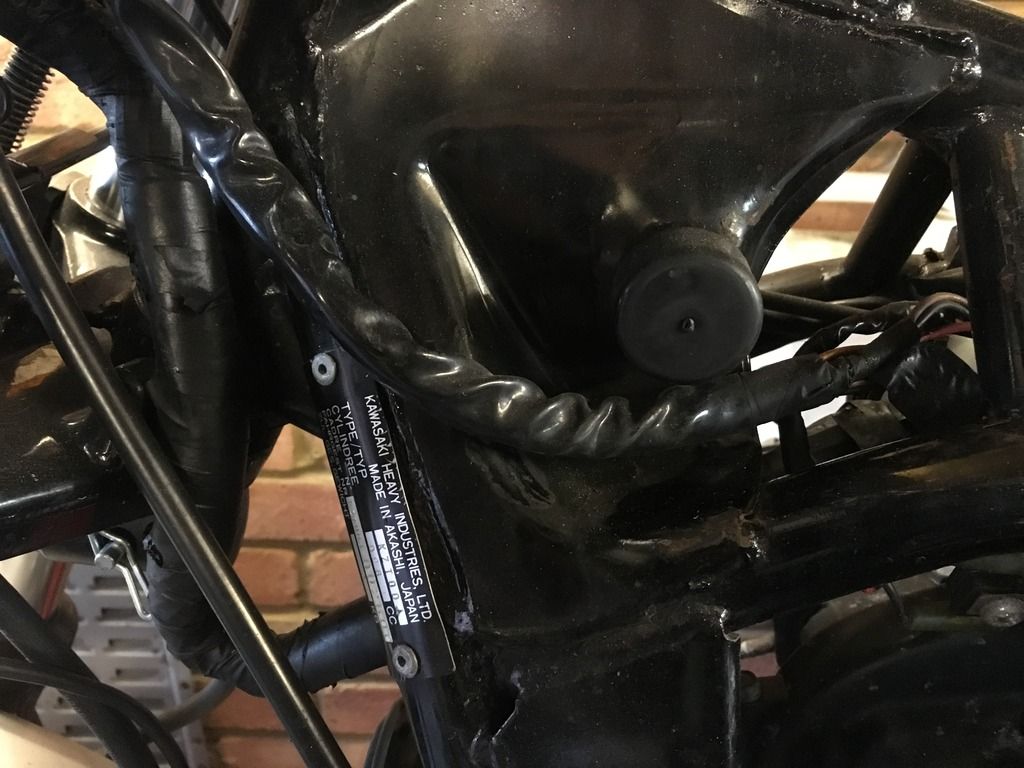
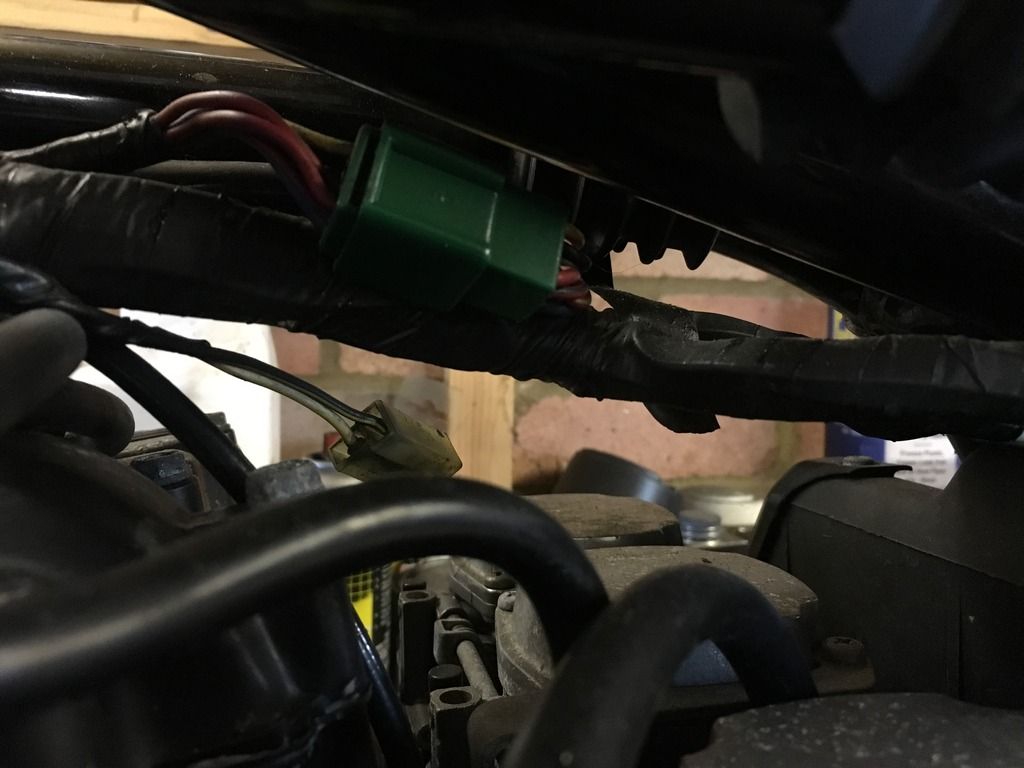
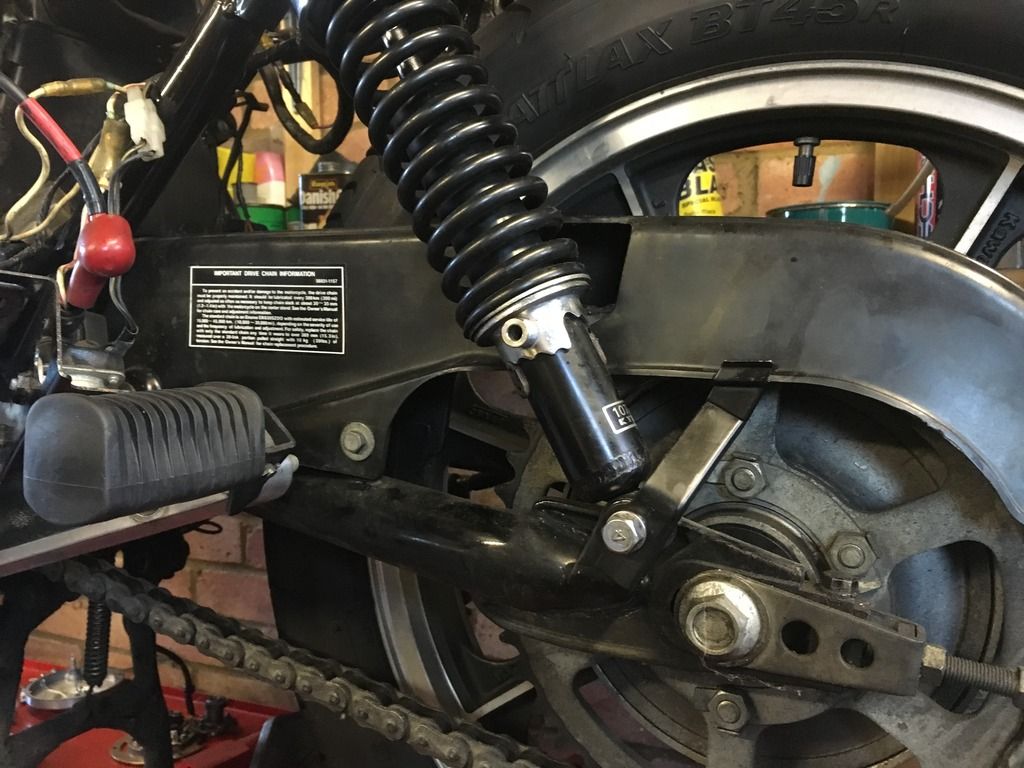
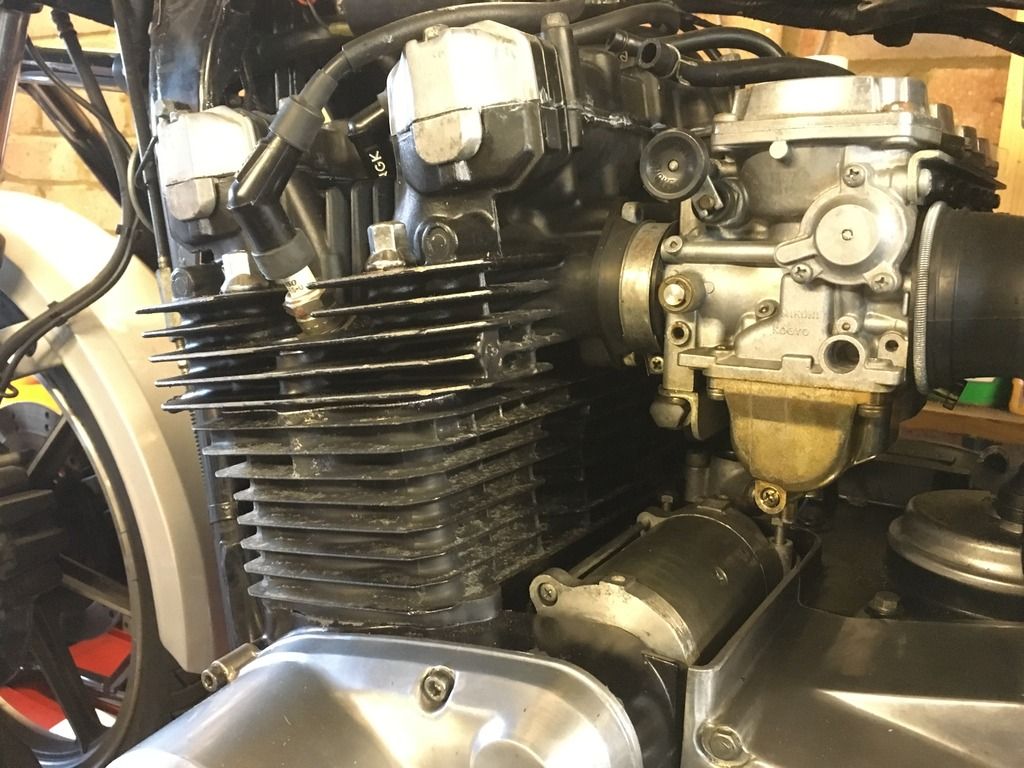
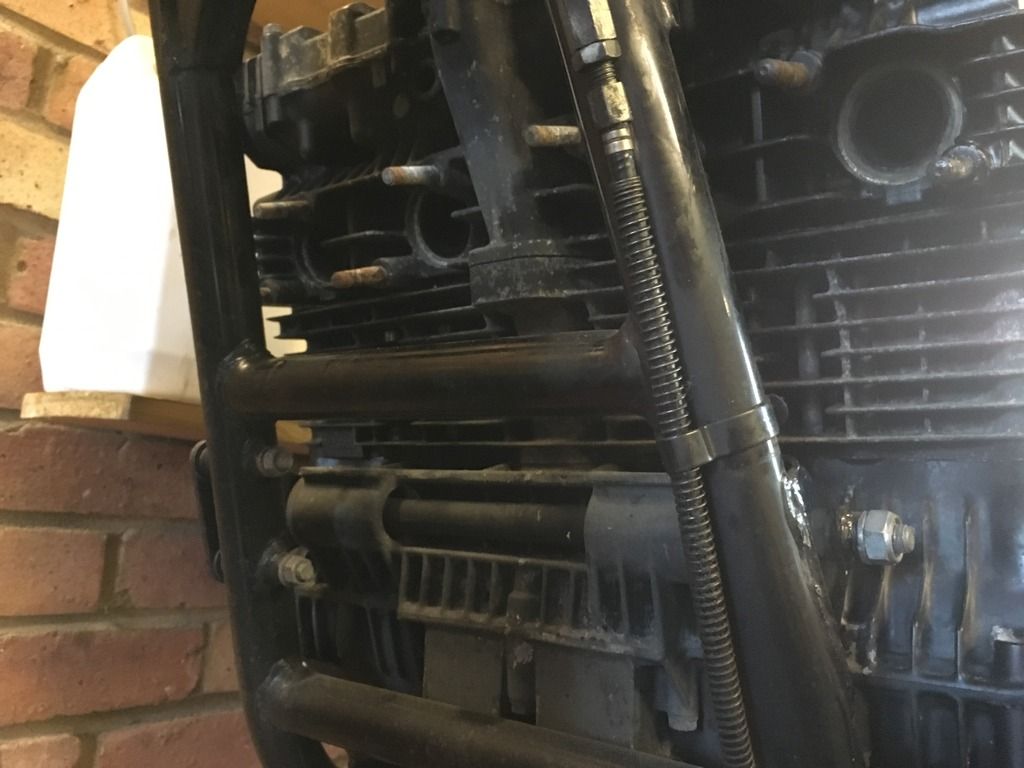
I have a deadline of mid '17.

It was by this point making a rather unsatisfactory ticking noise from the engine so I knew I would have to get it sorted by taking the engine out sooner or later. It (the engine) was also looking rather tired with crud underneath and paint flaking here and there.
At about this time I was progressing with my 1100R project. I needed space in the garage so took the bike to work to store in my container. This was not the most sensible decision as although weather tight containers sweat. Everywhere that was thin on finish ended up either furry or rusty. I brought it back home once I had the space as I needed to borrow some bits here and there so I put the bike on the bench and took what was required.
I have been collecting parts lately which some of you will know about and today have started the strip down in earnest. There will be a slight twist at completion but nothing that will detract in any way from the absolute catalogue standard nature of this "survivor". During the strip I will be noting the recall fixes that I think were missed on this early bike. As it is frame 2600 it falls within all the recalls, some of which I can see and some I'm guessing at.
Anyways, here are some pictures that show the wear it has suffered and which will also come in handy for reference when I put it all back together.


I have a deadline of mid '17.
