YAH (Yet Another Harris)
Posted: Fri Nov 28, 2014 1:19 pm
From the off, I'd advise you not to hold your breath waiting for this project to get finished  as life, spelt w-o-r-k, often halts progress but this winter's entertainment is Yet Another Harris project.
I bought what amounts to a large kit of parts from Mike Parkes (mike_p hereabouts) in June 2014. This Harris has been through a number of hands including some Z1OC members but the original engine has gone AWOL and Mike supplied a Unitrak 1100 motor to go with the 'kit'.
Here's the bike in more complete days
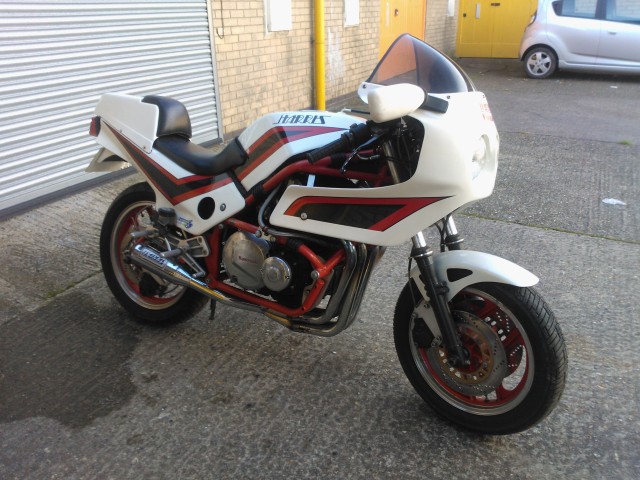
I've sat and stared at the rolling chassis wondering if I should do the stripped down 'streetfighter' thing, the KR1000 lookalike or original Magnum 2 and I've decided that I'll go down the original Magnum 2 route. Obviously there's no such thing as a 'standard' Magnum but I'm going to aim for something close to how the bike would have been 'in the day'.
I'll order a full Magnum 2 fairing from Harris and, probably, change the wheels to 18" rather than the 16/18 GPz900R combination that's currently on there (although the 16" front was fitted by Harris for the original owner so part of me says keep it).
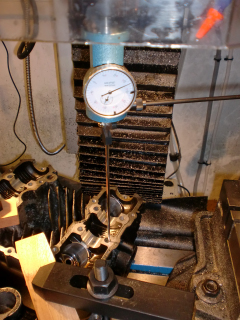
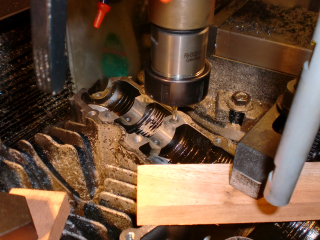
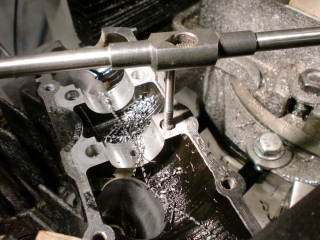
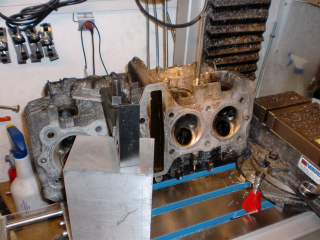
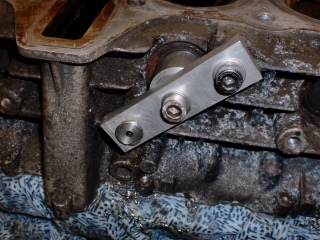
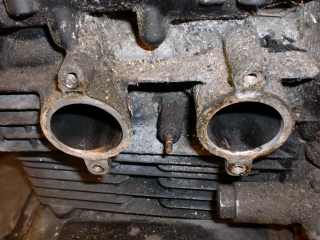
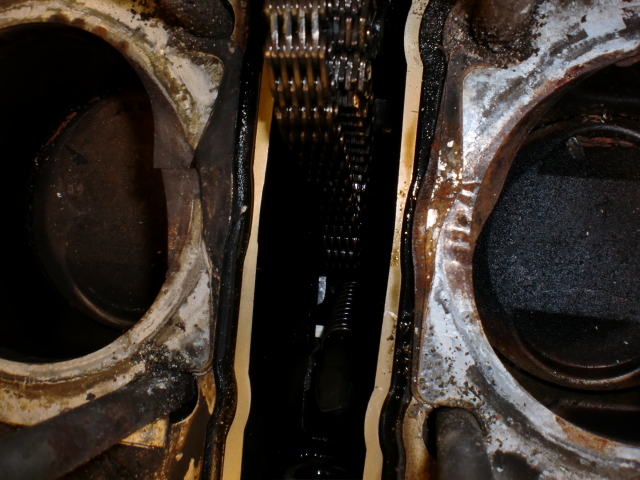
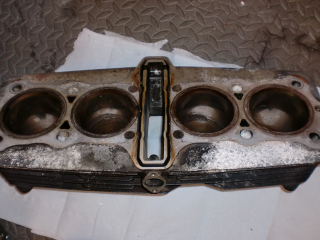
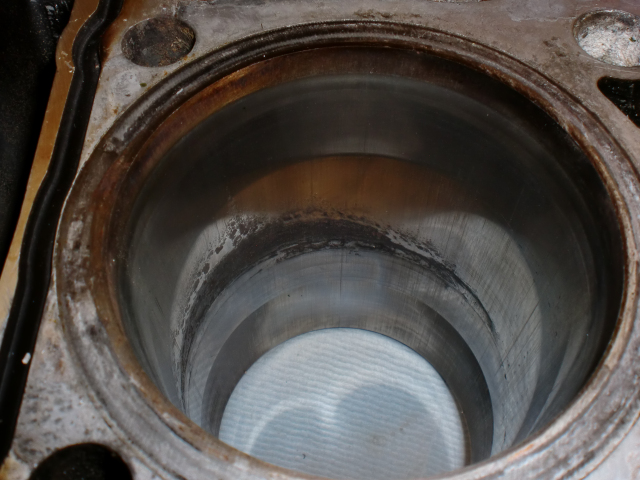
Anyway, first job is getting the engine stripped so it can go on a trip to Doug Cox (it's pretty skanky). Off with the cam cover and woops
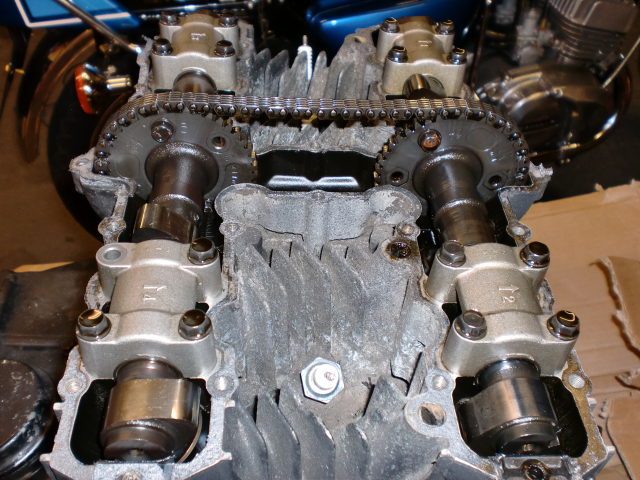
yes the missing bolt on cam cap #4 is missing because it's been seared off
That'll be a little job for the weekend then.
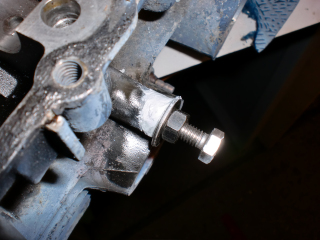
The other job, that's causing more head scratching, is the frame. Mike cut off the battery box as he was planning on fitting a TZ style seat unit. I'm sticking with the original Mag 2 seat unit so want to put the battery box back on.
When mike showed me what he'd done, I though 'oh a simple spigot and braize' will sort it out.
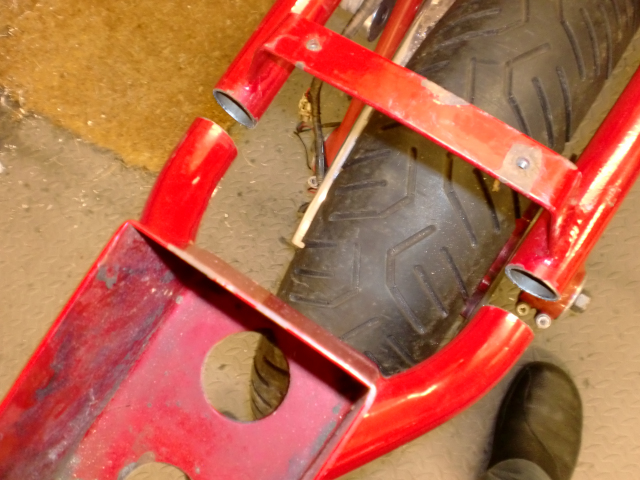
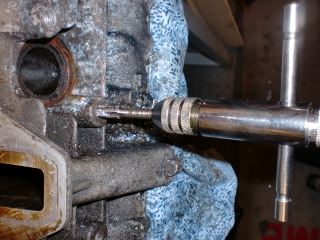
Now I've looked closer, the tubes are not round at this point and while I can get a 1" bar in the frame side of the cut, the battery box side is oval from about 1mm beyond the cut; making a spigot tricky.
What would you much cleverer engineering types do?
I bought what amounts to a large kit of parts from Mike Parkes (mike_p hereabouts) in June 2014. This Harris has been through a number of hands including some Z1OC members but the original engine has gone AWOL and Mike supplied a Unitrak 1100 motor to go with the 'kit'.
Here's the bike in more complete days
I've sat and stared at the rolling chassis wondering if I should do the stripped down 'streetfighter' thing, the KR1000 lookalike or original Magnum 2 and I've decided that I'll go down the original Magnum 2 route. Obviously there's no such thing as a 'standard' Magnum but I'm going to aim for something close to how the bike would have been 'in the day'.
I'll order a full Magnum 2 fairing from Harris and, probably, change the wheels to 18" rather than the 16/18 GPz900R combination that's currently on there (although the 16" front was fitted by Harris for the original owner so part of me says keep it).
Anyway, first job is getting the engine stripped so it can go on a trip to Doug Cox (it's pretty skanky). Off with the cam cover and woops
yes the missing bolt on cam cap #4 is missing because it's been seared off
That'll be a little job for the weekend then.
The other job, that's causing more head scratching, is the frame. Mike cut off the battery box as he was planning on fitting a TZ style seat unit. I'm sticking with the original Mag 2 seat unit so want to put the battery box back on.
When mike showed me what he'd done, I though 'oh a simple spigot and braize' will sort it out.
Now I've looked closer, the tubes are not round at this point and while I can get a 1" bar in the frame side of the cut, the battery box side is oval from about 1mm beyond the cut; making a spigot tricky.
What would you much cleverer engineering types do?