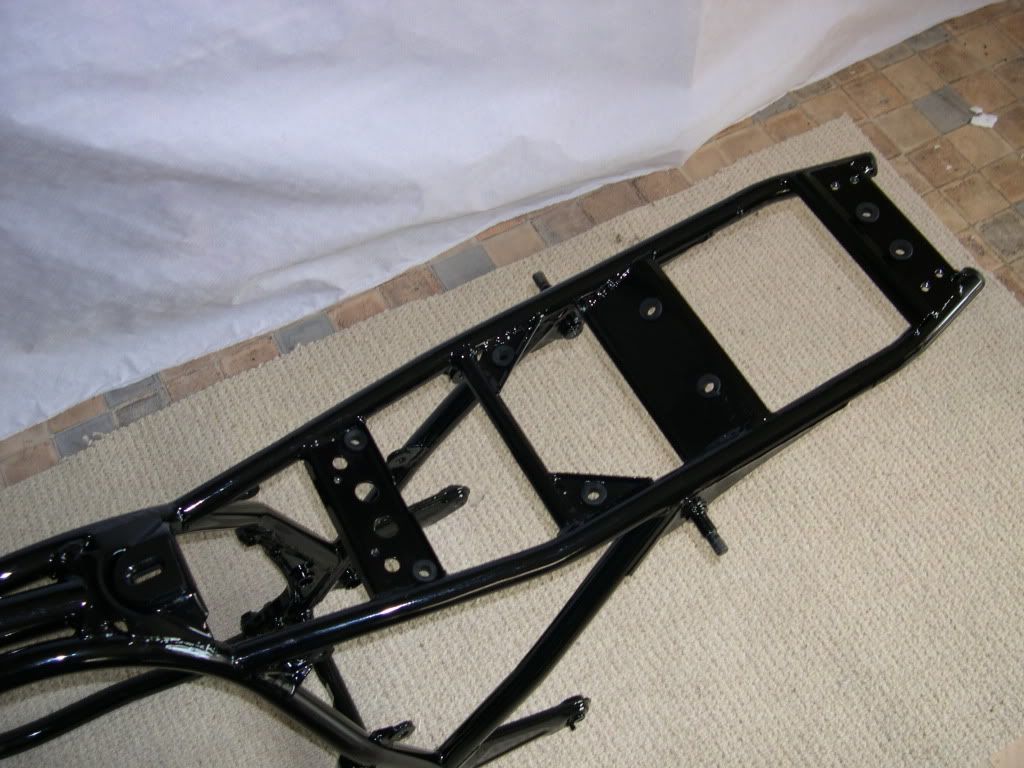
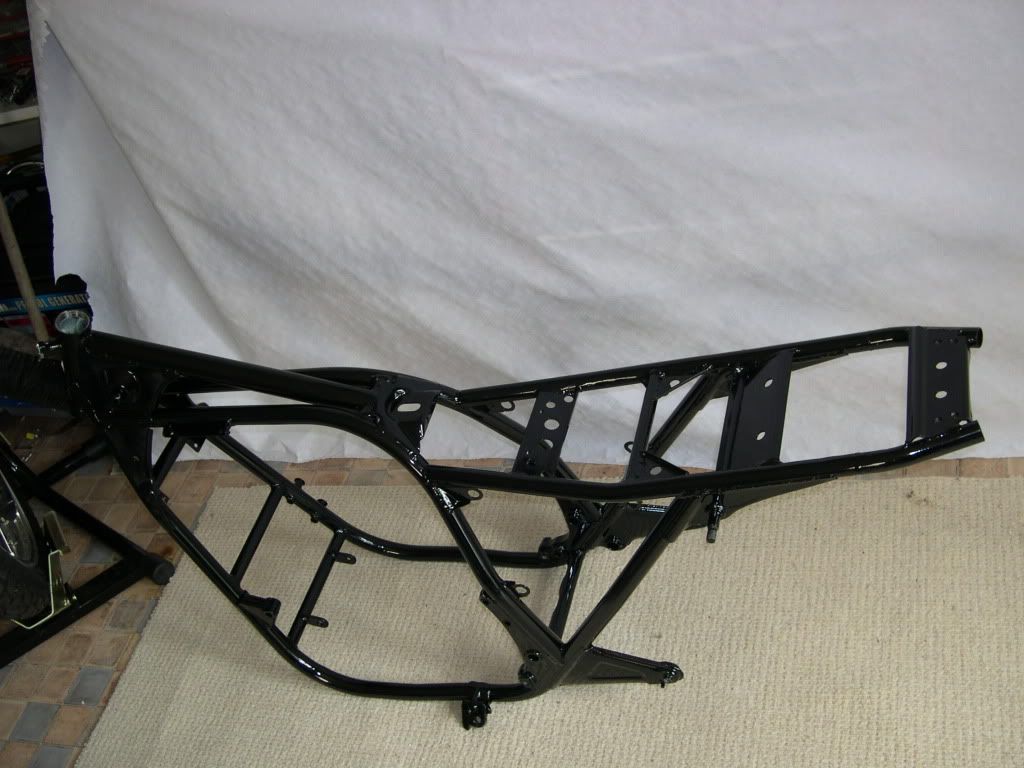
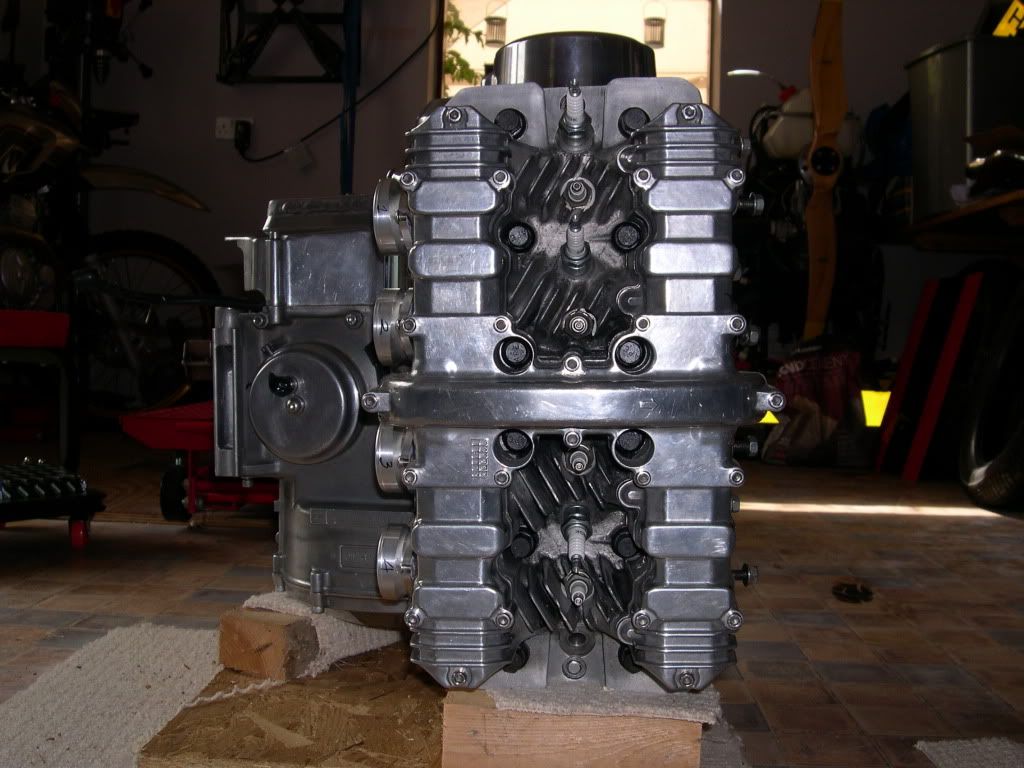
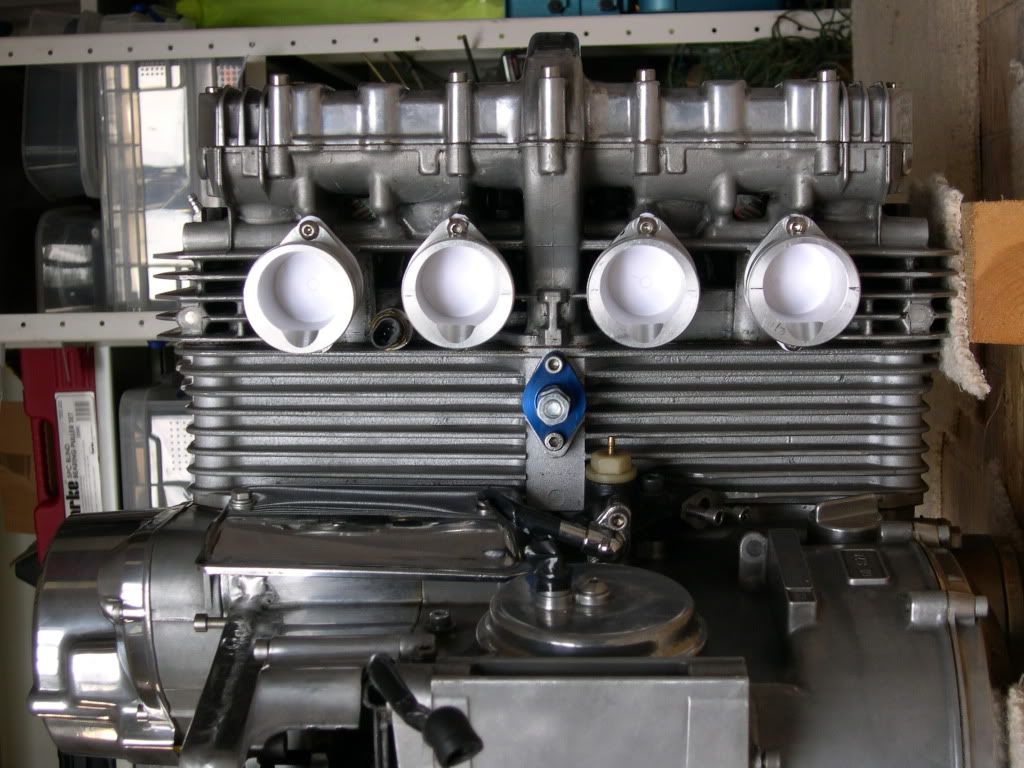
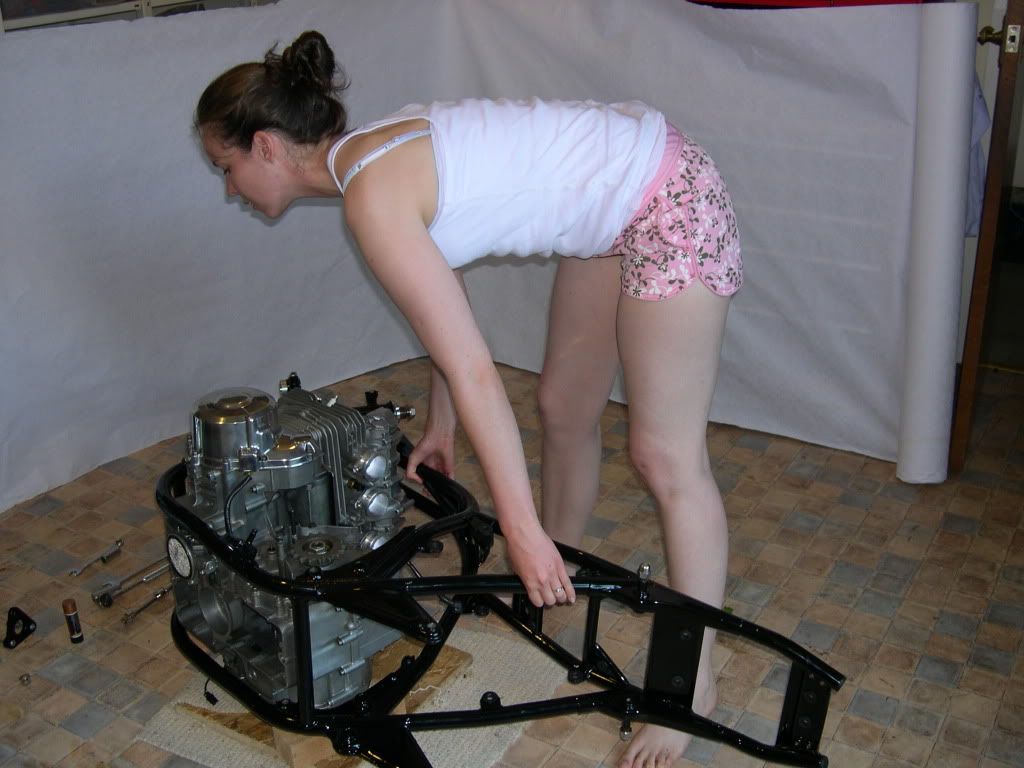
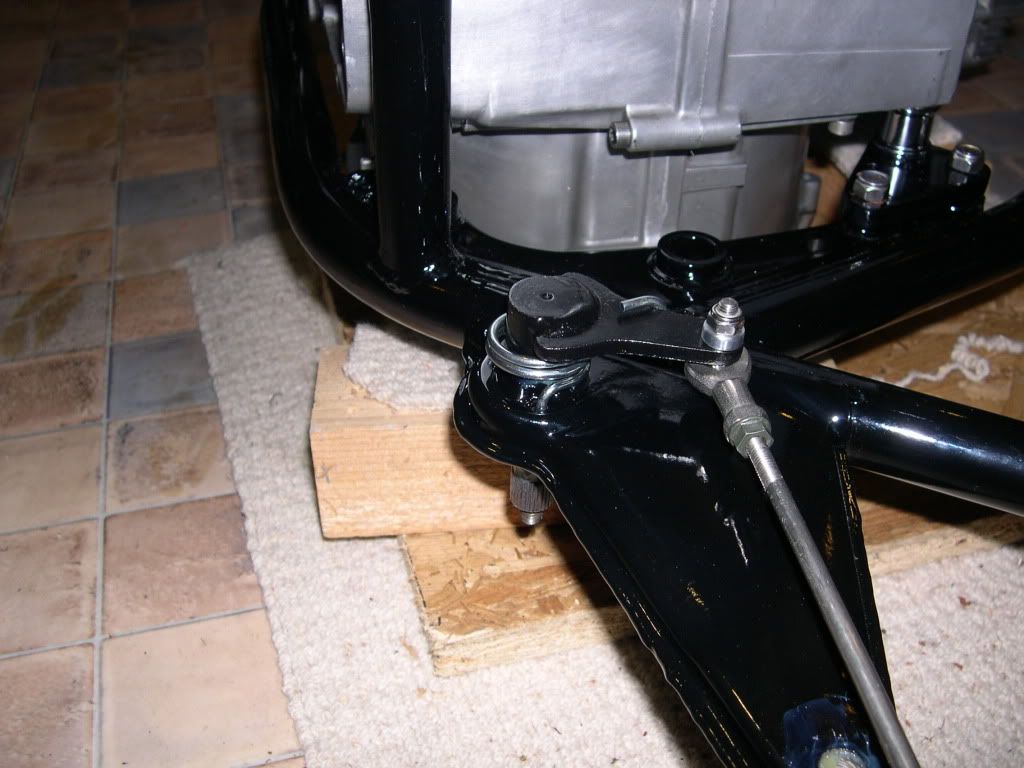
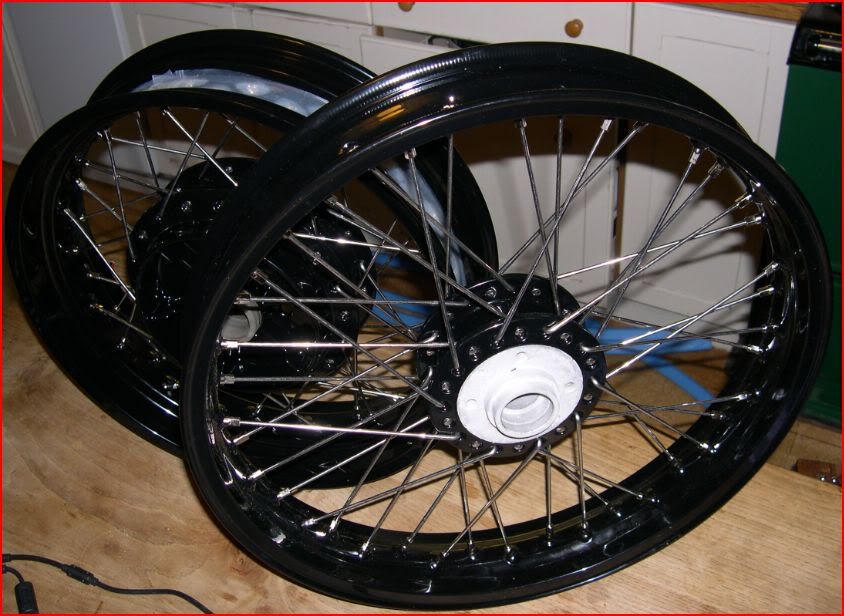
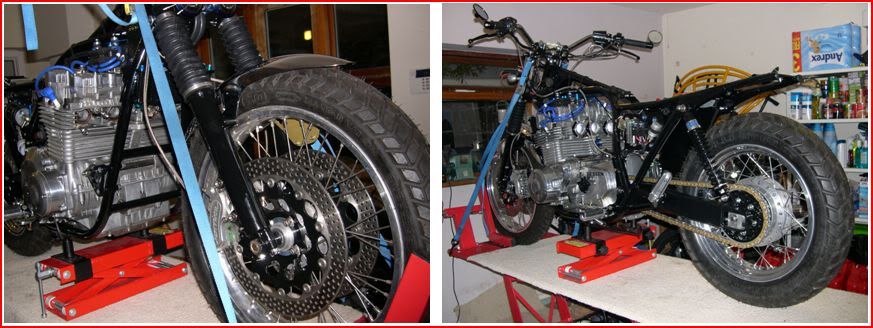
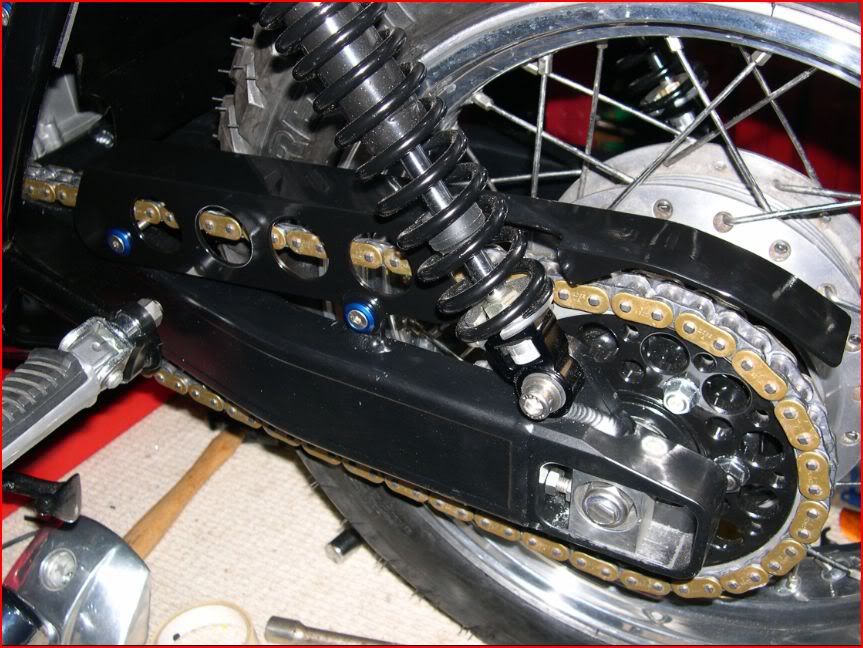
Hello Guest User,

Please feel free to have a look around the forum but be aware that as an unregistered guest you can't see all of it and you can't post.

To access these 'Registered Users Only' areas simply register and login.

Z650/old school triumph/Z1100 Chimera.

Work in Progress

Moderators: KeithZ1R, chrisu, paul doran, Taffus

Message
Author
User avatar
j.wilson
100Club
100Club
Posts: 229
Joined: 23rd Jul 2011
Location: wimborne

Z650/old school triumph/Z1100 Chimera.

#1 PostAuthor: j.wilson » Sat Oct 22, 2011 8:57 am

Trying to recreate my old bike thread.

The bike so far:

Image

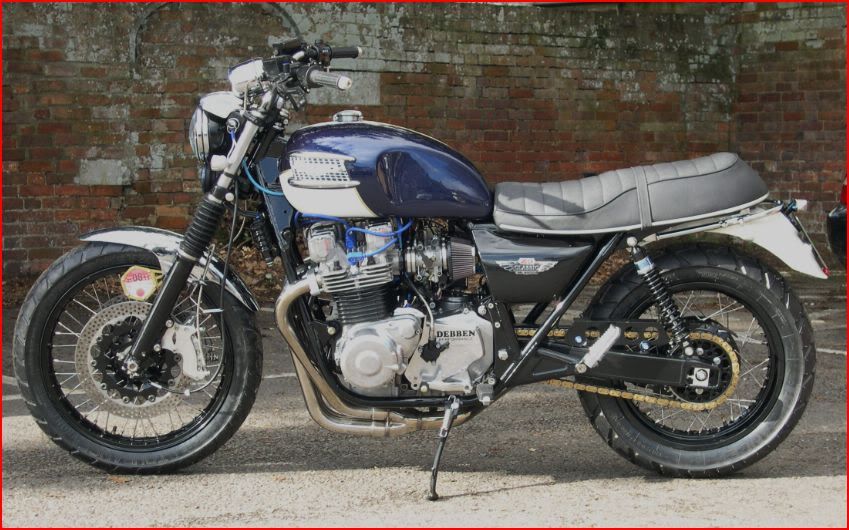
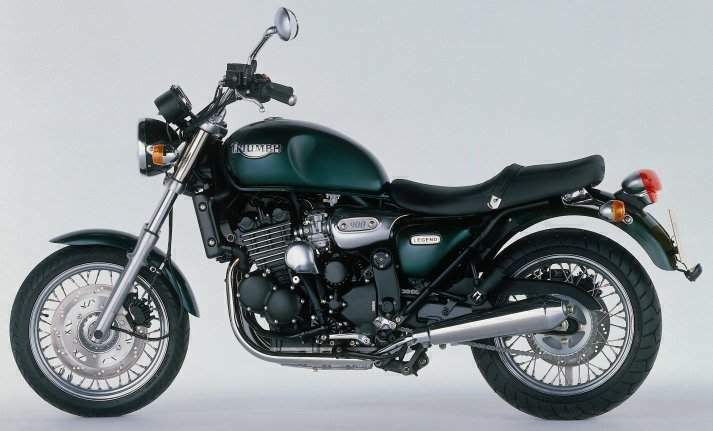
I started with a concept: something cool, timeless, practical and fitted me well. I just wanted it to be faster than a Bonneville.

Image

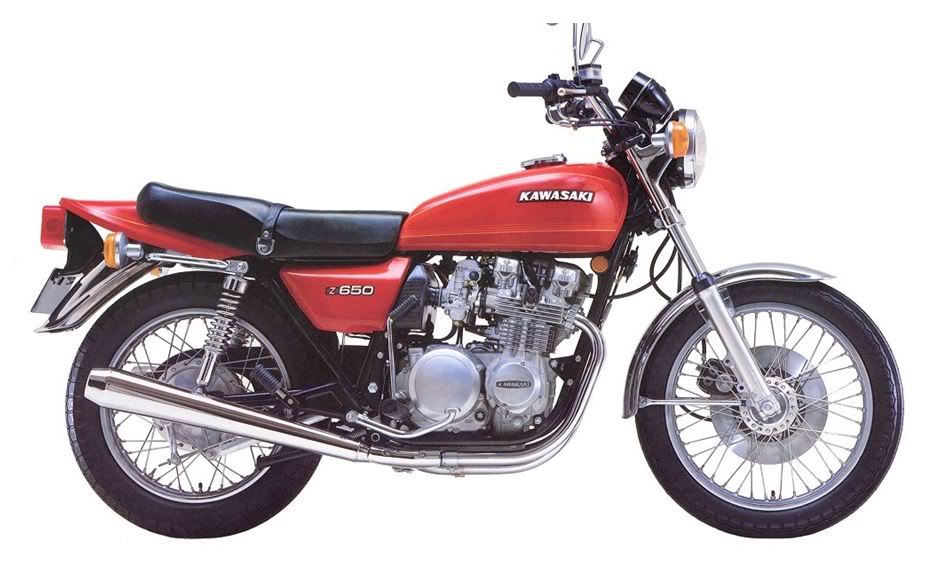
I worked out that the Z650 was a great starting point because its basic measurements are the same as a Bonneville.

Image

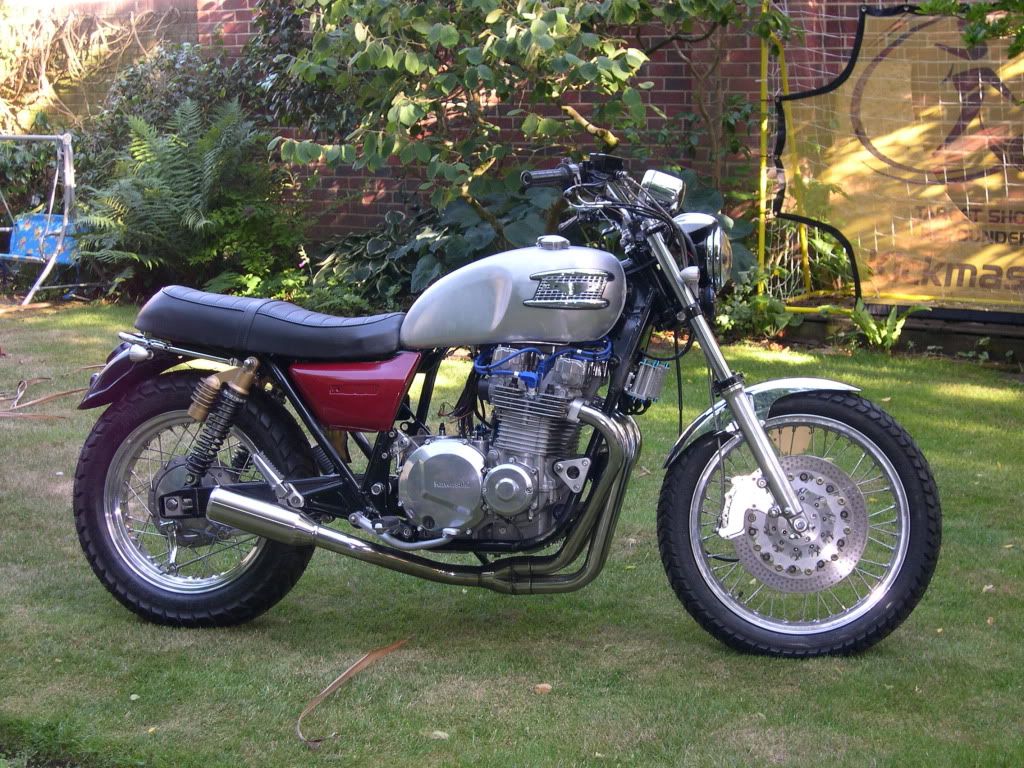
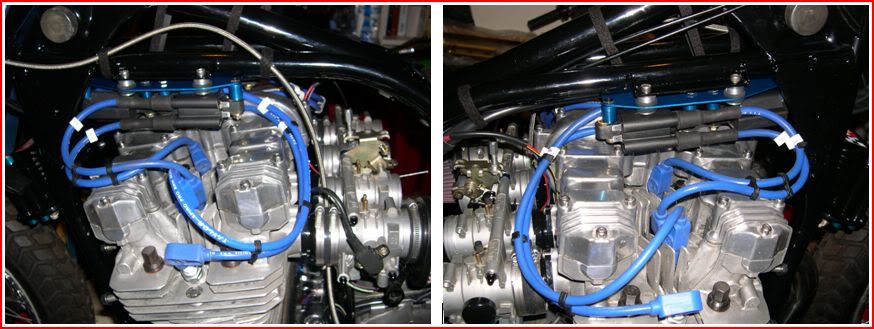
And I knew I could add the motor from my previous project-

Image

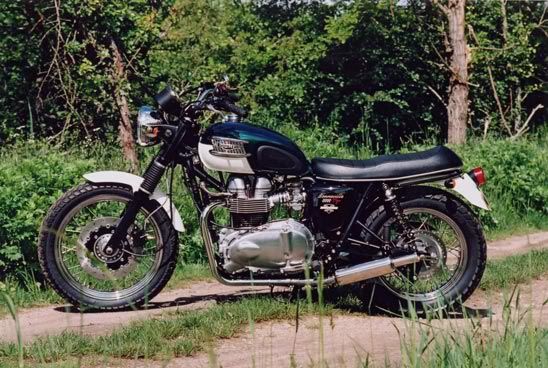
I took the picture of a Z650 and using scissors and my scanner I made a junky picture of the bike I wanted.

My greatest lesson of this project is to start with the end point in mind. Don't start with a load of favourite bits and hope to make a coherent product at the end.

Start with the concept you want to achieve.

Image
Image

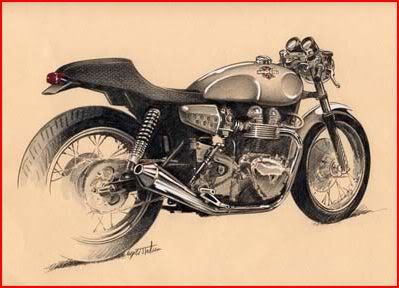
Like me you may be rubbish at drawing- but don’t let this stop you- there is enough technology out there to help you make an image of your dream.
z650/1400 bonneville hybrid.

User avatar
Z1parR
Hardcore
Hardcore
Posts: 4901
Joined: 11th Oct 2009
Location: Chorley Lancs

#2 PostAuthor: Z1parR » Sat Oct 22, 2011 9:09 am

Enjoyed this first time round Julian , so watching keenly as its an excellent interesting project :up
0172 . Geoff Parr

Baldylocks
100Club
100Club
Posts: 116
Joined: 16th Jun 2011
Location: London ish

#3 PostAuthor: Baldylocks » Sat Oct 22, 2011 10:24 am

Good to see this coming back, the Engineering and the quality of work on this is outstanding, looking forward to the Fi section.
Bugger ! whose Idea was that!

'78 Z1r '79 z650/1100 '77 Seeley H**** 750 GPz1100 B2 '86 GSXR750R Ltd '97 KTM620 '76 S3a 400

User avatar
j.wilson
100Club
100Club
Posts: 229
Joined: 23rd Jul 2011
Location: wimborne

#4 PostAuthor: j.wilson » Sat Oct 22, 2011 12:34 pm

Eventually I realised the project revolved around a petrol tank- this was the style bit that was iconic.

It also turned out to be the most expensive single part.
I looked at some length for the style of tank I wanted. The biggest problem turned out to be width, the Bonneville tank …old and new .. are too narrow as they cover a twin cylinder engine. So I ended up with the Triumph Legend tank- iconic shape and wide enough for a four cylinder engine.

Image

I got one from ebay for less than £10. I took it to a genius guy in Bournemouth.. Simon Parker- of Parker Fabrication …to modify it to suit my frame. After looking at it for a while he suggested that a new aluminium tank would be a better solution. At £1000 it was really pricey, but it is perfectly shaped and does not rust and can be repaired easily. The problem with welding an old tank is always that the welds rust afterwards. It’s a point of weakness- and inevitably this ends up with some goo inside to prevent leaks- and this in turn makes it difficult to repair in the future.
So, with a tank pressed from aluminium, the underside crafted to suit the bike, inlet, outlet, badge mounts and filler cap- I had something that set both the style of the bike and the position of the main parts.

Image

To fit the engine and the seat mounts and rear mudguard the frame needed to be modified.
I tried the engine in place, with the tank on it.

Image

Image

Image

Image

Note the extra engine mount bar fitted between the frame down tubes- this is requied for the 1100 motor.

I would have liked to use the z900 motor- but the kick start system on the older motor is difficult to get into the 650 frame.

You need to mount the motor as low as possible in the frame to give yourself room to get the cam cover off. I have to take the oil pan off to get the motor in and out and undo the front two engine mounts if I want to take the cam cover off.
z650/1400 bonneville hybrid.

User avatar
j.wilson
100Club
100Club
Posts: 229
Joined: 23rd Jul 2011
Location: wimborne

#5 PostAuthor: j.wilson » Sat Oct 22, 2011 12:40 pm

The motor was prepared by Ray Debben- its 1400cc- balanced crank, gas flowed etc, etc. The pistons had to be modded as the wrist pin diameters are larger on the z1100 motor.

It has an 8 plug head and I had to turn some inlets to mount the fuel injection throttle bodies.

Image

Image

Once all that was ready, my girlfriend fitted the motor into the chassis for me- I was worried I could easily break a nail.

Image
z650/1400 bonneville hybrid.

User avatar
paul doran
Area Rep.
Area Rep.
Posts: 15910
Joined: 24th Sep 2004
Location: near Dublin Ireland

#6 PostAuthor: paul doran » Sat Oct 22, 2011 3:40 pm

when You get married that will end the help believe Me :lol: :lol:
way too many Zeds

User avatar
j.wilson
100Club
100Club
Posts: 229
Joined: 23rd Jul 2011
Location: wimborne

#7 PostAuthor: j.wilson » Sat Oct 22, 2011 4:22 pm

This shows the oil pan and how close it is to the side rails of the frame. The fixed front engine mount had to be ground on my frame to sit the engine in the middle of the side rails.

Image

I don’t like the look of the z650 side stand so I junked it in favour of a more sensual z1 type.

Image

With new spring and bolt this looked neat

Image

My frame uses the drum style brake, I was tempted to convert this to hydraulic style, but I could lock the back wheel on the donor bike- so I felt that there was no need to have a better brake than this. However, the brake pivot must be fitted before the swing arm goes in.

Image

I went for a JMC swing arm in the end. The original Z650 has quite a short s-arm, and I didn’t really like the look. And when I measured the Bonneville I found that the arm was longer. So I decided to go for a longer arm- 35mm longer- and lean the shocks over a little more. The added benefit is that the bike will be less wheelie prone with the longer arm. I like the adjusters on the JMC arm and they are nice and chunky- however you do wait a long time for them to be delivered- 6 months in my case. I chose satin black as a finish as I wanted the bike to look quite understated- not like a “tarts handbagâ€￾.

When I designed and positioned the petrol tank I allowed for larger diameter forks (upside down possibly), however initially I have just used the original Z650 forks- re sealed. So this allowed me to stick with the Z650 yokes, however I went for a V-Max speedo as I like the simple style.

I went for a 19â€￾/17â€￾ wheel combination, this was because it was the same diameter as the original Bonneville and also because it the size of modern big trail bikes- so chunky but sticky radial tyres are available. With wide alloy rims and stainless spokes the wheels look great in black.

Image

So with engine in, swing arm, front suspension and wheels I have a rolling chassis.

Image
z650/1400 bonneville hybrid.

User avatar
j.wilson
100Club
100Club
Posts: 229
Joined: 23rd Jul 2011
Location: wimborne

#8 PostAuthor: j.wilson » Sat Oct 22, 2011 4:46 pm

Added on here are the handle bars, chain and sprockets, ignition coils, foot rests and brake discs.
H-bars are XLH Harley style, although in 22mm not inch bar like Harley. They are high, wide and comfortable- and add to the dirt bike image.

Image

Chain and sprockets are a 530 kit, with dished front sprocket and custom rear- with additional spacer on hub. The dished front sprocket allows the use of a 160 rear tyre. Only lesson is that the bigger the better- clearance between chain and fat swing arm is a bit limited with a standard sprocket set- go biggest diameter you can find. Shocks are from Hagon and designed for the Z650- actually the whole bike is about the same weight at a standard Z650 …205-210kg wet… so the shocks are fine. Again, if you want to use sexy big diameter shocks you need to consider that they will hit the chain unless they are spaced out both top and bottom.

Image

The coils are a squeeze to get in under the tank- as I need 4 for the 8 plug set-up. I went for a set of the compact Dyna coils and they just squeezed in.

Image

Foot rests are from a GPZ900, with custom mounts. Again these were simple steel parts welded to the GPZ pivots. The challenge was to make them sit at the right height, right position for brake lever and gear lever and both sit parallel to the floor.

Image

Finally I had to make custom centres for the brake disc rotors- they are floating design but the wheels have old fashioned 4 hole design, this required an aluminium dish turned then put on the mill to add the mount and floating fixing holes- and the holes that are there simply to make it look neat.
z650/1400 bonneville hybrid.

User avatar
j.wilson
100Club
100Club
Posts: 229
Joined: 23rd Jul 2011
Location: wimborne

#9 PostAuthor: j.wilson » Mon Oct 24, 2011 2:11 pm

Going back a little, I positioned the mounts on the frame using the following technique.
I was able to copy the style of the frame mounts on the rear of the Bonneville and I also used the anti-vibration mounts from the Bonneville.

Using the tank, seat and rear mudguard from my Bonneville style kit, and with the over length swing arm fitted I could get two crucial dimensions- that is the position of the mudguard so that its curve aligned with the curve of the rear tyre.

Finally, I lowered the frame down to the point to represent the suspension was about as compressed as possible. This positioned the mudguard at the correct height.

So now it is a matter of figuring out the mounts for the seat, tank and mudguard.

This now left a gap to fit in the battery box. I decided to make life more difficult for myself by insisting that the standard air-box would fit in (should I decide to fit one later), this meant that I needed to squeeze in the battery and ECU et al into the tight space left.

I decided to put the battery (the Z1100 model) between the frame tubes from above, not from the side like the Z1100. This allowed me to use the sides of the battery box to fit the fuel pump and electrics, but it did put the battery a long way forward- and then I could put the ECU behind it- making the ECU box double up as the inner rear mudguard.

This all sounds complicated, but it was a lot easier when you consider that I was using lots and lots of cardboard models. I made dozens. Simple to start with and more and more complicated as time went on.

I used a technique of printing out my computer drawings for each part and sticking them on cardboard- then cutting them out. Over time I was able to add more and more detail- and actually the cardboard boxes were surprisingly strong- certainly good enough to support the actual battery.

I decided to build the real box from alloy and to solder the plates together, however in the end this was a pain as the heat necessary was high enough that as one joint reached melting point, previous joints would fall apart. In the end I used structural adhesive for aluminium.

Image

The challenge is not to commit too soon- every time you consider a new bit of the puzzle the design can shift- for example the bend radius and connector on the ECU loom- the battery box needed enough clearance and the hole needed to be large enough to allow the connector through.

I was pleased with the final box- it looks neat and squeezes everything in- all rubber mounted and solid.

Image

Image

Image

Image
z650/1400 bonneville hybrid.

Padders
Hardcore
Hardcore
Posts: 4875
Joined: 15th Jan 2006
Location: Grimsby Lincolnshire

#10 PostAuthor: Padders » Mon Oct 24, 2011 2:24 pm

Thanks for taken the time to re list Julian I found this one of the best project threads posted on the site and was gutted when it along with others were lost.

HOWEVER the more pressing issue is how did the shed build turn out. We were nearly at the end when the big meltdown happened. Pictures we need pictures.

User avatar
j.wilson
100Club
100Club
Posts: 229
Joined: 23rd Jul 2011
Location: wimborne

#11 PostAuthor: j.wilson » Mon Oct 24, 2011 7:36 pm

I'm embarrassed to say that the shed is still not occupied, although water tight and kind of finished.

Here is the info about the shed
http://z1ownersclub.co.uk/forum/viewtop ... sc&start=0

I noticed the other day that the peacocks are eating the lead flashing off the roof!

They dig up my veggies too- I was going to eat them but now I’m not so sure if they are full of lead from my roof.

I’m told that they used to add lead to sweets as it has an oily sweet taste- perhaps that’s why the peacocks are eating it.
Last edited by j.wilson on Wed Mar 27, 2013 10:31 pm, edited 1 time in total.
z650/1400 bonneville hybrid.

User avatar
j.wilson
100Club
100Club
Posts: 229
Joined: 23rd Jul 2011
Location: wimborne

#12 PostAuthor: j.wilson » Mon Oct 24, 2011 7:57 pm

Oh, they're not my peacocks- they live somewhere in town and just range around the gardens looking for stuff and making a huge noise.
z650/1400 bonneville hybrid.

Rich
Hardcore
Hardcore
Posts: 2835
Joined: 4th Mar 2003

#13 PostAuthor: Rich » Tue Oct 25, 2011 7:55 pm

Rich
diplomacy is a form of art - I was never any good at art

User avatar
j.wilson
100Club
100Club
Posts: 229
Joined: 23rd Jul 2011
Location: wimborne

#14 PostAuthor: j.wilson » Tue Oct 25, 2011 8:06 pm

yea, but disposing of the body is ALWAYS the biggest problem.
z650/1400 bonneville hybrid.

User avatar
Al
Hardcore
Hardcore
Posts: 2233
Joined: 21st Oct 2007
Location: Farnbronx Sin City N.E. Hants

#15 PostAuthor: Al » Tue Oct 25, 2011 9:35 pm

Thanks JW for putting this back up, its a thankless task to try to re-create it with the benefit of hindsight but one which will be appreciated by many.
Dig deep and for complete authenticity i'll try to remember some of my more characteristically innane comments as the FI stuff comes through.
10 out of 10 for effort so far.


AL
1981 J1


Return to “Projects”

Who is online

Users browsing this forum: No registered users and 12 guests