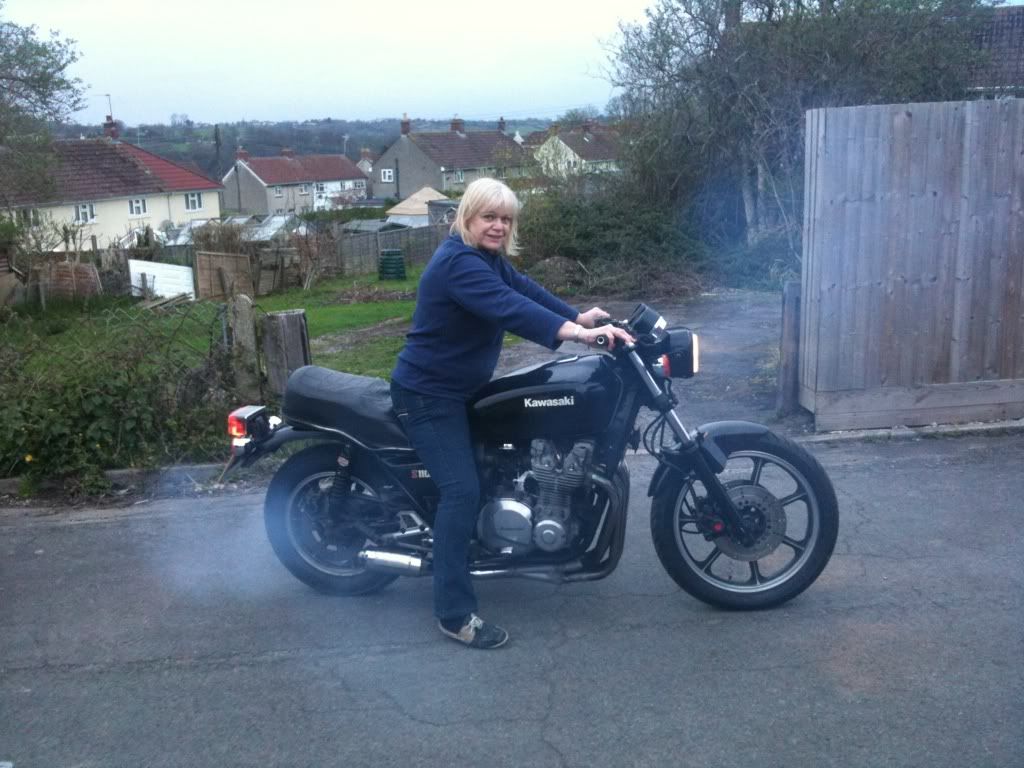
Page 1 of 16

Z1100ST Resto +

Posted: Sun Sep 18, 2011 2:37 pm
Author: RALPHARAMA
I got really into the RD250B resto, but then lost interest - probably because at the end of the day I'll never really ride it anywhere.

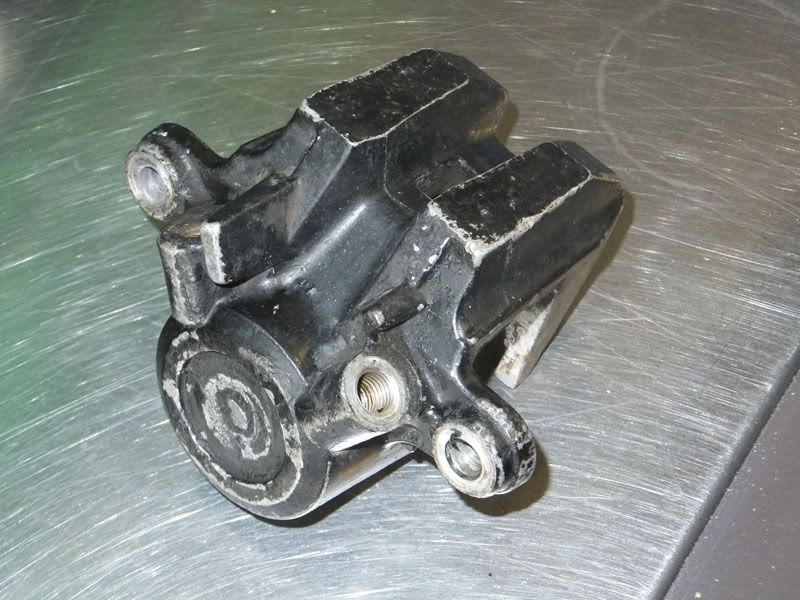
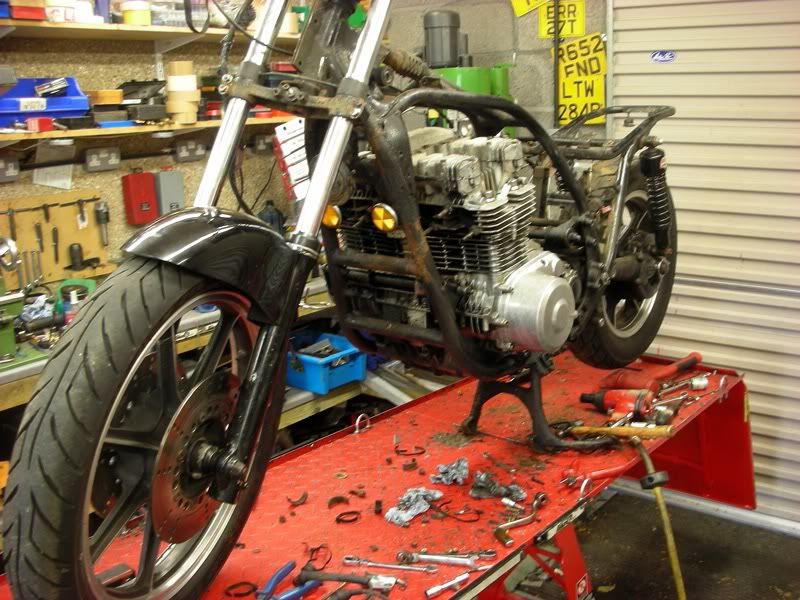
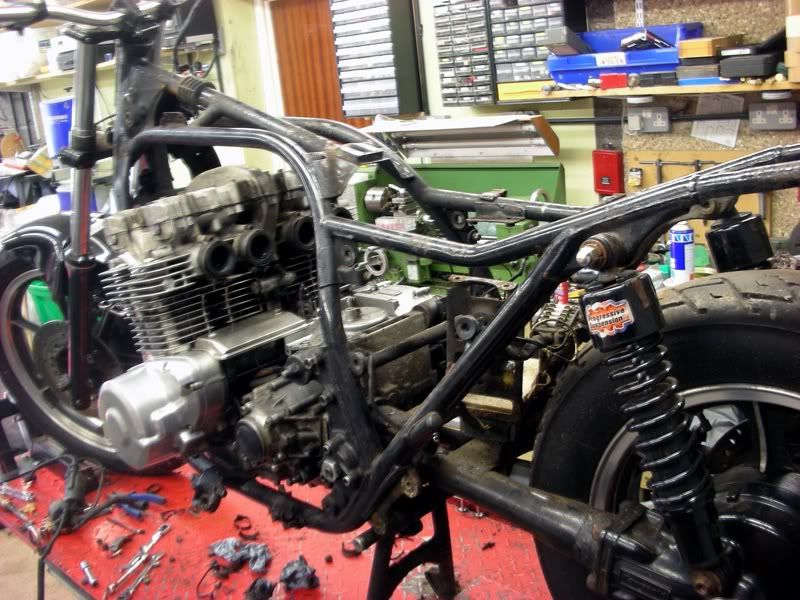
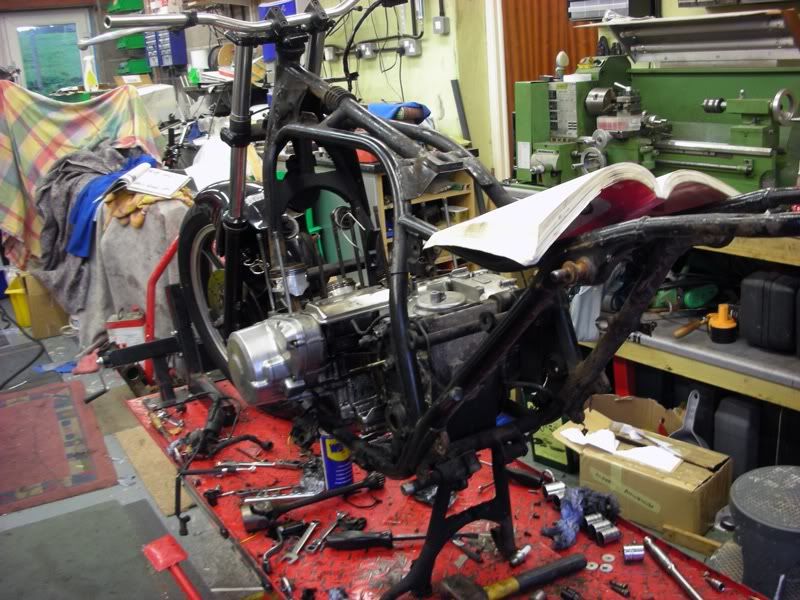
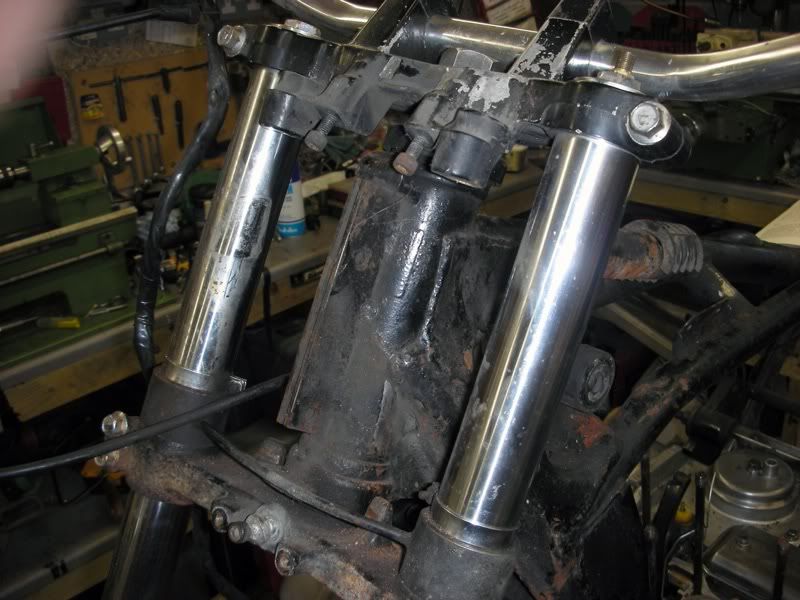
The Big eleven has been stuck at the back of the overflow garage for some while. I have been nagged by my conscience for a while that if nothing else I should at least take the calipers apart. The bike has been badly abused and it was very obvious that there was more water than brake fluid in the systems, and that if nothing else these should be striped.

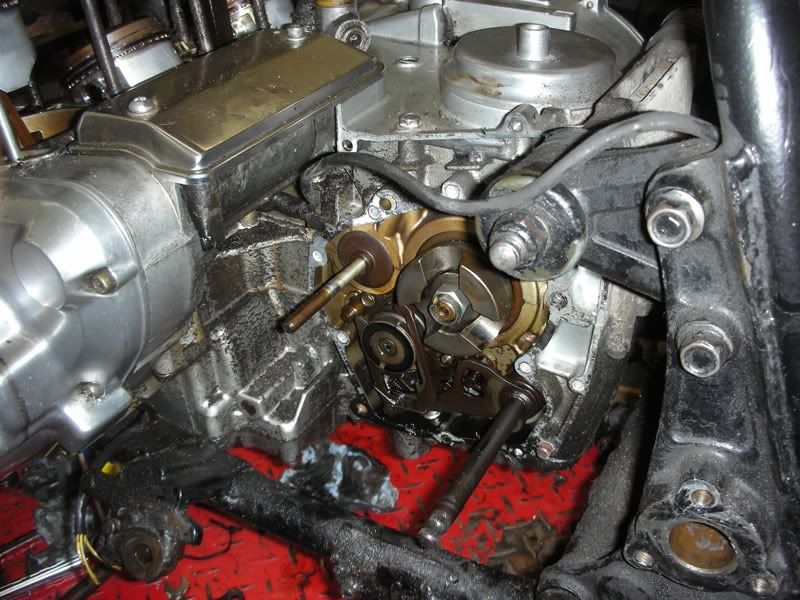
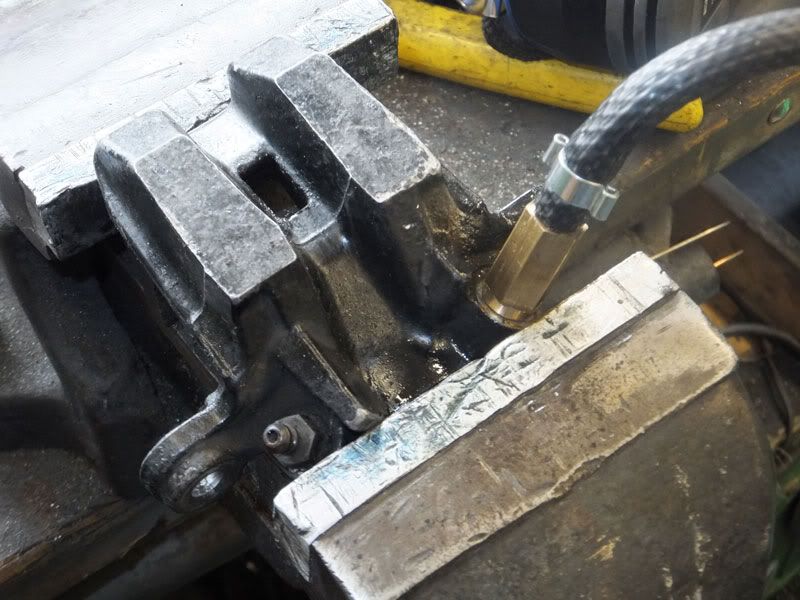
I removed both front and back and brought them up to the workshop. I started on the front left caliper. Having removed the pads I was annoyed to find that it has those bloody filled in pistons, so I couldn't use my piston removal tool. The fluid that drained out when the banjo was removed proved my worst fear about it being powered by rusty water! With most calipers I can usually get the pistons out by forcing the air blower against the inlet hole, but this sucker was tight as a nun's flower.

What I needed was a tool I have often contemplated making - a tool to connect the air supply to the caliper without leaks and enabling me to have two free hands. Looking around for donor materials I found that the air shears had an over generous air lead :) I loped just over a foot off and then fitted another PCL plug to it. All I needed was an M10 x 1.25 pitch male thread to fit to the air lead. That seemed a tall order and the nearest I could find was a bit o brass hex stock. A bit of time on the cheap and nasty chinese lathe and hey presto:

Image

Fitted the bit of air lead and I had a leak free, no hands required method of removing pistons. In the future I will need to add a control valve, but for the time being it works a treat.

Image

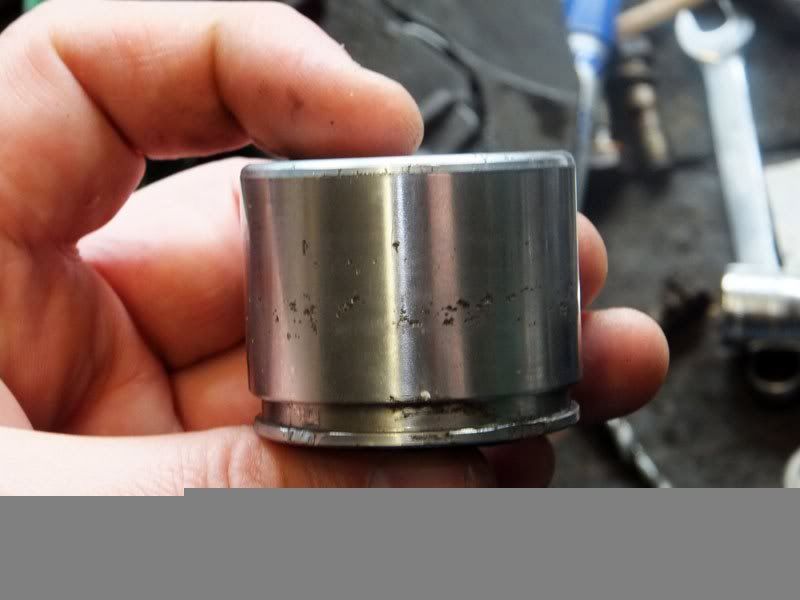
The piston was pretty fecked and will have to be replaced. I can't find the bloody dremmel wire wheels, so I can't finish cleaning the seal grooves.

Had to heat the caliper with the hot air gun to get the bleed nipple out!

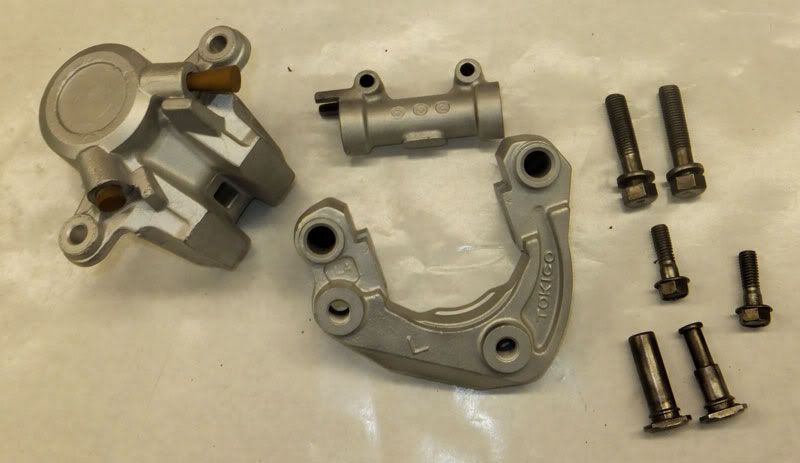
Next job is the mask up and bead blast the muckiness, ready for some two pack satin.

......

Posted: Sun Sep 18, 2011 3:59 pm
Author: Ginger Bear
Ralph,

How far did that piston go without a 'control valve' :?

Any chance of a pic of the bike now :?

Posted: Sun Sep 18, 2011 4:06 pm
Author: mikey
Good little tool ralph, mrs mikey always gets annoyed when i put brake calipers in the oven to warm em up to get siezed pistons out :lol:

Posted: Sun Sep 18, 2011 9:53 pm
Author: RALPHARAMA
Ginger Bear wrote:Ralph,

How far did that piston go without a 'control valve' :?

Any chance of a pic of the bike now :?


The piston was proper stuck - there was no way that it was doing a torpedo job :) I also took the precaution of doing it in the vice :D

Here's a pic of the 'runner' when we got her home - in the van!!!

Image

Posted: Sun Sep 18, 2011 9:55 pm
Author: RALPHARAMA
mikey wrote:Good little tool ralph, mrs mikey always gets annoyed when i put brake calipers in the oven to warm em up to get siezed pistons out :lol:


How very inconsiderate of her - wonder how CB will take it when I stick the head in the oven to get the valve guides out :twisted:

Posted: Sun Sep 18, 2011 10:02 pm
Author: z1bman
looking at the photo i think you need to check your oil with the amount of smoke coming from the exhaust

Posted: Sun Sep 18, 2011 10:09 pm
Author: RALPHARAMA
z1bman wrote:looking at the photo i think you need to check your oil with the amount of smoke coming from the exhaust


Have you never seen one of Kawasaki's two stroke eleven hundreds before ?

Posted: Sun Sep 18, 2011 10:20 pm
Author: z1bman
seen loads of them that's why they always drive with the lights on so they can see were they are going

Posted: Mon Sep 19, 2011 7:49 pm
Author: RALPHARAMA
Put a couple of hours in tonight.

Image

Think praps I ought to get a new piston

Image

Having finally found the wire brushes for the Dremel I cleaned out the seal grooves. I then polished the cylinder with a felt bob, masked up and bead blasted the caliper body and mount.

Image

I then popped the piston out of the right hand caliper with minimal grief. Thought it was going too easily; the rotted half away nipple then sheared off :evil: It then became apparent that this had happened before and there was a thread repair insert in already and the thread in it wasn't too clever. If it was a regular helicoil I could put in a time-sert, but it's already got a buggered time-sert :evil: Standard it should have a 7mm fine thread, but it has a 8mm time-sert, which doesn't look as thought it was fitted by an engineer. The nipple does tighten up but it isn't really right and is pretty sloppy. I'll reassess the situation tomoz :??

Posted: Mon Sep 19, 2011 7:53 pm
Author: Al
Ralph take a good hard look at that caliper and see if the two hanging forks are still parallel with the face of what would be the piston. They stretch there and though you can still use them the pads wear un-evenly and take a long time to bed in properly.

The two pins bottom right of last pic also go sloppy in the caliper mounting bracket holes. Leads to judder when braking. If i get a chance i will sleeve mine at some point i hope.

AL

Posted: Mon Sep 19, 2011 9:18 pm
Author: RALPHARAMA
It's interesting you should say that; I was thinking about sleeving them as they are a tad sloppy. In an ideal world I suppose I would consider making them from phosphor bronze, but it's such a sod to machine. I guess I could loctite the sleeves into the casting. If the forks have distorted, I guess that they might be trued up with a light skin in the mill; trouble is if they're weak enough to bend in the first place, removing meat will only make them worse. It looks as though I'll have to put some thought into this one. :evil:

Thanks for the heads up Al :)

Posted: Tue Sep 20, 2011 11:55 am
Author: RALPHARAMA
BUGGER!!!

I just measured the caliper and there is a distortion of about twenty thou :cry:

I'm tempted to run a milling cutter down the 'legs'

Looking at the casting that the pins run in, there doesn't look to be much meat to open up and fit a sleeve. May be easier to ream them a minimal amount to get them true and make some new pins out of stainless. What ever I do, it will be a fag :evil:

Posted: Tue Sep 20, 2011 2:25 pm
Author: z1bman
they are available as a separate part ?

Posted: Sun Oct 30, 2011 6:45 pm
Author: RALPHARAMA
I've been buggering about with calipers for weeks now. I managed to get some more knackered calipers off flea bay for next to nowt.

I decided today to start striping the wreck that was once a proud heavy weight.

Image
Image

This bike has suffered some SERIOUS abuse. When I dropped the oil it was like black water.

I had never stripped a Zed shaft before, so that was quite challenging. The swinger is held in by two bush sort of things. They have a 5mm threaded hole in them to draw them out :shock: I suppose that were the bike new and looked after this would have been fine; but it's elderly and has suffered both neglect and abuse. It took some serious time and lots of snapped 5mm bolts before I managed to get the sods out!

Image

Getting the bit out of the end of the shaft tube that connects to the rear bevel box was challenging. I will have to invest in some very long nosed circlip pliers to put it back! So many parts of the bike were sooooo corroded it is amazing it still ran at all.

Image

There is a strange looking item on the front of the headstock, which suspect has been attached post manufacture. I haven't check the manual yet, but it doesn't look as though it should be there. Do I hear the music of the angle grinder?

Image

When I dragged the head and barrels off I was amazed how easily they jumped off. The cam chain seemed slack and a cursory glance at the cam chain tensioner did look promising. I'll obviously strip it later to be sure.

Given how much the engine was smoking, I expected to see a lot of burn past the the rings, but the piston skirts seem very clean.

Image

Image

There are a few tell tales of heat in the wrong places on the head, but I need to take a closer look really. I'm concerned about the head for a number of reasons. The shims range in size from 2.20 to 2.40 . I do have a set of new guides for the head, but with the best will in the world there isn't much meat left in the valve faces if anything needs cutting when the new guides are fitted. With this much wear I also worry that the valves themselves are probably close to the end of their lives :cry: Perhaps it would pay me to look for a healthier head as I think it will cost a king's ransom to get this one sorted. I know that the previous owner bought this head second hand and had it fitted by a 'shop'. One of the 6mm bolts at either end of the head had a nut and bolt situation :shock: Hopefully this can be helicoiled. I'm too knackered to do any more today so a final decision will have to wait. Another curious thing is that the cams are stamped up Z1000 :shock:

Image

Posted: Mon Oct 31, 2011 7:25 am
Author: Iain marshall
Ralph, the cam sprockets on my Z1100 Spectre are marked the same, also the cams are the same marking with two groves, as you can see in your pic between the sprocket and cam lobe. So nothing to worry about there