Hello Guest User,

Please feel free to have a look around the forum but be aware that as an unregistered guest you can't see all of it and you can't post.

To access these 'Registered Users Only' areas simply register and login.

Michigan to West Sussex-73 Z1 for restoration

Work in Progress

Moderators: KeithZ1R, chrisu, paul doran, Taffus

Message
Author
wilsonsjw11
Hardcore
Hardcore
Posts: 1317
Joined: 18th Jul 2008
Location: West Sussex/Central London

Michigan to West Sussex-73 Z1 for restoration

#1 PostAuthor: wilsonsjw11 » Sun Jan 03, 2010 5:01 pm

After restoring a Z1B last year I decided to look out for a 73 Z1 that would be my next restoration project one became available from Rick Brett and was purchased at the back end of 2008.I had been collecting NOS parts for a couple of years and this collection was given a major boost by the purchase of many NOS parts from Davy Doherty.This rebuild will be carried out with as many NOS parts as possible.
The bike with Z1B paintwork although it did arrive in candy brown and orange.
Image
After stripping all the major components from the bike the engine was stripped,the only problems found were a wire burnt out on the stator and a siezed throttle slide in No1 carb.A couple of barrel/exhaust studs sheared on their attempted removal and this resulted in the head and barrels being sent to an engineering shop for professional removal.
The engine rebuild is being carried out by Mike Hunnisett this will include repainting,new liners and the head will be reworked by Serdi.The crank has been stripped,cleaned,fitted with new big end bearings welded and balanced by Chris Applebee before dispatching to Mike.
The clutch basket was treated to a new set of springs supplied and fitted by Ray Debben.
The new parts to go into the engine will include input and output shaft bearings,standard pistons and rings,new cam gear including cam shaft sprockets,valves and springs,clutch and springs.
The collection from Davy was'nt long coming into play when it was realised that the cam chain tensioner housing was from a later model but there it was all nice and NOS
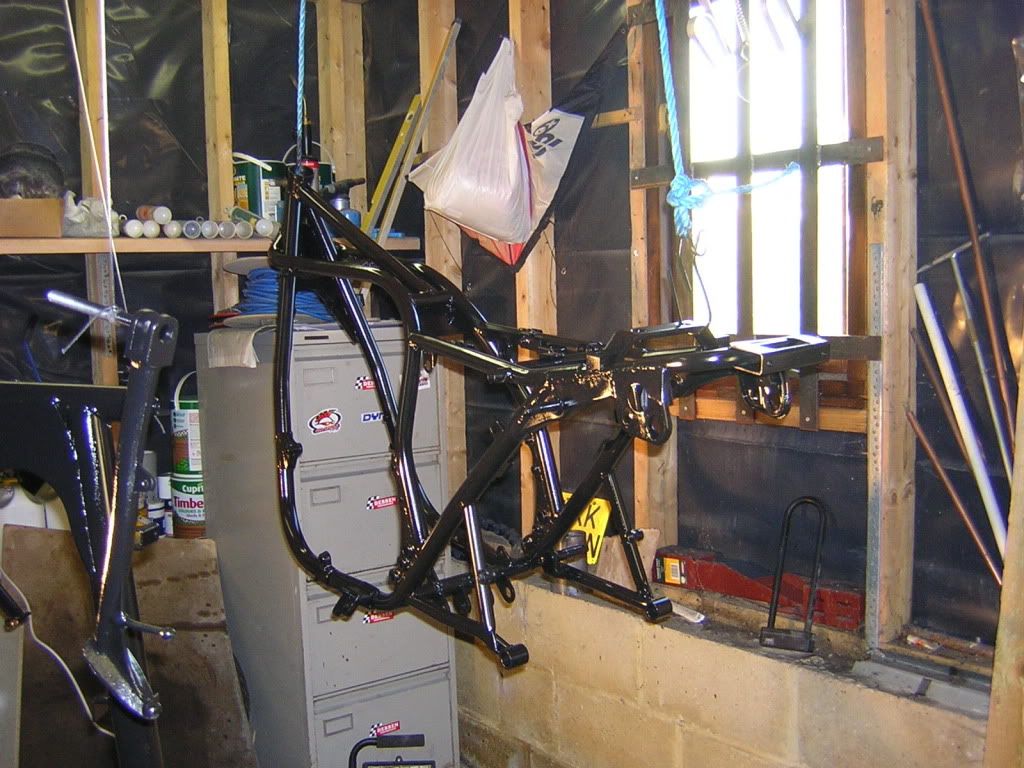
As it was evident that the bike had been on its side sometime in its life all the hanging brackets were straightened and a little welding done to tidy the frame up.
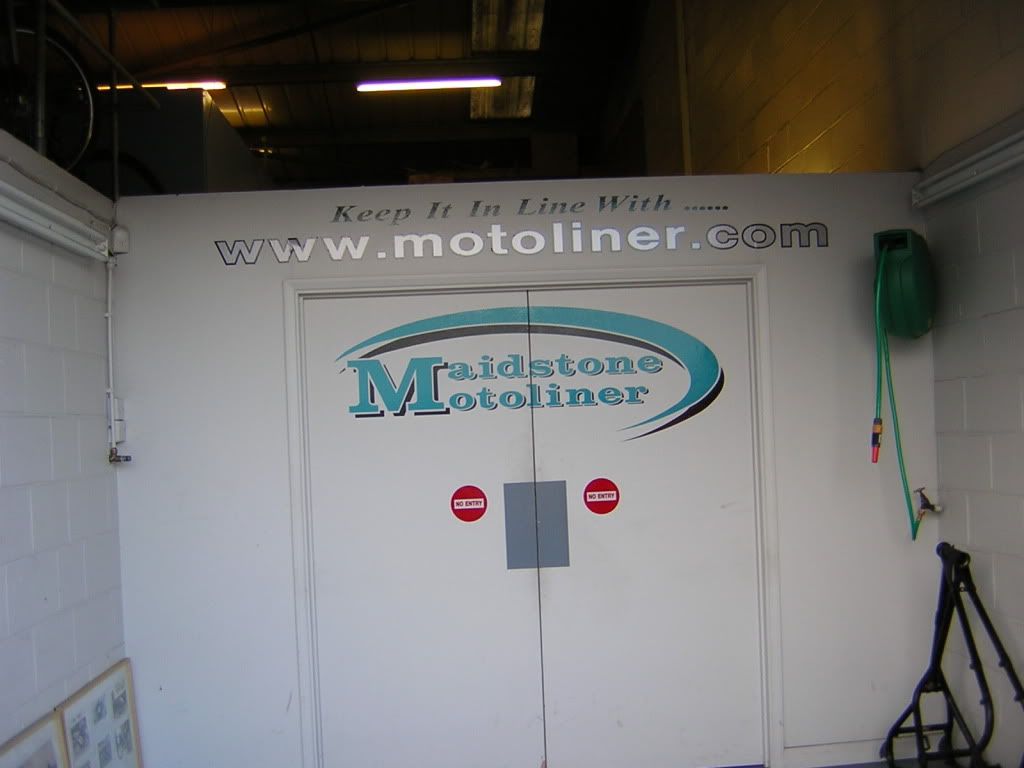
The frame was then put into Motoliner to be checked for true for a fee of £70.00 a must I think before carrying out any restoration if you do not know the history of the bike,just ask for Ray a very knowledgable man
The frame was given a clean bill of health.
All parts for zinc plating,rechroming and polishing were sent to Mikey
Image
The frame was then sent for dry blasting with a very fine cleaning sand but still required rubbing down with 600/800 wet and dry paper before painting.The decision was made not to 2 pack or powder coat the frame instead Eastwoods extreme chasis primer and gloss was used with good results both coatings were "baked on" with the aid of a space heater in the garage.The only down downside of this warmth was that every fly that had decided to over winter in the place woke up thinking spring has sprung.

Image


Image
Regards
Steve
Last edited by wilsonsjw11 on Sun Mar 11, 2012 3:20 pm, edited 4 times in total.

User avatar
mikey
Hardcore
Hardcore
Posts: 3792
Joined: 29th Nov 2005
Location: bristol

#2 PostAuthor: mikey » Sun Jan 03, 2010 5:08 pm

Looking good so far steve keep it up
Making the world a shiny place with a factory finish

wilsonsjw11
Hardcore
Hardcore
Posts: 1317
Joined: 18th Jul 2008
Location: West Sussex/Central London

#3 PostAuthor: wilsonsjw11 » Sun Jan 03, 2010 5:13 pm

Mikey
I hope you just read it again I forgot to mention you!!! :oops:
Regards
Steve

User avatar
Ginger Bear
Hardcore
Hardcore
Posts: 6850
Joined: 16th Dec 2008
Location: In the Dark.
Contact:

#4 PostAuthor: Ginger Bear » Sun Jan 03, 2010 5:18 pm

That's some serious engine work going on there....... Looks like this is gonna be a Peach.
Image

# 104

Phil Churchett Award Winner 2011 & 2016 :D
Buzzworkz Best Modified Zed 2016

User avatar
paul doran
Area Rep.
Area Rep.
Posts: 15910
Joined: 24th Sep 2004
Location: near Dublin Ireland

#5 PostAuthor: paul doran » Sun Jan 03, 2010 5:35 pm

keep the pic's coming
I love to see Zed's being refurbished
way too many Zeds

wilsonsjw11
Hardcore
Hardcore
Posts: 1317
Joined: 18th Jul 2008
Location: West Sussex/Central London

#6 PostAuthor: wilsonsjw11 » Sun Jan 03, 2010 5:45 pm

Paul
There will be regular updates with Mike hopefully conducting the pics of the engine rebuild.
Regards
Steve

User avatar
mikey
Hardcore
Hardcore
Posts: 3792
Joined: 29th Nov 2005
Location: bristol

#7 PostAuthor: mikey » Sun Jan 03, 2010 6:42 pm

wilsonsjw11 wrote:Mikey
I hope you just read it again I forgot to mention you!!! :oops:
Regards
Steve


Hey not a problem steve im sure as the bike progresses
we will see some of the shiny stuff, or in your case not so shiny :lol:
Making the world a shiny place with a factory finish

User avatar
tlc
International Rep
Posts: 5239
Joined: 6th Nov 2007
Location: Aylesbury

#8 PostAuthor: tlc » Sun Jan 03, 2010 7:13 pm

You disappoint me Steve.

I thought you`d bought that sad old nail from Davy to restore !
I was thinking thank god someone has some balls !


Glad you`re doing it proper anyhow :D
Asphalt Cowboy

Phil Churchett award winner 2015

User avatar
PJ
Hardcore
Hardcore
Posts: 3538
Joined: 2nd Dec 2008
Location: Halesowen, West Mids

#9 PostAuthor: PJ » Sun Jan 03, 2010 7:25 pm

Superb Steve, keep the pics coming
WHO NEEDS DRUGS - WHEN YOU HAVE A ZED!!

wilsonsjw11
Hardcore
Hardcore
Posts: 1317
Joined: 18th Jul 2008
Location: West Sussex/Central London

#10 PostAuthor: wilsonsjw11 » Sun Jan 17, 2010 4:46 pm

One little job that had to be done whilst waiting for the frame,stands and bracketry paint to cure was the restoration of the start solenoid,I had found a NOS item but it somehow got "lost in the post" when its packaging got damaged in the USA but I'll leave that one there.The first job to be done is to test the coil for continuity this should be around 3.7ohms if its healthy.Then with the aid of your kettle steam off the foil backed original label;
Image
Next job is to undue the terminal nuts and insulator fixing screws then desolder the two terminal wires, at the same time as desoldering the wires gentle pull the insulator away from the solenoid coil.Fix a little blanking plate onto the solenoid body,this is to protect it during the plating process.
Image
When you have done this you can examine the contact tips on the solenoid actuator and just clean them up with wire wool if carbonised.
Next thing to do is gather all the metal bits up and send them to Mikey for yellow zinc passivating and they should look something like this when they come back.
Image
Reassembly is a reverse of the dismantling procedure,I treated this one to new wiring and bullet connectors.You can now glue on the label you saved and then test it with your ohm meter before testing it across your 12v battery.
Image
And there you have it $200-250 saved.
Regards
Steve

User avatar
z2.john
Custard Cream
Custard Cream
Posts: 500
Joined: 17th Mar 2005

#11 PostAuthor: z2.john » Sun Jan 17, 2010 5:07 pm

That's really smart Steve. Look forward to seeing that next time.
John

wilsonsjw11
Hardcore
Hardcore
Posts: 1317
Joined: 18th Jul 2008
Location: West Sussex/Central London

#12 PostAuthor: wilsonsjw11 » Sun Jan 17, 2010 5:16 pm

Good job I noticed the label had been stuck back on in the wrong position before the glue dried :oops:

User avatar
1beelee
100Club
100Club
Posts: 200
Joined: 4th Feb 2007
Location: co durham

#13 PostAuthor: 1beelee » Sun Jan 17, 2010 5:42 pm

wow serious attention to detail,
Z1b,Z1000r,KR1S,husky wr250 bog surfer
"turned out nice again"

User avatar
mikey
Hardcore
Hardcore
Posts: 3792
Joined: 29th Nov 2005
Location: bristol

#14 PostAuthor: mikey » Sun Jan 17, 2010 7:03 pm

Wow indeed steve, must admit that was the one that had
me a tad worried as to weather your blanking plate idea
would work and if indeed it would work again top job.
Making the world a shiny place with a factory finish

wilsonsjw11
Hardcore
Hardcore
Posts: 1317
Joined: 18th Jul 2008
Location: West Sussex/Central London

#15 PostAuthor: wilsonsjw11 » Sun Jan 17, 2010 7:20 pm

I did forget to mention in the script the blanking plate was sealed onto a small bead of silicon grease.
Regards
Steve


Return to “Projects”

Who is online

Users browsing this forum: No registered users and 8 guests