Hello Guest User,

Please feel free to have a look around the forum but be aware that as an unregistered guest you can't see all of it and you can't post.

To access these 'Registered Users Only' areas simply register and login.

Asphalt Cowboy

Work in Progress

Moderators: KeithZ1R, chrisu, paul doran, Taffus

Message
Author
User avatar
tlc
International Rep
Posts: 5239
Joined: 6th Nov 2007
Location: Aylesbury

#91 PostAuthor: tlc » Sun Dec 02, 2012 5:34 pm

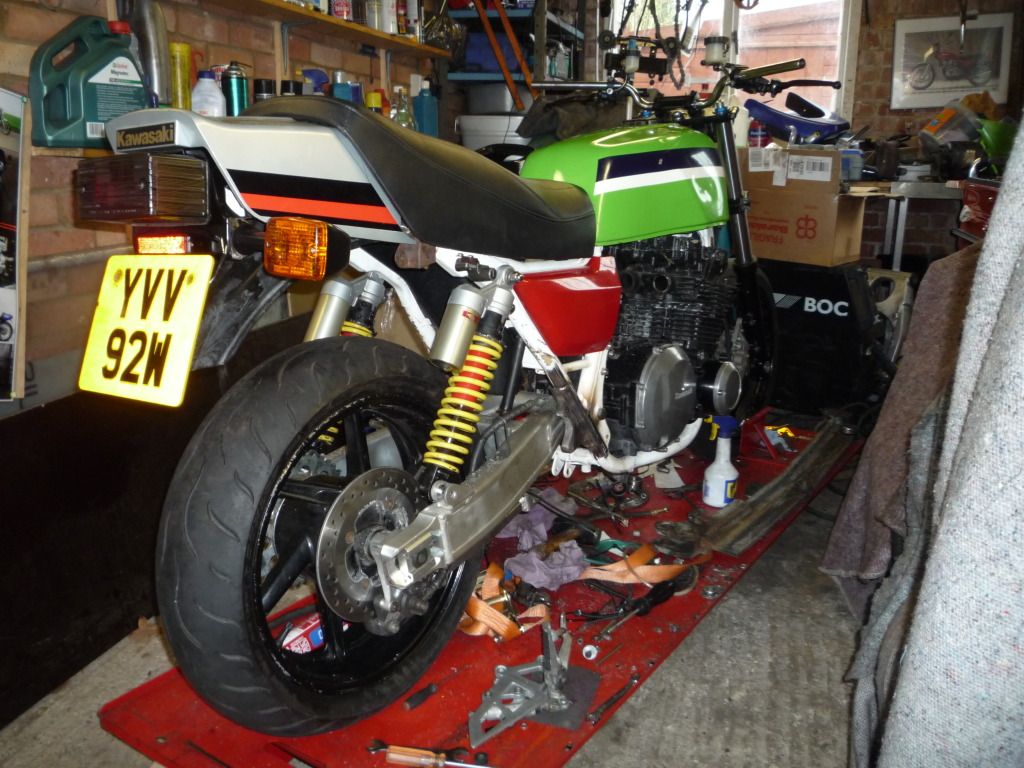
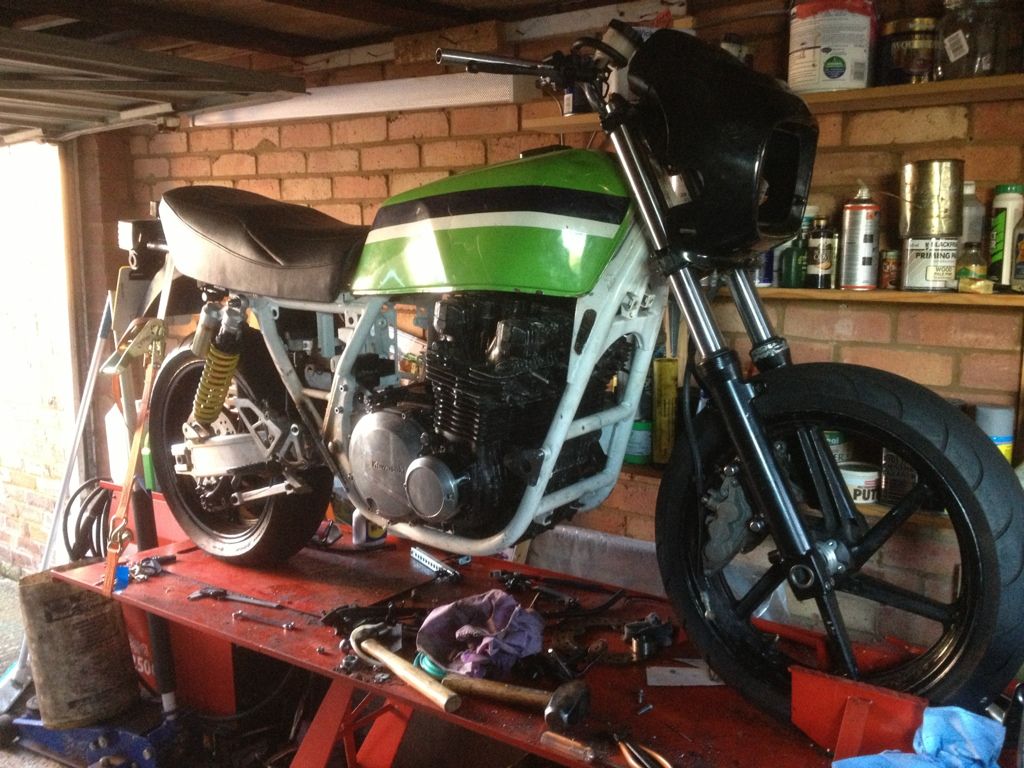
A good few hours in the garage has finally allowed me to sit on the bike and try out the seat / peg / bar relationship.

Image


The other footrest mount was made up and the gear linkage extended to suit. This though has thrown up a problem with the sidestand. One for future consideration there. Happily though all seems to sit correctly although it is rather difficult to know just how the 17" wheel affects the whole setup of the machine. It sits nicely on the sidestand and the engine looks straight compared to the fore and aft angle of the bike. I don't have a problem if it sits slightly forward but next week should have it rolling with a correctly fitted front wheel. I will then be able to align the wheels and check for frame alignment. (I still have no idea if the frame is bent). Not a problem though as there are still brackets to sort at the front end area like headlight and oil cooler mounting.

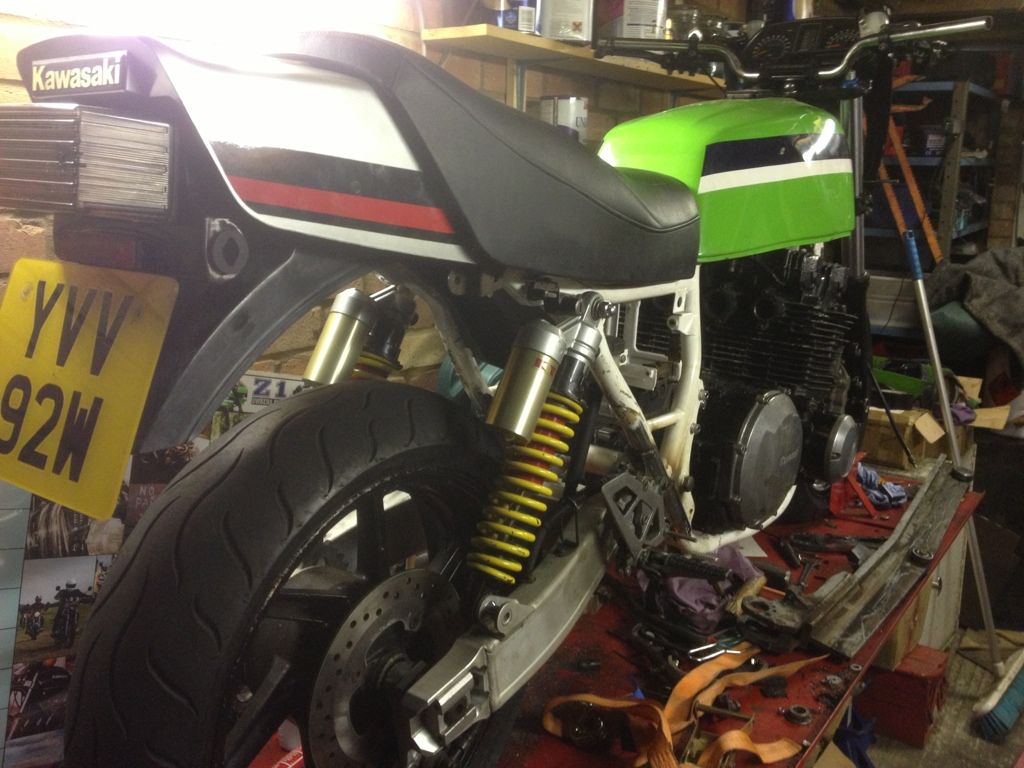
I spent today on closing up the shut lines of the tailpiece. This has always been a problem on the J type models. I removed the original bracket and made up an exact copy but extended by approximately half an inch. Entirely hand made with welder and hammers, that is my forte after all. That took two hours so bearing consideration for the neighbours I only did one side. More next week.
Image

Image

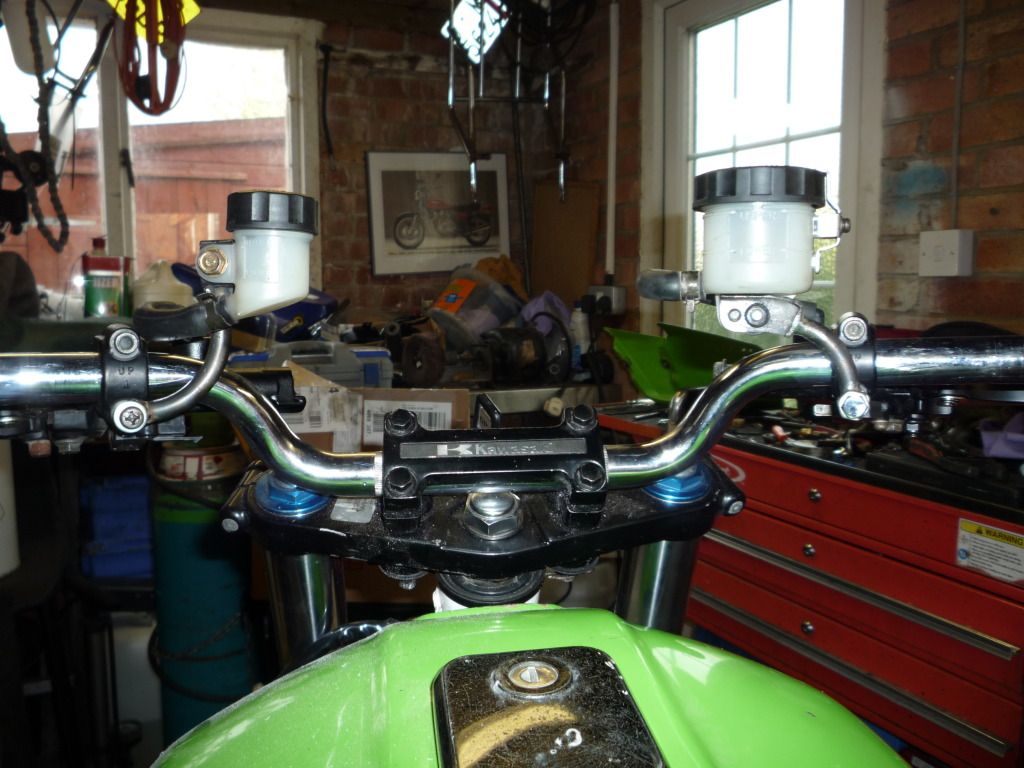
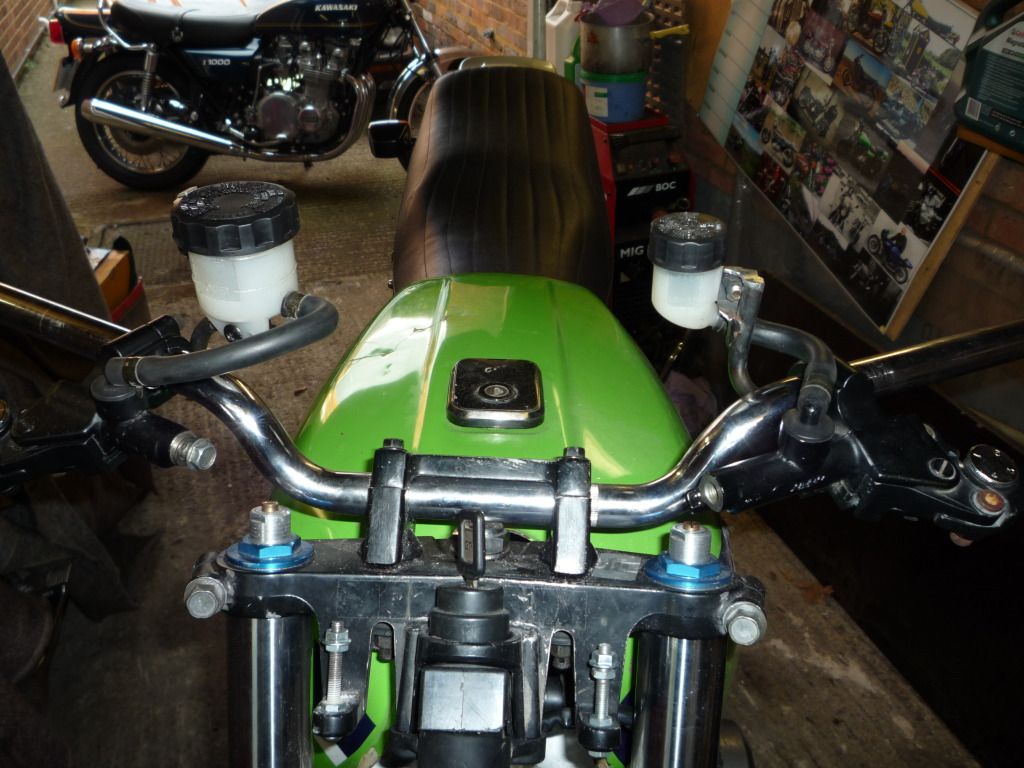
A couple of issues have now become apparent. These are namely the remote reservoirs for the brake and clutch master cylinders.
Could anyone post a pic of how they mounted theirs please.
Asphalt Cowboy

Phil Churchett award winner 2015

User avatar
Ginger Bear
Hardcore
Hardcore
Posts: 6850
Joined: 16th Dec 2008
Location: In the Dark.
Contact:

#92 PostAuthor: Ginger Bear » Mon Dec 03, 2012 2:03 pm

Chris,

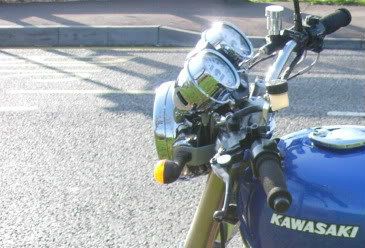
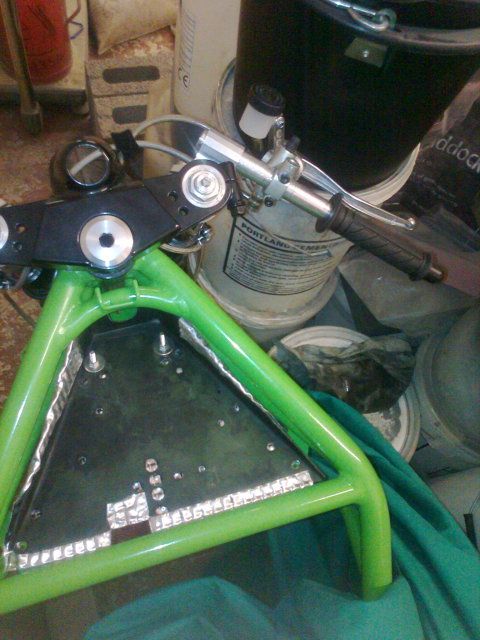
This is the best I could find. The brake reservoir was a specially made thing designed to mount directly onto the master cylinder.

The clutch however was ZX7R. I used a piece of 15mm aluminium flat bar, bent, twisted & drilled at both ends. It mounts to the top bolt of the clutch perch.

Image
Image

# 104

Phil Churchett Award Winner 2011 & 2016 :D
Buzzworkz Best Modified Zed 2016

User avatar
Pigford
Hardcore
Hardcore
Posts: 13314
Joined: 2nd Jan 2006
Location: North Dorset

#93 PostAuthor: Pigford » Mon Dec 03, 2012 4:45 pm

I got this one off eBay - cheap as chips :wink:


Image


Its alloy and came c/w reservoir pot & lid - and it don't leak :!:
And on the 7th day... Zeds were created!

User avatar
tlc
International Rep
Posts: 5239
Joined: 6th Nov 2007
Location: Aylesbury

#94 PostAuthor: tlc » Mon Dec 03, 2012 6:30 pm

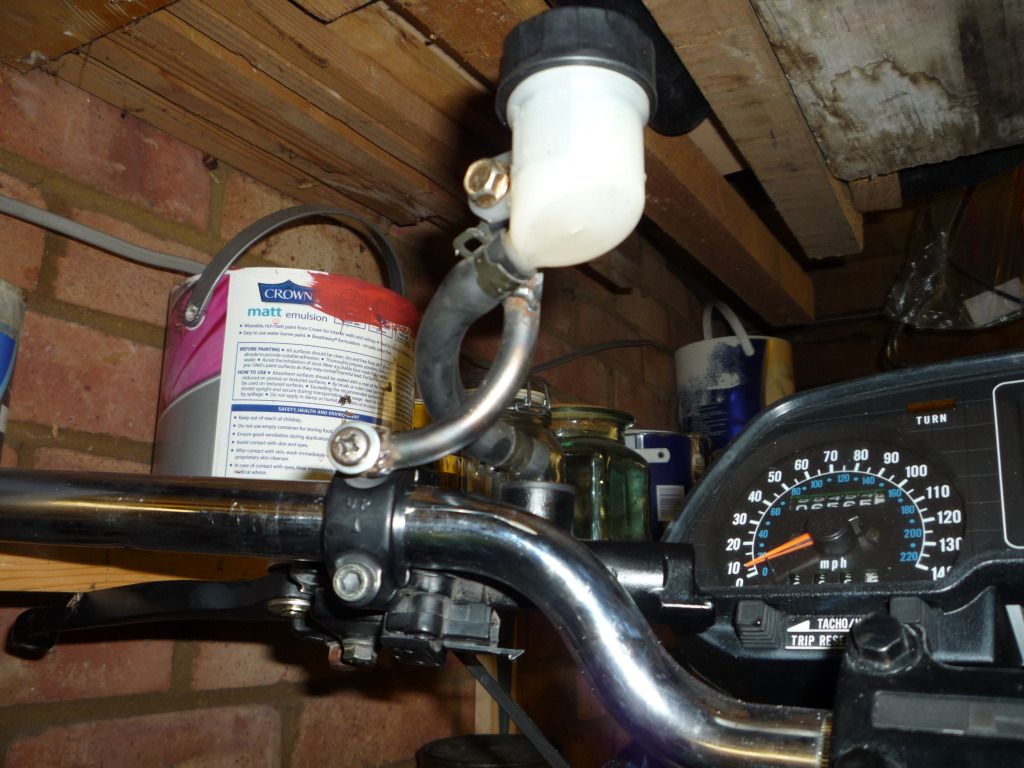
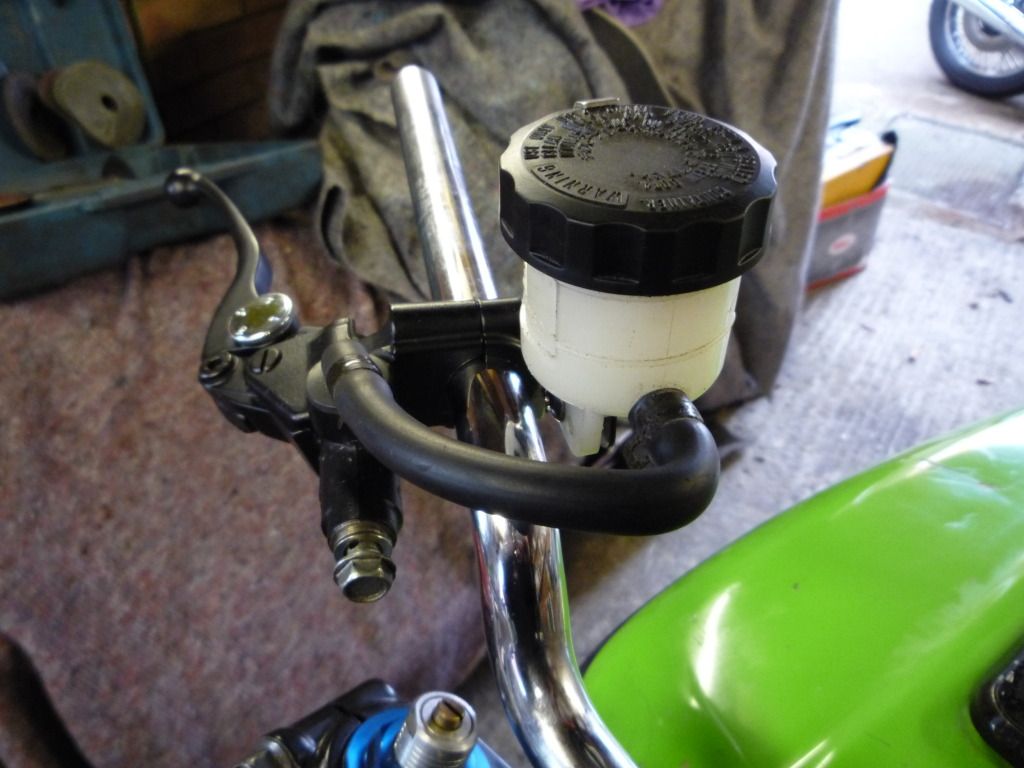
I have had a look on the Sanctuary website and found a really neat solution.

It involves a piece of tube which the top master cylinder fixing bolt passes through. A further piece is then welded to that and bent to shape.

Go to gallery and it is third from the end

http://www.ac-sanctuary.co.jp/rcm-list/ ... index.html
Asphalt Cowboy


Phil Churchett award winner 2015

User avatar
tlc
International Rep
Posts: 5239
Joined: 6th Nov 2007
Location: Aylesbury

#95 PostAuthor: tlc » Sat Dec 08, 2012 3:37 pm

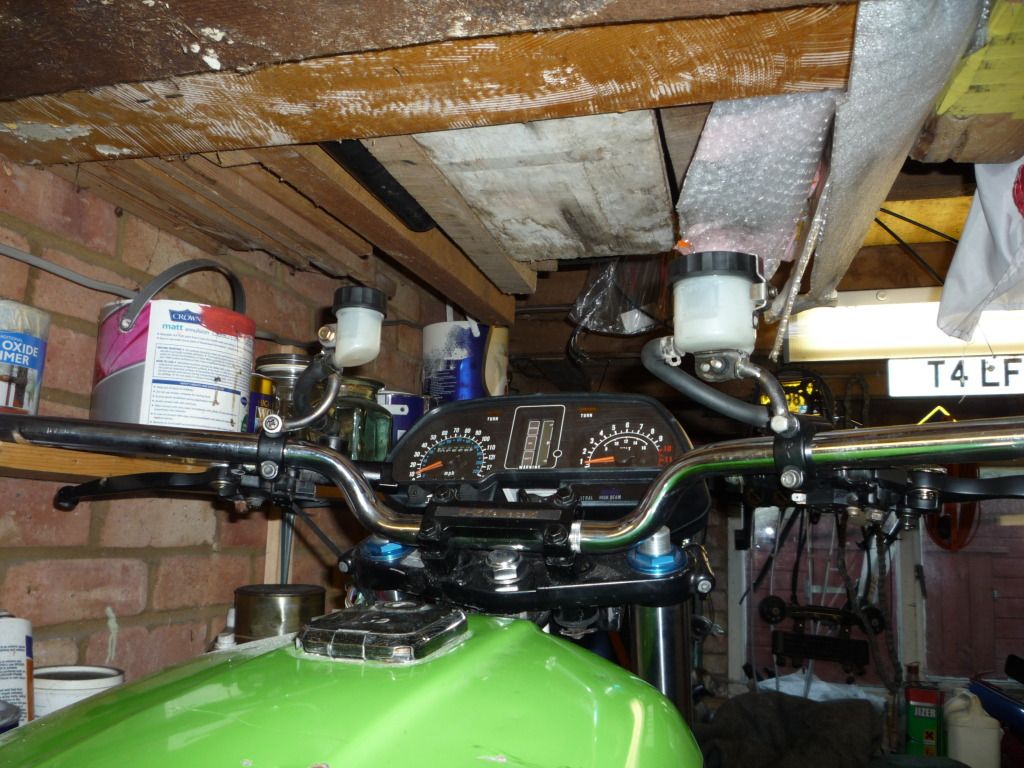
Well. That was simple enough.

Image

Image

Image
Asphalt Cowboy


Phil Churchett award winner 2015

User avatar
KeithZ1R
Moderator
Posts: 3368
Joined: 15th May 2005
Location: Bury

#96 PostAuthor: KeithZ1R » Sat Dec 08, 2012 8:35 pm

Bit of an Acute bend on the brake there Chris :!:
Keith
:bop :gom

You can never have too many tools in your life, except the two legged variety

I'm never wrong, once I thought I was but I was
mistaken.

Phil Churchett winner 2013

User avatar
KWACKERZ1
Hardcore
Hardcore
Posts: 1729
Joined: 1st Sep 2007
Location: Leicestershire

#97 PostAuthor: KWACKERZ1 » Sat Dec 08, 2012 8:46 pm

Might have to avoid low bridges as well :lol:

I think they look a bit high sorry Chris just my humble opinion,

Where's me coat :oops:

User avatar
tlc
International Rep
Posts: 5239
Joined: 6th Nov 2007
Location: Aylesbury

#98 PostAuthor: tlc » Sat Dec 08, 2012 9:11 pm

KeithZ1R wrote:Bit of an Acute bend on the brake there Chris :!:


The original hose does have a 90 degree set in it.
Asphalt Cowboy


Phil Churchett award winner 2015

User avatar
tlc
International Rep
Posts: 5239
Joined: 6th Nov 2007
Location: Aylesbury

#99 PostAuthor: tlc » Sat Dec 08, 2012 9:13 pm

KWACKERZ1 wrote:Might have to avoid low bridges as well :lol:

I think they look a bit high sorry Chris just my humble opinion,

Where's me coat :oops:


I won't know until I get further in. Perhaps the fairing and screen will show the correct position?
Asphalt Cowboy


Phil Churchett award winner 2015

User avatar
tlc
International Rep
Posts: 5239
Joined: 6th Nov 2007
Location: Aylesbury

#100 PostAuthor: tlc » Sun Dec 09, 2012 4:06 pm

Having previously stated that I post here for information only, which was a jibe at one member in particular, I thunked to my self last night and revisited the master cylinder mounts.
Fortunately their design means that they can be moved quite easily. I have to admit they look better now and having had the chance to try out various screen and headlamp positions I`ve settled on this.

Image

Image

Here is a pic for Keiths benefit showing the set bend in the LP hose that comes with the ZX9 master.

Image

I should also add that the clocks which were previously fitted, unsatisfactorily so as well, will be ditched.
Some research has uncovered a better clock arrangement. I will now be fitting a seperate frame assembly rigidly mounted off the headstock. It would seem just not possible to fit all the bits and pieces around the stock Rex top yoke.

It`s beginning to take shape but I know from previous experience that changing one thing can lead to having to change many others. Hence the complete dry build before settling on the design.

Image

I will be at the breakers soon.
Asphalt Cowboy


Phil Churchett award winner 2015

User avatar
Pigford
Hardcore
Hardcore
Posts: 13314
Joined: 2nd Jan 2006
Location: North Dorset

#101 PostAuthor: Pigford » Sun Dec 09, 2012 4:15 pm

They still look dead awkward - need them less conspicuous I reckon :??


Why not just have a short bit of clear tube as the reservoir :?: Much neater :wink:
And on the 7th day... Zeds were created!

User avatar
tlc
International Rep
Posts: 5239
Joined: 6th Nov 2007
Location: Aylesbury

#102 PostAuthor: tlc » Sun Dec 09, 2012 4:21 pm

It`s about the look Mark. It may not work but these guys make cool looking bikes.

Image
Asphalt Cowboy


Phil Churchett award winner 2015

User avatar
Taffus
Moderator
Posts: 4159
Joined: 30th Aug 2007
Location: .21 club

#103 PostAuthor: Taffus » Sun Dec 09, 2012 4:35 pm

tlc wrote:It`s about the look Mark. It may not work but these guys make cool looking bikes.

Image

ooh I do like that!
I get what you are trying to achieve do have the fairing?
(\__/)
(='.'=)
(")_(")Image

User avatar
KeithZ1R
Moderator
Posts: 3368
Joined: 15th May 2005
Location: Bury

#104 PostAuthor: KeithZ1R » Sun Dec 09, 2012 8:29 pm

see chris the first way isn't always the best, looks alot better now
Keith

:bop :gom


You can never have too many tools in your life, except the two legged variety


I'm never wrong, once I thought I was but I was

mistaken.


Phil Churchett winner 2013

User avatar
coldsummer
Hardcore
Hardcore
Posts: 3211
Joined: 29th Jun 2009
Location: Berkeley

#105 PostAuthor: coldsummer » Sun Dec 09, 2012 9:16 pm

You're making good progress with this Chris, nice one!


Return to “Projects”

Who is online

Users browsing this forum: No registered users and 7 guests