Hello Guest User,

Please feel free to have a look around the forum but be aware that as an unregistered guest you can't see all of it and you can't post.

To access these 'Registered Users Only' areas simply register and login.

Club Restoration

Work in Progress

Moderators: KeithZ1R, chrisu, paul doran, Taffus

Message
Author
User avatar
morten
100Club
100Club
Posts: 204
Joined: 15th Mar 2010
Location: Norway

#76 PostAuthor: morten » Mon Apr 30, 2012 9:33 pm

Great work Bill :hur2 That is as good as it can be done :D
Realy looking forward to see you and the bike in germany :beer

User avatar
Bill Newman
100Club
100Club
Posts: 459
Joined: 27th May 2007
Location: Ipswich

#77 PostAuthor: Bill Newman » Wed May 02, 2012 9:45 am

Now have a lot more time on my hands so the updates will be posted a little quicker than once a week from here.

Now got the front sprocket on


Image

It took some deliberation to work out how to tighten it to the required torque - so I phoned RobW to ask how it was done. Easy he says - you do it with an air gun and a compressor. Half an hour later he is round with the kit.


Image

New regulator/rectifier unit ready for the harness

Image

After that I assembled the swing arm, complete with new seals


Image


Now installed with the shocks,axle and chain adjusters

Image

Now to the front end - new head races and seals

Image

Refitted after fixing the replacement headstock sticker. This is excellent and was supplied by the Image Works in two days after spending weeks waiting for someone else to produce nada

Image

Refurbished the steering lock - and now it works for the first time since I have had the bike

Image

Next job was to rebuild the forks with uprated springs - I went to Hagons and got a spec that would add a little extra preload and retain the same spring rate. It was also tailored for me - so I was not really taken aback when I read the invoice and it said "Z900 application Heavier Solo Rider" :oops:

Image

Top yolk is brilliant in the satin black

Image

Next job - fit forks headlamp ears and headlamp shell ready for the wiring harness

User avatar
pertonpc
ZedHead
ZedHead
Posts: 1036
Joined: 3rd Sep 2009
Location: Gloucestershire
Contact:

#78 PostAuthor: pertonpc » Wed May 02, 2012 2:02 pm

Hi Bill
Coming on well now mate.

You mentioned refreshing the brake disc - did you re-finish the braking surface if so how was it done please?

Thanks from Mark
Z1-R D1, Z650 B2, Z1-B & ZRX 1200 A1P Catch 'em if you can at www.Zedrider.co.uk

User avatar
Al
Hardcore
Hardcore
Posts: 2233
Joined: 21st Oct 2007
Location: Farnbronx Sin City N.E. Hants

#79 PostAuthor: Al » Wed May 02, 2012 6:18 pm

Brilliant concept, executed brilliantly.

AL
1981 J1

User avatar
Bill Newman
100Club
100Club
Posts: 459
Joined: 27th May 2007
Location: Ipswich

#80 PostAuthor: Bill Newman » Wed May 02, 2012 7:01 pm

pertonpc wrote:Hi Bill
Coming on well now mate.

You mentioned refreshing the brake disc - did you re-finish the braking surface if so how was it done please?

Thanks from Mark


Thanks Mark - your comments and those of others are appreciated. When I set out to do this I was not sure if I could achieve a reasonable standard.

In respect of the brake disc the refresh was entirely cosmetic. It is a single stainless steel job with a minimum thickness of 6mm. It presently measures 7.3mm thick so there is a bit to go but I am using sintered pads which bite into the material and some of the wear grooves are 0.5mm deep. This ruled out a skim and since I am not after appearance over function, I decided to refresh it by cleaning the centre followed by nipping off the black painted areas by hand with 1000 wet and dry(wet) followed by a couple of coats of acrylic black from a rattle can. The disc itself was given a vigorous cleaning with kitchen stainless steel cleaner - the sort you find in Lakeland or Betaware - very much a scouring based cleaner with no polish/silicon or wax in it. The stuff I used is for stainless pots in commercial kitchens. I use it on a damp cloth or mop and you would be surprised about how much muck came off it...even that area where the pads bit

In relation to your other comment, its not coming on so well after today...

I had one of those days - two bolts I have been waiting for turned up - but they were the wrong size; In fitting up the forks I intended to replace a bent headlight ear with a secondhand part bought a couple of years ago to find it is a different size to what I already have; and to crown the day I picked up my wheels having just had Bridgestone 045s fitted to find that they have stuck a half ton of weights to the rims(like a sports bike) instead of using olives on the spokes - it looks awful :grr

I can re-order the bolts and buy some olives and rebalance the wheel on the axles - but I think its another trip to wanted/bike help for those ears...
Last edited by Bill Newman on Thu May 03, 2012 7:42 am, edited 1 time in total.

User avatar
pertonpc
ZedHead
ZedHead
Posts: 1036
Joined: 3rd Sep 2009
Location: Gloucestershire
Contact:

#81 PostAuthor: pertonpc » Thu May 03, 2012 7:39 am

Thanks Bill

I will try that kitchen stainless cleaner / scourer stuff on my discs.

Can you give me the brand name you use so I know what to buy (want to be just like you :P )

ref. the balance weights I agree it looks crap with the stuck on or hammer on weights on old spoked wheels.

I'd rather run with no weights than that - plus it marks the rims bad.

A nice set of 70's chrome valve caps with valve tools built in would be the finishing touch once the weights are sorted I reckon - then you'll be proper 1976 all over again :lol:

Image

Ta from Mark
Z1-R D1, Z650 B2, Z1-B & ZRX 1200 A1P Catch 'em if you can at www.Zedrider.co.uk

User avatar
Bill Newman
100Club
100Club
Posts: 459
Joined: 27th May 2007
Location: Ipswich

#82 PostAuthor: Bill Newman » Thu May 03, 2012 10:40 pm

pertonpc wrote:
A nice set of 70's chrome valve caps with valve tools built in would be the finishing touch once the weights are sorted I reckon - then you'll be proper 1976 all over again :lol:

Image

Ta from Mark


Keep up Mark - I got a pair from you a month ago...

The stuff you need is called Astonish from Lakeland - only a pound or so. Its a paste so do not put it on your chrome...

User avatar
pertonpc
ZedHead
ZedHead
Posts: 1036
Joined: 3rd Sep 2009
Location: Gloucestershire
Contact:

#83 PostAuthor: pertonpc » Fri May 04, 2012 9:00 am

That's brilliant thanks for the tip Bill

Will try some of that when near a Lakeland - think Shrewsbury is my nearest.

Keep up yourself - I knew you had some of the caps - was just pulling your leg mate - thought the pic might raise a smile :lol: :lol:

Cheers from Mark
Z1-R D1, Z650 B2, Z1-B & ZRX 1200 A1P Catch 'em if you can at www.Zedrider.co.uk

User avatar
Bill Newman
100Club
100Club
Posts: 459
Joined: 27th May 2007
Location: Ipswich

#84 PostAuthor: Bill Newman » Mon May 07, 2012 10:37 pm

Thanks Mark - you will realise what so many others know... I don't have much of a sense of humour :wink:

Made some progress this week - Rebuilt the forks with the Hagon springs

Image

Complete with fresh oil at 10 weight

Image

Fork tops polished by Mikey back to excellent after somebody in a previous life attacked them with Stilsons...

Image

New drain screws fitted

Image

and the complete assembly mounted into yolks

Image

Original headlamp found to be full of filler - no doubt another casualty from the front end shunt... so have replaced it with another straight original shell - thanks to Simon for coming up with that

Image


Next job was to get some paint film onto the frame where the loom mounts so as not to chaff

Image

Image

Then to fit the electrical components - brake light failure switch

Image

new coils

Image

refurbed hazard warning rectifier

Image

Rebuilt electrics plate with switch, fuse box and bock connectors

Image

Everything still needs tidying...

Image

Other areas are coming on - the stainless steel chain adjuster blocks have arrived

Image

Sprocket cover is on

Image

And the bike has dropped from the bench

Image

to the floor

Image

Now started on the wheel/mudguard sub assembly - the inside of the mudguards has had two coats of red oxide primer - which will be followed by underseal and silver paint

Image

Next job - wheels and mudguards

User avatar
Paul M
100Club
100Club
Posts: 356
Joined: 5th Nov 2009
Location: York, North Yorkshire

#85 PostAuthor: Paul M » Wed May 09, 2012 9:18 pm

Hi Bill

your build is coming along nicely, have you got full details for the company that did the headstock sticker for you.?

Paul
Unlike Baseball,Football,Basketball & Golf, Motorcycling Requires Two Balls!

ZX9,Z1B & 2 Black Labs

User avatar
MCZ900
100Club
100Club
Posts: 320
Joined: 14th Jun 2011
Location: Derbyshire

#86 PostAuthor: MCZ900 » Wed May 09, 2012 9:30 pm

Just a quick one you have your red live wire going to the opposite side on the solenoid mine goes into to bottom nut nearest the battery on both my bikes, does it make any difference?
1973 Z1 and 1976 Z900

Jappen
100Club
100Club
Posts: 412
Joined: 23rd Jun 2008
Location: Norway

#87 PostAuthor: Jappen » Wed May 09, 2012 10:27 pm

Keeo up the good work Bill :D
you have a pm
80-Z1000H
79-Z1000MK2

User avatar
Bill Newman
100Club
100Club
Posts: 459
Joined: 27th May 2007
Location: Ipswich

#88 PostAuthor: Bill Newman » Thu May 10, 2012 8:07 am

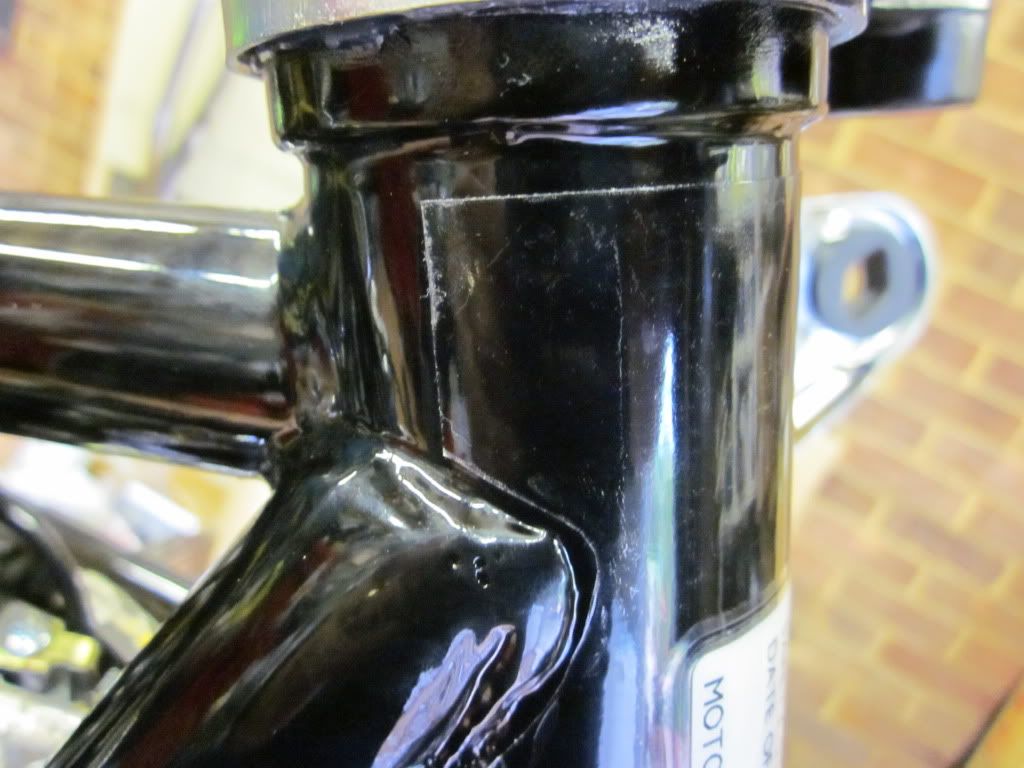
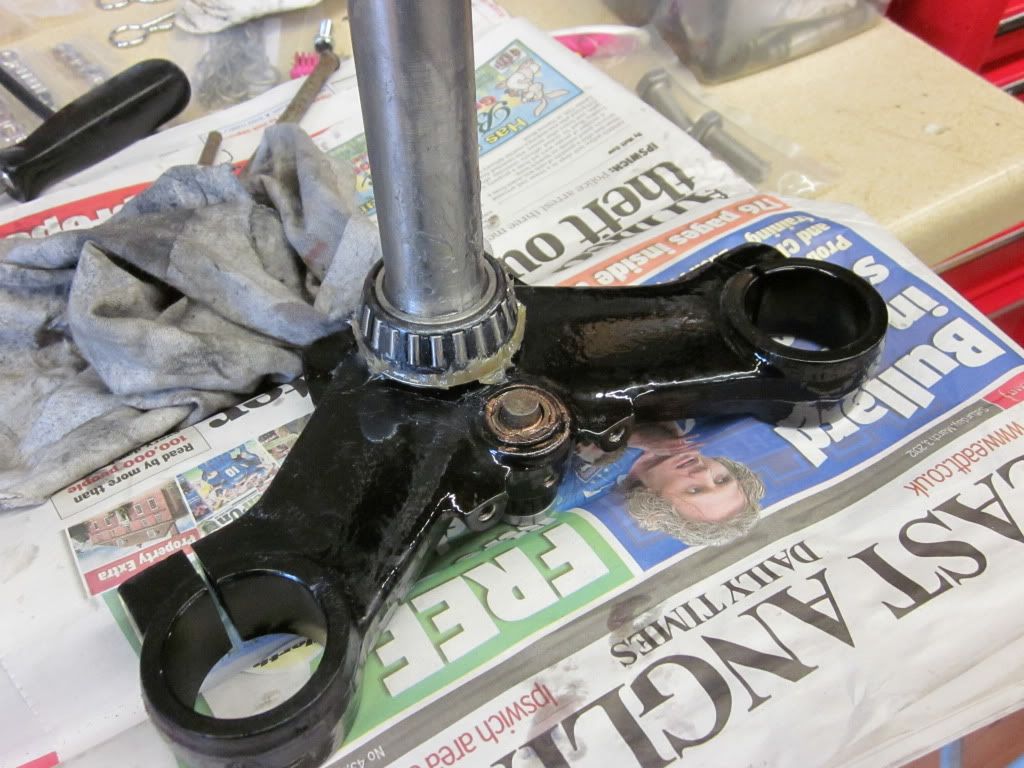
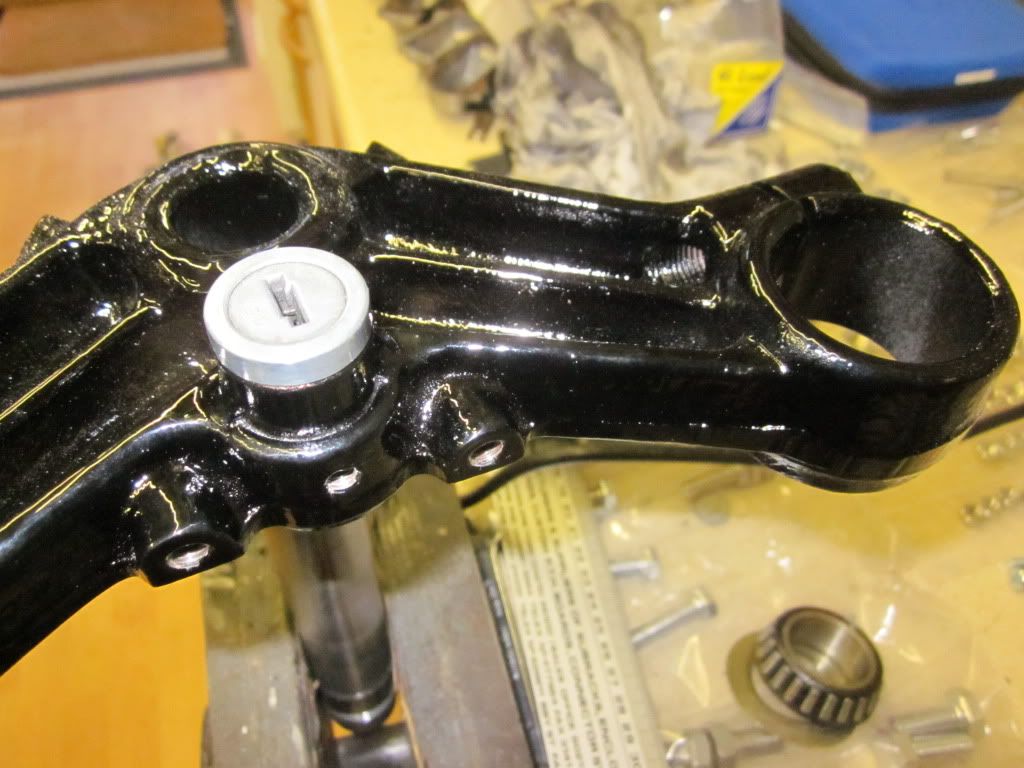
Paul M wrote:Hi Bill

your build is coming along nicely, have you got full details for the company that did the headstock sticker for you.?

Paul


The company is called The Image Works - address is Block4,Merlin Way,Quarry Hill Industrial Estate,Ilkeston,Derbys,DE7 4RA.

Tel 0115 9443111 and email is sales@the-image-works.co.uk

I dealt with Graham there - who was very knowledgeable about these matters, including knowing which font was used for which model. He has templates for the various manufacturers and did mine from a digital photo sent on an email. He replied the next day to say he could make it no problem and to give him a call. I called him, paid £5 by card and two turned up two days later. Absolutely brilliant

The quality, size and detail is perfect - you would not know its a replica. After applying it I have covered the headstock in paint film, during which it did not move at all.

I cannot claim credit for finding this company - I put a question on the help thread and Jack(London Calling came to the rescue).

User avatar
Bill Newman
100Club
100Club
Posts: 459
Joined: 27th May 2007
Location: Ipswich

#89 PostAuthor: Bill Newman » Thu May 10, 2012 8:26 am

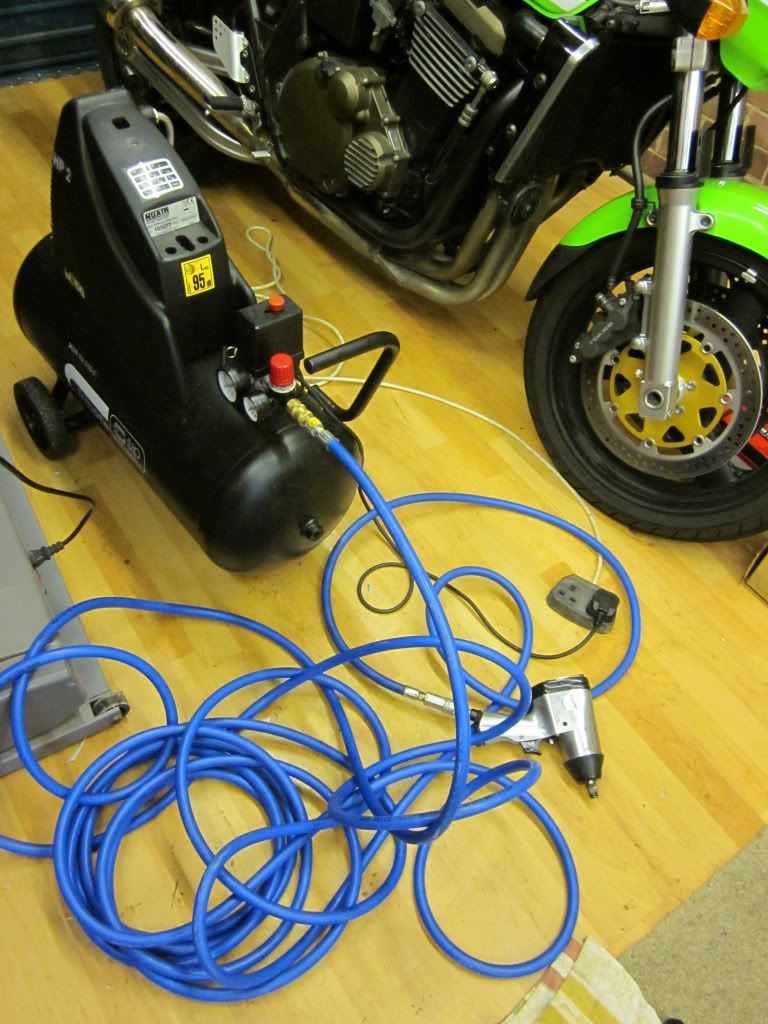
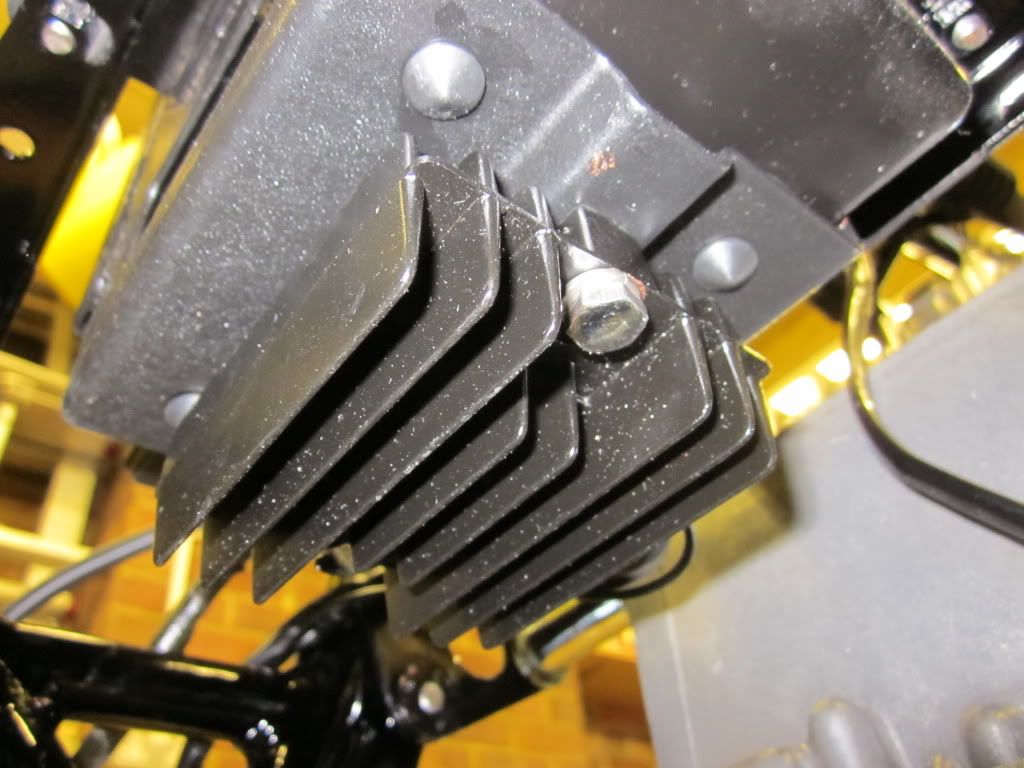
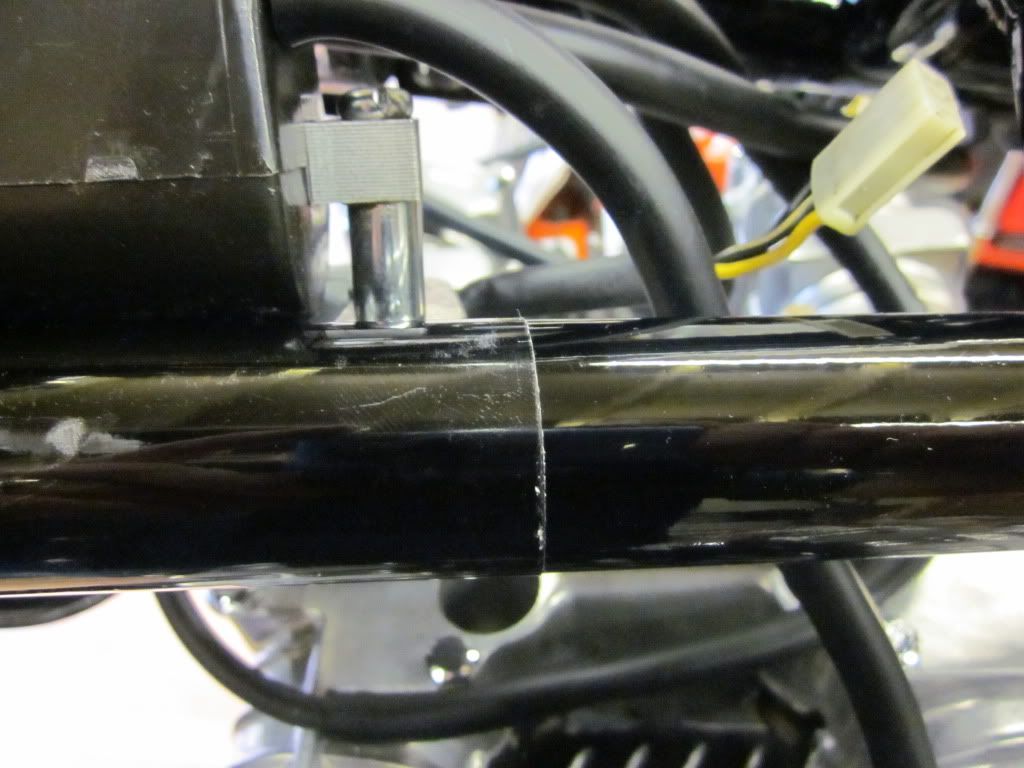
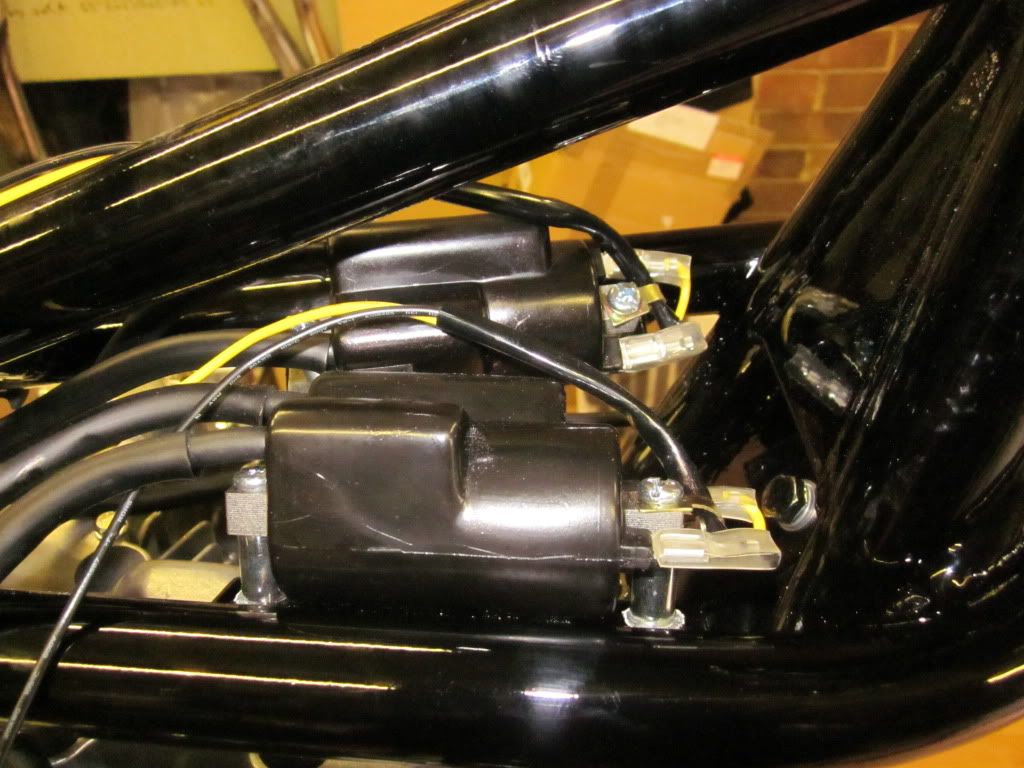
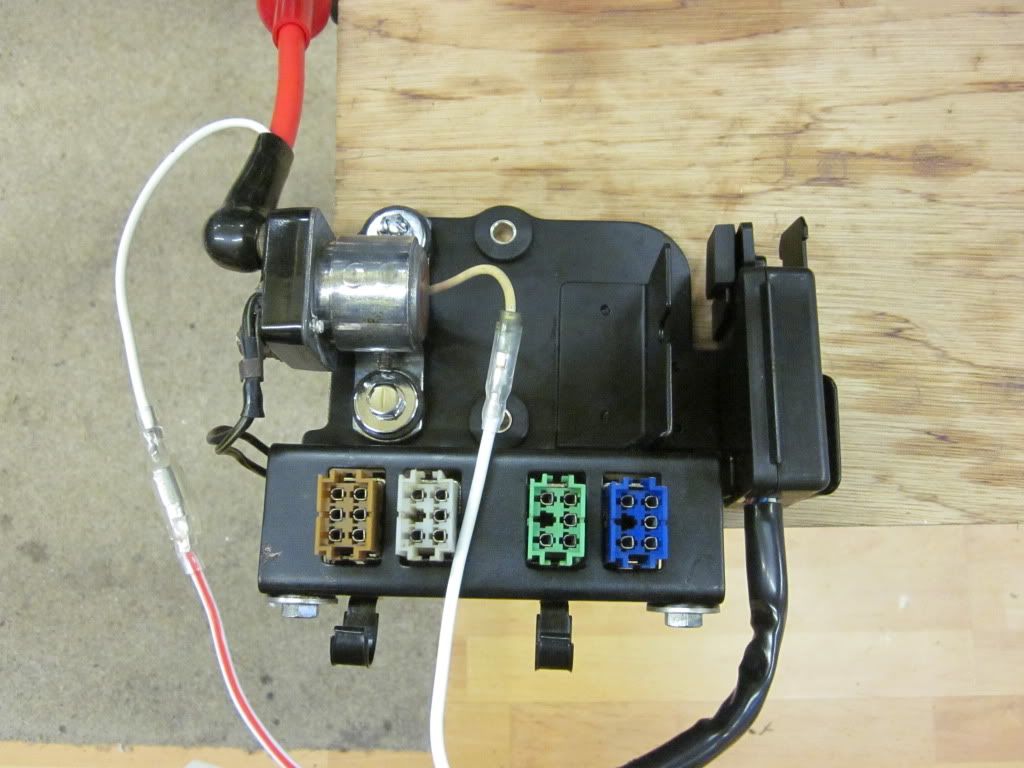
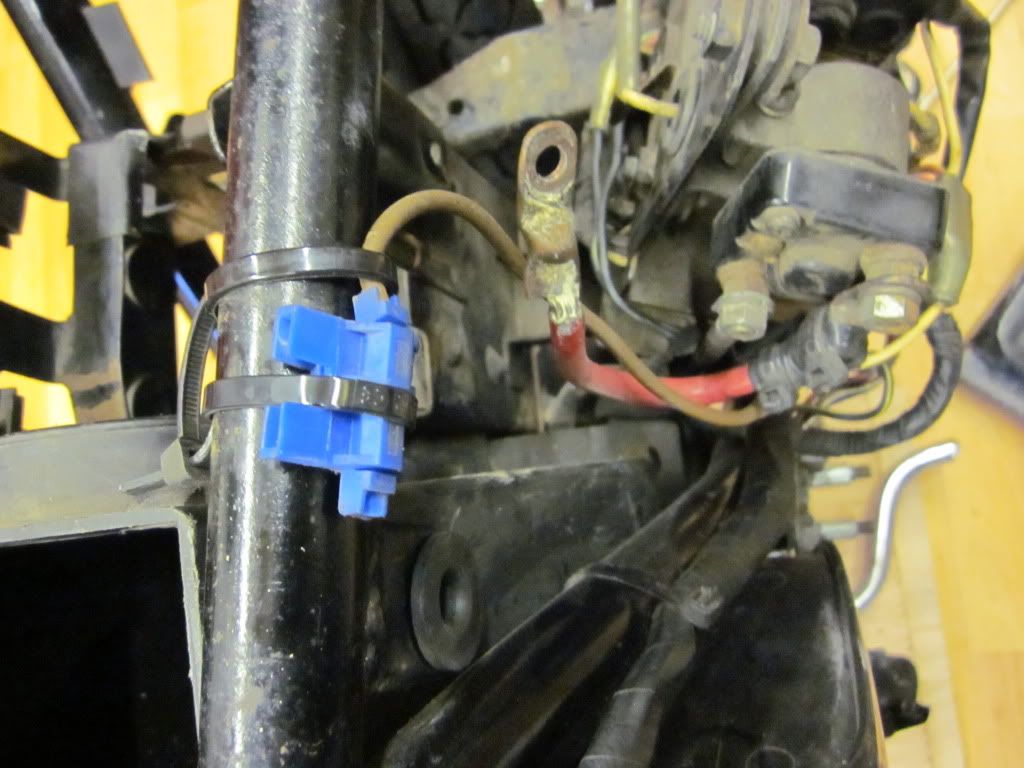
MCZ900 wrote:Just a quick one you have your red live wire going to the opposite side on the solenoid mine goes into to bottom nut nearest the battery on both my bikes, does it make any difference?


I dunno mate - what I do know is that is the terminal it came off. I am useless with electrics and tend to be really careful with connections as a result. Your post made me double check though - because I have loads of photos of the strip down - and was relieved to find this one

Image

Don't ask what that scotchlocked fuse holder was for because I do not know. It was like that when I got it( honest gov).

The real proof will be when I put some current through it. I have had to make some changes to the wiring in the rebuild - the replacement coils have different coloured wiring and the replacement regulator/rectifier has different wiring(and no instructions) so I have had to work that out as well. I think I have it right but have yet to check with a meter. I will do that when I am in the mood - probably after the Yorks Rally :)

User avatar
Bill Newman
100Club
100Club
Posts: 459
Joined: 27th May 2007
Location: Ipswich

#90 PostAuthor: Bill Newman » Thu May 10, 2012 8:30 am

Jappen wrote:Keeo up the good work Bill :D
you have a pm


Thanks Jan - I will reply tonight


Return to “Projects”

Who is online

Users browsing this forum: No registered users and 9 guests