Hello Guest User,

Please feel free to have a look around the forum but be aware that as an unregistered guest you can't see all of it and you can't post.

To access these 'Registered Users Only' areas simply register and login.

z1100st A1 (re - birth) lots of pics?

Work in Progress

Moderators: KeithZ1R, chrisu, paul doran, Taffus

Message
Author
freddyz1r
Hardcore
Hardcore
Posts: 1351
Joined: 10th Mar 2013
Location: mansfield,nottinghamshire

#61 PostAuthor: freddyz1r » Sun Mar 08, 2015 2:13 am

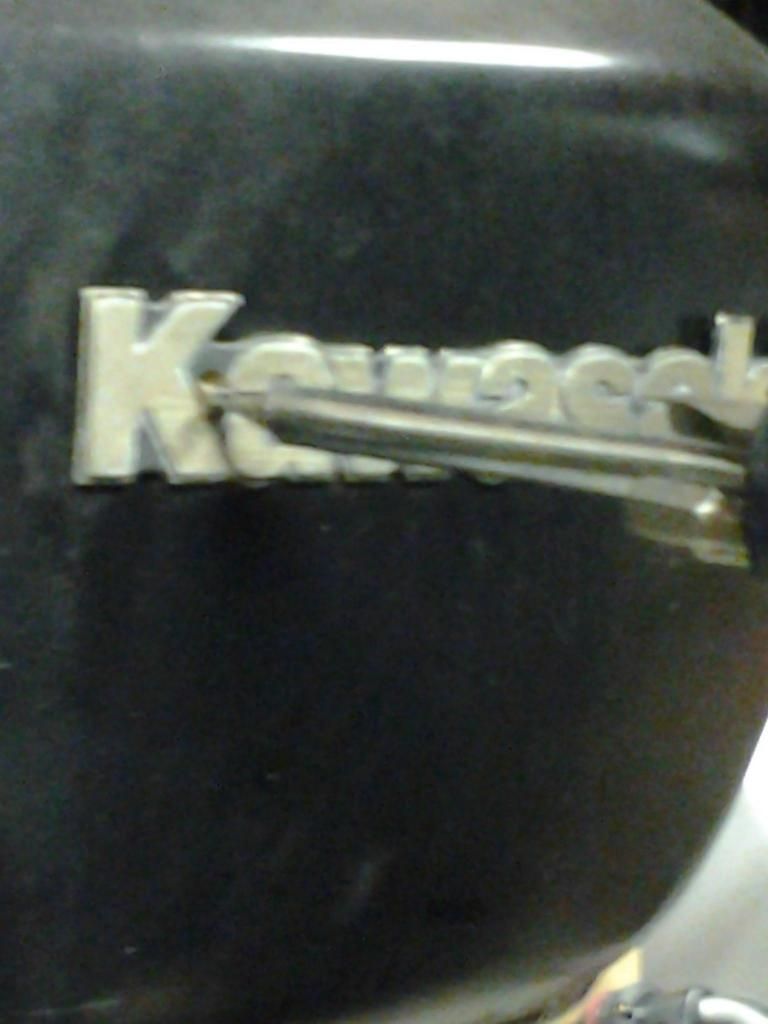
I took the tank badges off (I want new ones).
Image
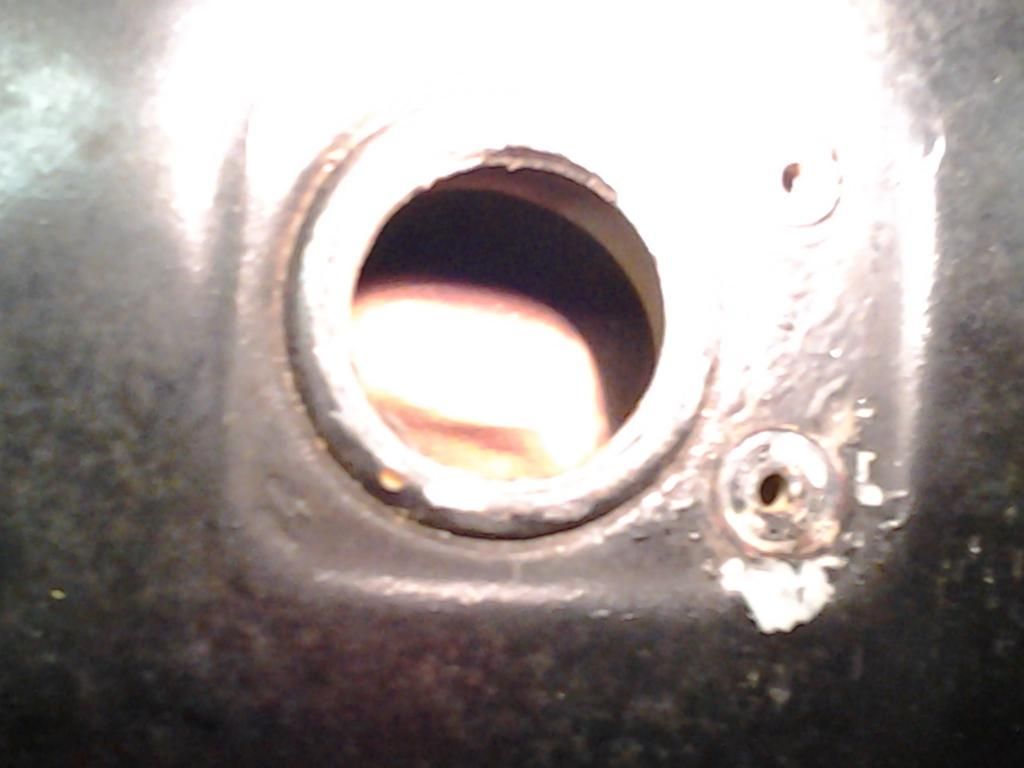
1 of the badges only had 1 screw in it (stuck on). Theres no thread left in the second hole.
HOW DO YOU GET AROUND THAT?
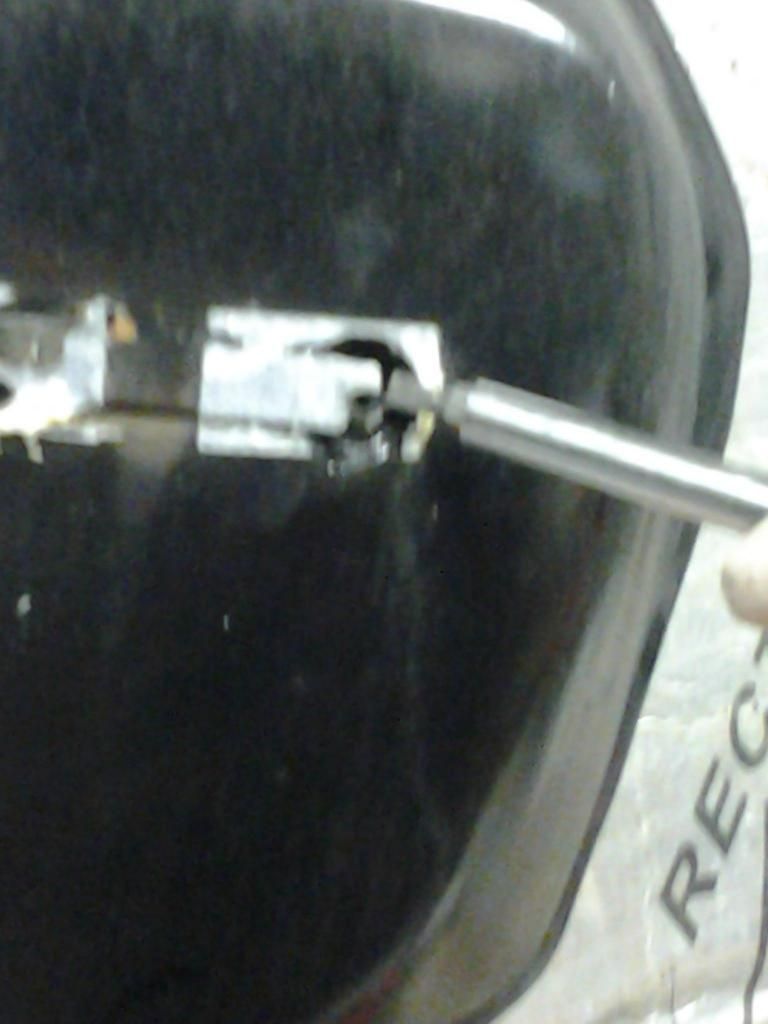
Image
Punctuation, Spelling and Grammar will be used sparingly. Due to rising costs of inflation.

“It's not me who can't keep a secret. It's the people I tell that can't.â€￾ 

freddyz1r
PUM 329

freddyz1r
Hardcore
Hardcore
Posts: 1351
Joined: 10th Mar 2013
Location: mansfield,nottinghamshire

#62 PostAuthor: freddyz1r » Sun Mar 08, 2015 2:28 am

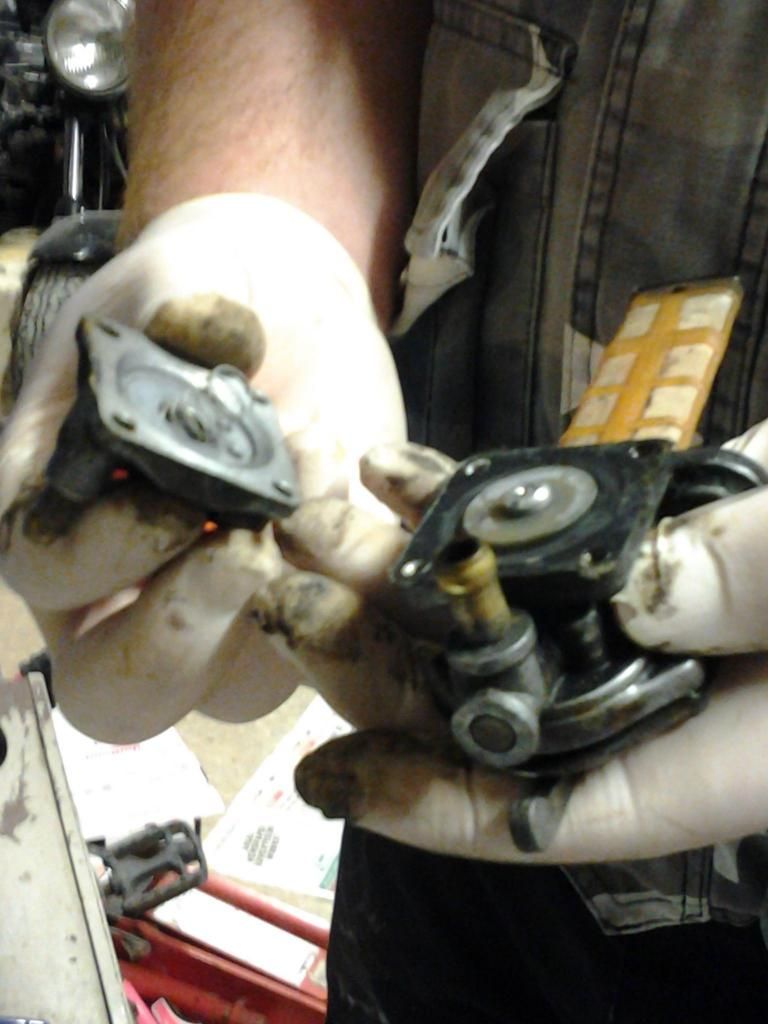
The filler cap and petrol tap came off with no problems.
ImageImage
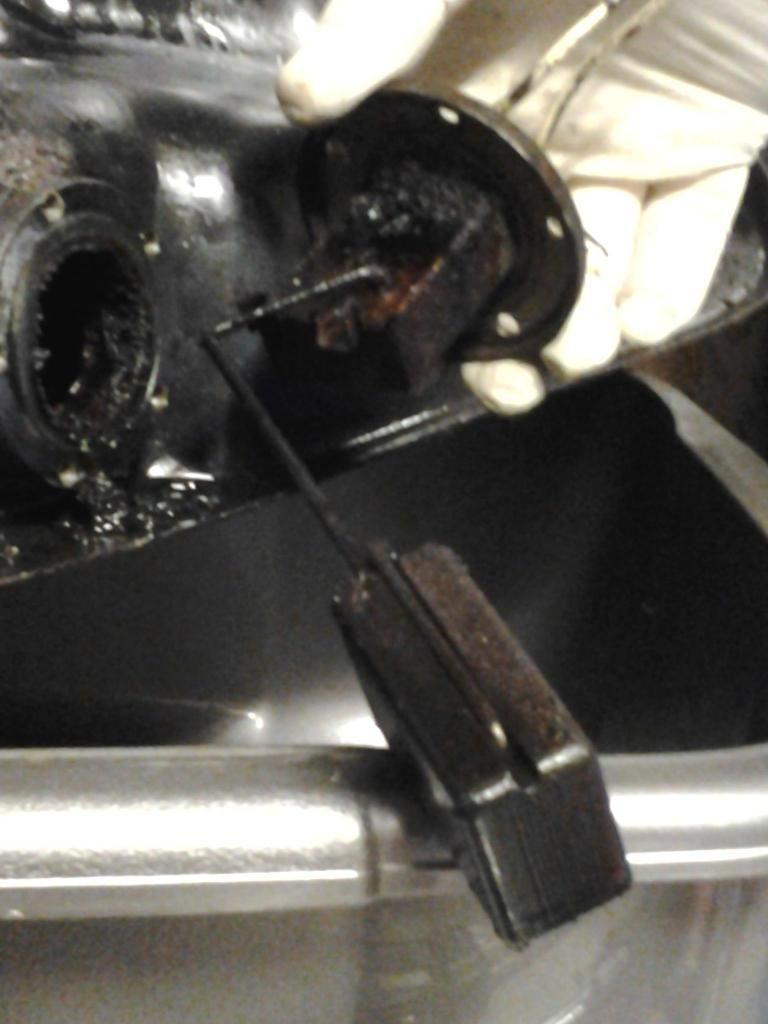
The sender unit came out easily. Also showing the 'black shit' that's languishing in the bottom of the tank.
Image
Punctuation, Spelling and Grammar will be used sparingly. Due to rising costs of inflation.


“It's not me who can't keep a secret. It's the people I tell that can't.â€￾ 


freddyz1r

PUM 329

freddyz1r
Hardcore
Hardcore
Posts: 1351
Joined: 10th Mar 2013
Location: mansfield,nottinghamshire

#63 PostAuthor: freddyz1r » Sun Mar 08, 2015 2:50 am

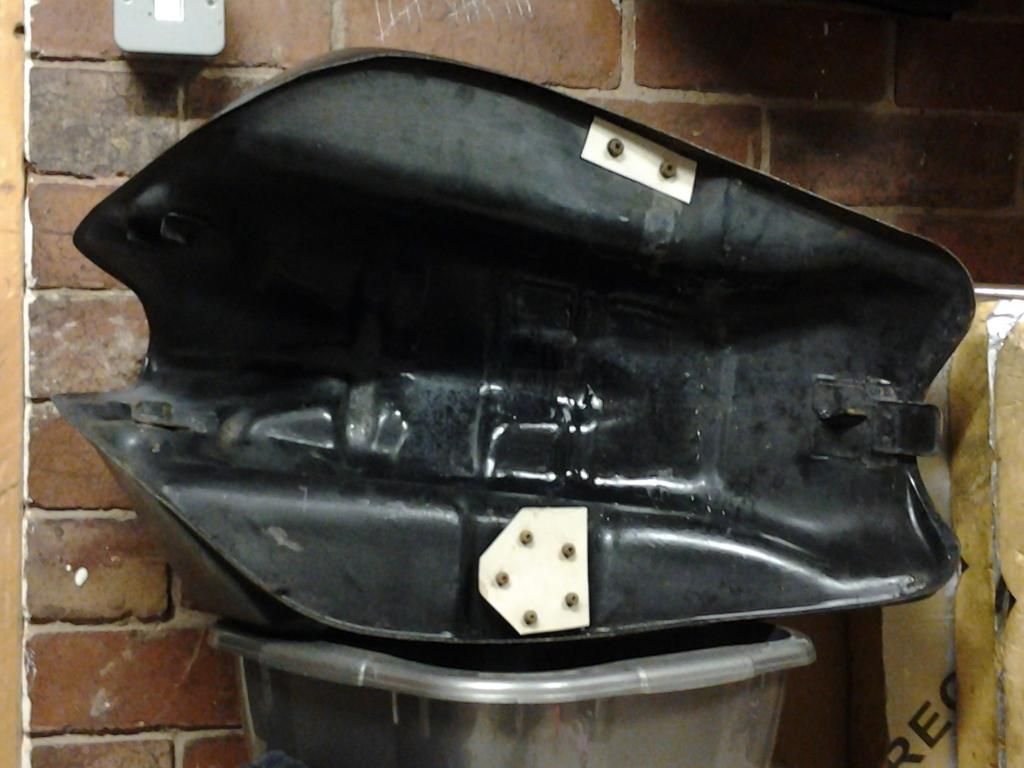
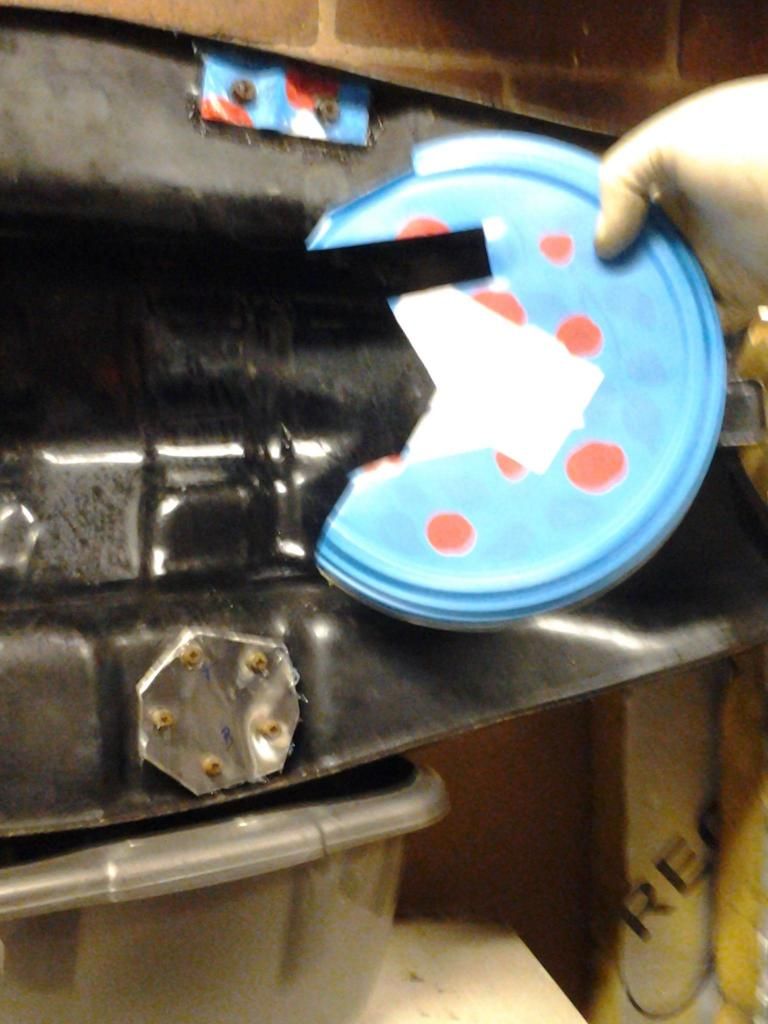
Made a couple of cardboard templates. One for the petrol tap hole and one for the sender unit hole. Test fitted them = all ok. Looked around for what I could use, mmmm
Image
Only thing I could find suitable = an old roses tin lid. Using the cardboard templates I cut out the 2 plates out of the lid.( Put some bathroom sealant under them to help create a seal)
Image
Punctuation, Spelling and Grammar will be used sparingly. Due to rising costs of inflation.


“It's not me who can't keep a secret. It's the people I tell that can't.â€￾ 


freddyz1r

PUM 329

freddyz1r
Hardcore
Hardcore
Posts: 1351
Joined: 10th Mar 2013
Location: mansfield,nottinghamshire

#64 PostAuthor: freddyz1r » Sun Mar 08, 2015 3:12 am

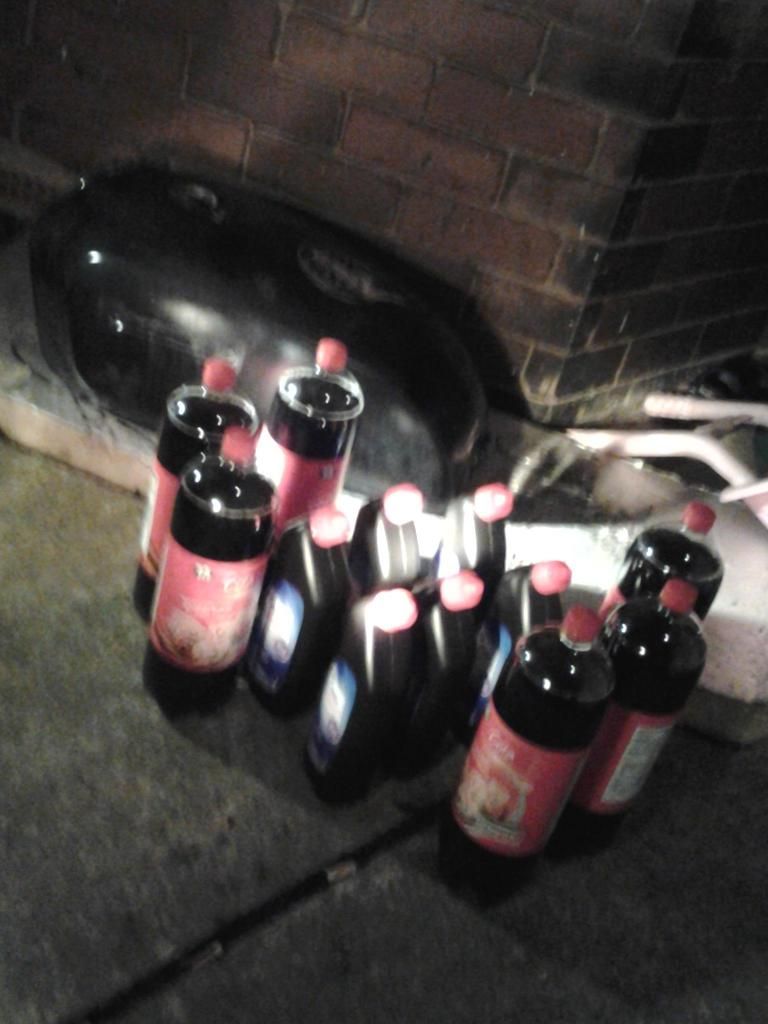
Got my full fat coke an limescale remover (as per keithz1r tried and tested formula). (Had to add 2 more bottles= not enough their).
Image
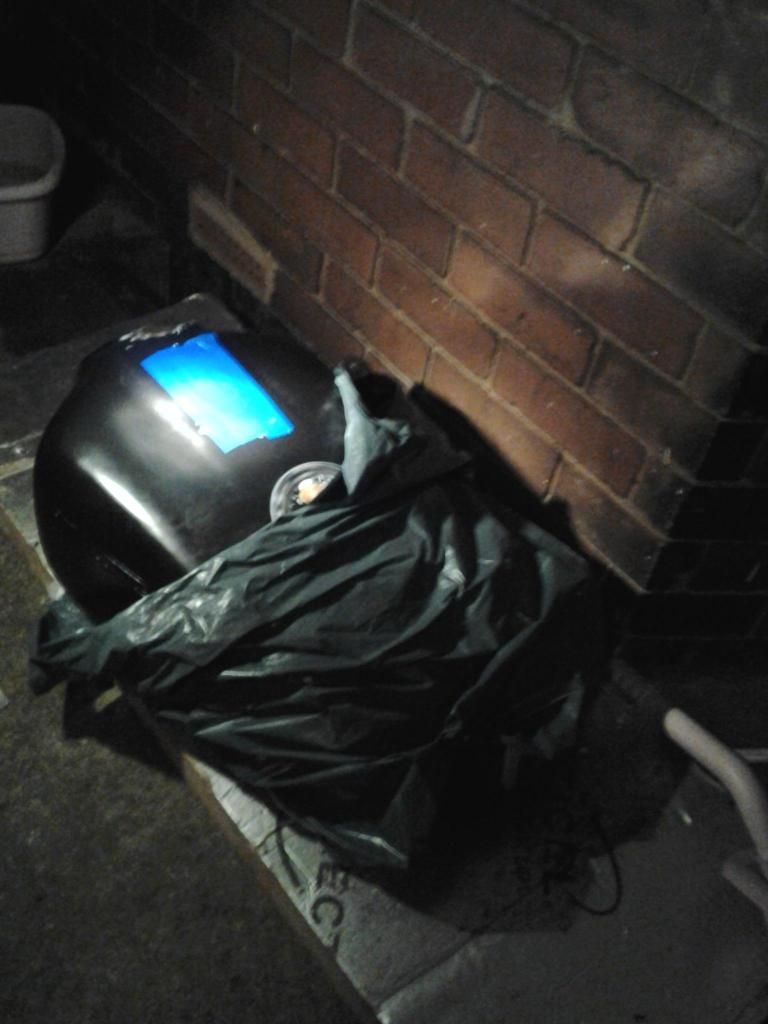
Poured it all into the tank, put some blue 'duck tape' over the filler neck, gave it a shake up, put it in a couple of bin liners. Leave it for a week.
Image
Punctuation, Spelling and Grammar will be used sparingly. Due to rising costs of inflation.


“It's not me who can't keep a secret. It's the people I tell that can't.â€￾ 


freddyz1r

PUM 329

User avatar
Jay1969
Hardcore
Hardcore
Posts: 4260
Joined: 26th Feb 2013
Location: East Midlands, England.
Contact:

#65 PostAuthor: Jay1969 » Sun Mar 08, 2015 10:24 am

Re: removing carbon on piston crowns, I used brake and clutch
cleaner and a small stiff wire brush.

Freddy, are you going to be lining the tank after? Is it wise to
leave that amount of sugary solution (cola) in the tank
for a week? (sugar eats through metal rather well)

~Jay.

freddyz1r
Hardcore
Hardcore
Posts: 1351
Joined: 10th Mar 2013
Location: mansfield,nottinghamshire

#66 PostAuthor: freddyz1r » Sun Mar 08, 2015 10:36 am

Jay1969 wrote:Re: removing carbon on piston crowns, I used brake and clutch
cleaner and a small stiff wire brush.

Freddy, are you going to be lining the tank after? Is it wise to
leave that amount of sugary solution (cola) in the tank
for a week? (sugar eats through metal rather well)

~Jay.

'Wise' jay :??
Mmm, don't know, BUT, I do know it works.
the inside will be immaculate bare metal when I pour the mix down the drain.
the only bit I wasn't happy with, (the last time I used this method), is the rinsing out /removing any debris (the same would apply to any wash out process), that it leaves in their.
I'd love to be able to actually get close up, into all the nooks and crannies.
Cheerz freddy :D
Punctuation, Spelling and Grammar will be used sparingly. Due to rising costs of inflation.


“It's not me who can't keep a secret. It's the people I tell that can't.â€￾ 


freddyz1r

PUM 329

User avatar
Jay1969
Hardcore
Hardcore
Posts: 4260
Joined: 26th Feb 2013
Location: East Midlands, England.
Contact:

#67 PostAuthor: Jay1969 » Sun Mar 08, 2015 10:58 am

Steve Smethurst offers a service
for customers whereby he cuts the bottom off tanks (as stated on his website)
to blast clean (ceramic blast?), then welds the bottom back on.
Obviously this would then render the tank undesirable for rivet counters,
but for practicality, blummin' good idea / method.
At least you'd know the tank was immaculately clean in all those nooks 'n crannies then.

Keith's tried and tested idea /method seems to be endorsed by
those who have tried, so I'd be happy with that myself too if
the tank ain't that bad. For my rebuild, especially as I've got
my brand new carbs to consider, a brand new replica fuel tank is
going to be fitted to my Z900.

~Jay.

User avatar
ollie
Custard Cream
Custard Cream
Posts: 836
Joined: 13th Sep 2002
Location: north yorkshire

#68 PostAuthor: ollie » Sun Mar 08, 2015 2:16 pm

Those black bakerlite pieces could well be from the sides of the camshaft sprockets ,i had one engine that had been abused and had a very slack camchain, which had munched away most of the hard rubber off the sprockets and ended up in the sump :wink:
zedsrus:"i don't know man ,i just got here myself !!"

User avatar
ruffle
Custard Cream
Custard Cream
Posts: 507
Joined: 29th Nov 2009
Location: Peatboghorror
Contact:

#69 PostAuthor: ruffle » Sun Mar 08, 2015 7:06 pm

freddyz1r wrote:1 of the badges only had 1 screw in it (stuck on). Theres no thread left in the second hole.
HOW DO YOU GET AROUND THAT?


Tis a bit of a bodge but try pushing a teeny tiny bead of epoxy putty into the hole so it pushes out the back a bit but is pretty much flush on the outside. Then, after giving the screw and back of the badge a light coating of WD40, screw on the tank badge (do up the good side first) being very very gentle and let the epoxy set (if the tank badge has got any spring in it you'll need to tape/clamp it flush before putting the screw in).

In theory the screw will form a thread in the epoxy and although it won't be a brilliant thread it should be enough to keep a badge on.... well it did when I used this method.

freddyz1r
Hardcore
Hardcore
Posts: 1351
Joined: 10th Mar 2013
Location: mansfield,nottinghamshire

#70 PostAuthor: freddyz1r » Mon Mar 09, 2015 9:54 am

I may try that ruffle :??
All I could think of was using 'chemical metal' then drilling and tapping it, (which is 'similar' to your suggestion, but yours sounds quicker and easier).
Cheerz freddy :D
Punctuation, Spelling and Grammar will be used sparingly. Due to rising costs of inflation.


“It's not me who can't keep a secret. It's the people I tell that can't.â€￾ 


freddyz1r

PUM 329

freddyz1r
Hardcore
Hardcore
Posts: 1351
Joined: 10th Mar 2013
Location: mansfield,nottinghamshire

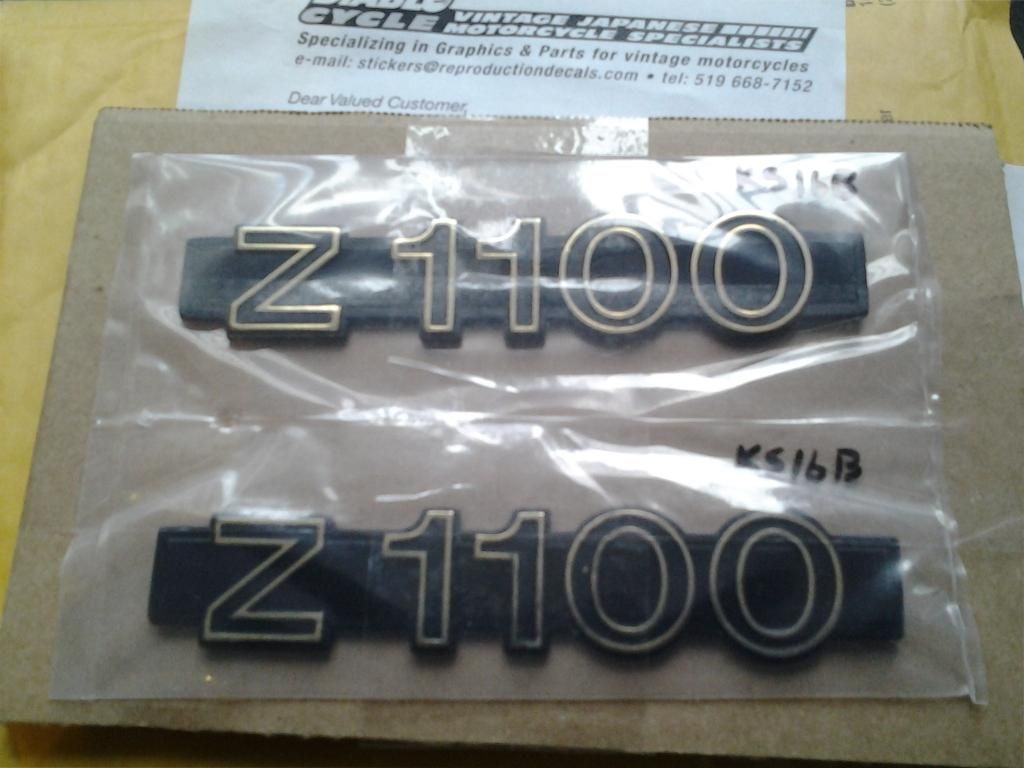
#71 PostAuthor: freddyz1r » Mon Mar 09, 2015 10:40 am

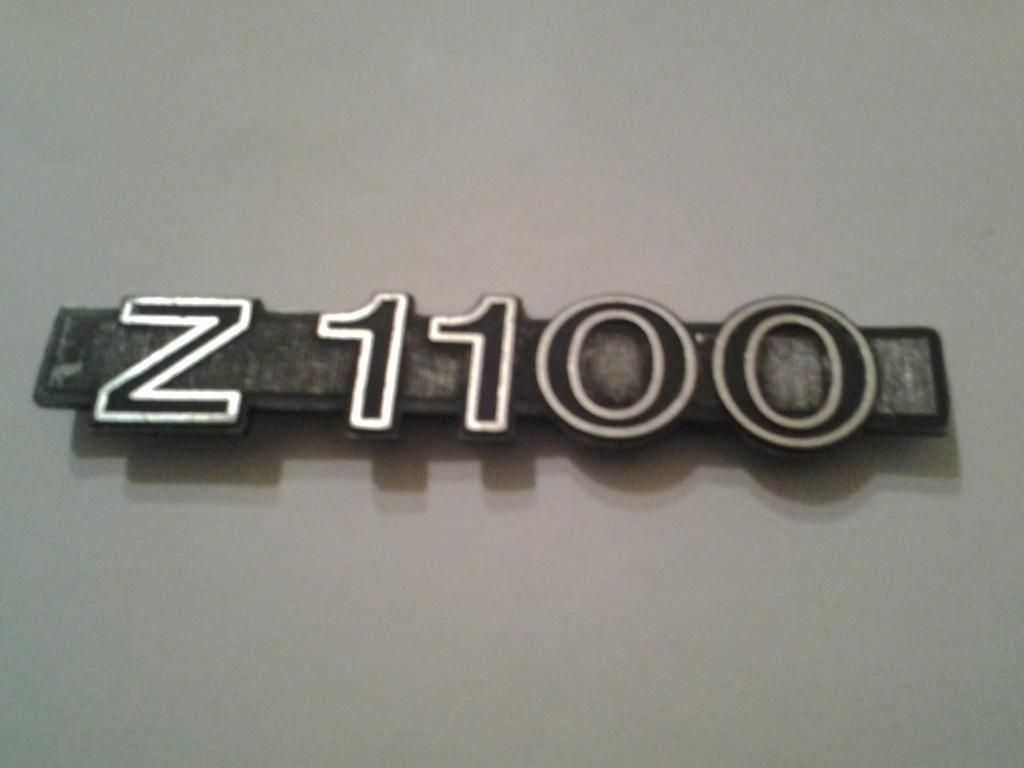
These arrived today :tra all a little boost to the moral.
Image
took well over a month to arrive from diablo cycles :x

My original was 'silver' on black.
Image
not the 'gold' on black of the new badges :??

Then I realised :confu when studying the 'silver' up close :shok the 'gold' paint had wore off over the years revealing the almost polished 'silver' metal :oops: (yeahh, well I knew that all along :ws)
Punctuation, Spelling and Grammar will be used sparingly. Due to rising costs of inflation.


“It's not me who can't keep a secret. It's the people I tell that can't.â€￾ 


freddyz1r

PUM 329

freddyz1r
Hardcore
Hardcore
Posts: 1351
Joined: 10th Mar 2013
Location: mansfield,nottinghamshire

#72 PostAuthor: freddyz1r » Mon Mar 09, 2015 11:31 am

Been a bit slack this weekend,only managed a couple of hours :oops:
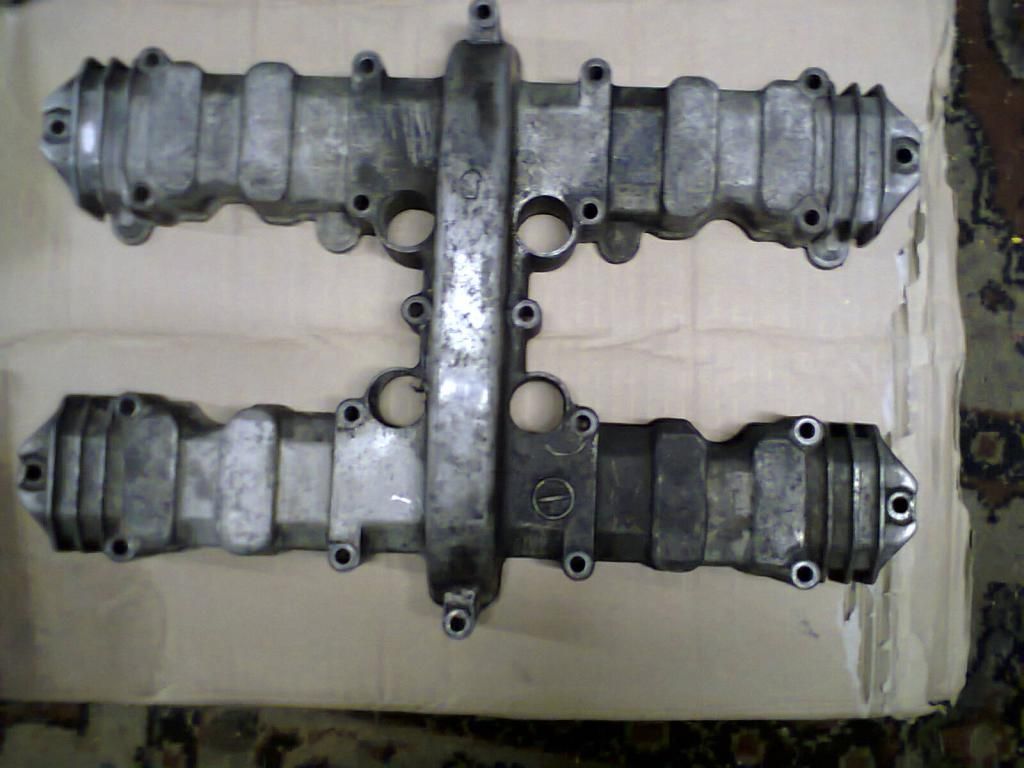
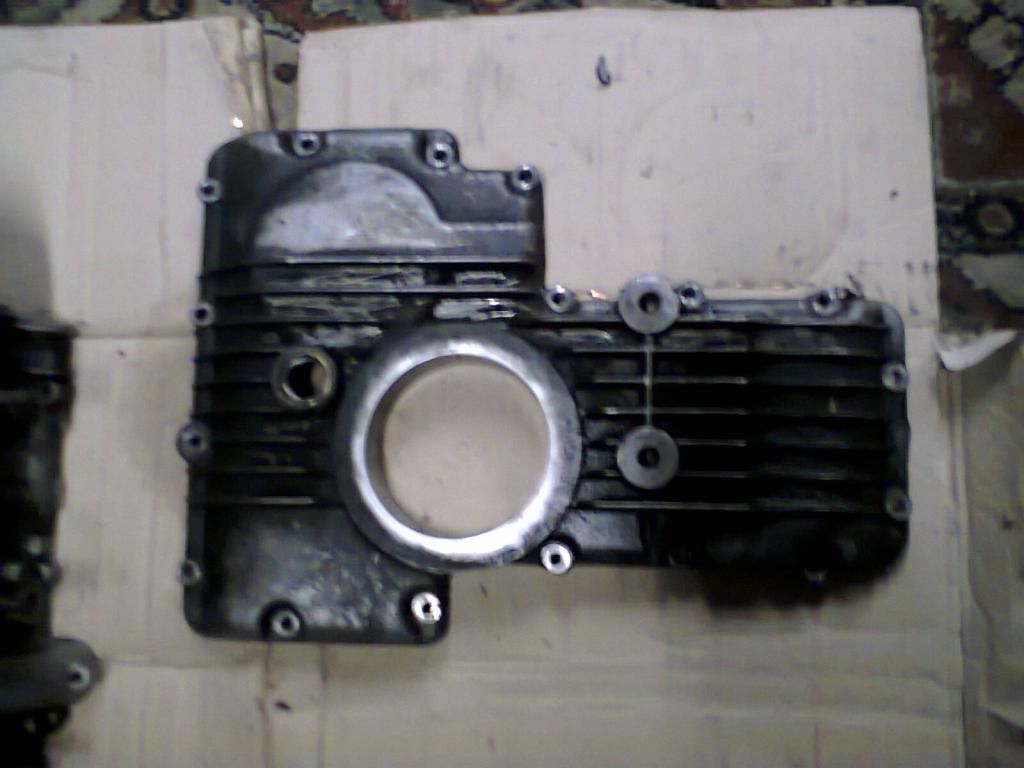
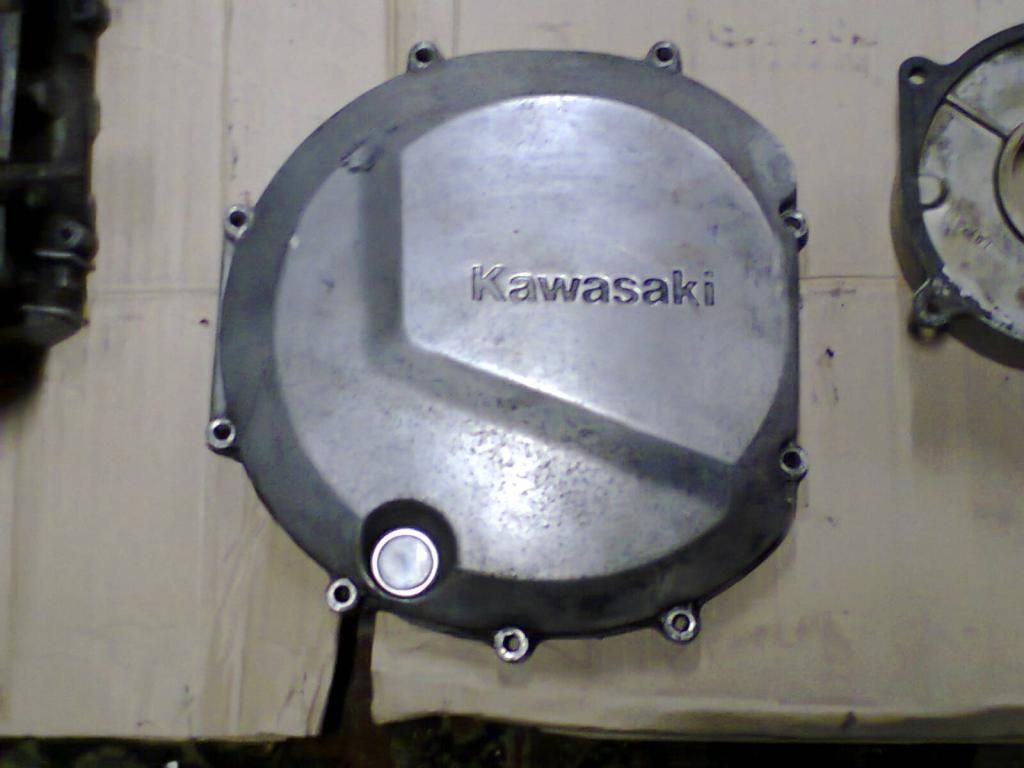
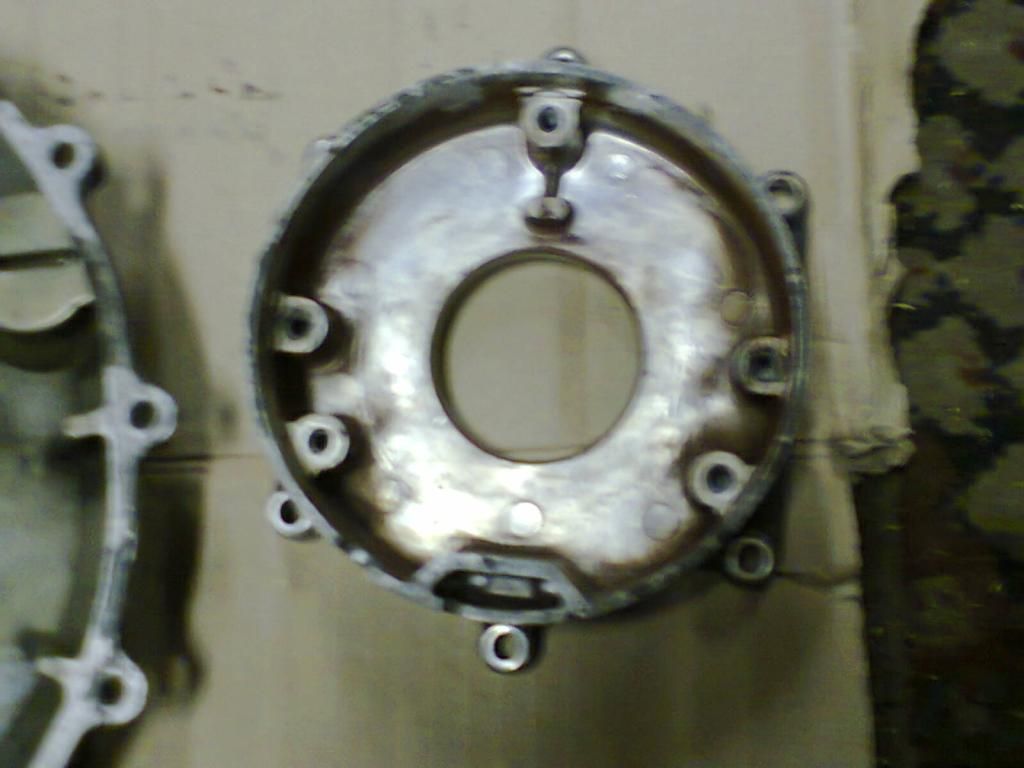
so anyways, spent some time cleaning 'crud' off some engine parts (rocker cover, head, casings etc).
ImageImageImageImage
they are shitty :cry:
made the decision that I don't want a new 'career' in cleaning, polishing etc, :oops:
so it's all going away to people who know what they are doing and do it for a living :shock:
(Do you think they'll be having a sale :?: :roll: )
Punctuation, Spelling and Grammar will be used sparingly. Due to rising costs of inflation.


“It's not me who can't keep a secret. It's the people I tell that can't.â€￾ 


freddyz1r

PUM 329

freddyz1r
Hardcore
Hardcore
Posts: 1351
Joined: 10th Mar 2013
Location: mansfield,nottinghamshire

#73 PostAuthor: freddyz1r » Mon Mar 09, 2015 11:53 am

Started stripping some of the parts that need to go for powdercoating.(I know I'll miss something :oops: ).
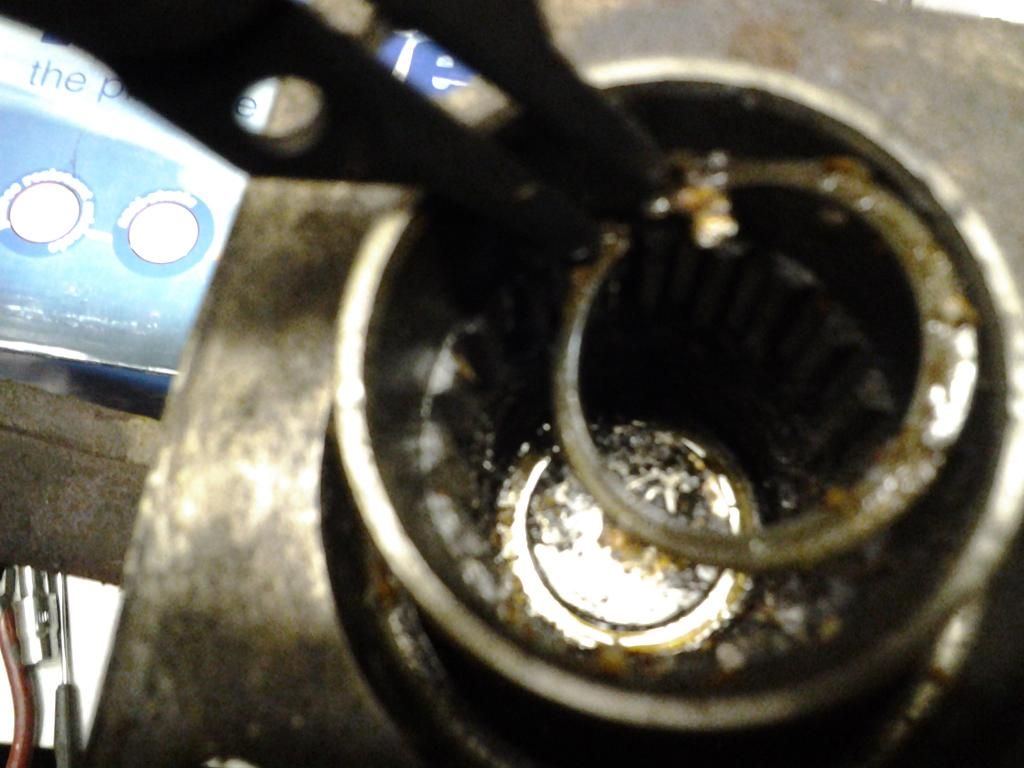
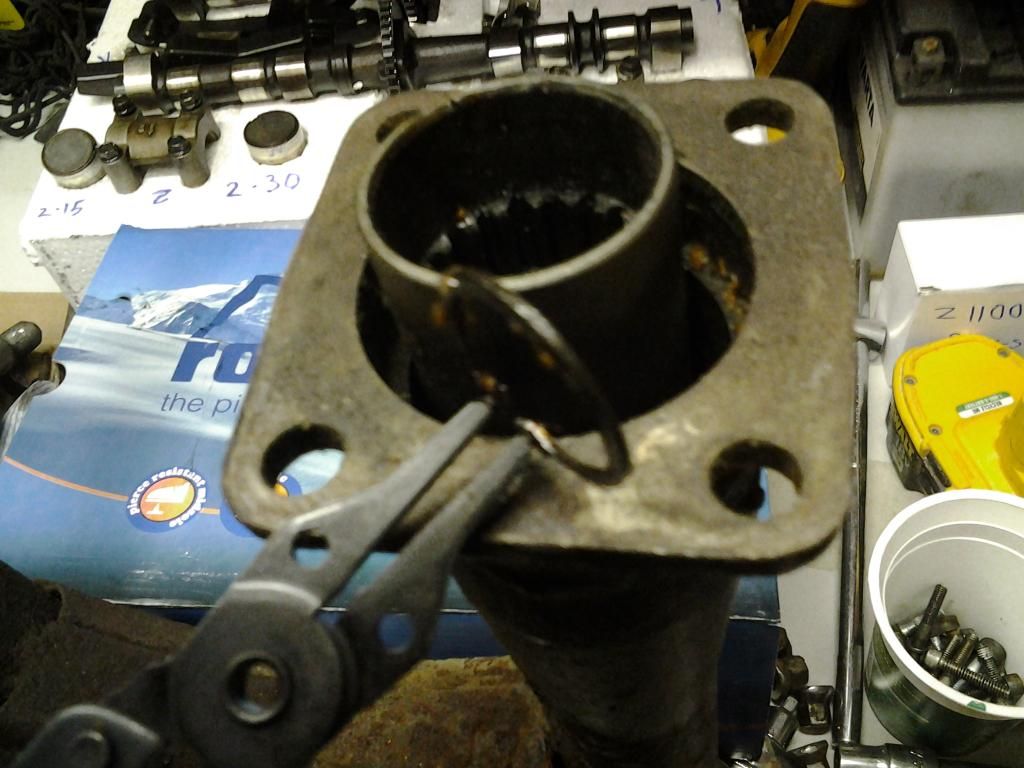
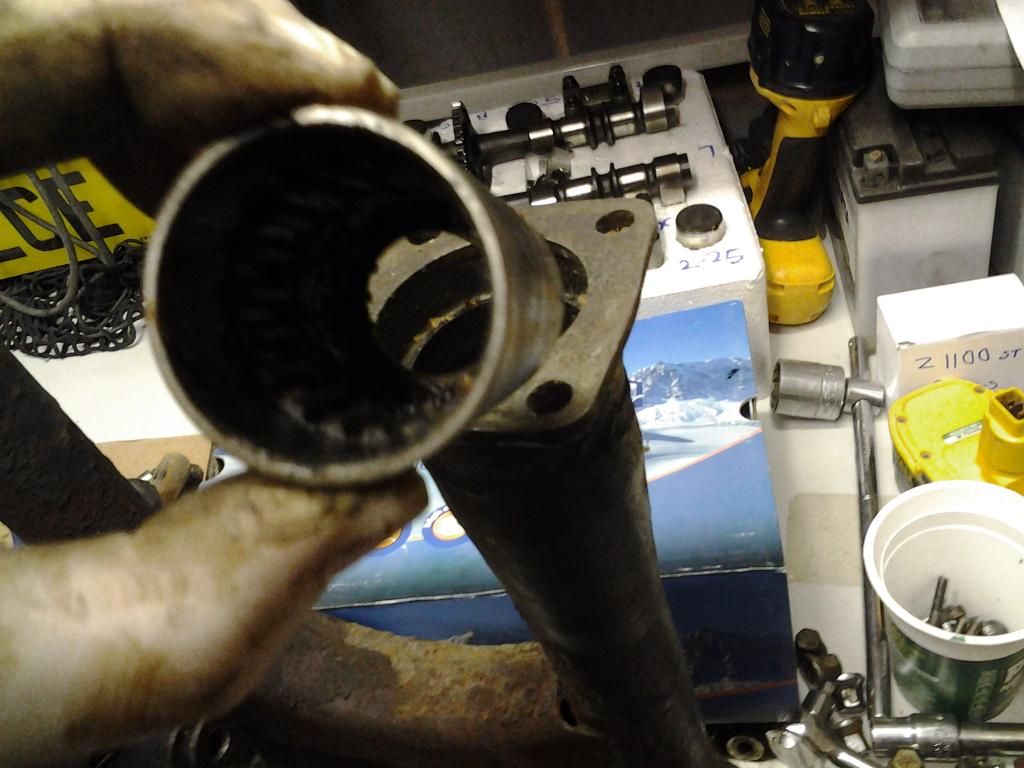
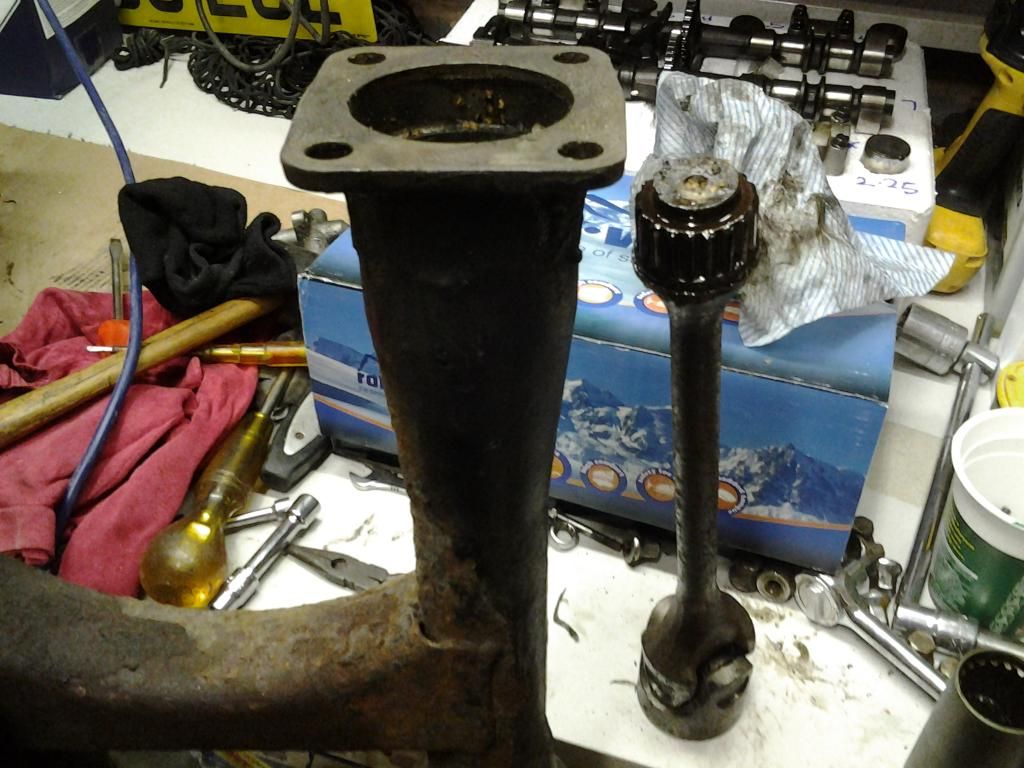
The swingarm was still housing the 'prop'. It has a circlip way down which is a bit awkward to get to, but when you've removed it, the whole 'prop' slides out easily :wink:
ImageImageImageImage
that rusty begger can now go for blasting and powdercoat.
Punctuation, Spelling and Grammar will be used sparingly. Due to rising costs of inflation.


“It's not me who can't keep a secret. It's the people I tell that can't.â€￾ 


freddyz1r

PUM 329

freddyz1r
Hardcore
Hardcore
Posts: 1351
Joined: 10th Mar 2013
Location: mansfield,nottinghamshire

#74 PostAuthor: freddyz1r » Mon Mar 09, 2015 12:20 pm

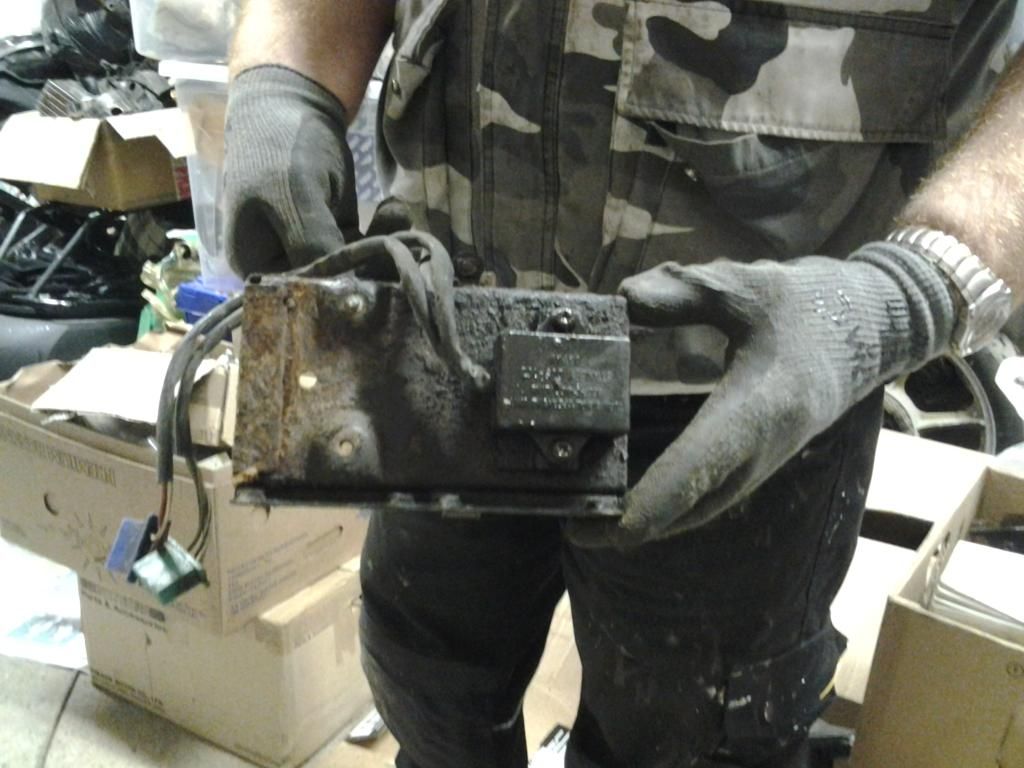
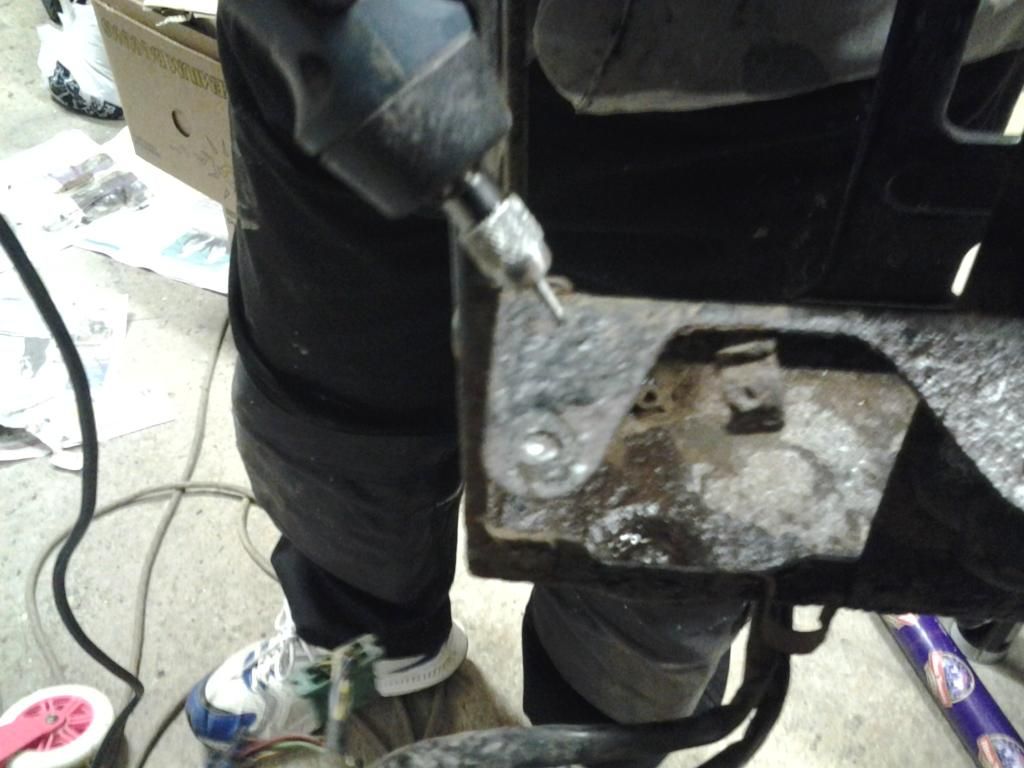
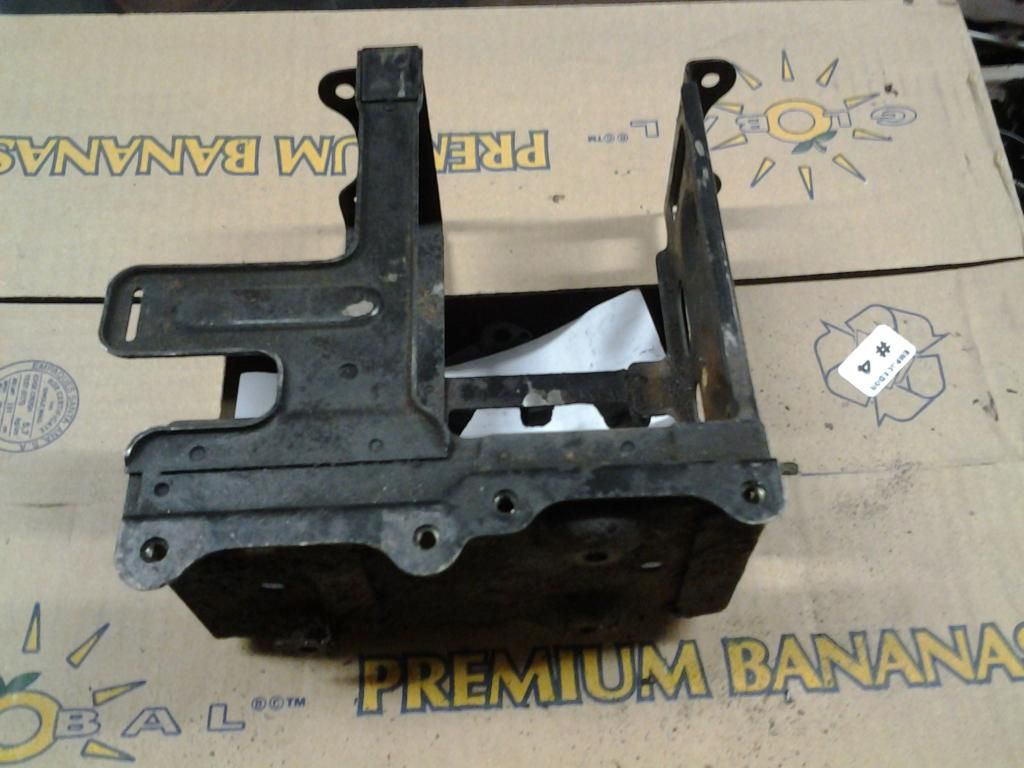
The battery box was a bas**ad. With 3 snapped bolts remaining in it and a 'chavelled' up screw head, still holding on the flasher unit :evil:
ImageImageImageImageImage
took some doing (I could fair do with a pillar drill). First used the wizard to give me a starting centre point. Then switched to the drill with a couple of incresing in size drill bits. Until I could eventually pick out the remaining thread and then run a tap down them :hot
now ready to go :up
Image
Punctuation, Spelling and Grammar will be used sparingly. Due to rising costs of inflation.


“It's not me who can't keep a secret. It's the people I tell that can't.â€￾ 


freddyz1r

PUM 329

freddyz1r
Hardcore
Hardcore
Posts: 1351
Joined: 10th Mar 2013
Location: mansfield,nottinghamshire

#75 PostAuthor: freddyz1r » Mon Mar 09, 2015 12:48 pm

After much head -scratching and being involved in another posting / discussion, I have decided to remove the gears, crank etc. So that my crank cases can be sent away to be dressed.(if I don't, I'll always be looking at them regretting it). I've accepted that I'll never get them anywhere near as good as a professional.
Splitting the crank cases could be 1 step too far for me :?? But, I won't know until I've tried it :| So tomorrow evening after work, I'll give it a go :roll: wish me luck :bye
Punctuation, Spelling and Grammar will be used sparingly. Due to rising costs of inflation.


“It's not me who can't keep a secret. It's the people I tell that can't.â€￾ 


freddyz1r

PUM 329


Return to “Projects”

Who is online

Users browsing this forum: No registered users and 7 guests