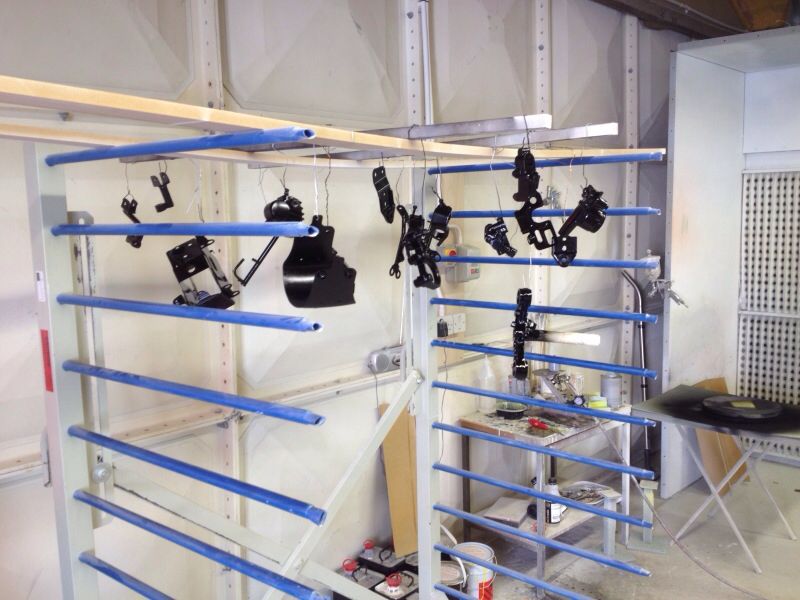
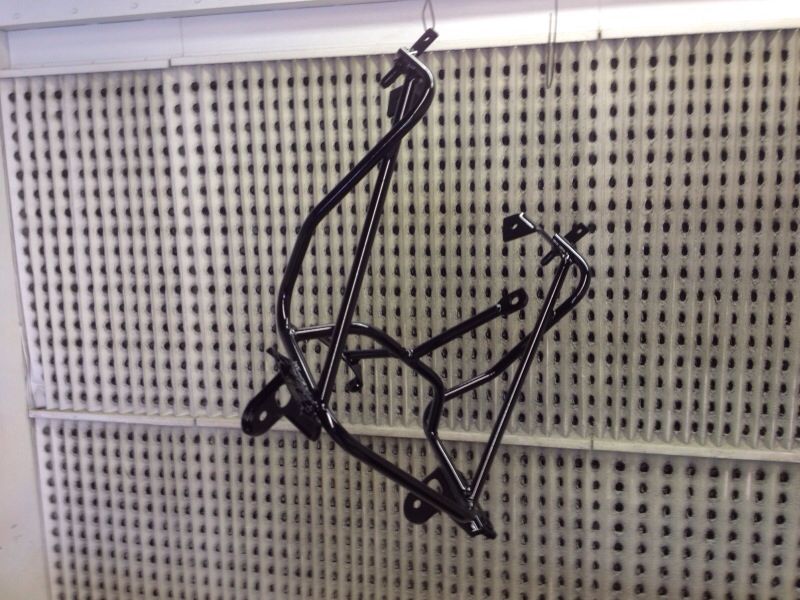
The project has been on again, though I am having to slip it in between paying punter's bikes

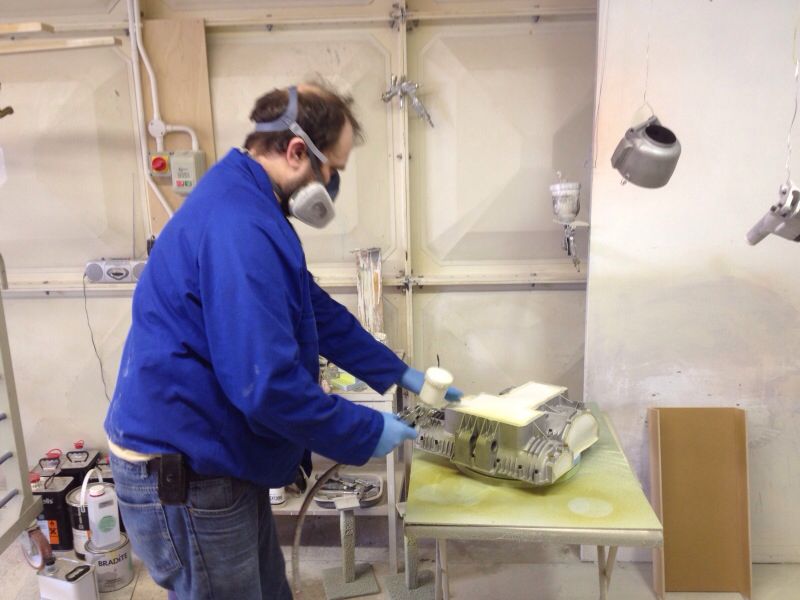
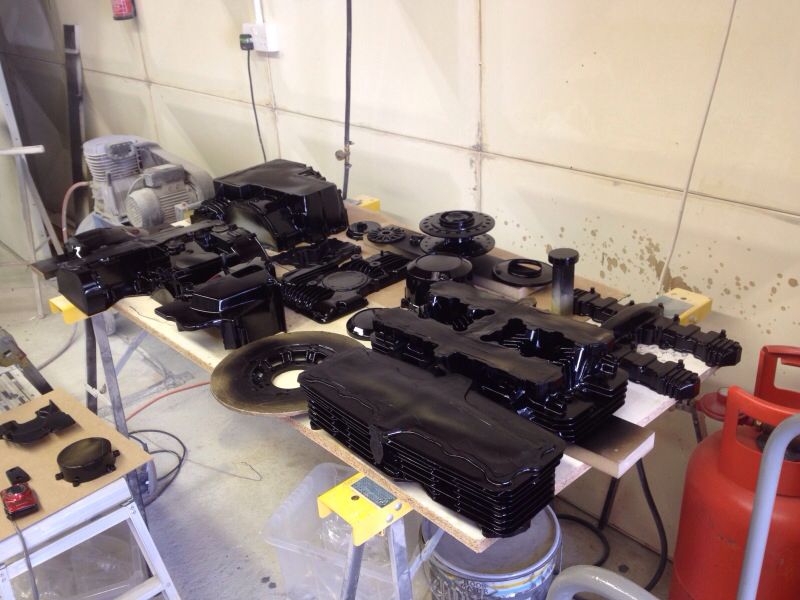
I re-started by building up the motor which was all painted up.
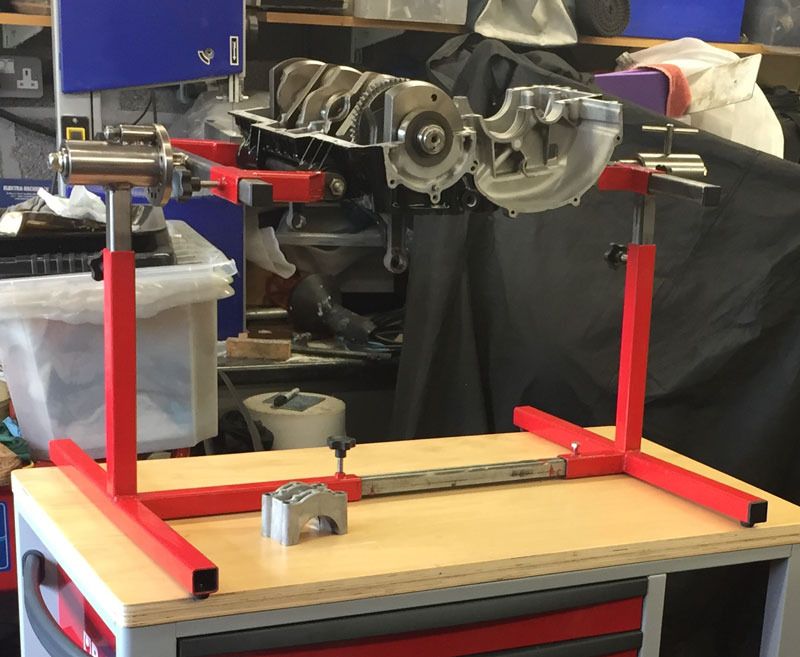
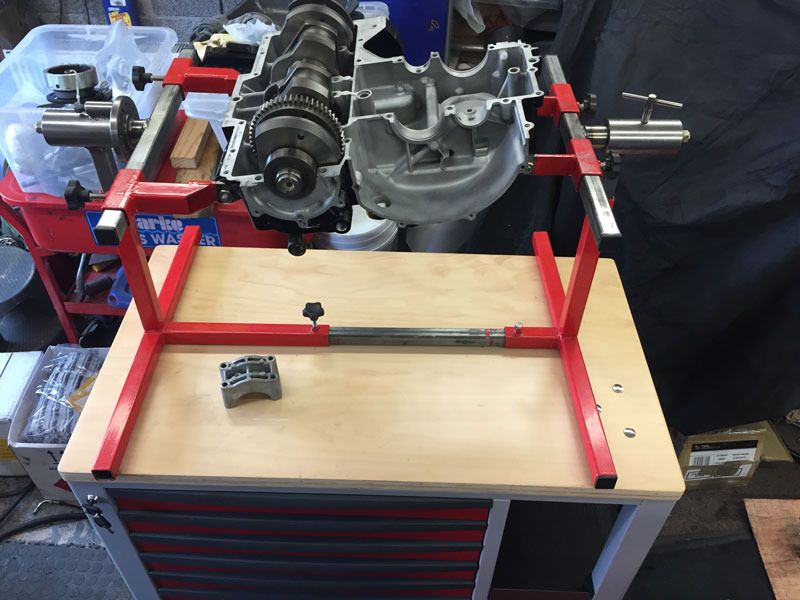
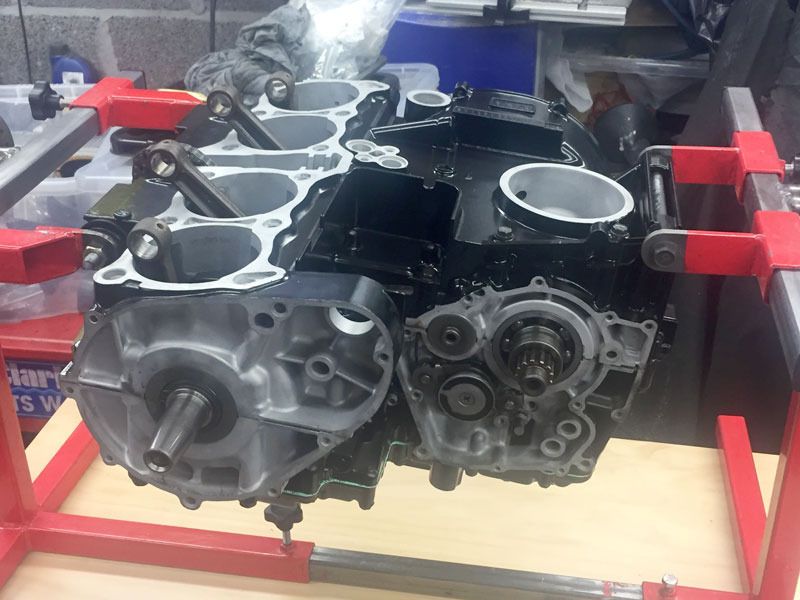
I only got this far as I had lost the pistons

I could find the brand new genuine Kawasaki piston rings!
After a good few months of searching the house, workshop, office, loft etc I gave up and bought an 1170 wiseco kit off a club member.
Obviously after taking the barrels up to the engineers the originals turned up!
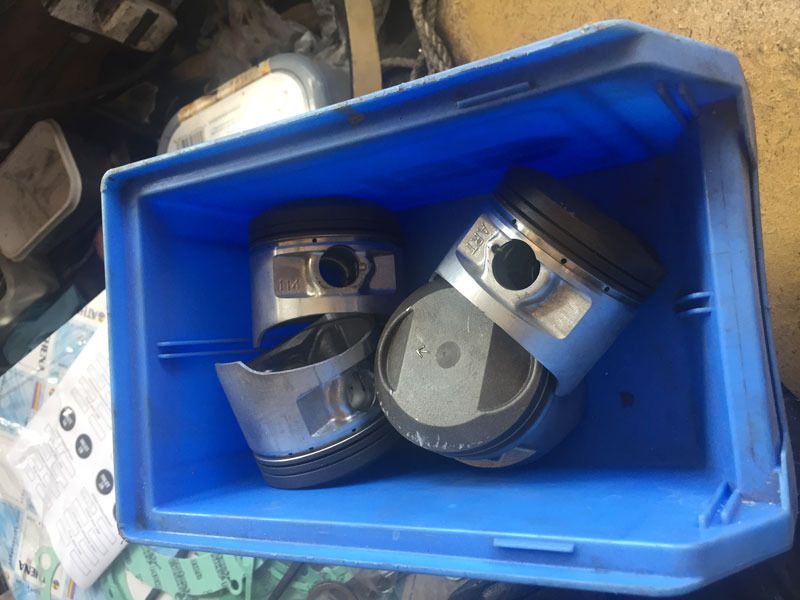
... at least I assume that's what these pistons are!
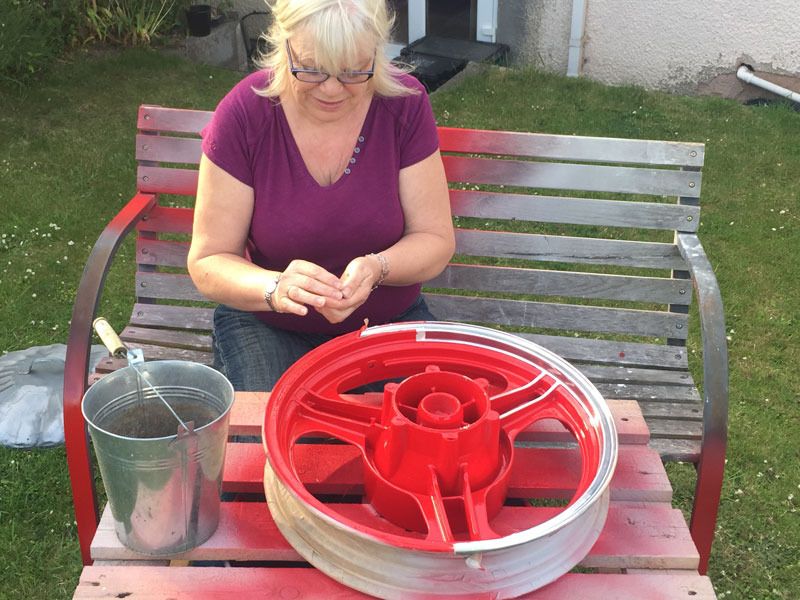
Next job was to mask up the wheels ...
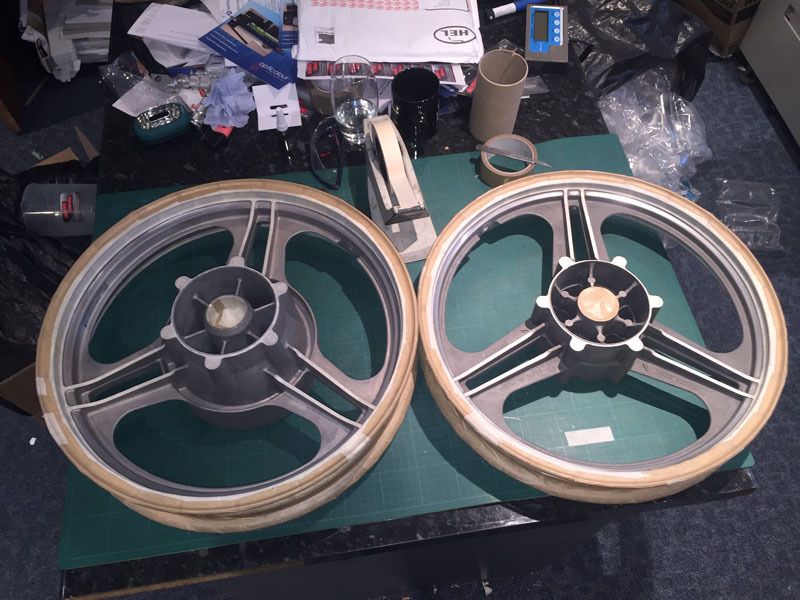
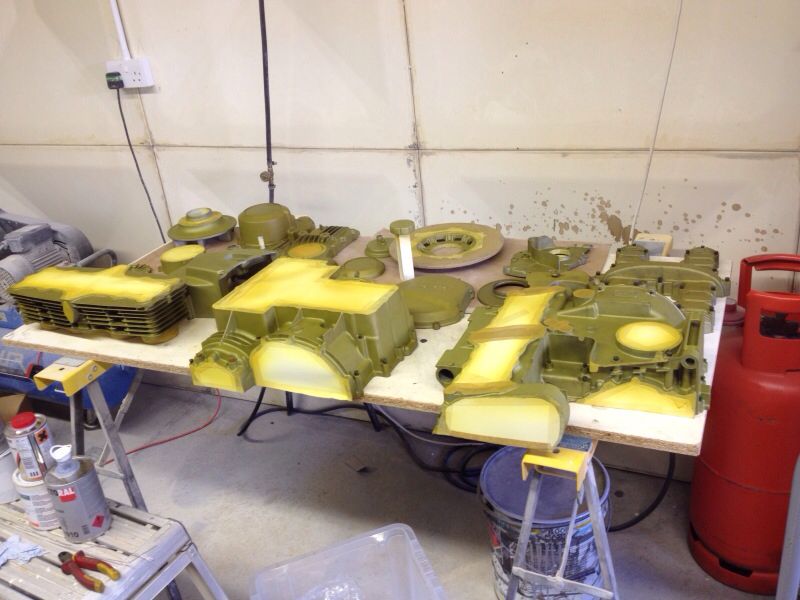
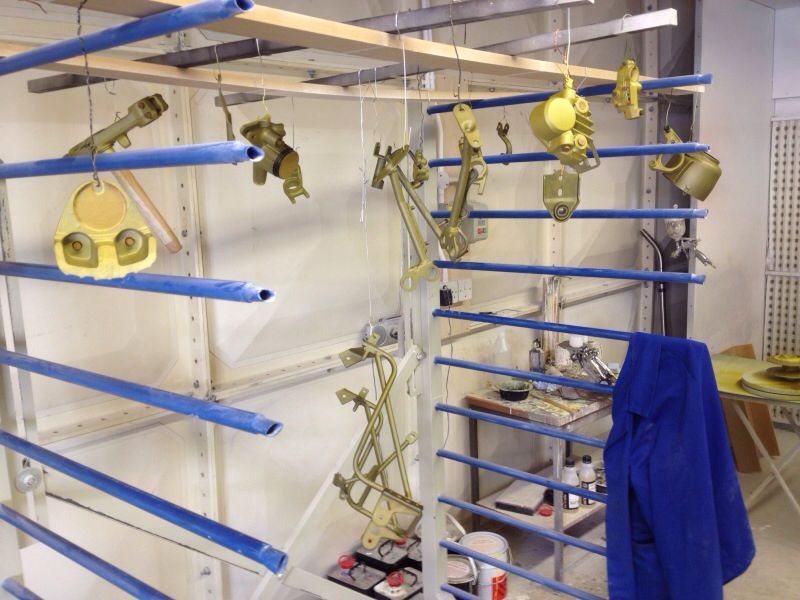
... then etch prime all the metal bits ...
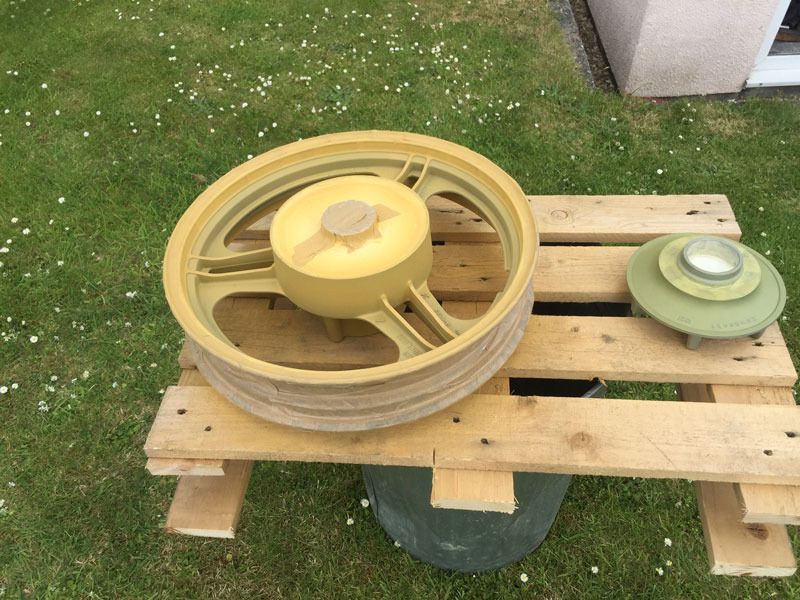
the sprocket carrier was done with a uber poisonous zinc chromate primer with the engine bits and nearly ended up black!
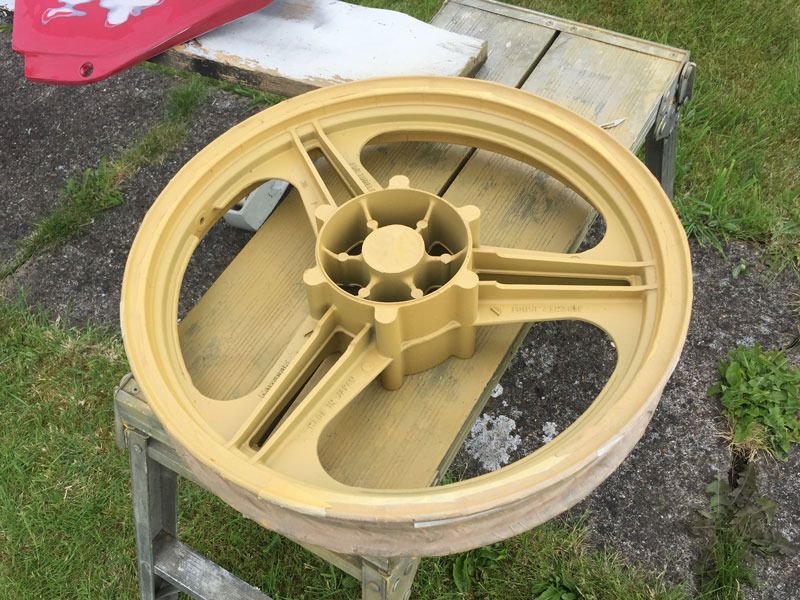
Then I used my old mini primer gun to bang on the high build primer, but this didn't do much of a job, partly because it was cheap crap in the first place
(no point in spending good money on a primer gun), partly because after the quantity of etch primer etc I have put through it has taken it's toll and partly because it's not really got a big enough jet for high build primer any way.
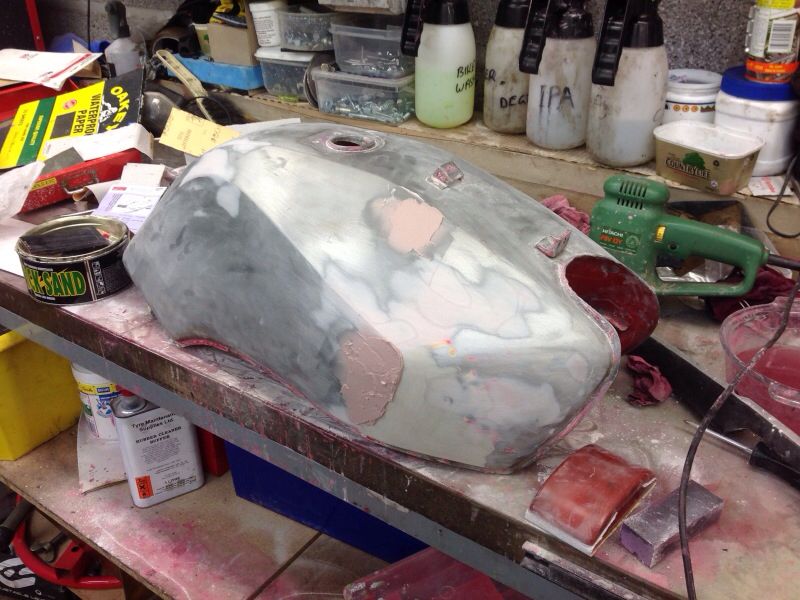
That of course left a shed load of flatting to be done ...
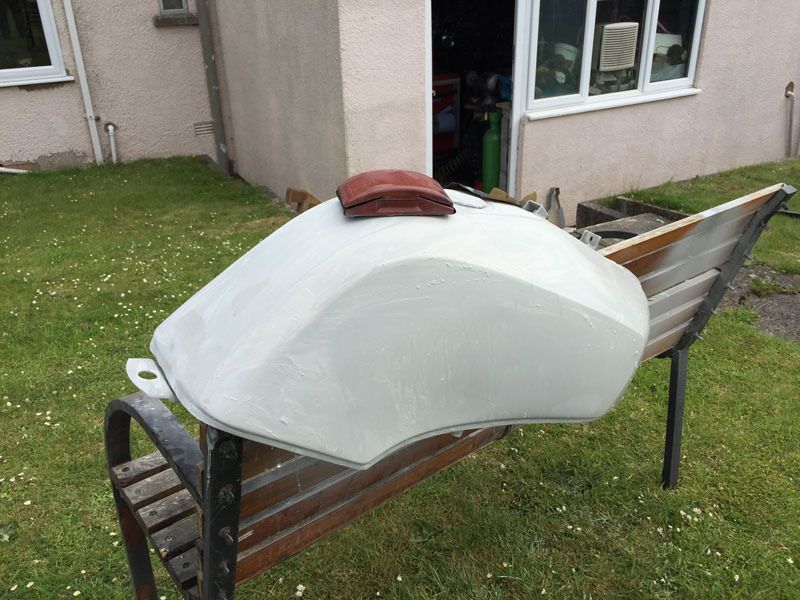
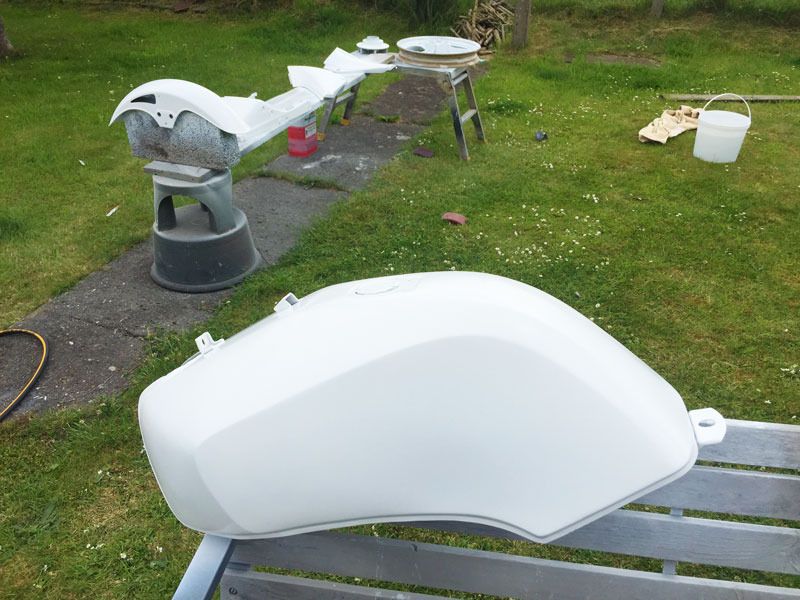
Next to go was the first of the base coats, a white, to give the bright red a lift ...
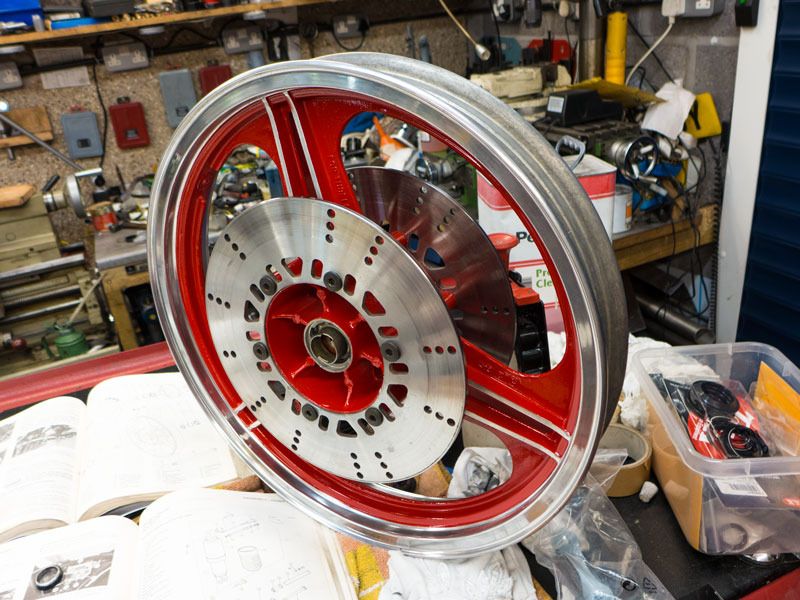
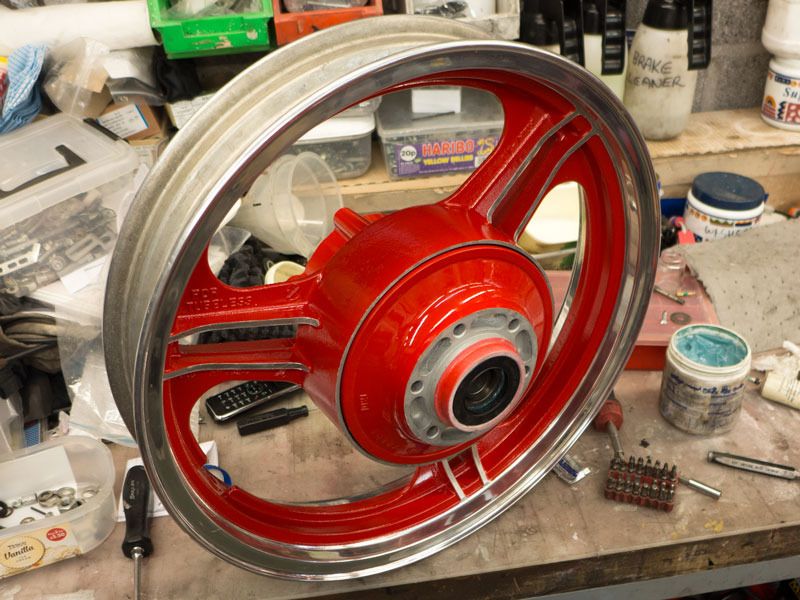
Then I banged on the red base coat ...
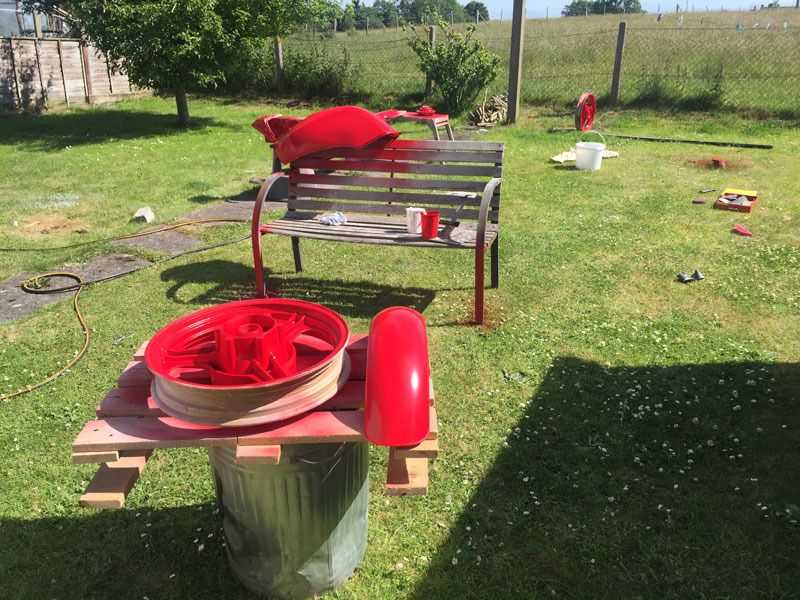
and then clear coated the wheels and front muddy.
SWMBO gave me a hand to remove the masking from the wheels which had been on for ages, so was a right royal pain ....
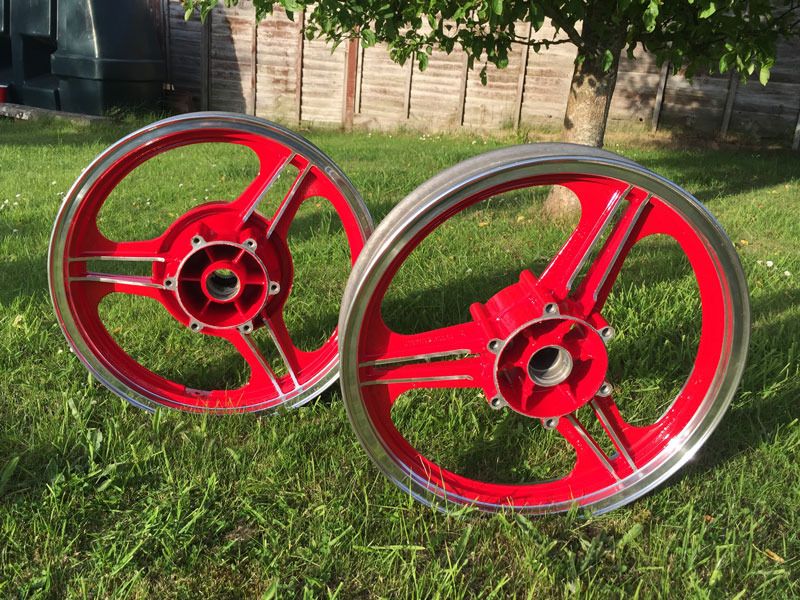
The finished wheels look OK
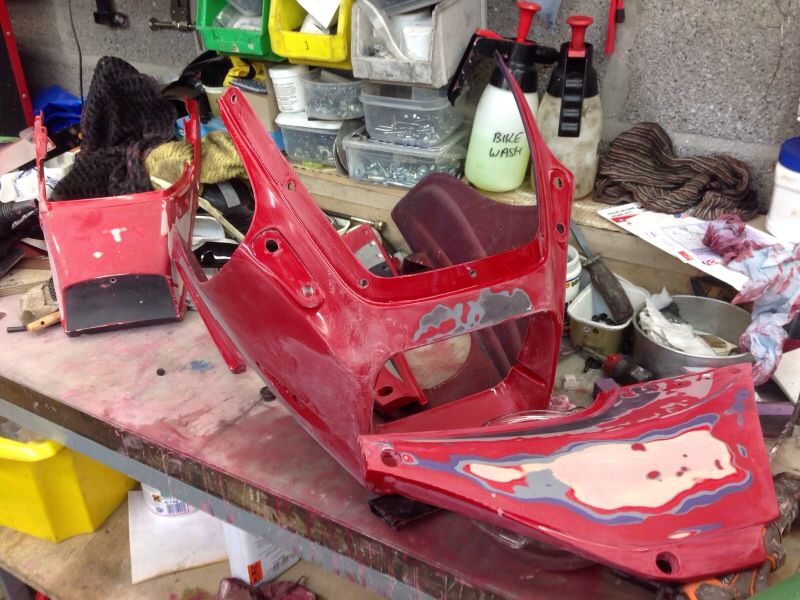
... now at this point the observant amongst you will notice that you haven't seen any pix of the fairing. Sadly I hadn't noticed

that it was still sat in my office

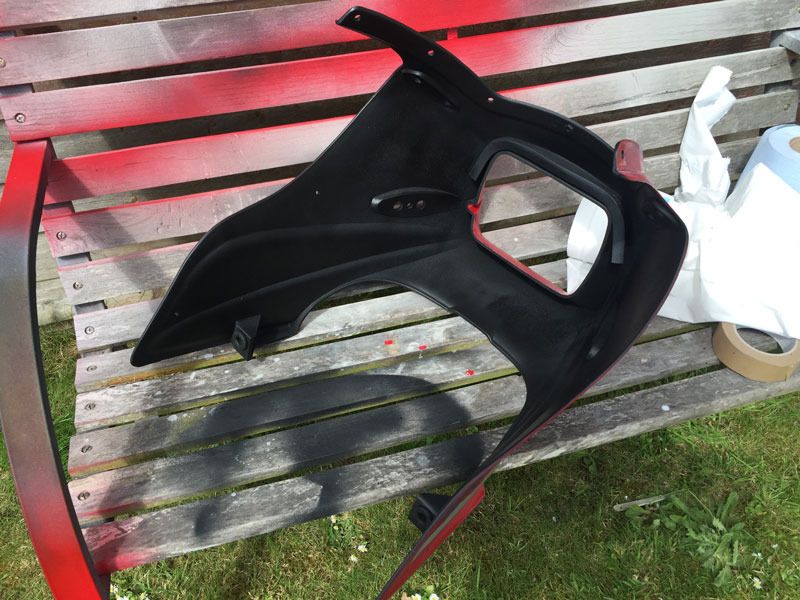
First job was to mask and paint the inside. I used a satin textured plastic paint in a rattle can for that ...
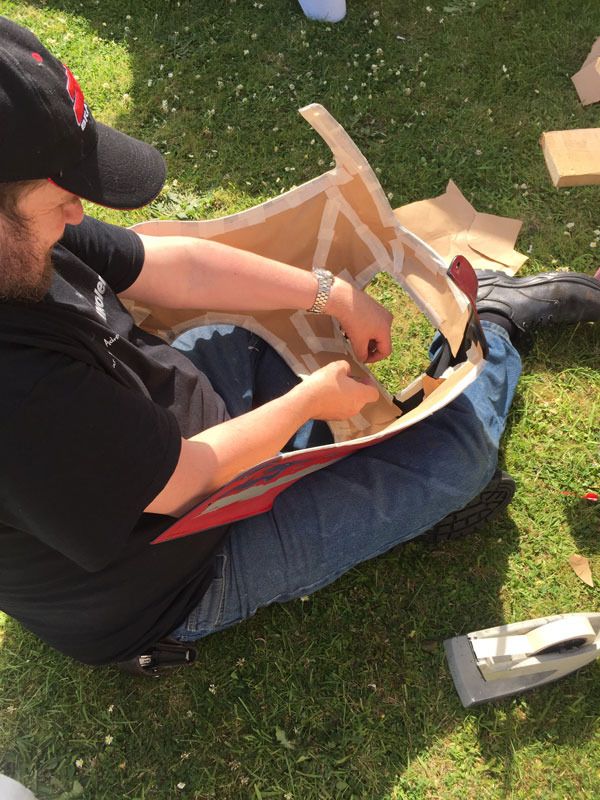
Then it was demask the outside and mask the inside which was bloody fiddly...
Having had so bad a time with the primer previously, I splashed out £30 cash on a new full size 1.8 jet primer gun. This really larded it on the fairing easy peezy ...
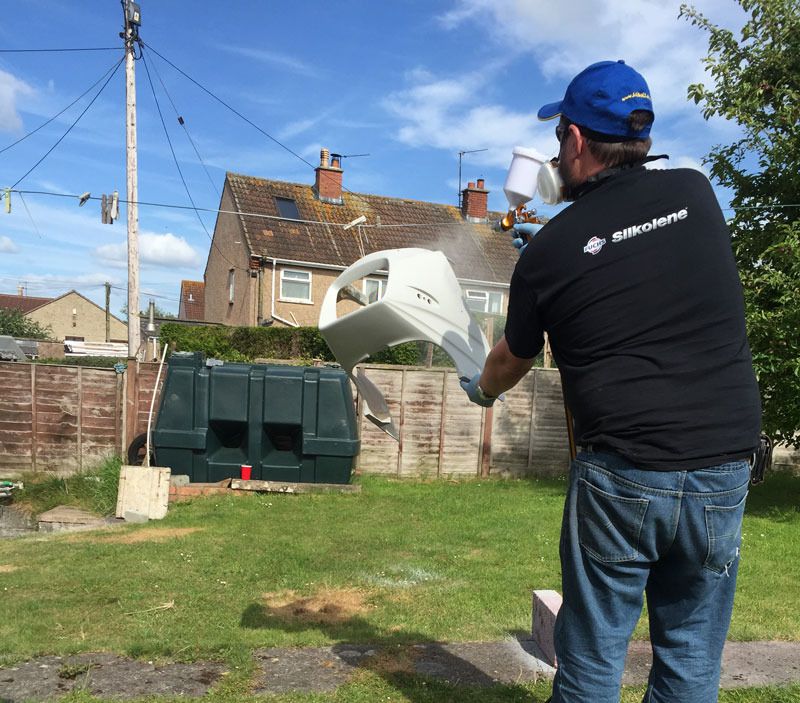
Forgot to take any pix of the next stages
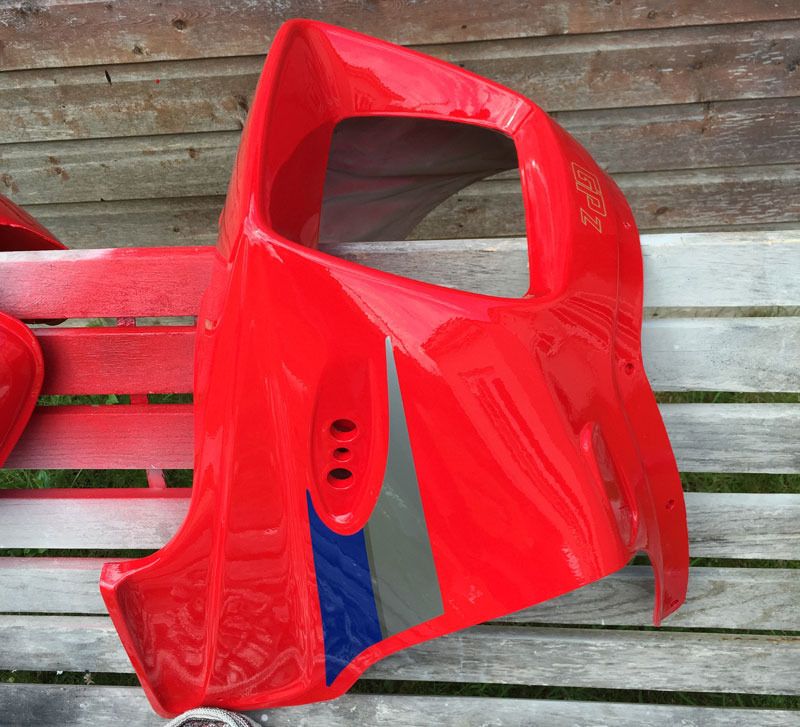
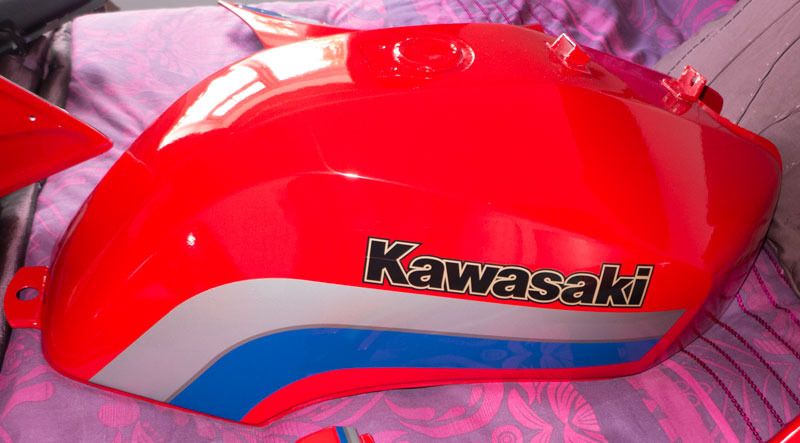
Then I painstakingly applied the gerber edge graphics. I made life a tad easier by soaking them with water with a little squirt of baby shampoo to make repositioning easier and make it possible to squeegee out the air pockets. Sadly I managed to tear the very thin vinyl of the 'K' on the tank on one side whilst removing the application tape, which was harder to remove than it should have been. I bought the graphics at the October Stafford show before the last one

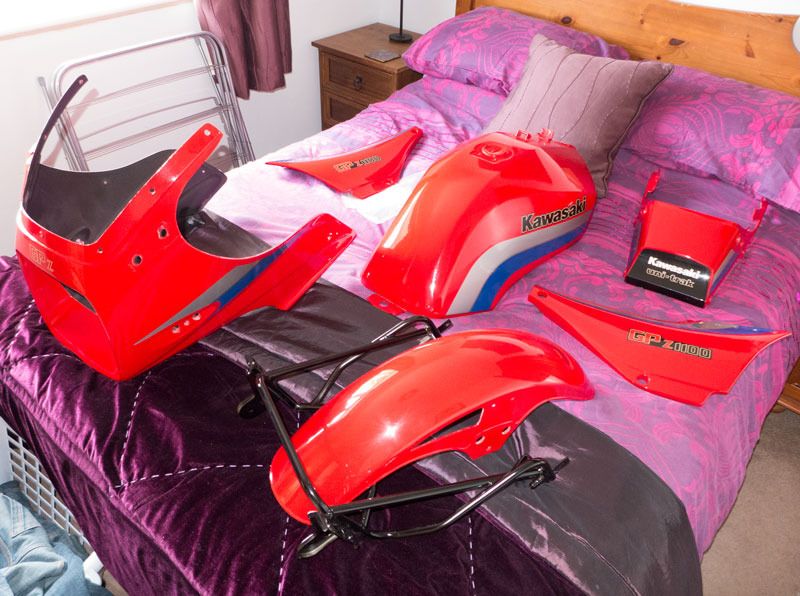
I used my mate's spray booth as insects have a habit of landing in clear coat and are then stuck there for ever more. I had a minor disaster whilst in there. The booth is used for painting furniture and there was a lot of dust on the floor, which I didn't have time to clear up, and some of it attached itself to the air line and then fell off onto one of the side panels. It did manage to get a couple of curtain runs, which I would normally just flat out with some fine wet 'n' dry and then compound out. I clear coated last Friday afternoon, but it wasn't convenient for my mate to meet me at the spray booth until Sunday morning to collect it all, by which time the lacquer had gone so hard it wouldn't compound, so I'll have to live with the defects. Fortunately I achieved a pretty good gun finish on the whole, so I'm not going to re-lacquer it. I've seen a worse from factories, especially Chinese factories

I'm not a painter by any stretch of the imagination, but I like to do as much of my restorations as I possibly can and I'd rather have a 9/10 job I've done than a perfect job I've only
paid for

Once the head and barrels come back from the engineers, I'll finish building the motor. I think I'll probably elect to fit the frame over the fully built engine and then build the chassis up around it.
I think from memory I still need to strip and paint etc the front forks, but I think most of the rest is ready to assemble. It's been a long time.

