Hello Guest User,

Please feel free to have a look around the forum but be aware that as an unregistered guest you can't see all of it and you can't post.

To access these 'Registered Users Only' areas simply register and login.

Club Restoration

Work in Progress

Moderators: KeithZ1R, chrisu, paul doran, Taffus

Message
Author
User avatar
Bill Newman
100Club
100Club
Posts: 459
Joined: 27th May 2007
Location: Ipswich

#31 PostAuthor: Bill Newman » Sun Mar 04, 2012 6:45 pm

Time for the next instalment - better than Eastenders or Corrie.

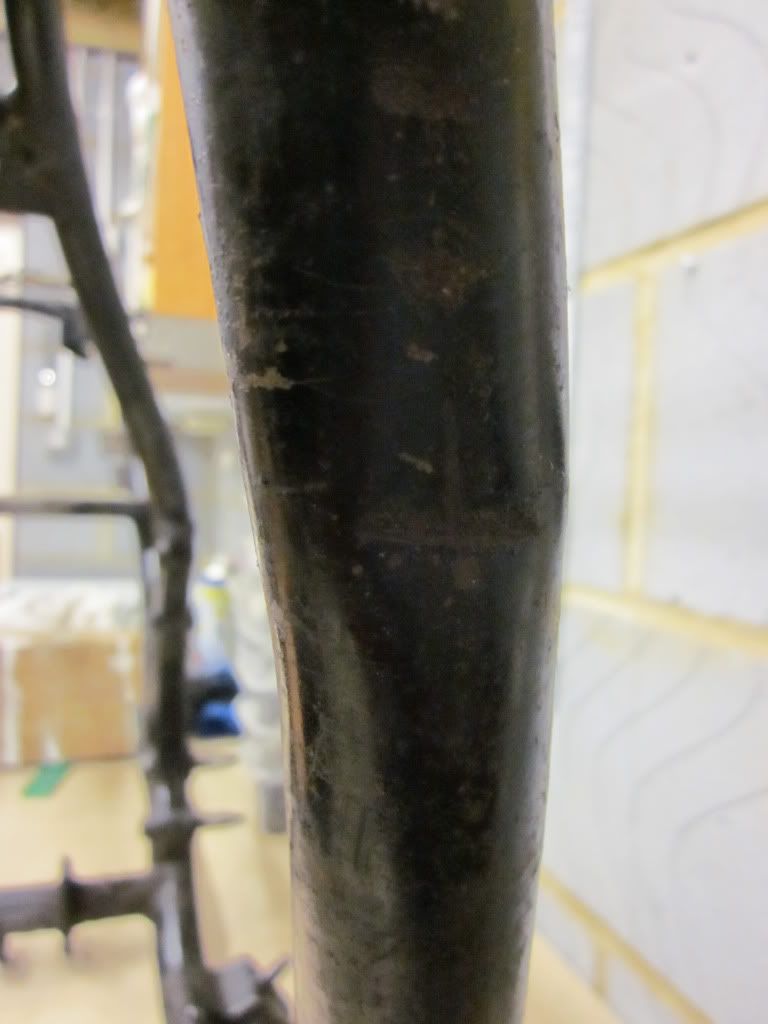
The next job was to get the frame ready for straightening - I had put a straight edge on the down tubes and they were about 2-3mm bowed out of true

Image

Seastar(the firm that did Dr Rods Z) advised that the frame must have cases fitted for jigging - these were supplied courtesy of Duane(DDZ900)

Image

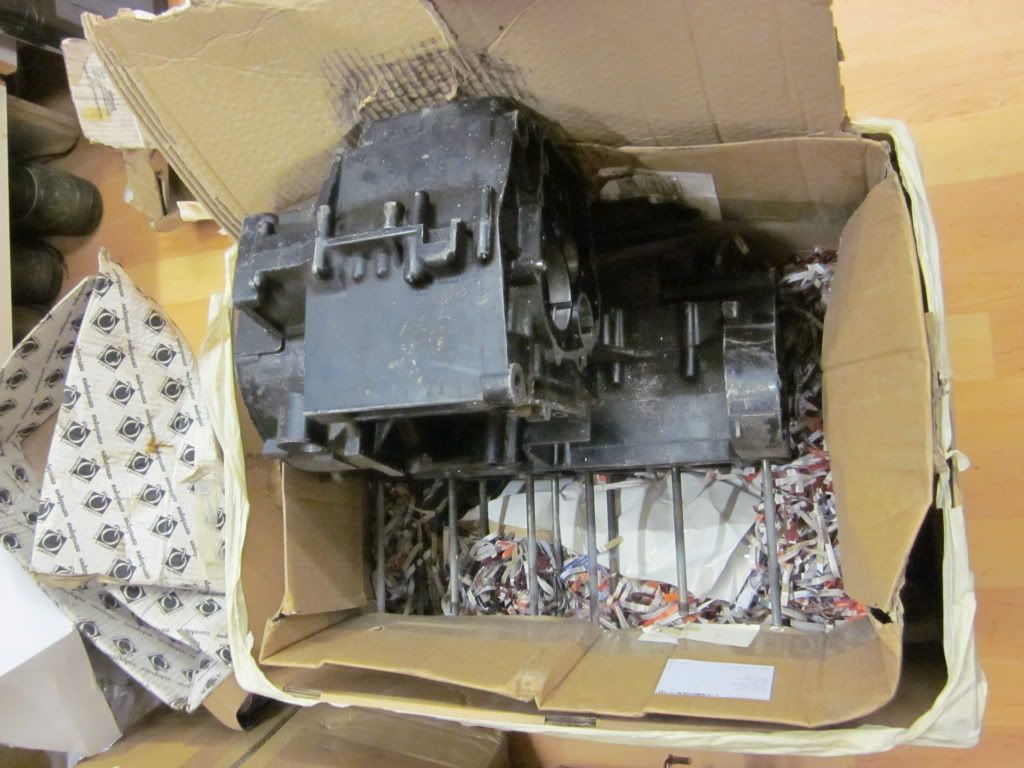
The cases fitted easily

Image

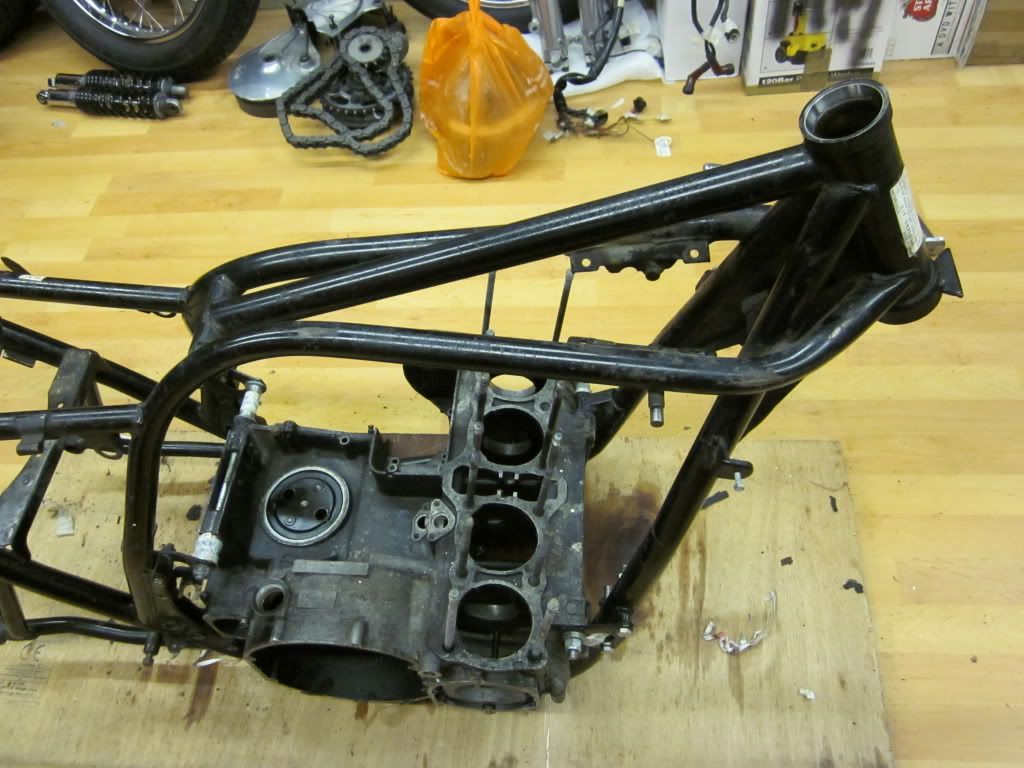
Ready for the jig...

Image

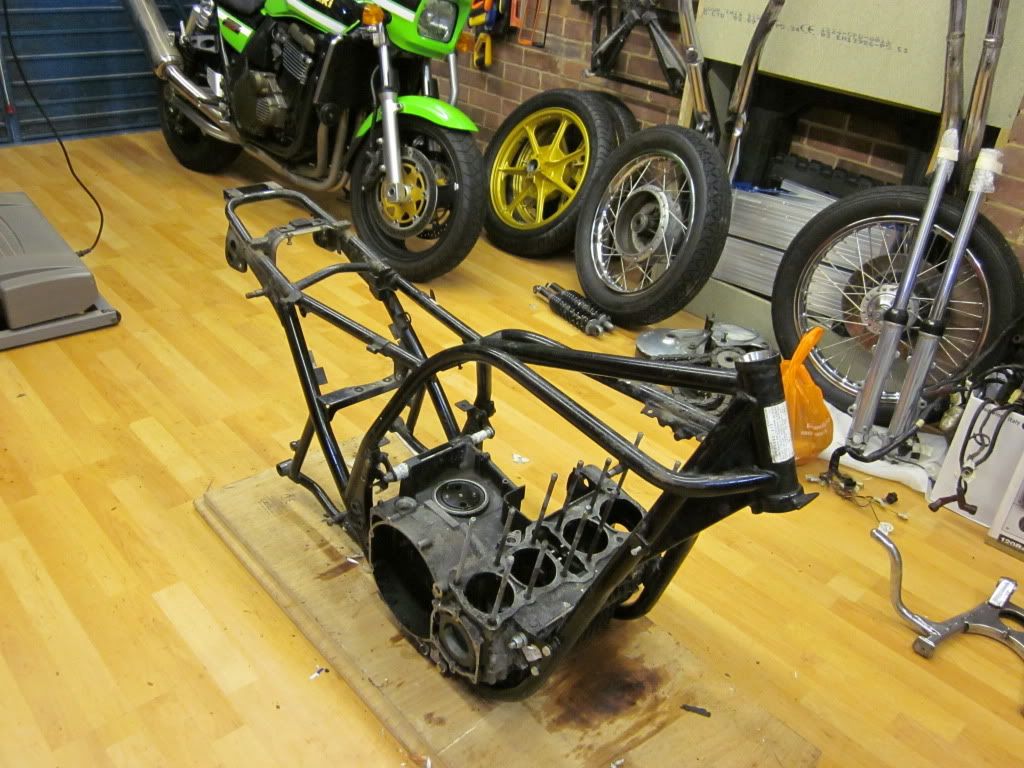
Seastar advised that the headstock was 12mm out of true(to the left - at the bottom) and short in the trail by 5mm. It is still short by 2mm but they did not want to pull it anymore. Not to worried - it should turn in like a ZX6R now :lol:

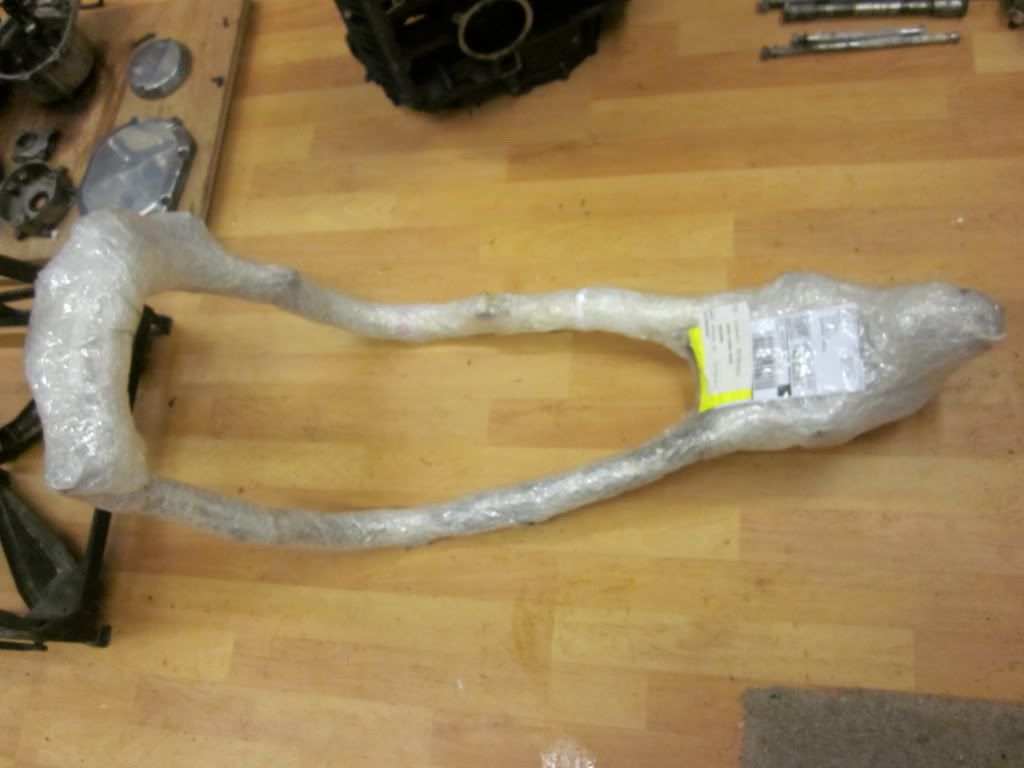
Before taking the frame to paint I blinded all the threads with bolts to save cleaning afterwards with taps

Image

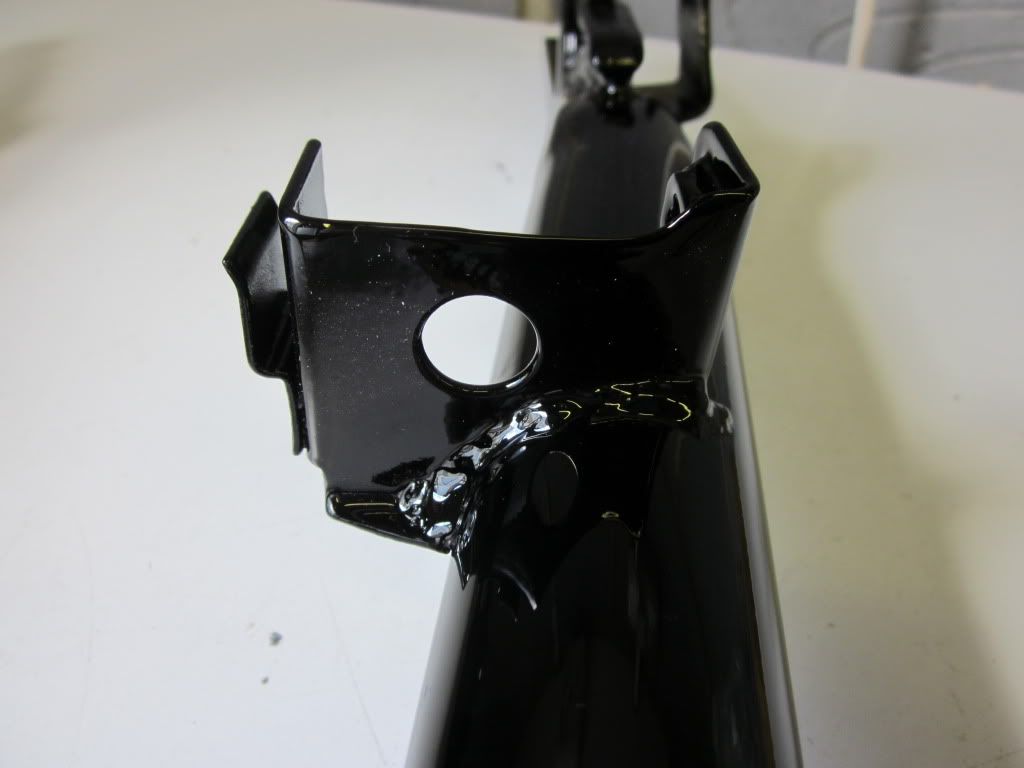
The frame was then taken to Simon(Flying Tiger) for bead blasting, bracing( much like on this diagram), welding repairs( those bastard centre stand bolts had cracked the frame lugs) and two pack black paint work

Image

Spare tubing provided by Steve(Ginger Bear)

Image

It should all be back with me by late March. This gave me the chance to box up the polishing - which is now with Mikey

Image

At this point in time the bike was spread across the four corners of England - the engine in Hull, the cases in Manchester, the frame in Norfolk, the paint set in Bury St Edmunds and the polishing and plating in Bristol. The clocks had gone to Al Marshall.

Image

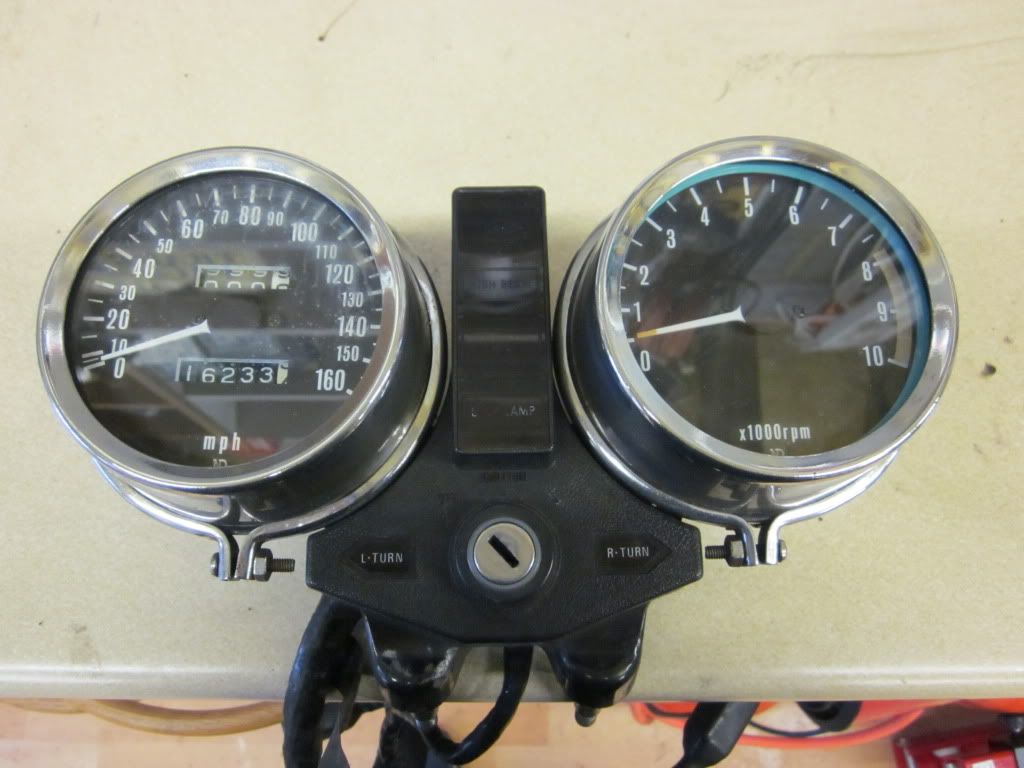
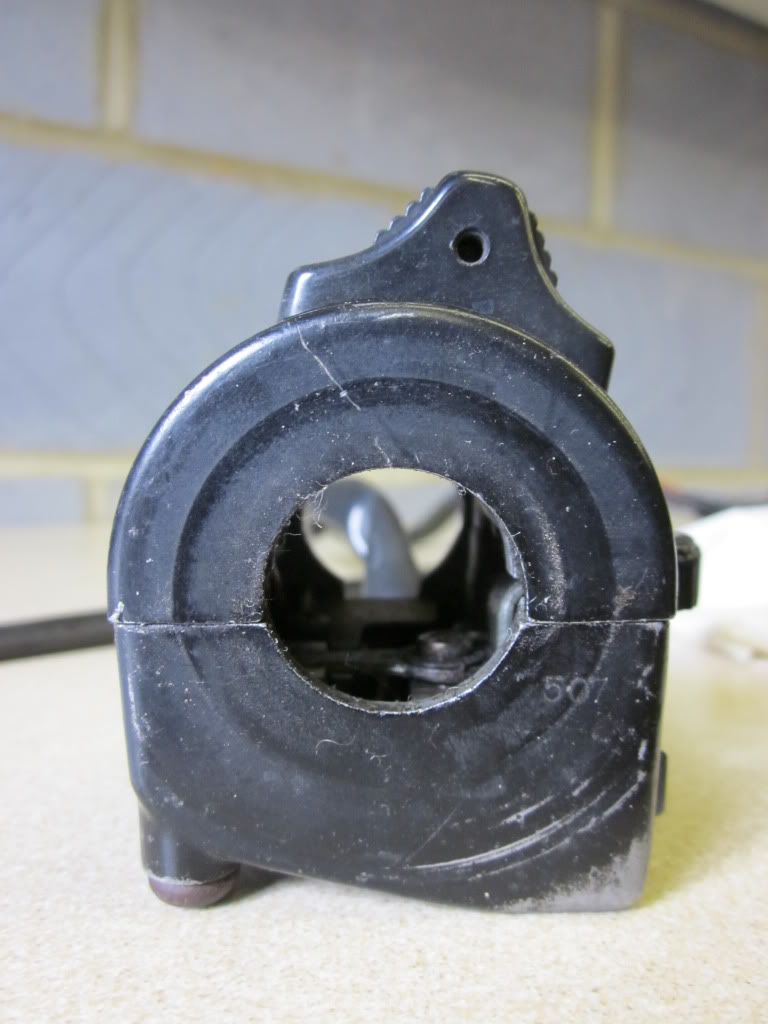
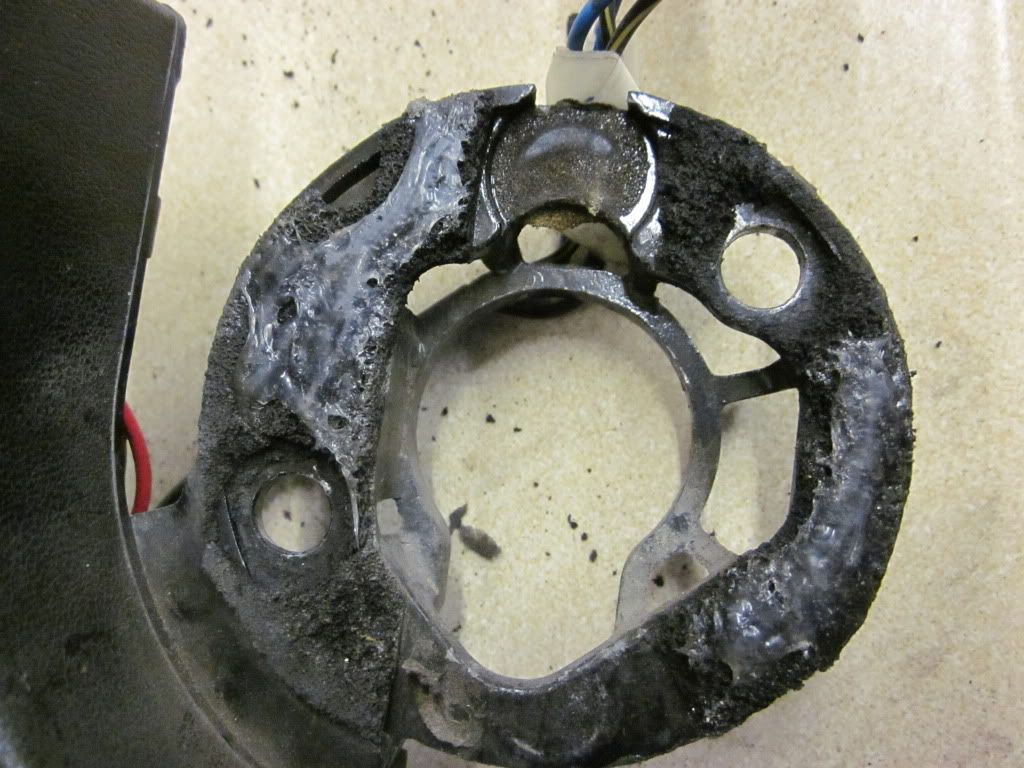
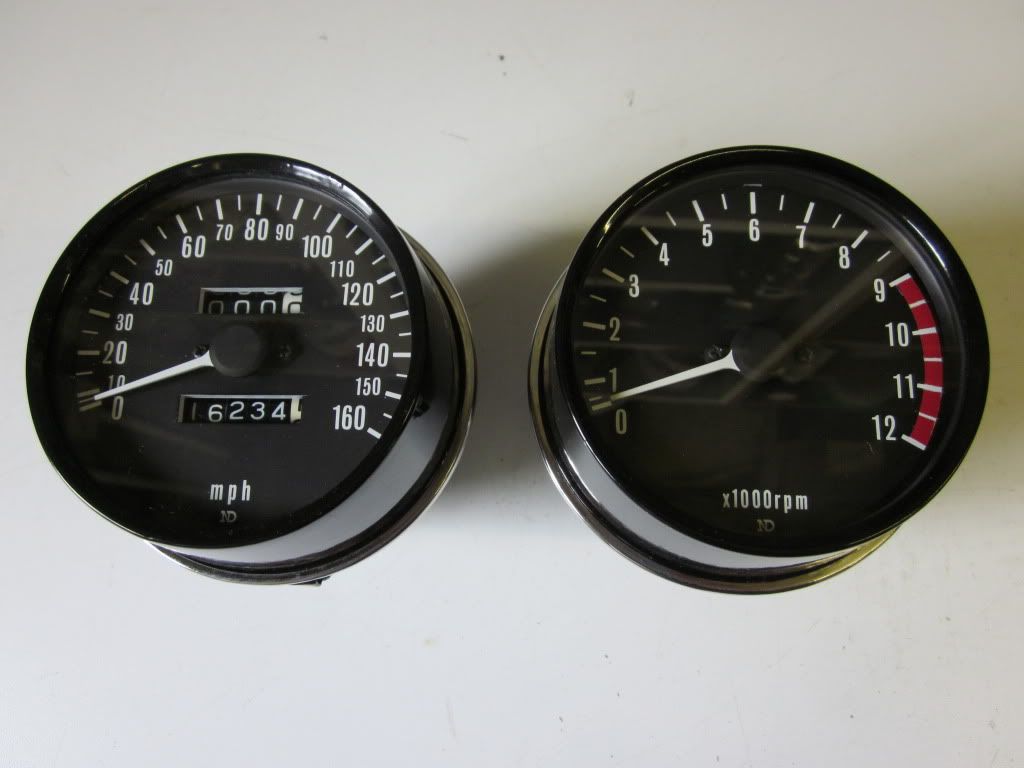
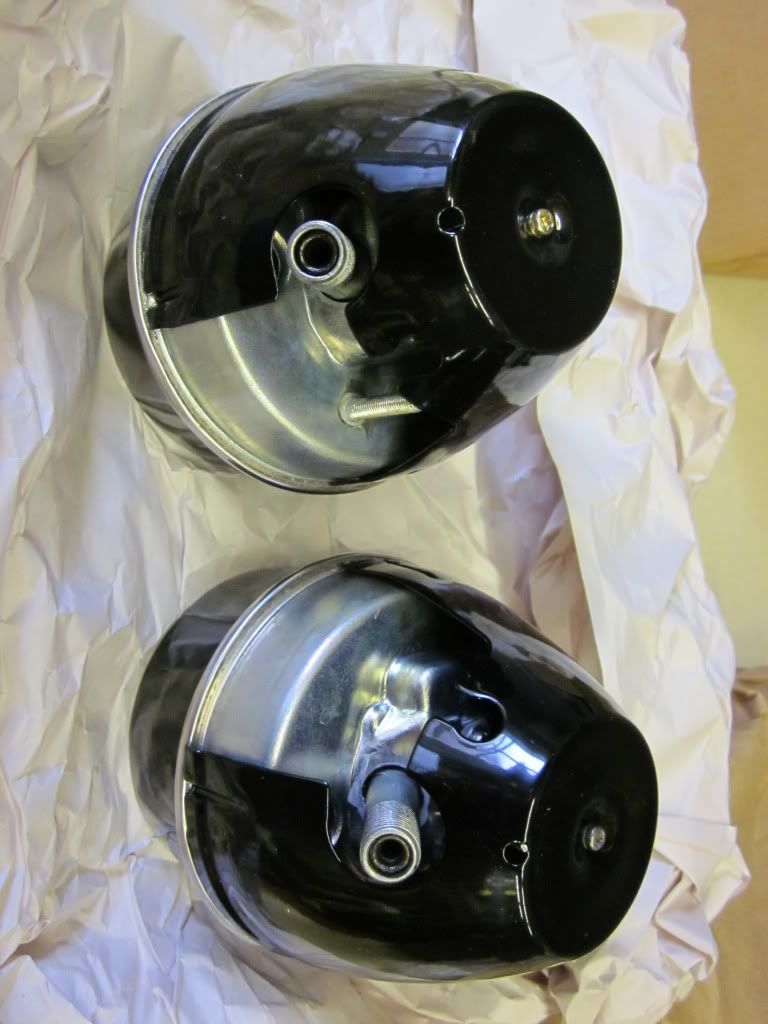
They were in a terrible state with covers concealing the earlier repairs to the right hand side damage - they were odd, one having different internal colours, different needles and different lettering. I was not sure which was the replacement. It got worse when I turned them over to strip off the sub frame - a woodscrew held the cover on

Image

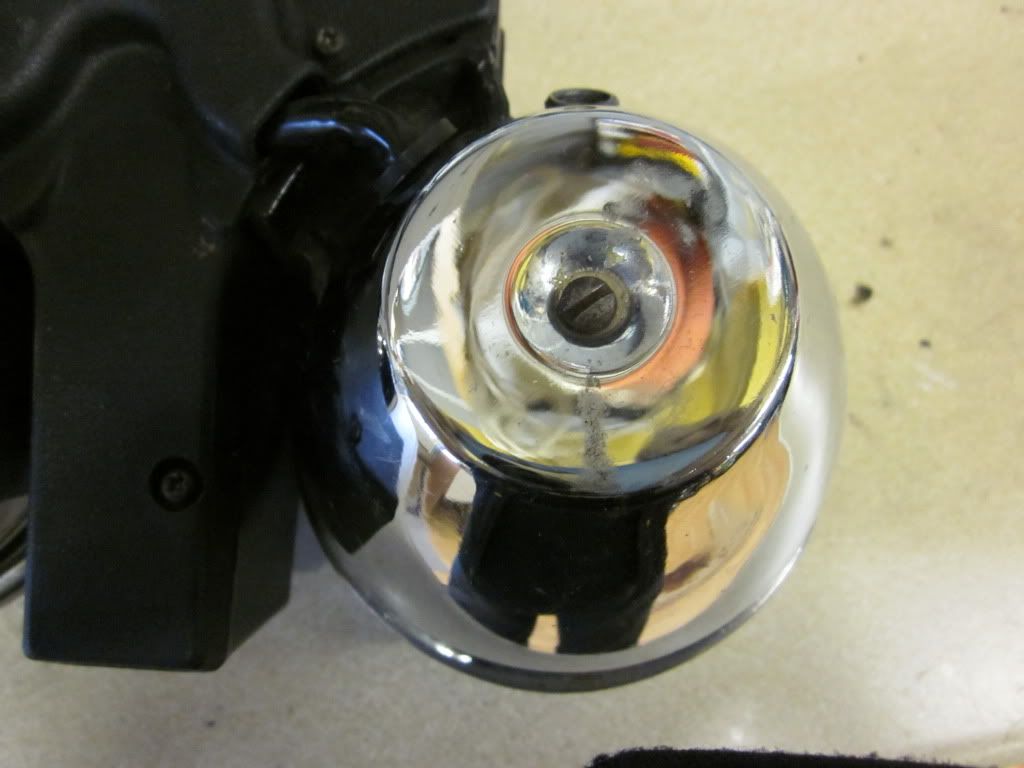
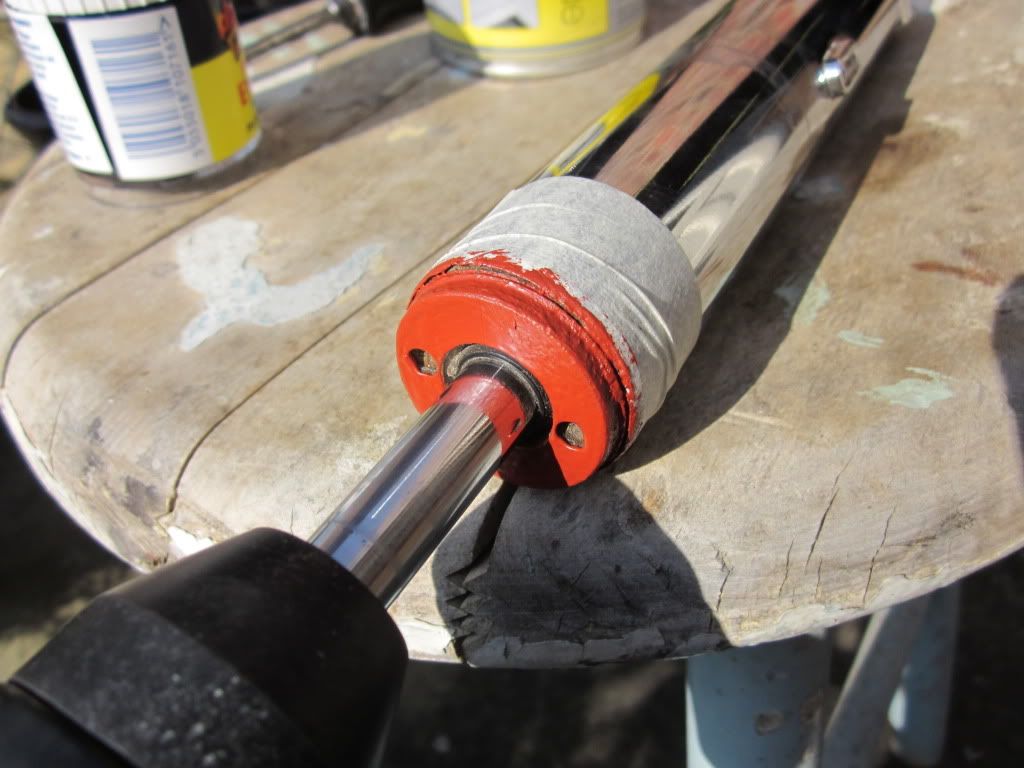
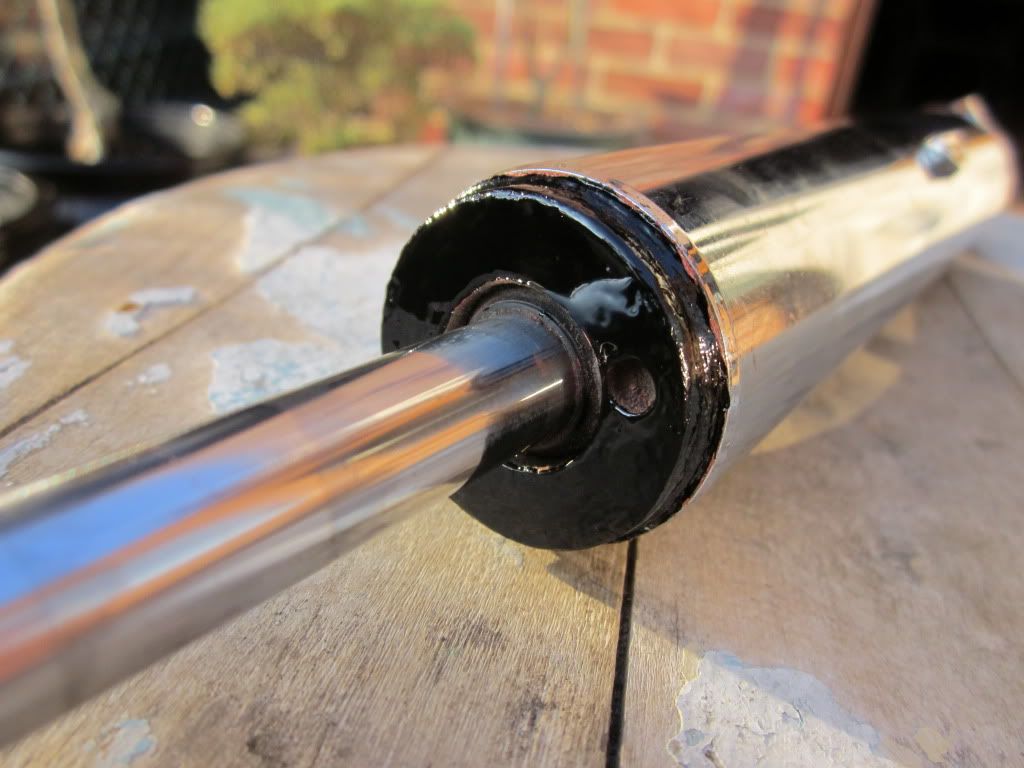
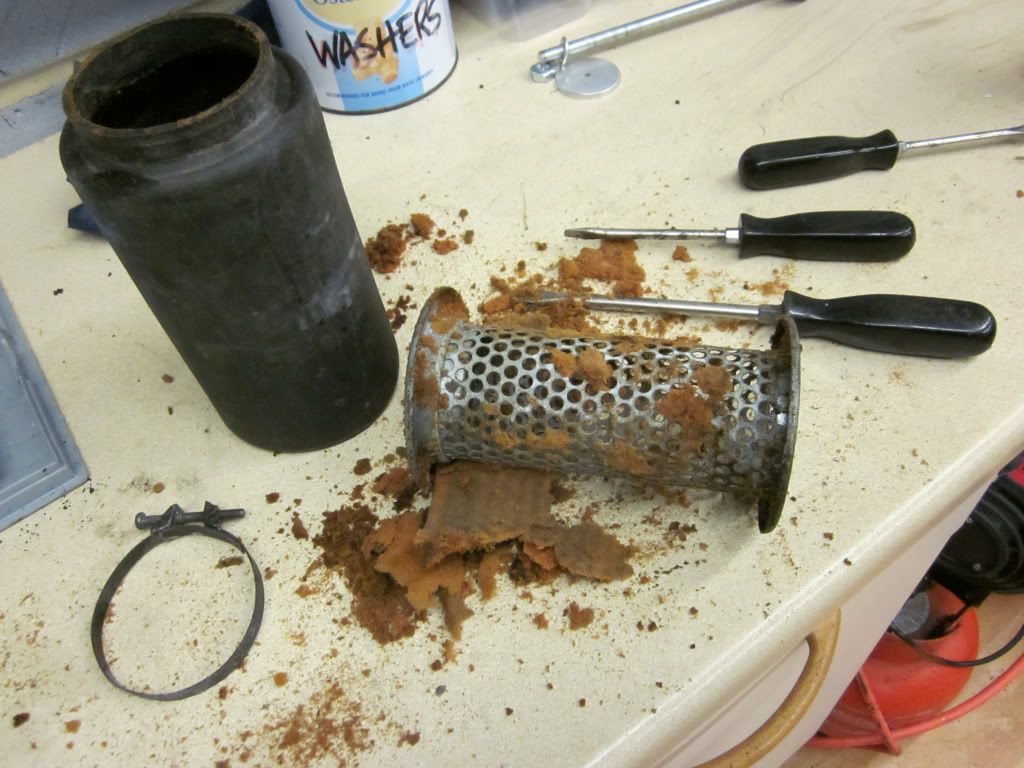
After this, I found the previous builders idea of damping

Image

Image

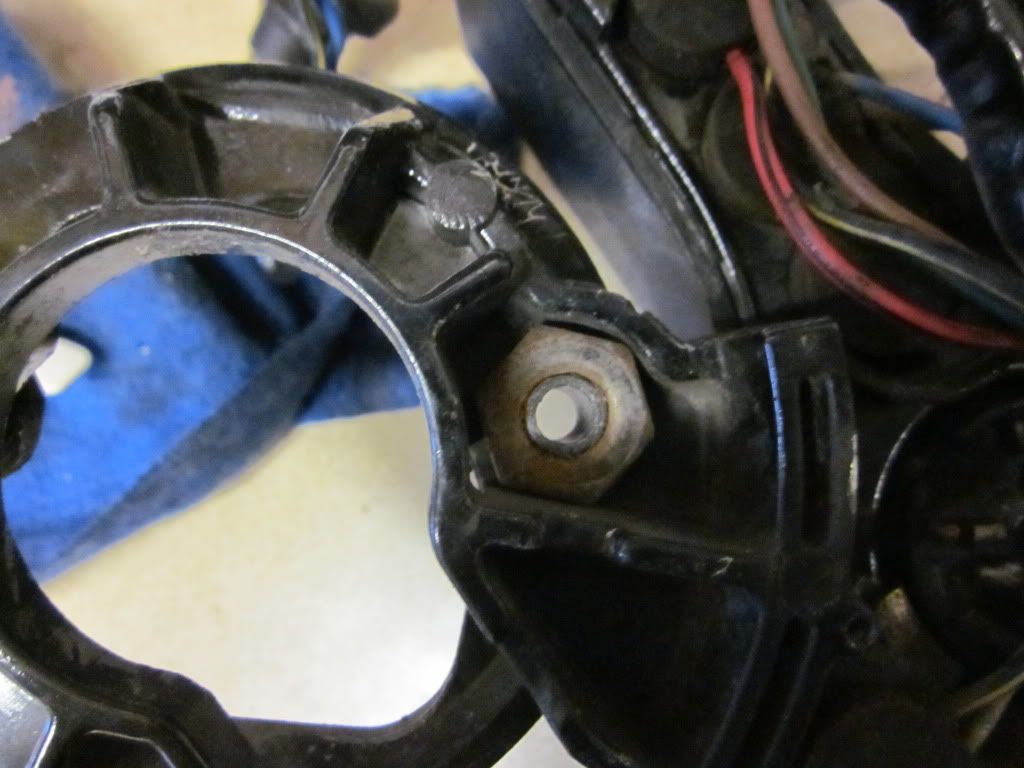
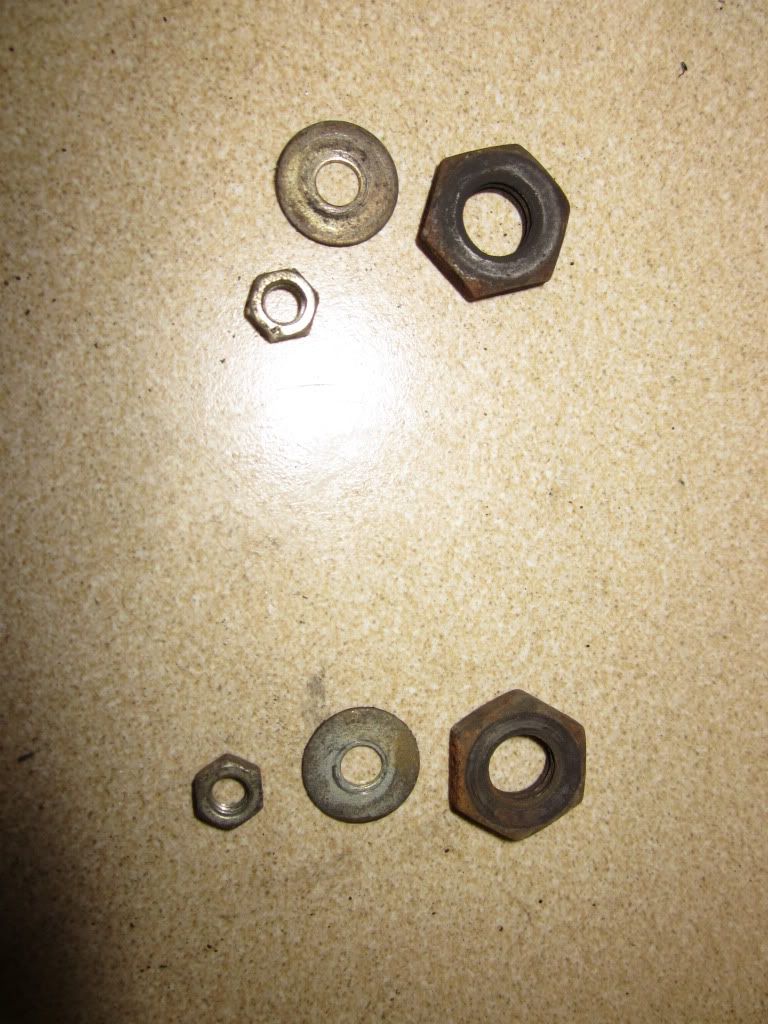
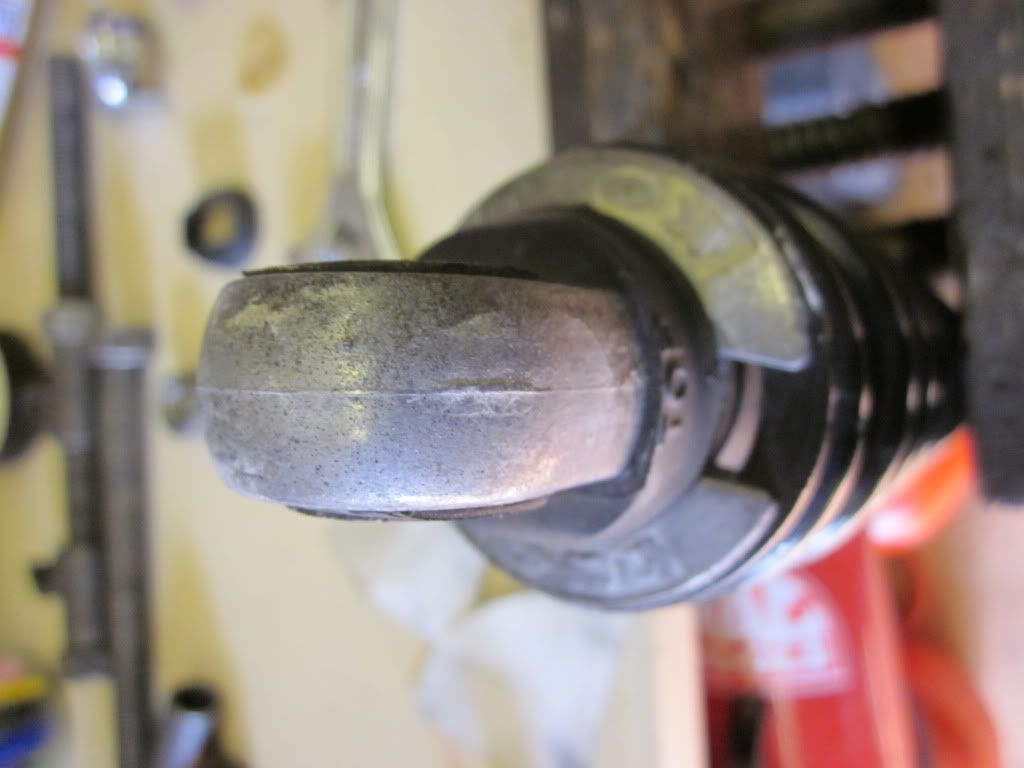
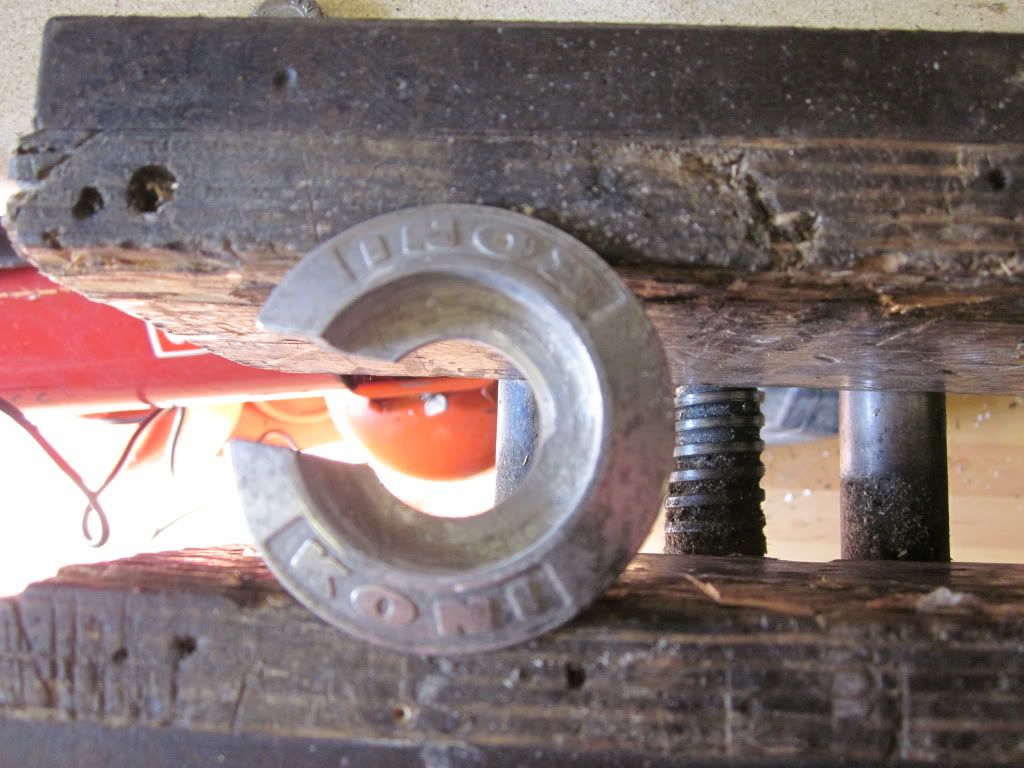
And best of all his idea of fixing...

Image

I will put a further update on later when I upload the latest pictures

User avatar
Bill Newman
100Club
100Club
Posts: 459
Joined: 27th May 2007
Location: Ipswich

#32 PostAuthor: Bill Newman » Fri Mar 09, 2012 11:10 pm

Got home late one night to find a box on the table followed by one of those conversations...

What have you bought on ebay?

I haven't bought anything on ebay...

Well, what is in the box then?

I don't know - let me open it

Moments later I have the box open and the contents unpacked. Turns out it was the clocks back from Al Marshall - they had only been sent off a few days earlier.

What a fantastic job he made of them:

Image


Image

Which then produced the response - have you bought new ones?

User avatar
Flying Tiger
Ted's Biatch
Posts: 238
Joined: 11th Jun 2011
Location: Bury St Edmunds

#33 PostAuthor: Flying Tiger » Fri Mar 09, 2012 11:20 pm

Clocks look great Bill! It'll be brilliant to see this go back together with all the parts so well refurbished! Si

User avatar
MCZ900
100Club
100Club
Posts: 320
Joined: 14th Jun 2011
Location: Derbyshire

#34 PostAuthor: MCZ900 » Sat Mar 10, 2012 12:24 am

they do look new lol
1973 Z1 and 1976 Z900

Jappen
100Club
100Club
Posts: 412
Joined: 23rd Jun 2008
Location: Norway

#35 PostAuthor: Jappen » Sat Mar 10, 2012 8:23 am

Flying Tiger wrote:Clocks look great Bill! It'll be brilliant to see this go back together with all the parts so well refurbished! Si


Seconded :!:
Looking forward to se the bike ready Bill :!: :D
80-Z1000H
79-Z1000MK2

User avatar
Bill Newman
100Club
100Club
Posts: 459
Joined: 27th May 2007
Location: Ipswich

#36 PostAuthor: Bill Newman » Mon Mar 12, 2012 11:03 pm

With all the main components away I could now turn to some of the smaller items requiring refurbishment. In the recent cold snap it got to -17c one night and was -5c during the day. To use Zed Man's expression it was bluddy cold in the garage

Image

But I soon got toasty with the aid of my little workshop heater

Image

I knew that the carburettor exhaust had been giving off a lot of debris and had removed it from the bike some time ago. A strip down revealed that the foam wrap had completely disintegrated

Image

Image

Everthing was very dirty

Image

So I polished the alloy casing

Image

I had ordered some flame resistant 15mm foam from the internet - £4 for a big piece. I have loads left over if anyone needs any, and wrapped it around the core, using stic-atak to keep everthing in place

Image

then cleaned and polished the rubber outer casing - this took several attempts to get right but it is there now

Image

Image

Next job - rebuild the rear shocks.

User avatar
Zed man
Custard Cream
Custard Cream
Posts: 560
Joined: 12th Jun 2011
Location: stortford harts

#37 PostAuthor: Zed man » Mon Mar 12, 2012 11:44 pm

That looks the nuts. Just what i need for mine, same thing. I could do with a bit of foam wrap, for mine please. I think you know my address? lol.
P.s Switches out to you mid week. :)

User avatar
Bill Newman
100Club
100Club
Posts: 459
Joined: 27th May 2007
Location: Ipswich

#38 PostAuthor: Bill Newman » Tue Mar 13, 2012 11:58 pm

No probs Zed Man.

I do have your address and will put some in an envelope on Thursday night and post for the weekend.

Make sure when you cut it that you measure the outside diameter not the inside :oops:

Bill

User avatar
KwackerNut
100Club
100Club
Posts: 158
Joined: 16th Nov 2011
Location: Middlewich, Cheshire

#39 PostAuthor: KwackerNut » Thu Mar 15, 2012 7:49 pm

Hi Bill

Looking forward to seeing the finished bike.

I'm with you on the eye watering prices for parts. After a rebuilt engine, and lots of missing parts when i bought my Z1B as a rolling chassis with several boxes of bits (most of them useless), i don't dare add it all up. However, I'm still wearing a smile following the successful MOT on Monday and a few hundred miles of riding - its great ! :D

Good luck with the rebuild mate.

Jim
Far away across the field,
The tolling of the iron bell,
Calls the faithful to their knees
To hear the softly spoken magic spells.

User avatar
Bill Newman
100Club
100Club
Posts: 459
Joined: 27th May 2007
Location: Ipswich

#40 PostAuthor: Bill Newman » Thu Mar 15, 2012 10:51 pm

KwackerNut wrote:Hi Bill

Looking forward to seeing the finished bike.

I'm with you on the eye watering prices for parts. After a rebuilt engine, and lots of missing parts when i bought my Z1B as a rolling chassis with several boxes of bits (most of them useless), i don't dare add it all up. However, I'm still wearing a smile following the successful MOT on Monday and a few hundred miles of riding - its great ! :D

Good luck with the rebuild mate.

Jim


Thanks for the encouragement - anyone that quotes Breathe as part of their signature must have good taste and good judgement!!!!

User avatar
Zed man
Custard Cream
Custard Cream
Posts: 560
Joined: 12th Jun 2011
Location: stortford harts

#41 PostAuthor: Zed man » Fri Mar 16, 2012 12:32 pm

Zed man wrote:Bill, Nice to see a A4 getting the full treatment.( i have one in the same colour)
If you could get your switches off, and sent to me (with return postage cost) i will refurbish them for you ...free of charge! (clean out a re-greased and re-painted) I restore suzuki gt750 switches, but could cross over to zed switches too. Pm me for an address. as long as no parts are needed. ZM. :)

Bill has asked me, to put my photo's on, his post on the clubs site, as he has put all the restoration photo's on there, as he is going along.
He was thinking of buying, reproductions switches, but wanted his one's refurbish, just as i asked if he would like them done! Lucky that?

They could do with some small black plastic slides (the one's with the small white line) but bill could do that anytime he's ready! What do you think for a first attempt?

Image
Image
Image
Image
Image
Image
Image
Image
Image
Imagej
Image
Image
Image
Image
Last edited by Zed man on Mon Mar 19, 2012 10:05 pm, edited 1 time in total.

User avatar
Zed man
Custard Cream
Custard Cream
Posts: 560
Joined: 12th Jun 2011
Location: stortford harts

#42 PostAuthor: Zed man » Fri Mar 16, 2012 12:34 pm

It posted twice. this one removed.

User avatar
DaveZ1
100Club
100Club
Posts: 303
Joined: 15th Sep 2011
Location: Sunderland

#43 PostAuthor: DaveZ1 » Sun Mar 25, 2012 2:34 pm

Carefull Zed man, with work like that you'll get them all to do :lol:
Better than new :drool

User avatar
Bill Newman
100Club
100Club
Posts: 459
Joined: 27th May 2007
Location: Ipswich

#44 PostAuthor: Bill Newman » Sun Mar 25, 2012 9:16 pm

DaveZ1A wrote:Carefull Zed man, with work like that you'll get them all to do :lol:
Better than new :drool


Dave - You are right. The photos do not do the finished article justice. I think the light and flash is too bright. In daylight they look just like the original article. The switches themselves now lets the rest down. Zed Man replaced the bodged wiring, put on new sheaths and heat shrink and cleaned up the block connectors to the point that I thought that they and the covers were new. The colour in the wording and on the kill switch is exactly right - I am really lucky to have had them done to this standard. I wanted to keep them rather than replace with patterns because they are date coded and match the bike: July 1975.

Image

User avatar
Bill Newman
100Club
100Club
Posts: 459
Joined: 27th May 2007
Location: Ipswich

#45 PostAuthor: Bill Newman » Sun Mar 25, 2012 9:46 pm

In my post of 12 March I said that my next job was to rebuild the rear shocks. These are Koni Dial-a-Rides and are well suited to the bike and a "heavy" rider such as myself :roll:

The shocks have black painted springs and are quite corroded and I wanted to get a more authentic look without buying replica shocks which would not perform as well.

Image

First job was to get the shocks dismantled

Image

Image

Then check out the damping and repaint the damper rod seals

Image

Image

The aluminium tops, collars and adjusting rings had seen better days too

Image

Image

Image

A quick polish and buff has made them respectable

Image


Image

Image

I managed to find new chrome plated progressive springs from Ikon - supplied through Norman Hide. Ordered on line responded to by email within a day and arrived a couple of days later. Excellent service and a nice item

This is how they were delivered

Image

The bare spring awaiting fitment

Image

and fitted

Image

Both are now finished and ready for the bike

Image

Went to Bristol last week and collected the polishing, plating and zincing.

Will post those picture in the next couple of days.


Return to “Projects”

Who is online

Users browsing this forum: Google [Bot] and 5 guests