Hello Guest User,
Please feel free to have a look around the forum but be aware that as an unregistered guest you can't see all of it and you can't post.
To access these 'Registered Users Only' areas simply register and login.
Please feel free to have a look around the forum but be aware that as an unregistered guest you can't see all of it and you can't post.
To access these 'Registered Users Only' areas simply register and login.
Finished at Last!!
Moderators: KeithZ1R, chrisu, paul doran, Taffus
- Vendetta761
- 100Club

- Posts: 254
- Joined: 3rd Feb 2013
- Location: Bristol
- mick znone
- Hardcore

- Posts: 6880
- Joined: 13th Jun 2008
- Location: Cornwall
To all who are interested in the carb mods & set up, I could write a book explaining it all, I wish I had time!
To summarise, I had three areas of approach:
1) Make sure they were clean & factory spec jets etc (assuming std engine)
2) Modify where possible to improve on the std set up eg rubbish exterior linkage.
3) Get the carbs to work in absolute unison.
The first one above is fairly self explanatory eg ultrasonic clean, blow thru etc.
The second item involved several mods & repairs eg selective fitting of slides in bodies, re bushing bodies (made to suit, not the crap split bushes as std), shimming internal linkage to get the lifting arms directly square to the slides & keep them there during operation, making sure the linkage & springs/spring seats were all in good nick & free to operate properly, doing away with the spring washer on the adjusters & fitting three shims instead of one accross the adjusting screws (one underneath the thick washer & two on top).
The third item involved making a test jig with a vacuum pump on to set the slides in perfect alignment on the bench. This was also used to synch the pilot screws (although I later set these with a uego sensor), checking for leaky choke plungers etc. This allowed me to take my time & endlessley tweak the adjusters untill perfect synch was obtained (as opposed to trying to do it on a hot engine that wont idle properly because its too hot......
Hope this all helps a bit....
Cheers, Chris.
freddyz1r wrote:mick z1a wrote:who knows what it looks like by now thoughprobably near to needed another rebuild
I knew you'd be on the ball mick

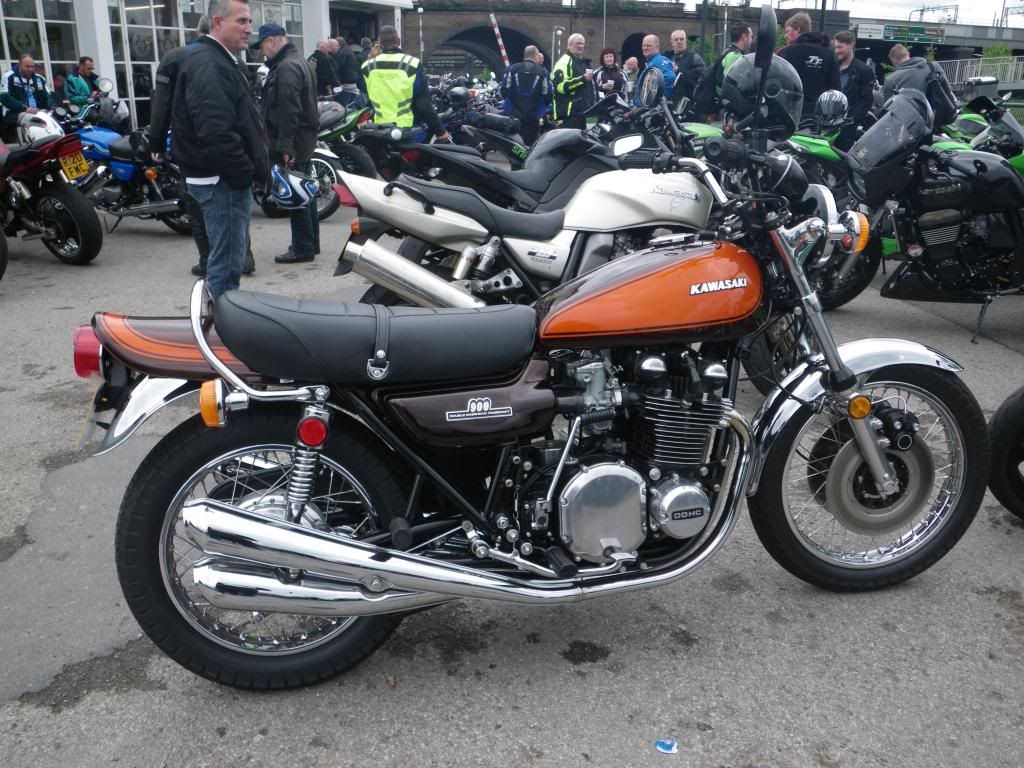
Chris' Z1 still looks mint. The photo below shows it at the Ace Cafe 2014 Kawasaki Day.

Also like to say many thanks to Chris for taking the time to reply to this post

Non standard Z900 - purchased from HIGGSPEED - http://www.higgspeed.com/ -
http://www.z1ownersclub.co.uk/forum/vie ... 6a7d5e816c
http://www.z1ownersclub.co.uk/forum/vie ... 6a7d5e816c
Who is online
Users browsing this forum: No registered users and 10 guests

