Page 1 of 2
what light is fitted?
Posted: Sat Sep 15, 2012 12:06 pm
Author: captaincaveman
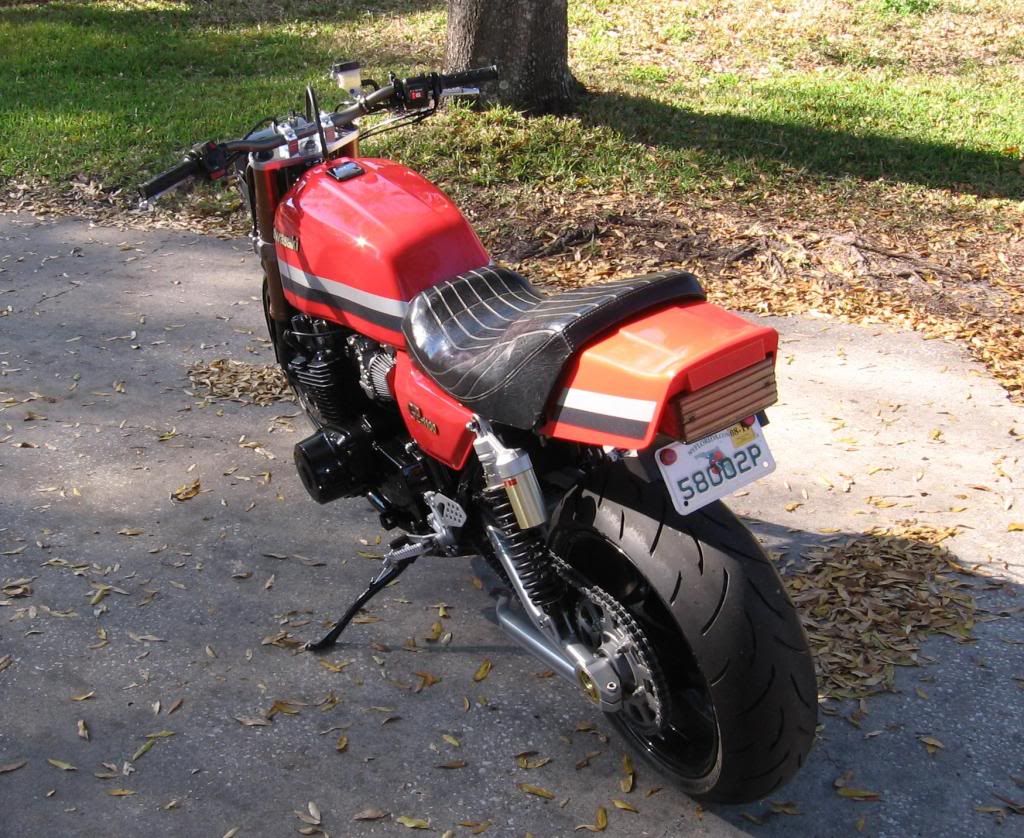
just wondered if this is off another gpz, quite fancy getting something almost standard looking but without it sticking out from the body work like the original
Posted: Sat Sep 15, 2012 1:47 pm
Author: tlc
That's a common mod where the bracket is simply shortened.
Ginger Bear has done it recently.
Posted: Sat Sep 15, 2012 5:38 pm
Author: needaz1100r
I have one already done, badly, i have to say, (not by me) and with indicator mounts needing repair, but you can have it for a fiver plus postage
Posted: Sun Sep 16, 2012 10:04 am
Author: captaincaveman
needaz1100r wrote:I have one already done, badly, i have to say, (not by me) and with indicator mounts needing repair, but you can have it for a fiver plus postage
ive got an original one here, never realised they could be modded, i havent got a paypal account at the moment?
Posted: Sun Sep 16, 2012 2:28 pm
Author: Ginger Bear
The rear mudguard I had fitted was a 'period' accessory made in glass fibre, that moves the tail light forward, probably 'all the rage' 30 years ago.

If you still have an uncut original rear mudguard,
DON'T cut it. They are worth a small fortune these days, one sold recently on ebay for £150+

Posted: Sun Sep 16, 2012 3:45 pm
Author: captaincaveman
no havent got the original mudguard, i meant bracket

so this bracket is shortened? the part with 4 bolts to the subframe?
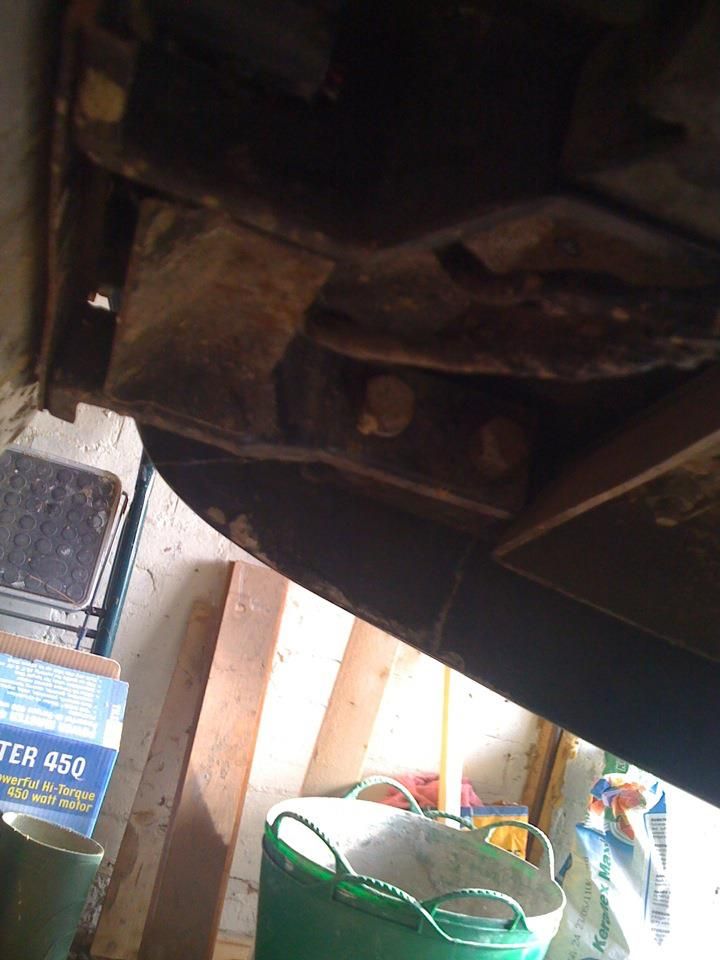
thats mud not rust by the way
Posted: Mon Dec 31, 2012 6:00 pm
Author: captaincaveman
bumping this back up, any ideas on how i cut the bracket?
Posted: Mon Dec 31, 2012 6:42 pm
Author: steve.w
make a bracket ..just a flat one and fasten in to the two threads on the end of frame tubes ..big green bus ..is the man to talk too as he had some made

Posted: Mon Dec 31, 2012 6:46 pm
Author: captaincaveman
steve.w wrote:make a bracket ..just a flat one and fasten in to the two threads on the end of frame tubes ..big green bus ..is the man to talk too as he had some made
thats an idea, i didnt want to cut this one down if i could help it, so pretty much a u-shape out of ally then?

Posted: Mon Dec 31, 2012 9:19 pm
Author: tlc
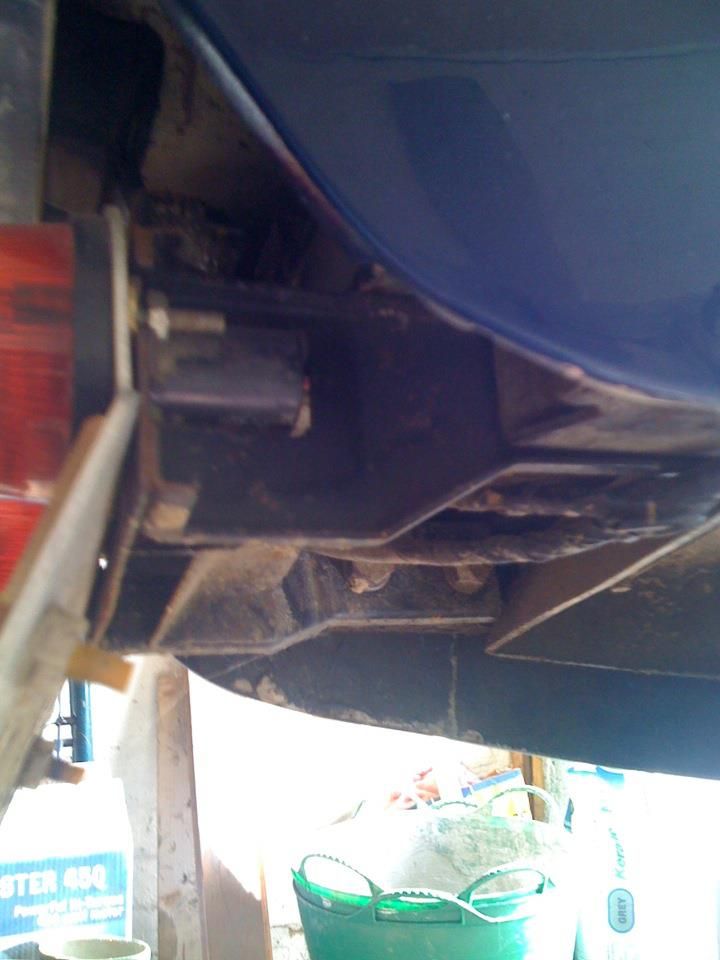
If you just take that bracket off you will see 2 x M8 threads in the rear of the seat rails. Just get a bit of flat on there and mount your lamp.
It's almost as if that's what Kawasaki wanted you to do in the first place.
Posted: Mon Dec 31, 2012 9:46 pm
Author: steve.w
tlc wrote:If you just take that bracket off you will see 2 x M8 threads in the rear of the seat rails. Just get a bit of flat on there and mount your lamp.
It's almost as if that's what Kawasaki wanted you to do in the first place.
mmmm isnt that just wot i said lol
Posted: Mon Dec 31, 2012 10:21 pm
Author: tlc
Oh, Steve you wag.
See above and the U shaped bracket. Tis easier as we know.
Posted: Mon Dec 31, 2012 11:15 pm
Author: captaincaveman
tlc wrote:If you just take that bracket off you will see 2 x M8 threads in the rear of the seat rails. Just get a bit of flat on there and mount your lamp.
It's almost as if that's what Kawasaki wanted you to do in the first place.
so literally on the end of the round tubing then? ah ok i thought you'd have to bolt onto where the existing 4 bolts/bracket are? that sounds easy
now a silly question, what happens with the rear bodywork? mines held in place by a bracket with a slotted square rubber mount?
Posted: Tue Jan 01, 2013 9:34 am
Author: steve.w
u make a little bit ta put the rubber in
Posted: Tue Jan 01, 2013 11:19 am
Author: captaincaveman
ah ok thanks, im sure itll become clear when i start