Hello Guest User,

Please feel free to have a look around the forum but be aware that as an unregistered guest you can't see all of it and you can't post.

To access these 'Registered Users Only' areas simply register and login.

Tips For Bending Rear Sprocket Tab Washers Please??

Need help restoring, building, or finding then try here.

Moderators: KeithZ1R, chrisu, paul doran, Taffus

Message
Author
User avatar
pertonpc
ZedHead
ZedHead
Posts: 1036
Joined: 3rd Sep 2009
Location: Gloucestershire
Contact:

Tips For Bending Rear Sprocket Tab Washers Please??

#1 PostAuthor: pertonpc » Sun Jan 15, 2012 10:01 am

Hi Folks,
I've got three new tab washers and a re-zinced rear sprocket and nuts going together. The nuts are ready for torquing down but I don't want to end up with chisel/ pry marks on the new zinc coating....

Any tips for how you bend up the three 2 holed tab washers on rear sprocket without damaging the finish on sprocket underneath please?

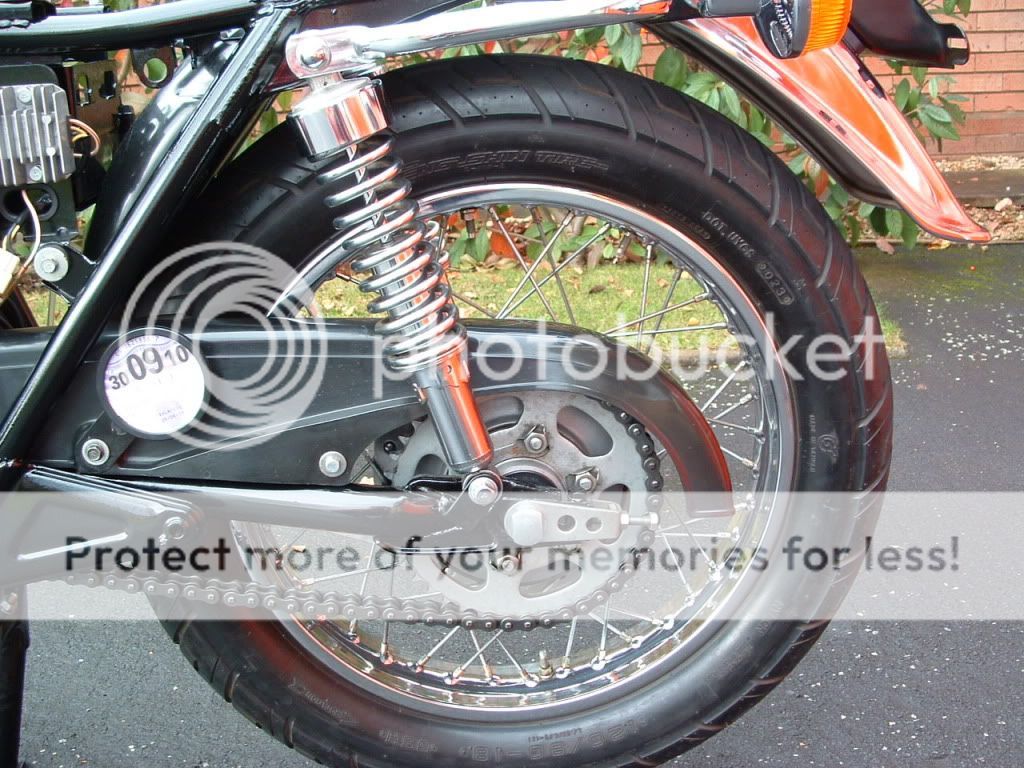
Needs to look like this at the end.

Image

Was thinking about sticking a small flat thing under edge of tab before the nut is torqued down - so I can start to raise it without chiseling under the tab and marking the sprocket. Once it is raised a few mill I was going to use pair of angled grips with tape over the jaws to squeeze it onto the nut.

Any ideas / techniques would be appreciated. Ta from Mark

User avatar
z1bman
Hardcore
Hardcore
Posts: 4227
Joined: 3rd Mar 2010
Location: WORDSLEY WEST MIDLANDS

#2 PostAuthor: z1bman » Sun Jan 15, 2012 10:29 am

hi mark i usually gently lever up the edge of the tab washer with a wood chisel then use a pair of adjustable pipe wrenches to secure the washer against the nut
regards paul

wilsonsjw11
Hardcore
Hardcore
Posts: 1317
Joined: 18th Jul 2008
Location: West Sussex/Central London

#3 PostAuthor: wilsonsjw11 » Sun Jan 15, 2012 10:33 am

Mark
Bend a small lip on the 2 edges that are to be folded up with a pair of pliers and a rag before you put the bolts through them, then once torqued up tap them over with a piece of brass flat bar as a chisel/drift.
Regards
Steve

User avatar
ade woollams
Custard Cream
Custard Cream
Posts: 505
Joined: 5th Mar 2007
Location: within the smoke n the burnout zone

#4 PostAuthor: ade woollams » Sun Jan 15, 2012 1:09 pm

jack hammer and crow bar .the harley way
dragracing, because it takes more than one ball !!!!!!!!!!!!!!!

http://www.youtube.com/watch?v=pNoktjNP ... ture=share

User avatar
pertonpc
ZedHead
ZedHead
Posts: 1036
Joined: 3rd Sep 2009
Location: Gloucestershire
Contact:

#5 PostAuthor: pertonpc » Sun Jan 15, 2012 3:30 pm

Thanks fellas,
I pre-marked the angles to bend on the washers and started the bend before fitting. Gaffa tape on tip of chisel and grips and job's a good un.
Don't think I have damaged the zinc finish any where.

Even managed to make those little triangle shapes pointing out towards the rim like the factory fellas did.
Thanks again from Mark :D

Rich
Hardcore
Hardcore
Posts: 2835
Joined: 4th Mar 2003

#6 PostAuthor: Rich » Sun Jan 15, 2012 6:46 pm

make yourself a nylon "chisel" for the next time.
Rich
diplomacy is a form of art - I was never any good at art

User avatar
PAULJAC47
Hardcore
Hardcore
Posts: 3266
Joined: 31st Aug 2008
Location: WOLVO WEST MIDS ENGLAND

#7 PostAuthor: PAULJAC47 » Sun Jan 15, 2012 7:41 pm

Is this a "wind up"???? :shock:
PAULJAC47,,,,,"She may not look like much, but she's got it where it counts, kid."
-Han Solo

You can't polish a turd, but you can roll it in glitter

Salad is what real food eats.
Anon

PUM 673

User avatar
Garn 1
ZedHead
ZedHead
Posts: 1234
Joined: 23rd Sep 2005
Location: Sydney

#8 PostAuthor: Garn 1 » Sun Jan 15, 2012 8:30 pm

Mark, I have four items to add to your methods... Some already mentioned.

1. Use stainless steel tab-washers & nuts (departing from standard, but look's great).
2. Pre-bend tab-washers in soft-jaw vice, just one side. I have seen your double side .. angled towards rim, however, I'm not sure if it was common.. Could be wrong on this!
3. Use brass punch/ chisel to flatten one edge of both ends of the tab-washer. Your Gaffa-tape idea is good!
4 *** Use a small amount of anti-scuffing paste under each nut to avoid twisting/ bending the tab-washer when torquing up.

I have laboured over this task often.
RegardZ.
Garn (Sydney) Z1, Z1A, Z1B and Z900-A4

User avatar
KeithZ1R
Moderator
Posts: 3368
Joined: 15th May 2005
Location: Bury

#9 PostAuthor: KeithZ1R » Sun Jan 15, 2012 8:43 pm

PAULJAC47 wrote:Is this a "wind up"???? :shock:


don't look like it Paul :) different strokes an all that :)
Keith
:bop :gom

You can never have too many tools in your life, except the two legged variety

I'm never wrong, once I thought I was but I was
mistaken.

Phil Churchett winner 2013

User avatar
pertonpc
ZedHead
ZedHead
Posts: 1036
Joined: 3rd Sep 2009
Location: Gloucestershire
Contact:

#10 PostAuthor: pertonpc » Sun Jan 15, 2012 8:46 pm

Thanks Garn
Your input is always wise.
I went for the double bend because my own bike was on original chain & sprox and had it as standard, the Kawa 650 Service Manual and owners hand book show it in the example pics, and original 650 sales brochure pics I have seen all show the double bend triangle shape - so I think it was fairly common from the factory on those bikes.
Appreciate you can dispense with them if you use locking nuts etc. but I wanted to try and get a factory standard look.

I had never heard of anti scuffing paste - that's something else you have taught me - what is the brand name for that product?
Cheers from Mark

User avatar
KeithZ1R
Moderator
Posts: 3368
Joined: 15th May 2005
Location: Bury

#11 PostAuthor: KeithZ1R » Sun Jan 15, 2012 9:04 pm

pertonpc wrote:Thanks Garn
Your input is always wise.
I went for the double bend because my own bike was on original chain & sprox and had it as standard, the Kawa 650 Service Manual and owners hand book show it in the example pics, and original 650 sales brochure pics I have seen all show the double bend triangle shape - so I think it was fairly common from the factory on those bikes.
Appreciate you can dispense with them if you use locking nuts etc. but I wanted to try and get a factory standard look.

I had never heard of anti scuffing paste - that's something else you have taught me - what is the brand name for that product?
Cheers from Mark


Rocol :)
Keith

:bop :gom


You can never have too many tools in your life, except the two legged variety


I'm never wrong, once I thought I was but I was

mistaken.


Phil Churchett winner 2013

User avatar
stephen parr
100Club
100Club
Posts: 263
Joined: 19th Oct 2008
Location: leicestershire

#12 PostAuthor: stephen parr » Sun Jan 15, 2012 9:15 pm

PAULJAC47 wrote:Is this a "wind up"???? :shock:


You crease me up you do Paul :!: :lool

User avatar
pertonpc
ZedHead
ZedHead
Posts: 1036
Joined: 3rd Sep 2009
Location: Gloucestershire
Contact:

#13 PostAuthor: pertonpc » Sun Jan 15, 2012 9:18 pm

Thanks for that Keith,
not seen their products round here - will keep my eyes open.

User avatar
Z1parR
Hardcore
Hardcore
Posts: 4901
Joined: 11th Oct 2009
Location: Chorley Lancs

#14 PostAuthor: Z1parR » Sun Jan 15, 2012 9:39 pm

Here you are Mark , new tin design on the right , i added the plug box for comparison .
Its very good stuff but the price is er sobering :shock:

Image
0172 . Geoff Parr

buzzard
100Club
100Club
Posts: 218
Joined: 15th Jan 2007
Location: Hampton

tab washers

#15 PostAuthor: buzzard » Sun Jan 15, 2012 10:54 pm

ditch the tab washers, use a flat washer, then apply a medium to high strength Loctite(usually a green colour) thats what I'd do. BUZZARD
Every man should have a shed (for bikes obviously..)


Return to “Bike Help”

Who is online

Users browsing this forum: No registered users and 13 guests